turn signal BUICK PARK AVENUE 1998 Owners Manual
[x] Cancel search | Manufacturer: BUICK, Model Year: 1998, Model line: PARK AVENUE, Model: BUICK PARK AVENUE 1998Pages: 426, PDF Size: 23.59 MB
Page 75 of 426
This system has a range of about 3 feet (1 rn) up to
30 feet (9 m). At times you may notice a decrease in
range. This is normal for any remote keyless entry
system.
If the transmitter does not work or if you have
to stand closer to your vehicle for the transmitter
to
work, try this:
@ Check to determine if battery replacement is
necessary. See the instructions that follow.
0 Check the distance. You may be too far from your
vehicle.
You may need to stand closer during rainy
or snowy weather.
0 Check the locatioE. Other vehicles or objects may be
blocking the
signal. Take a few steps to fhe left or
right, hold the transmitter higher, and try again.
0 Tf you‘re still having trouble, see your dealer or a
qualified technician for service. The
driver’s door will
unlock when UNLOCK is
pressed. If pressed again within five seconds, all doors
will unlock. Pressing any button will also iilurninate the
interior lamps (see “Illuminated Entry”
in the Hndexj.
AS1 doors will lock when LOCK is pressed.
The trunk will unlock when the trunk button is pressed,
and the ignition
is in LOCK or OFF. The tm& button
will also work when
the ignition is on, but ormly while in
PARK (P).
When the button with the horn symbol on the remote
keyless entry transmitter
is pressed, the horn will sound
and
the headlamps and taillamps wiE flash for up to
30 seconds. This can be turned off by pressing the
instant alarm button again or by
turning the ignition on.
If your vehicle is equipped with the Content
Theft-Deterrent feature,
you may also turn off the
instant alarm
by unlocking the vehicle with a key.
ProCarManuals.com
Page 78 of 426
~&XlqrqzL& Lf&+-?g i ALL”
This feature Heis the dnver delay the actuaI locking of
the vehicle. When the power door lock switch is pressed
with
the key removed from the ignition and the driver’s
door open, a chime will sound thee times to signal that
the Hock delay mode
is active. Wen all doors have been
closed, the doors
wiI.1 lock automaticalIy after five
seconds.
If any door is opened before this, the
five-second timer will reset itself once all the doors have
been closed
again.
Pressing the door Bock switch twice within two seconds
will override this feature.
2.
3.
Press and hold LOCK OR the power door lock switch
on the door throughout this procedure. All the doors
will lock.
Press the
UNLOCK button om the transmitter to
enter the progrmming mode. The lock delay is still
off and all doors will remain locked.
Press the
UNLOCK button on the transmitter again.
Lock delay
is now active and dl doors will unlock.
4. Release the power door lock switch.
To turn this feature off, repeat the above procedure.
If your vehicle is equipped with the Driver infomation
Center
(DIC), you can also program these features
through the
DE. See “Driver Information Center” in
the Index.
Each remote keyless entry transmitter
is coded to
prevent another transmitter from unlocking your vehicle.
If a transmitter is lost or stolen, a replacement can be
purchased through your dealer. Remember to bring any
remaining transmitters with you when
you go to your
dealer. When the dealer matches the replacement
transmitter to your vehicle, any remaining transmitters
must
also be matched. Once your dealer has coded the
new transmitter, the lost transmitter will not unlock your
vehicle. Each vehicle can have only
four transmitters
matched
to it.
See your dealer to match additional transmitters
to
your vehicle.
ProCarManuals.com
Page 101 of 426
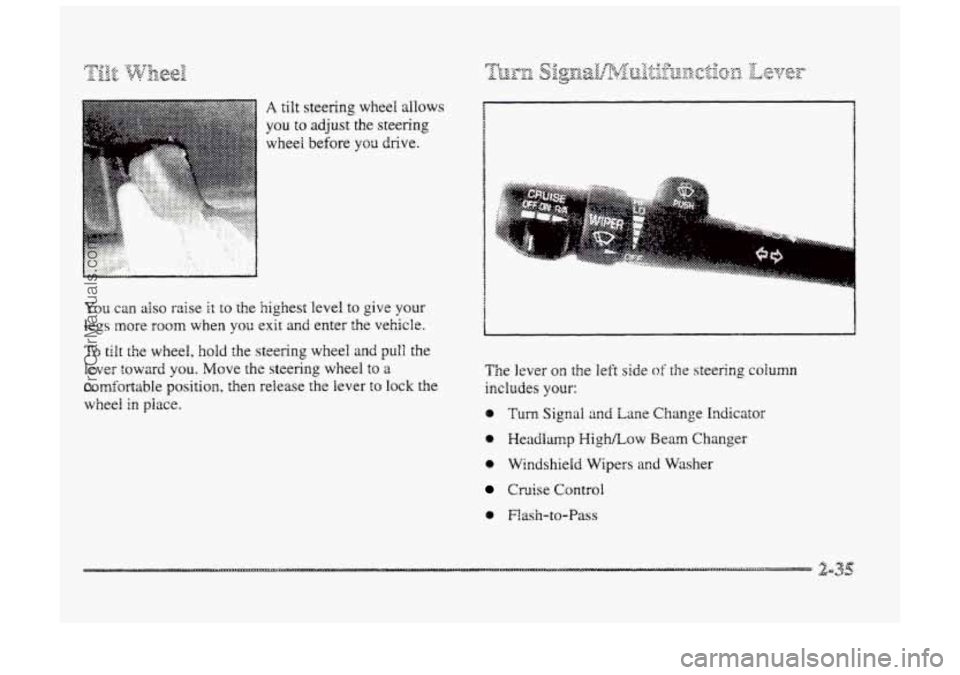
A tilt steering wheel allows
you to adjust the steering
wheel before
you drive.
You can also raise it to the highest level to give your
legs more room when you exit and enter the vehicle.
To tilt the wheel, hold the steering wheel and pull the
lever
toward you. Move the steering wheel to a
comfortable position, then release the Iever to lock the
wheel
in piace.
a
. . . . . . . . . . . . .,.>:<<.:
The lever on the left side of the steering column
includes YOGI-:
e Turn Signal and Lane Change Indicator
Headlamp PIighLow Beam Changer
0 Windshield Wipers and Washer
Cruise Control
Flash-to-Pass
ProCarManuals.com
Page 102 of 426
... . ....
v
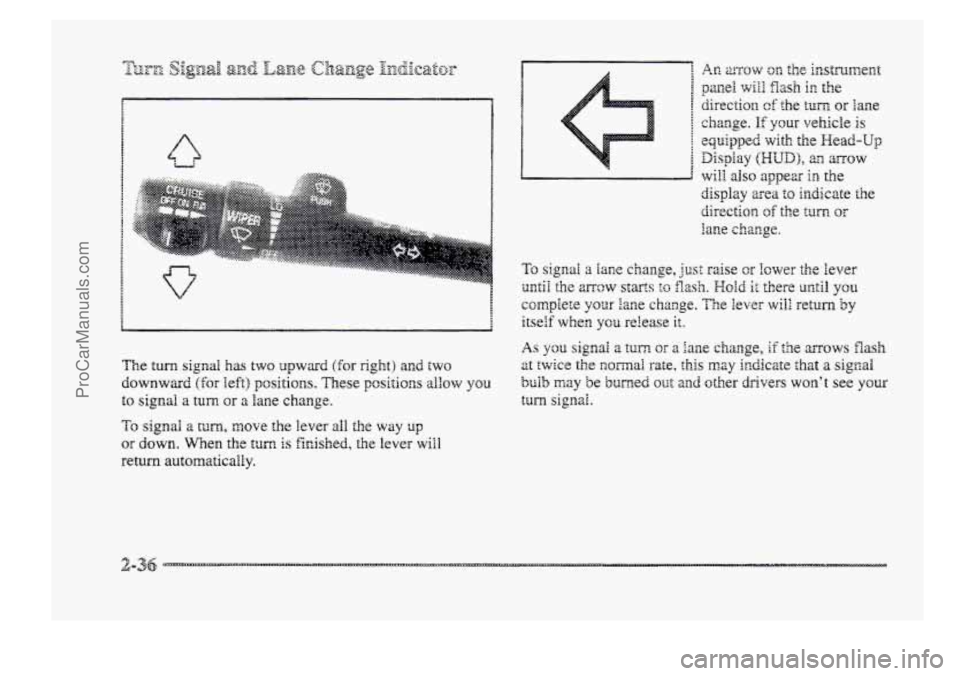
The turn signal has two upward (for right) and two
downward (for left) positions. These pcsitions aIbw you
to signal a turn or m. Iarae change.
To signal a mrn, move the lever all the way up
or down. Wnen the turn is hished, the lever will
return automatically.
pane! will flash in the
direction
cf the turn OF lane
change.
Hf your vehicle is
equipped with the Head-Up
will also apex in the
display area to indicate the
directim of the turn or
lane change.
Display (HUD), an mow
ProCarManuals.com
Page 103 of 426
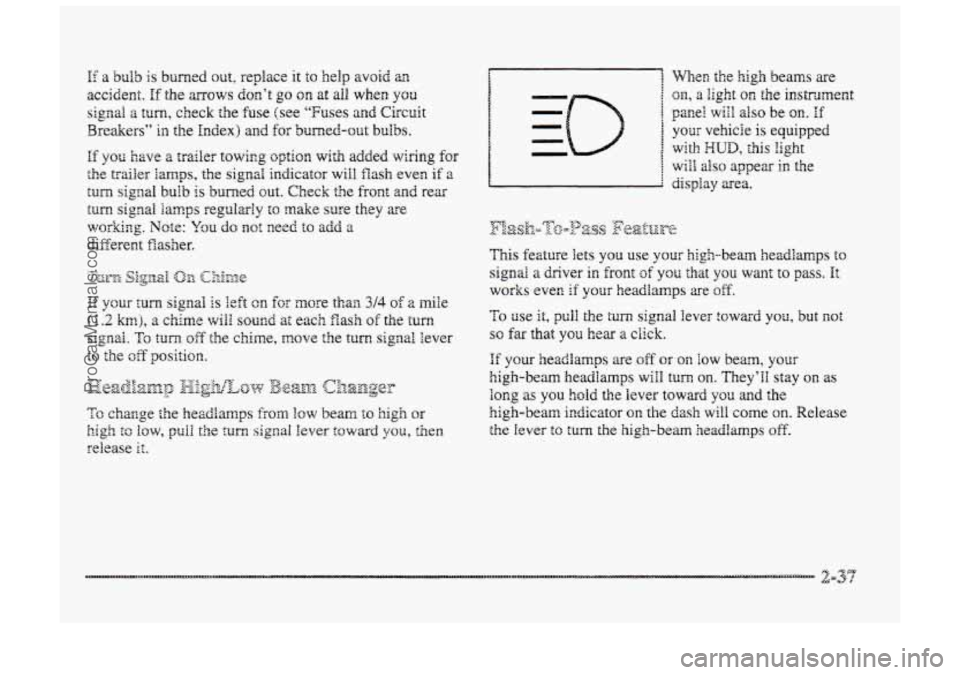
E a bulb is burned out, replace it to help avoid itr~
accident. If the mows don’t go on at all when you
signal a turn, check the €use (see “‘Fuses md Circuit
Breakers” in the Index) and f~r burned-out bulbs.
If you have a trailer towing option with added wiring for
the trailer lamps, the signal indicator will flash even if a
turn signal bulb is burned aut. Check the front and rea
turn signal lamps regularly to make sure they are
workirzg. Note: You do not need to add a
different Basher.
If your turn signal is left on ~CZ more than 3/4 of a mile
(1.2 h), a chime will sound ai each flash of the turn
signal. To turn df the chime, move the turn signal lever
to the dTposition.
When the high beams are
on, a light the instrdment
panel wiil ~SQ be on. if
This feztuse lets you use your high-beam headlamps to
signal a driver in front of you that you want to pass. It
works even if your headamps xe 3ff.
To use it, pull the turn signal lever toward you, but not
so far that you hear a click.
If your headlamps are off or on low beam, your
high-beam headlamps will turn on. They’ll stay QPI as
long as you hold the Iever toward you and the
high-beam indicator on the dash will come on. Release
the Iever to turn the high-beam headlamps off.
ProCarManuals.com
Page 141 of 426
This part describes the warning lights and gages that
may be
on your vehicle. The pictures will help YOU
locate them.
Warning lights
and gages can signal that something is
wrong before it becomes serious enough to cause an
expensive repair
or replacement. Paying attention to
your warning lights and gages coukl also save you or
others from injury.
Warning lights come on when there may be or is a
problem with one
of your vehicle’s hn~tions. As YOU
will see in the details 010. the next few pages, some
warning lights come on briefly when
you start the
engine
just to let you know they’re working. If you are
familiar with
tis section, YOU should not be alarmed
when this happens.
Cages can indicate when there may
be or is a problem
with of your vehicle’s functions. Often gages
and
warning lights work together to let you how when
there’s a problem
with your vehicle. When one
of the
warning lights comes QII and stays on
when you are driving, or when one of the gages shows
there may be a problem, check the section that tells you
what
to do about it. Please follow this manual’s advice.
Waiting to
d~ repairs can be costly -- and even
dangerous.
So please get to how your warning lights
and gages. They’re a big help.
Your vehicle may also have a driver information system
that works along with the warning lights and gages. See
“Driver Information System”
in the Index.
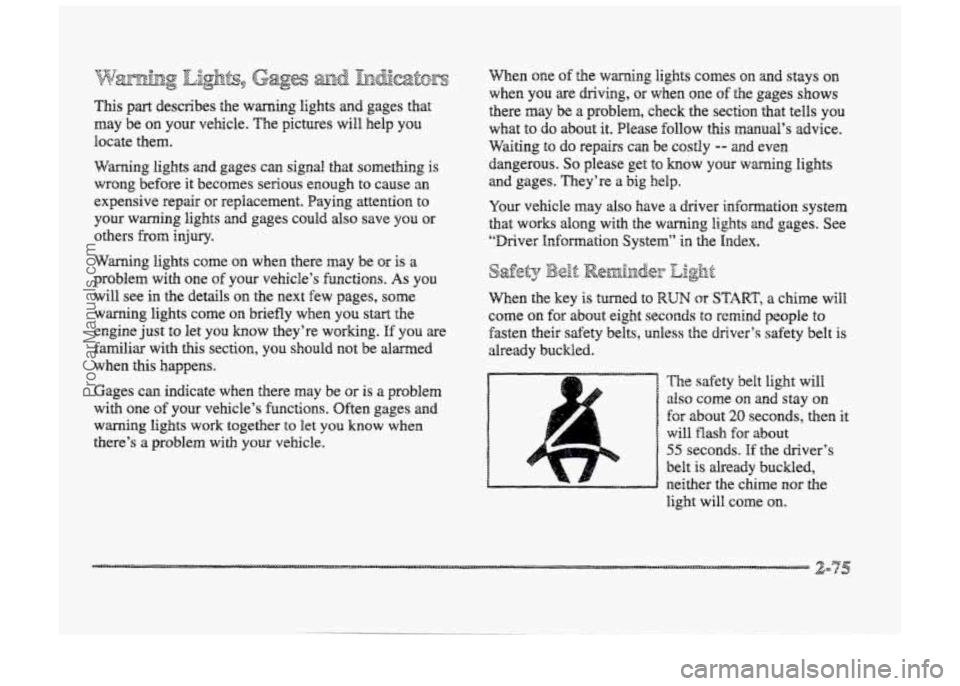
d Bel$ pj&&n(jgp Light
When eke key is turned to RUN or START, a chime will
come on
for about eight seconds to remind people to
fasten their safety belts, unless the driver’s safety belt is
already buckled.
The safety belt light will
also come on md stay on
for about 20 seconds, then it
will
flash for about
55 seconds. If the driver’s
belt is already buckled,
neither the chime nor the
light will come on.
ProCarManuals.com
Page 150 of 426
&~(-&jJ?-% _. _- &SD&$V 7- 0 7: \@+@--JQ) @ &-J~pp@.&) y-
_Y A dk A a
see things you need to see when it's dark outsside.
Be
sure to keep the HUD image dim and placed
EQW in YOUF field of view.
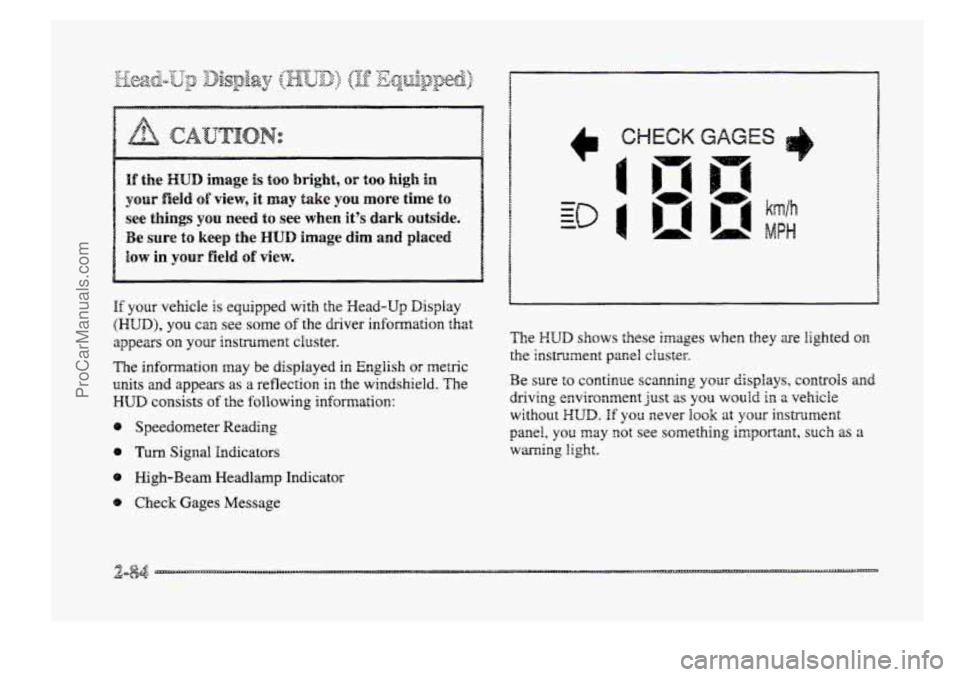
If your vehicle is equipped with the Wead-Up Display
(HUD), you can see some of the driver infomation that
appears
your irrstrumerat cluster.
The
infomation may be displayed in English or metric
units and appears as a reflection ir, the windshield. The
HLJD consists of the following information:
8 Speedometer Reading
0 Turn Signal Indicators
8 High-Beam Meadlamp Indicator
@ Check Gages Message The
Z-:UD shows these images when they are
lighted on
tke instrument pamS cluster.
Be sure to continue scanning your displays, controls and
driving environment
Just as you wouid in a vehicle
without XUD. If you sever hook at your instrt.merit
panel, you may got see something imgoI-aana, such as a
warning light.
ProCarManuals.com
Page 200 of 426

yax-ipa (..k n,;T 7;: yudr -.,: !Lamp@& '7 U&pJ 27. : -
Handle discs carefully. Store them in their original cases
or other protective cases and away from direct sunlight
and dust. If the surface of a disc is soiled, danpem a
clean, soft ~10th in a mild, neutral detergent sdution and
clean it, wiping from the center to the edge.
Be sure never to touch the signal surface when handking
discs. Pick up discs by grasping the outer edges or the
edge of the kte and the outer edge.
Your AM-FM antenna is integrated with yorrr rear
window defogger, located
in the rex window. Be sure
that the inside surface
sf the rear window is not
scratched
and that the lines QI-I the glass are not
damaged. If the inside surface is damaged, it could
interfere
with radio reception. Do not apply aftermarket
glass tinting.
The metallic film in some tinting
materials
will interfere with OH distort the incoming
radio reception.
If, when YOU turn on your rear window defogger, you
hear static on your radio station, it means a defogger
grid line has been damaged and must be repaired. (Your
rlldiQ iS not at fault.)
X you C~OQS~ to add a cejlular telephone to your
vehicle, and the mtenma needs to be attached to the
glass, be
sure that you do not damage the grid lines for
the AlV-FM zn'renna.
ProCarManuals.com
Page 216 of 426
@ I4o not get too ciose to the vehicle you want to pass
while you’re awaiting an opportunity. For one thing,
fblhwing too closely reduces YQUP area of visiorn,
cspecidly if you’re following a larger vehide. Also,
you won’t have adequate space if the vehicle
ahead suddenly slows cx stops. Keep back a
reasonable distance.
8 When it looks like a chance to pass is coming up,
start to accelerate but stay in the right lane and don‘t
get too close. Time YOUF move so you will be
increasing speed as the time comes to move into the
other lane.
If the way is clear to pass, you will have a
“running start” that more than makes up for the
distance
you would lose by dropping back. And if
something happens to cause you to cancef your pass,
you need only slow down and drop back again and
wait for another opportunity.
If other cars =e lined up to pass a slow vehicle, wait
your
turn. But take care that someone isn’t trying to
pass YOU as you pull out +LO pass the slow vehicle.
Remember
to glance over your shoulder and check
the
blind spot.
8 Check your minors, giance over your shoulder, and
start your left Bane change signal before moving out
of the right lane to pass. When you =e far enough
ahead
of the passed vehicle BO see its front in your
inside
minor, activate your right lafie change signal
2nd move back into the right laze. (Remember that
your
right outside mirror is convex. The vehicle YSU
just passed may seem to be f~ther away from you
than it really is.)
@ Don’t overtake a sEowIy moving vehdcIe too rapidly.
Even
though the br&e lamps are not flashing, it may
be slowing down or starting to turn.
@ If you’re being passed, make it easy for the
foilowing driver to get ahead of you. Perhaps you
can ease a littie to the right.
ProCarManuals.com
Page 224 of 426
At the entrance, there is usually a ramp that leads to the
freeway.
If you have a clear view of the freeway 2s you
drive along the entrance ramp, you should begin to
check traffic.
Try to determine where you expect to
blend with the flow. Try to merge into the gap at close to
the prevailing speed. Switch on your turn signal, check
your
mirrors and glance over your shoulder as often as
necessary. Try to blend smoothly with the traffic flow.
Once you are on the freeway, adjust your speed to the
posted limit or
to the prevailing rate if it’s slower. Stay
in the right lane unless you want to pass.
Before changing lanes, check your
rnkors. Then use
your
turn signal.
Just before you leave the lane, glance quickly over your
shoulder to make sure there isn’t another vehicle in your
“bIind” spot.
Once YOU are moving on the freeway, make certain you
allow a reasonable following distance. Expect to move
slightly dower at night.
When you want
to leave the freeway, move to the proper
lane well
in advmce. If you miss your exit, do not,
under any circumstances, stop
and back up. Drive cn to
the next exit.
The exit
ramp can be curved, sometimes quite sharply.
The exit speed
is usually posted.
Reduce your speed according to
YOUP speedometer, not
to your sense of motion. After driving for any distance
at higher speeds,
you may tend to think you are going
slower than you actually
are.
4-22
ProCarManuals.com