AUX BUICK PARK AVENUE 2003 Owner's Manual
[x] Cancel search | Manufacturer: BUICK, Model Year: 2003, Model line: PARK AVENUE, Model: BUICK PARK AVENUE 2003Pages: 372, PDF Size: 2.8 MB
Page 81 of 372
Sun Visors
Lighted Visor Vanity Mirror
If your vehicle has this feature, when you open the visor
vanity mirrors, the lamps turn on.
To block out glare, swing down the visors. The larger
sun visor can be removed from the center mount
and moved to the side, while the auxiliary sun visor
remains to block glare from the front.
The front side of the driver's sun visor also contains a
pocket for map storage.
Theft-Deterrent Systems
Vehicle theft is big business, especially in some cities.
Although your vehicle has a number of theft-deterrent
features, we know that nothing we put on it can make it
impossible to steal.
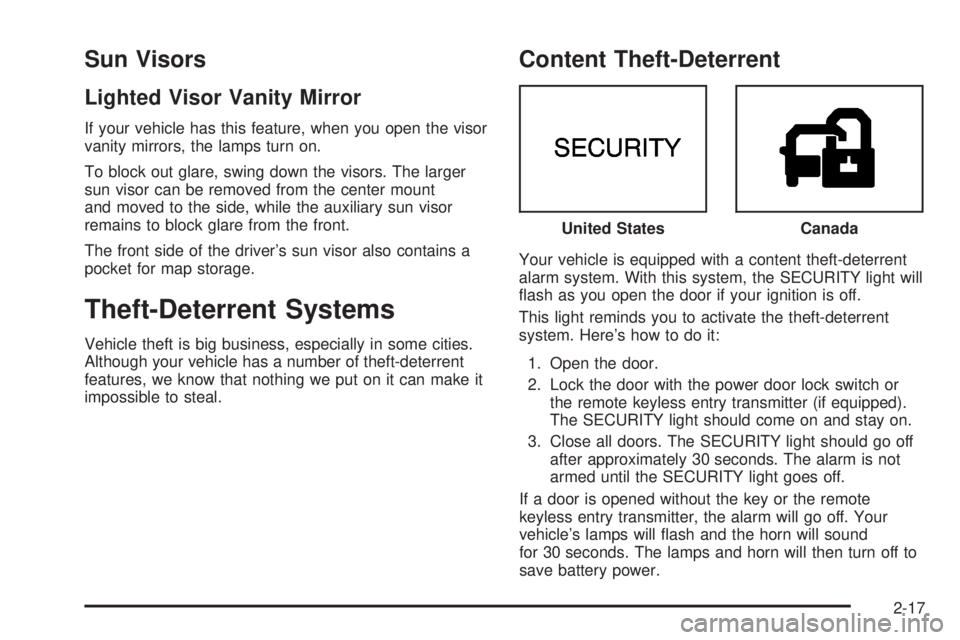
Content Theft-Deterrent
Your vehicle is equipped with a content theft-deterrent
alarm system. With this system, the SECURITY light will
¯ash as you open the door if your ignition is off.
This light reminds you to activate the theft-deterrent
system. Here's how to do it:
1. Open the door.
2. Lock the door with the power door lock switch or
the remote keyless entry transmitter (if equipped).
The SECURITY light should come on and stay on.
3. Close all doors. The SECURITY light should go off
after approximately 30 seconds. The alarm is not
armed until the SECURITY light goes off.
If a door is opened without the key or the remote
keyless entry transmitter, the alarm will go off. Your
vehicle's lamps will ¯ash and the horn will sound
for 30 seconds. The lamps and horn will then turn off to
save battery power.United States
Canada
2-17
Page 307 of 372
Fuses and Circuit Breakers
The wiring circuits in your vehicle are protected from
short circuits by a combination of fuses and circuit
breakers. This greatly reduces the chance of damage
caused by electrical problems.
Look at the silver-colored band inside the fuse. If the
band is broken or melted, replace the fuse. Be sure you
replace a bad fuse with a new one of the identical
size and rating.
There are four fuse blocks in your vehicle: the main and
auxiliary instrument panel fuse blocks, the underhood
fuse block and the rear fuse block.
Main and Auxiliary Instrument Panel
Fuse Blocks
The main and auxiliary instrument panel fuse blocks are
located under the instrument panel, on the passenger's
side of the vehicle. Lamps, connectors and the
HVAC duct temperature sensors may need to be
disconnected and removed to allow access to these
fuse blocks.Remove the hush panel on the passenger's side to
reveal the fuses by performing the following steps:
1. Remove the two screws located along the front
edge of the panel.
2. Lower the hush panel.
3. Remove the fuse block cover.
4. Place the wide end of the fuse puller over the
plastic end of the fuse.
5. Squeeze the ends over the fuse and pull it out.
When ®nished, reinstall the fuse block cover and
the hush panel. Reinstall lamps, connectors and HVAC
duct temperature sensors if they were removed.
5-87
Page 309 of 372
Fuses Usage
LP PK RRight Park/Sidemarker Lamp,
Right ParK/Turn Lamp, Right
Tail/Sign Lamp, Right Tail/Stoplamp,
Right Rear Sidemarker,
Stop/Taillamp, Tail/Signal Lamp,
License Lamp, RFA
RUN Run/Accessory
WSW Wiper Motor
Blank Not Used
WSW/RFA Wiper Switch, RFA, Rain Sense
B/U LPAuto Dimming Mirror, Back-Up
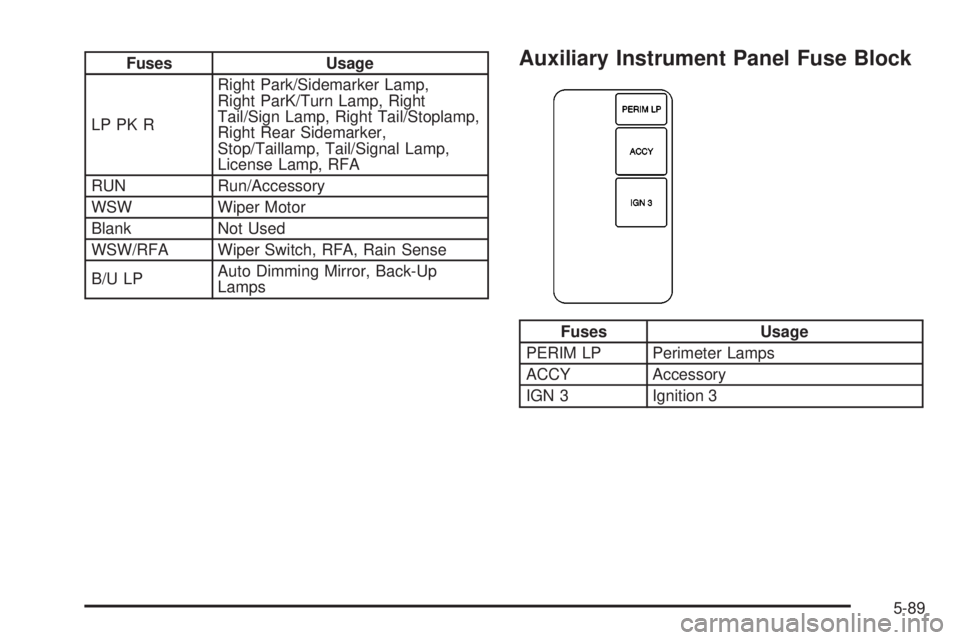
LampsAuxiliary Instrument Panel Fuse Block
Fuses Usage
PERIM LP Perimeter Lamps
ACCY Accessory
IGN 3 Ignition 3
5-89
Page 357 of 372
A
Accessory Power Outlets.................................3-21
Activating the Theft-Deterrent Feature................3-66
Adding Washer Fluid.......................................5-39
Additional Program Information........................... 7-8
Additives, Fuel................................................. 5-6
Add-On Electrical Equipment............................5-86
Adjusting the Speakers (Balance/Fade)......3-54, 3-58
Air Bag Systems.............................................1-48
How Does an Air Bag Restrain?....................1-54
Servicing Your Air Bag-Equipped Vehicle.........1-56
What Makes an Air Bag In¯ate?....................1-54
What Will You See After an
Air Bag In¯ates?......................................1-54
When Should an Air Bag In¯ate?...................1-53
Where Are the Air Bags?..............................1-51
Air Bag .........................................................3-33
Readiness Light..........................................3-33
Air Cleaner/Filter, Engine.................................5-20
AM ...............................................................3-68
Antenna, Heated Backlite.................................3-70
Anti-lock Brake System (ABS)............................ 4-7
Anti-Lock Brake, System Warning Light..............3-36
Appearance Care............................................5-78
Care of Safety Belts....................................5-81
Chemical Paint Spotting...............................5-84
Cleaning the Inside of Your Vehicle................5-79
Cleaning the Outside of Your Vehicle..............5-82
Finish Damage............................................5-84Appearance Care (cont.)
Sheet Metal Damage...................................5-83
Underbody Maintenance...............................5-84
Vehicle Care/Appearance Materials................5-84
Weatherstrips..............................................5-81
Ashtrays........................................................3-22
Assist Handles...............................................2-44
Audio System(s).............................................3-51
Audio Steering Wheel Controls......................3-68
Care of Your Cassette Tape Player................3-69
Care of Your CD Player...............................3-70
Care of Your CDs........................................3-70
Heated Backlite Antenna...............................3-70
Personal Choice Radio Controls....................3-65
Radio with Cassette and CD.........................3-56
Radio with Cassette.....................................3-52
Setting the Time..........................................3-52
Theft-Deterrent Feature................................3-66
Trunk-Mounted CD Changer..........................3-62
Understanding Radio Reception.....................3-68
Automatic Level Control...................................4-32
Automatic Operation........................................3-23
Automatic Transaxle Check..............................6-20
Automatic Transaxle Shift Lock Control
System Check.............................................6-21
Automatic Transaxle........................................5-22
Fluid..........................................................5-22
Operation...................................................2-24
Auxiliary Instrument Panel Fuse Block...............5-89
1
Page 365 of 372
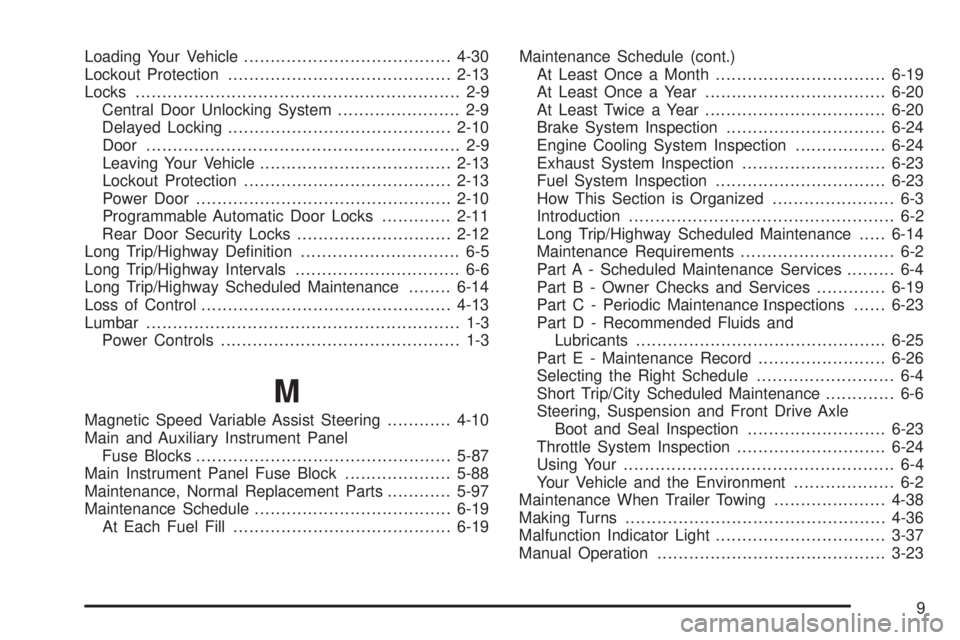
Loading Your Vehicle.......................................4-30
Lockout Protection..........................................2-13
Locks............................................................. 2-9
Central Door Unlocking System....................... 2-9
Delayed Locking..........................................2-10
Door........................................................... 2-9
Leaving Your Vehicle....................................2-13
Lockout Protection.......................................2-13
Power Door................................................2-10
Programmable Automatic Door Locks.............2-11
Rear Door Security Locks.............................2-12
Long Trip/Highway De®nition.............................. 6-5
Long Trip/Highway Intervals............................... 6-6
Long Trip/Highway Scheduled Maintenance........6-14
Loss of Control...............................................4-13
Lumbar........................................................... 1-3
Power Controls............................................. 1-3
M
Magnetic Speed Variable Assist Steering............4-10
Main and Auxiliary Instrument Panel
Fuse Blocks................................................5-87
Main Instrument Panel Fuse Block....................5-88
Maintenance, Normal Replacement Parts............5-97
Maintenance Schedule.....................................6-19
At Each Fuel Fill.........................................6-19Maintenance Schedule (cont.)
At Least Once a Month................................6-19
At Least Once a Year..................................6-20
At Least Twice a Year..................................6-20
Brake System Inspection..............................6-24
Engine Cooling System Inspection.................6-24
Exhaust System Inspection...........................6-23
Fuel System Inspection................................6-23
How This Section is Organized....................... 6-3
Introduction.................................................. 6-2
Long Trip/Highway Scheduled Maintenance.....6-14
Maintenance Requirements............................. 6-2
Part A - Scheduled Maintenance Services......... 6-4
Part B - Owner Checks and Services.............6-19
Part C - Periodic MaintenanceInspections......6-23
Part D - Recommended Fluids and
Lubricants...............................................6-25
Part E - Maintenance Record........................6-26
Selecting the Right Schedule.......................... 6-4
Short Trip/City Scheduled Maintenance............. 6-6
Steering, Suspension and Front Drive Axle
Boot and Seal Inspection..........................6-23
Throttle System Inspection............................6-24
Using Your................................................... 6-4
Your Vehicle and the Environment................... 6-2
Maintenance When Trailer Towing.....................4-38
Making Turns.................................................4-36
Malfunction Indicator Light................................3-37
Manual Operation...........................................3-23
9