start stop button BUICK PARK AVENUE 2003 Owner's Manual
[x] Cancel search | Manufacturer: BUICK, Model Year: 2003, Model line: PARK AVENUE, Model: BUICK PARK AVENUE 2003Pages: 372, PDF Size: 2.8 MB
Page 82 of 372
Remember, the theft-deterrent system won't activate if
you lock the doors with a key or use the manual
door lock. It activates only if you use a power door lock
switch with the door open, or with the remote keyless
entry transmitter. You should also remember that
you can start your vehicle with the correct ignition key if
the alarm has been set off.
Here's how to avoid setting off the alarm by accident:
·If you don't want to activate the theft-deterrent
system, the vehicle should be locked with the door
key
afterthe doors are closed.
·Always unlock a door with a key, or use the remote
keyless entry transmitter. Unlocking a door any
other way will set off the alarm.
If you set off the alarm by accident, unlock any door
with your key. You can also turn off the alarm by
pressing the unlock button on the remote keyless entry
transmitter. The alarm won't stop if you try to unlock
a door any other way.
Testing the Alarm
The alarm can be tested by following these steps:
1. From inside the vehicle, roll down the driver's
window and open the driver's door.
2. Activate the system by locking the doors using the
power door lock switch while the door is open, or
using the remote keyless entry transmitter.
3. Get out of the car, close the door and wait for the
SECURITY light to go out.
4. Then reach in through the window, unlock the door
with the manual door lock and open the door. This
should set off the alarm.
If the alarm does not sound when it should, but the
vehicle's lamps ¯ash, check to see if the horn works.
The horn fuse may be blown. To replace the fuse,
see
Fuses and Circuit Breakers on page 5-87.
If the alarm does not sound or the vehicle's lamps do
not ¯ash, the vehicle should be serviced by an
authorized service center.
2-18
Page 111 of 372
2. Adjust the driver's seat and lumbar position to a
safe and comfortable driving position. Adjust both
outside mirrors to suit you. See
Outside Power
Mirrors on page 2-36.
3. Press and hold the MEMORY button 1 or 2
corresponding with your DRIVER # displayed on the
DIC for longer than three seconds. You will hear
two beeps con®rming that the seat and mirror
positions have been entered into memory.
To set the seat and mirror positions for a second driver,
follow the previous steps, but start by pressing the
unlock button on the transmitter that displays the other
DRIVER # on the DIC. Be sure to use the MEMORY
button which corresponds to the DRIVER # identi®ed by
the second transmitter.
To recall your memory positions, your vehicle must
be in PARK (P). Push and release the MEMORY
button 1 or 2 corresponding to the desired driving
position. The seat and mirrors will move to the position
previously stored for the identi®ed driver. You will
hear one beep.
To store the exit position for an easy exit, use the
following procedure:
1. First identify the DRIVER # by pressing the
MEMORY button 1 or 2 or by pressing the unlock
button on the transmitter.
2. Adjust the driver's seat to the desired exit position.3. Press and hold the EXIT button for longer than
three seconds. You will hear two beeps con®rming
that the seat exit position has been entered into
memory.
To set the exit position for a second driver, follow the
previous steps, but start by pressing the unlock
button on the transmitter that displays the other
DRIVER # on the DIC. Be sure to use the MEMORY
button which corresponds to the DRIVER # identi®ed by
the other transmitter.
To recall the exit position, your vehicle must be in
PARK (P). Push and release the EXIT button and the
seat will move to the exit position previously stored
for the currently identi®ed driver. You will hear one beep.
If an exit position has not been stored for the currently
identi®ed driver, the seat will move all the way back.
To stop recall movement of the seat at any time, press
the driver's power seat control located on the outboard
side of the front seat.
Mirrors and lumbar positions will not be stored or
recalled for the exit position.
If you would like your stored driving or exit position to
be recalled when unlocking your vehicle with the
transmitter, see
DIC Vehicle Personalization on
page 3-46.
2-47
Page 126 of 372
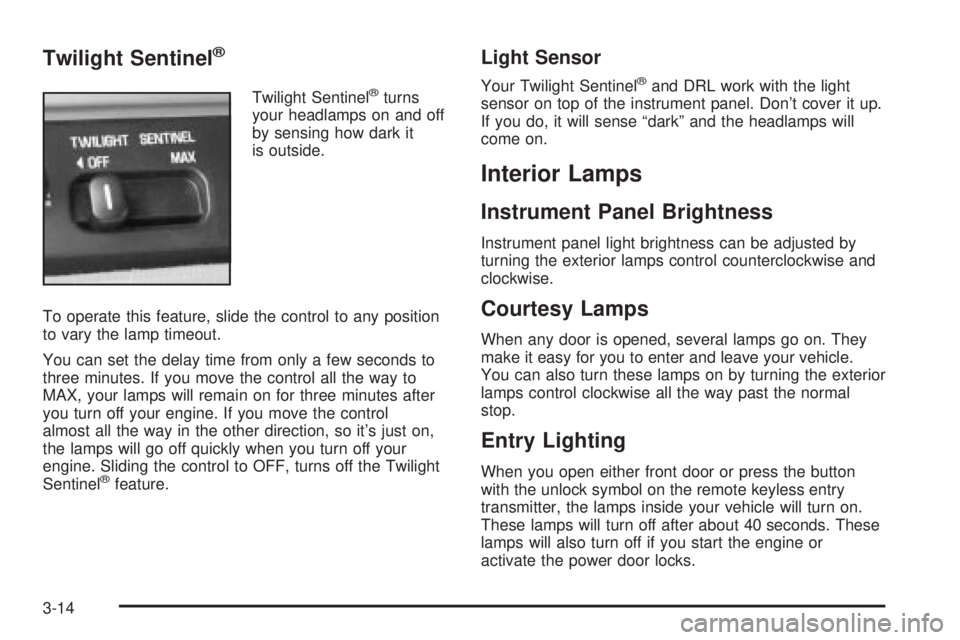
Twilight Sentinelž
Twilight Sentinelžturns
your headlamps on and off
by sensing how dark it
is outside.
To operate this feature, slide the control to any position
to vary the lamp timeout.
You can set the delay time from only a few seconds to
three minutes. If you move the control all the way to
MAX, your lamps will remain on for three minutes after
you turn off your engine. If you move the control
almost all the way in the other direction, so it's just on,
the lamps will go off quickly when you turn off your
engine. Sliding the control to OFF, turns off the Twilight
Sentinel
žfeature.
Light Sensor
Your Twilight Sentinelžand DRL work with the light
sensor on top of the instrument panel. Don't cover it up.
If you do, it will sense ªdarkº and the headlamps will
come on.
Interior Lamps
Instrument Panel Brightness
Instrument panel light brightness can be adjusted by
turning the exterior lamps control counterclockwise and
clockwise.
Courtesy Lamps
When any door is opened, several lamps go on. They
make it easy for you to enter and leave your vehicle.
You can also turn these lamps on by turning the exterior
lamps control clockwise all the way past the normal
stop.
Entry Lighting
When you open either front door or press the button
with the unlock symbol on the remote keyless entry
transmitter, the lamps inside your vehicle will turn on.
These lamps will turn off after about 40 seconds. These
lamps will also turn off if you start the engine or
activate the power door locks.
3-14
Page 148 of 372
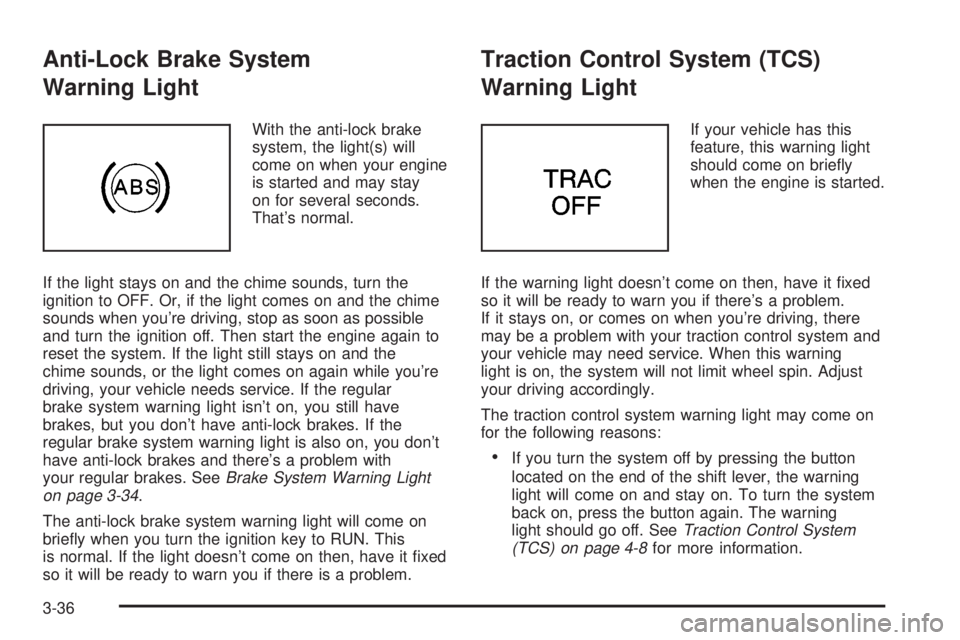
Anti-Lock Brake System
Warning Light
With the anti-lock brake
system, the light(s) will
come on when your engine
is started and may stay
on for several seconds.
That's normal.
If the light stays on and the chime sounds, turn the
ignition to OFF. Or, if the light comes on and the chime
sounds when you're driving, stop as soon as possible
and turn the ignition off. Then start the engine again to
reset the system. If the light still stays on and the
chime sounds, or the light comes on again while you're
driving, your vehicle needs service. If the regular
brake system warning light isn't on, you still have
brakes, but you don't have anti-lock brakes. If the
regular brake system warning light is also on, you don't
have anti-lock brakes and there's a problem with
your regular brakes. See
Brake System Warning Light
on page 3-34.
The anti-lock brake system warning light will come on
brie¯y when you turn the ignition key to RUN. This
is normal. If the light doesn't come on then, have it ®xed
so it will be ready to warn you if there is a problem.
Traction Control System (TCS)
Warning Light
If your vehicle has this
feature, this warning light
should come on brie¯y
when the engine is started.
If the warning light doesn't come on then, have it ®xed
so it will be ready to warn you if there's a problem.
If it stays on, or comes on when you're driving, there
may be a problem with your traction control system and
your vehicle may need service. When this warning
light is on, the system will not limit wheel spin. Adjust
your driving accordingly.
The traction control system warning light may come on
for the following reasons:
·If you turn the system off by pressing the button
located on the end of the shift lever, the warning
light will come on and stay on. To turn the system
back on, press the button again. The warning
light should go off. See
Traction Control System
(TCS) on page 4-8for more information.
3-36
Page 156 of 372

ODO/TRIP (Odometer/Trip)
When this button is pressed, the display will show the
total mileage, and TRIP 1 or TRIP 2 miles. TRIP 1
and TRIP 2 will display the miles traveled since the last
reset. To reset the trip odometer, press the ODO/TRIP
button until the trip miles are shown in the DIC
display, then press the RESET button. The trip odometer
will now accumulate miles until the next reset.
FUEL INFO (Information)
Fuel Used:Press the FUEL INFO button until the
display shows FUEL USED. This display will show you
how much fuel has been used since the last reset.
To learn how much fuel is used from a new starting
point, press the RESET button while the fuel used
is displayed in the DIC.
Fuel Range:Press the FUEL INFO button until the
display shows FUEL RANGE. The fuel range will
calculate the remaining distance you can drive without
refueling. This calculation is based on the average
fuel economy for the last 25 miles (40.25 km) driven,
and the fuel remaining in the fuel tank. The RESET
button does not function in this mode.
Instantaneous Fuel Economy:Press the FUEL INFO
button until the display shows FUEL ECONOMY
INST. Instantaneous fuel economy varies with yourdriving conditions, such as acceleration, braking and the
grade of the road being traveled. The RESET button
does not function in this mode.
Average Fuel Economy:Press the FUEL INFO button
until the display shows FUEL ECONOMY AVERAGE.
Average fuel economy is viewed as a long term
approximation of your overall driving conditions. To
learn the average fuel economy from a new starting
point, press the RESET button while the average fuel
economy is displayed in the DIC.GAGE INFO (Information)
Coolant Temperature:Press the GAGE INFO button
until COOLANT TEMP appears in the display. If there are
no problems detected with the temperature, COOLANT
TEMP NORMAL will appear in the display. If the
temperature is too high, COOLANT TEMP HOT will
appear in the display. If you see the COOLANT TEMP
HOT message, your engine is overheated. You should
pull off the road, stop your vehicle and turn off your
engine as soon as possible. This manual explains what to
do. See
Engine Overheating on page 5-27.
Tire Pressure:Press the GAGE INFO button until
TIRE PRESSURE appears in the display. TIRE
PRESSURE NORMAL is displayed when the Check
Tire Pressure System believes your vehicle's tire
pressures are normal. If a potential tire pressure
problem is detected, the display will show TIRE
PRESSURE LOW.
3-44
Page 158 of 372
SERVICE STABILITY SYSTEM ± 54:If you ever see
the SERVICE STABILITY SYSTEM message, it
means there may be a problem with your stability
enhancement system. If you see this message, try to
reset the system (stop; turn off the engine; then start the
engine again). If the SERVICE STABILITY SYSTEM
message still comes on, it means there is a problem.
You should see your dealer for service. Reduce
your speed and drive accordingly.
STABILITY SYSTEM ACTIVE ± 55:You may see the
STABILITY SYSTEM ACTIVE message on the Driver
Information Center. It means that an advanced,
computer-controlled system has come on to help your
vehicle continue to go in the direction in which you're
steering. This stability enhancement system activates
when the computer senses that your vehicle is just
starting to spin, as it might if you hit a patch of ice or
other slippery spot on the road. When the system is on,
you may hear a noise or feel a vibration in the brake
pedal. This is normal.
When the STABILITY SYSTEM ACTIVE message is on,
you should continue to steer in the direction you want
to go. The system is designed to help you in bad
weather or other difficult driving situations by making the
most of whatever road conditions will permit. If the
STABILITY SYSTEM ACTIVE message comes on, you'll
know that something has caused your vehicle to start
to spin, so you should consider slowing down.Tire Pressure Status ± 140:If you see the TIRE
PRESSURE LOW message, you should stop as soon
as you can and check all your tires for damage. (If a tire
is ¯at, see
If a Tire Goes Flat on page 5-68.) Also
check the tire pressure in all four tires as soon as you
can. See
In¯ation -- Tire Pressure on page 5-59andCheck Tire Pressure System on page 5-60.
There are times when you will have to reset (calibrate)
the Check Tire Pressure System. See
Check Tire
Pressure System on page 5-60.
DIC Vehicle Personalization
The DIC is used to program personal choices for up to
two drivers. The drivers are recognized as DRIVER #1
and DRIVER #2. The DIC will identify a person as
UNKNOWN DRIVER if they are neither DRIVER #1 nor
DRIVER #2. You will let the DIC know which driver
you are by using your remote keyless entry transmitter
or by pressing one of the MEMORY buttons located
on the driver's door. Each remote keyless entry
transmitter was pre-programmed to belong to
DRIVER #1 or DRIVER #2. Each transmitter may be
programmed differently for each driver.
3-46
Page 173 of 372
Do not play 3 inch discs without a standard
adapter disc.
If an error appears on the display, see ªCompact Disc
Messagesº later in this section.
1 PREV (Previous):Press this pushbutton to go to the
start of the current track, if more than eight seconds
have played. If you hold this pushbutton or press it more
than once, the player will continue moving back
through the disc.
2 NEXT:Press this pushbutton to go to the next track.
If you hold this pushbutton or press it more than
once, the player will continue moving forward through
the disc.
3
r(Reverse):Press and hold this pushbutton to
quickly reverse within a track. You will hear sound at a
reduced level. Release it to play the passage.
4
[(Forward):Press and hold this pushbutton to
quickly advance within a track. You will hear sound at a
reduced level. Release it to play the passage.6 RAND (Random):Press this pushbutton to hear the
tracks in random, rather than sequential, order.
Press it again to turn off random play.
RECALL:Press this button to see which track is
playing. Press it again within ®ve seconds to see how
long it has been playing. To change what is normally
shown on the display (track or elapsed time), press this
button until you see the display you want, then hold
this button until the display ¯ashes.
AM-FM:Press this button to listen to the radio when a
CD is playing.
SOURCE:Press this button to play a cassette tape or
a CD when listening to the radio. TAPE SIDE and
an arrow will appear on the display. If this button is
pressed again, the system will go to disc play; CD PLAY
will appear on the display.wSEEKx:Press the up or the down arrow to go to
the previous or to the next track on the CD.
EJECT:Press this button, located next to the CD slot,
to stop a CD when it is playing and to remove a CD
when it is not playing. Eject may be activated with the
radio off.
3-61