lock BUICK PARK AVENUE 2005 Repair Manual
[x] Cancel search | Manufacturer: BUICK, Model Year: 2005, Model line: PARK AVENUE, Model: BUICK PARK AVENUE 2005Pages: 388, PDF Size: 2.55 MB
Page 197 of 388
Braking in Emergencies
With anti-lock, you can steer and brake at the same
time. In many emergencies, steering can help you more
than even the very best braking.
Traction Control System (TCS)
Your vehicle may have a traction control system that
limits wheel spin. This is especially useful in slippery
road conditions. The system operates only if it senses
that one or both of the front wheels are spinning or
beginning to lose traction. When this happens,
the system works the front brakes and reduces engine
power to limit wheel spin.
You may feel or hear the system working, but this
is normal.
If your vehicle is in cruise control when the traction
control system begins to limit wheel spin, the cruise
control will automatically disengage. When road
conditions allow you to safely use it again, you may
reengage the cruise control. SeeCruise Control
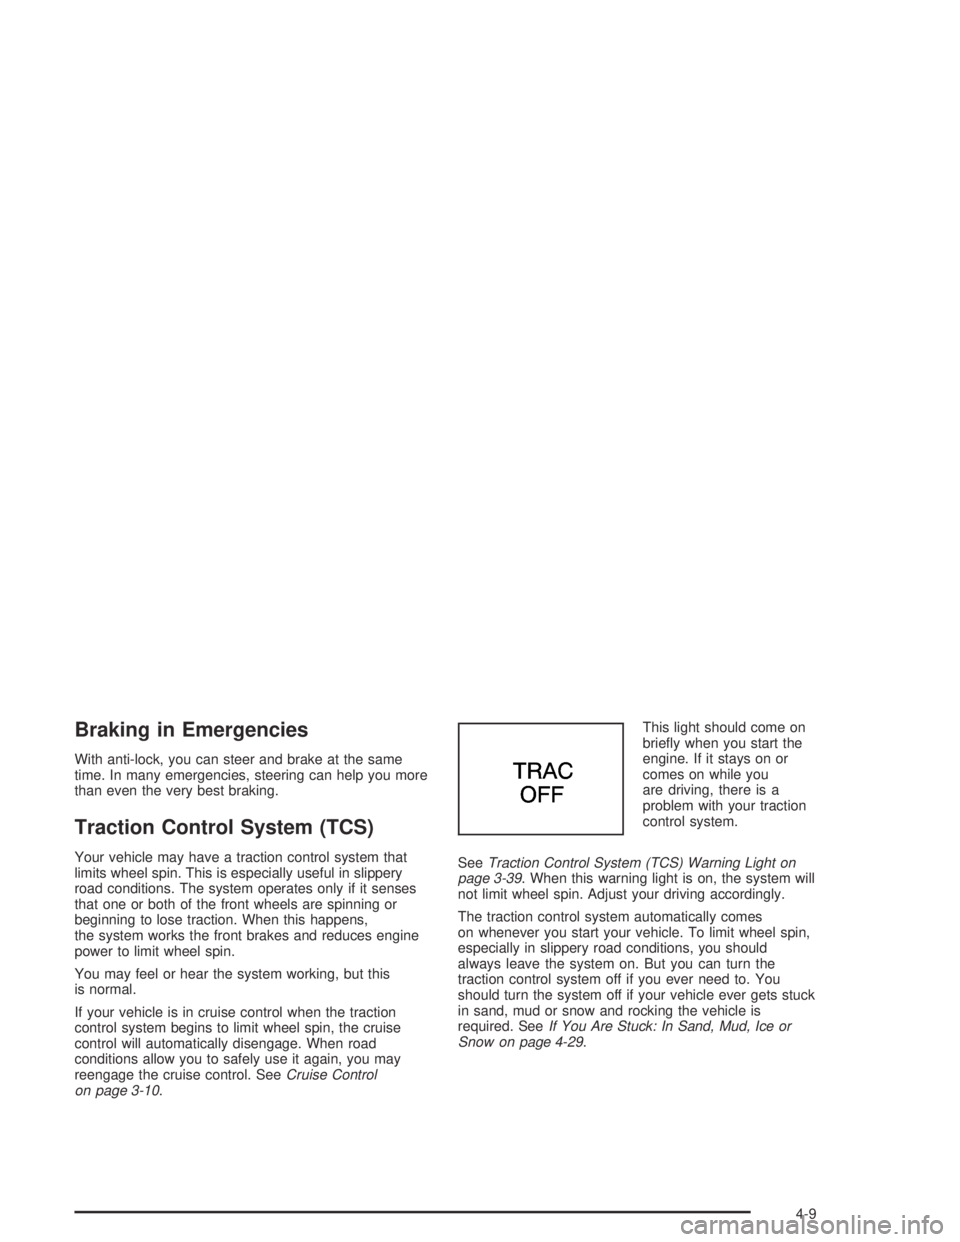
on page 3-10.This light should come on
brie�y when you start the
engine. If it stays on or
comes on while you
are driving, there is a
problem with your traction
control system.
SeeTraction Control System (TCS) Warning Light on
page 3-39. When this warning light is on, the system will
not limit wheel spin. Adjust your driving accordingly.
The traction control system automatically comes
on whenever you start your vehicle. To limit wheel spin,
especially in slippery road conditions, you should
always leave the system on. But you can turn the
traction control system off if you ever need to. You
should turn the system off if your vehicle ever gets stuck
in sand, mud or snow and rocking the vehicle is
required. SeeIf You Are Stuck: In Sand, Mud, Ice or
Snow on page 4-29.
4-9
Page 200 of 388
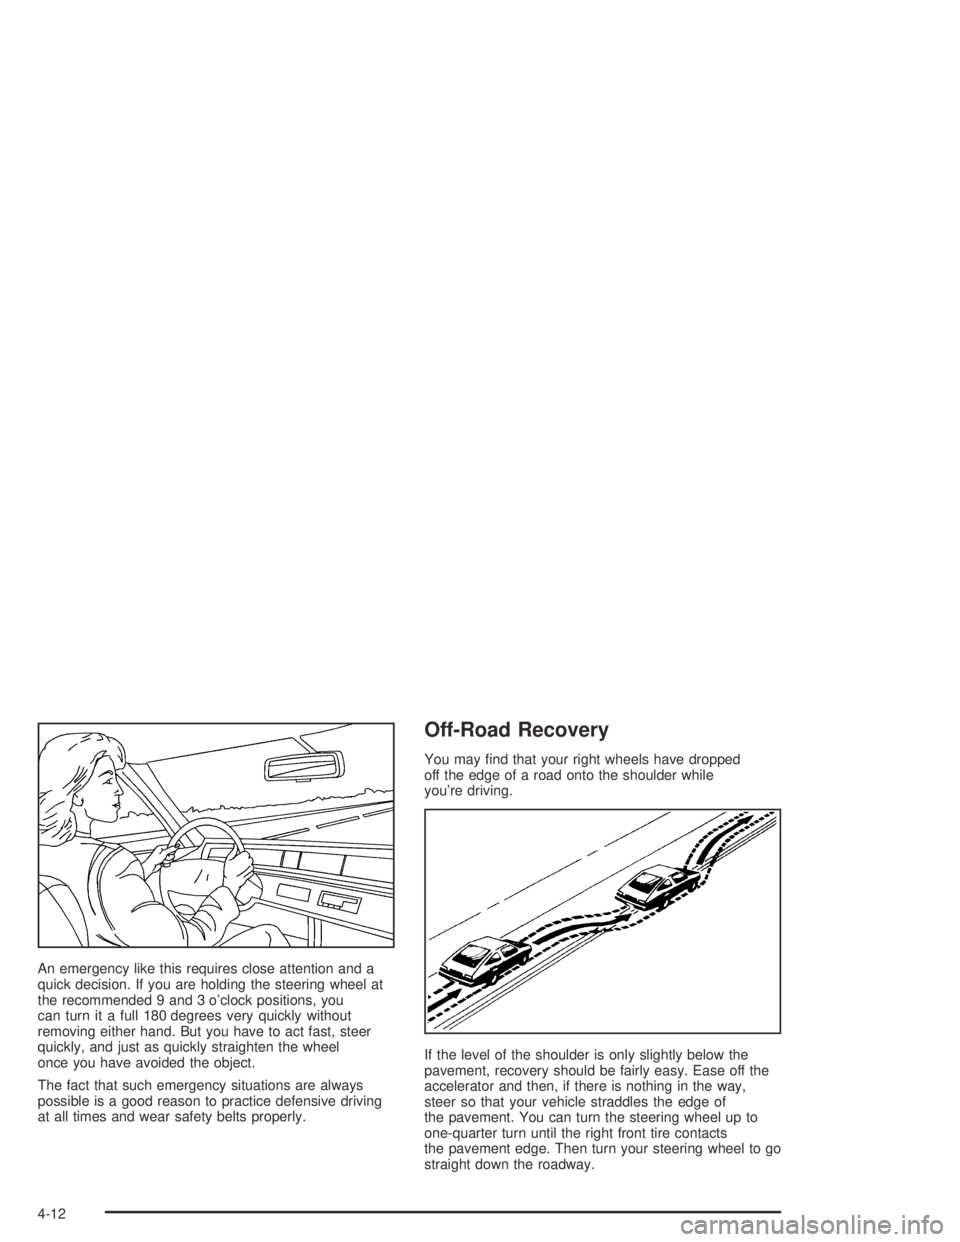
An emergency like this requires close attention and a
quick decision. If you are holding the steering wheel at
the recommended 9 and 3 o’clock positions, you
can turn it a full 180 degrees very quickly without
removing either hand. But you have to act fast, steer
quickly, and just as quickly straighten the wheel
once you have avoided the object.
The fact that such emergency situations are always
possible is a good reason to practice defensive driving
at all times and wear safety belts properly.
Off-Road Recovery
You may �nd that your right wheels have dropped
off the edge of a road onto the shoulder while
you’re driving.
If the level of the shoulder is only slightly below the
pavement, recovery should be fairly easy. Ease off the
accelerator and then, if there is nothing in the way,
steer so that your vehicle straddles the edge of
the pavement. You can turn the steering wheel up to
one-quarter turn until the right front tire contacts
the pavement edge. Then turn your steering wheel to go
straight down the roadway.
4-12
Page 203 of 388
A cornering skid is best handled by easing your foot off
the accelerator pedal.
If you have the traction control system, remember: It
helps avoid only the acceleration skid. If you do not have
traction control, or if the system is off, then an
acceleration skid is also best handled by easing your
foot off the accelerator pedal.
If your vehicle starts to slide, ease your foot off the
accelerator pedal and quickly steer the way you want
the vehicle to go. If you start steering quickly enough,
your vehicle may straighten out. Always be ready
for a second skid if it occurs.
If you have Stabilitrak
®, you may see the STABILITY
SYSTEM ACTIVE message on the Driver Information
Center. See “Stability System Active Message”
underDIC Warnings and Messages on page 3-49.Of course, traction is reduced when water, snow, ice,
gravel, or other material is on the road. For safety, you
will want to slow down and adjust your driving to
these conditions. It is important to slow down on slippery
surfaces because stopping distance will be longer and
vehicle control more limited.
While driving on a surface with reduced traction, try
your best to avoid sudden steering, acceleration,
or braking, including engine braking by shifting to a
lower gear. Any sudden changes could cause the tires
to slide. You may not realize the surface is slippery
until your vehicle is skidding. Learn to recognize warning
clues — such as enough water, ice, or packed snow
on the road to make a mirrored surface — and
slow down when you have any doubt.
Remember: Any anti-lock brake system (ABS) helps
avoid only the braking skid.
4-15
Page 215 of 388
Your anti-lock brakes improve your vehicle’s stability
when you make a hard stop on a slippery road.
Even though you have the anti-lock braking system, you
will want to begin stopping sooner than you would on
dry pavement. SeeAnti-Lock Brake System (ABS)
on page 4-7.
Allow greater following distance on any
slippery road.
Watch for slippery spots. The road might be �ne
until you hit a spot that is covered with ice. On
an otherwise clear road, ice patches may appear in
shaded areas where the sun cannot reach:
around clumps of trees, behind buildings, or under
bridges. Sometimes the surface of a curve or
an overpass may remain icy when the surrounding
roads are clear. If you see a patch of ice ahead
of you, brake before you are on it. Try not to brake
while you are actually on the ice, and avoid
sudden steering maneuvers.
If You Are Caught in a Blizzard
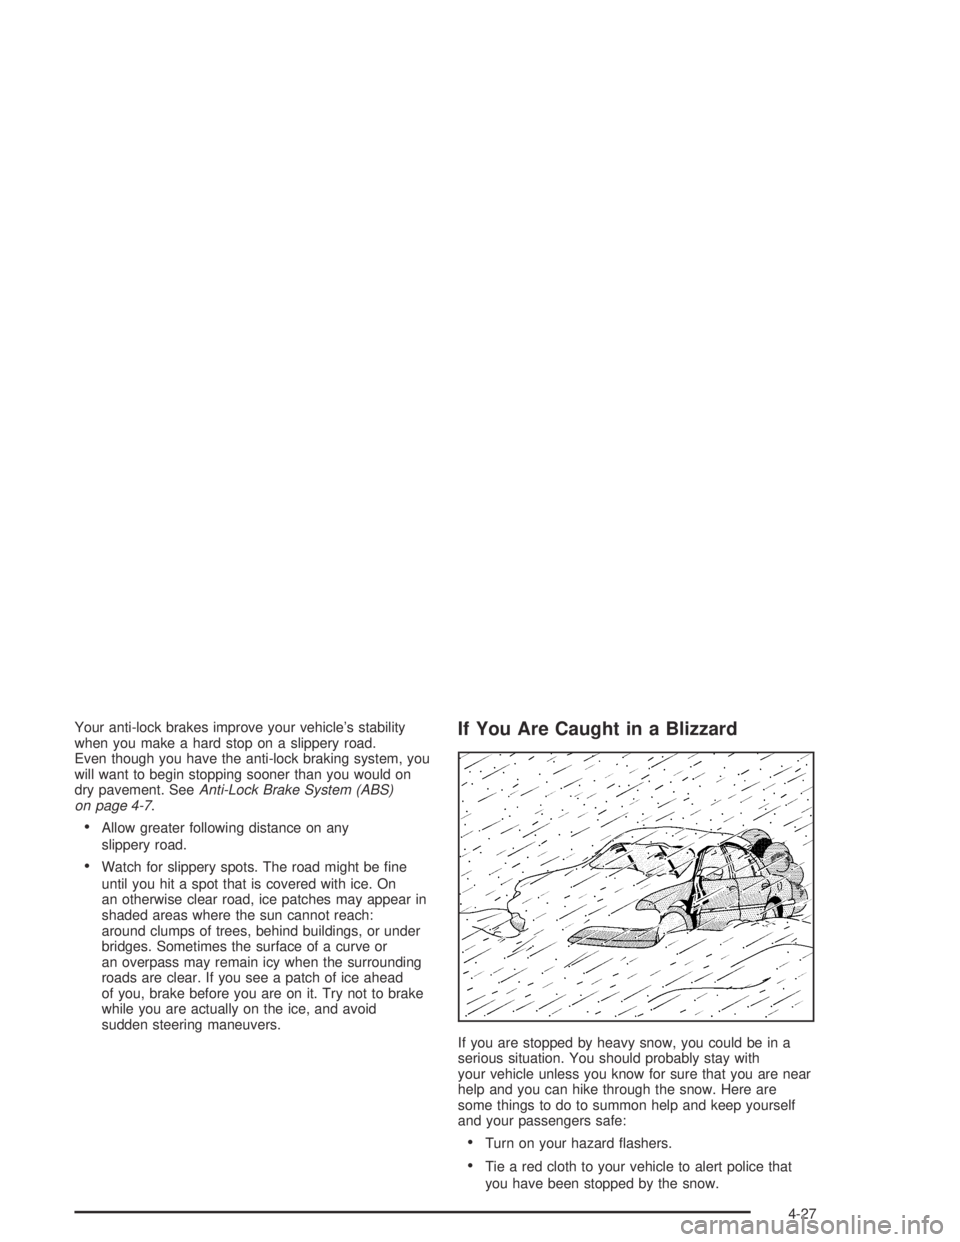
If you are stopped by heavy snow, you could be in a
serious situation. You should probably stay with
your vehicle unless you know for sure that you are near
help and you can hike through the snow. Here are
some things to do to summon help and keep yourself
and your passengers safe:
Turn on your hazard �ashers.
Tie a red cloth to your vehicle to alert police that
you have been stopped by the snow.
4-27
Page 216 of 388
Put on extra clothing or wrap a blanket around you.
If you have no blankets or extra clothing, make
body insulators from newspapers, burlap bags, rags,
�oor mats — anything you can wrap around
yourself or tuck under your clothing to keep warm.
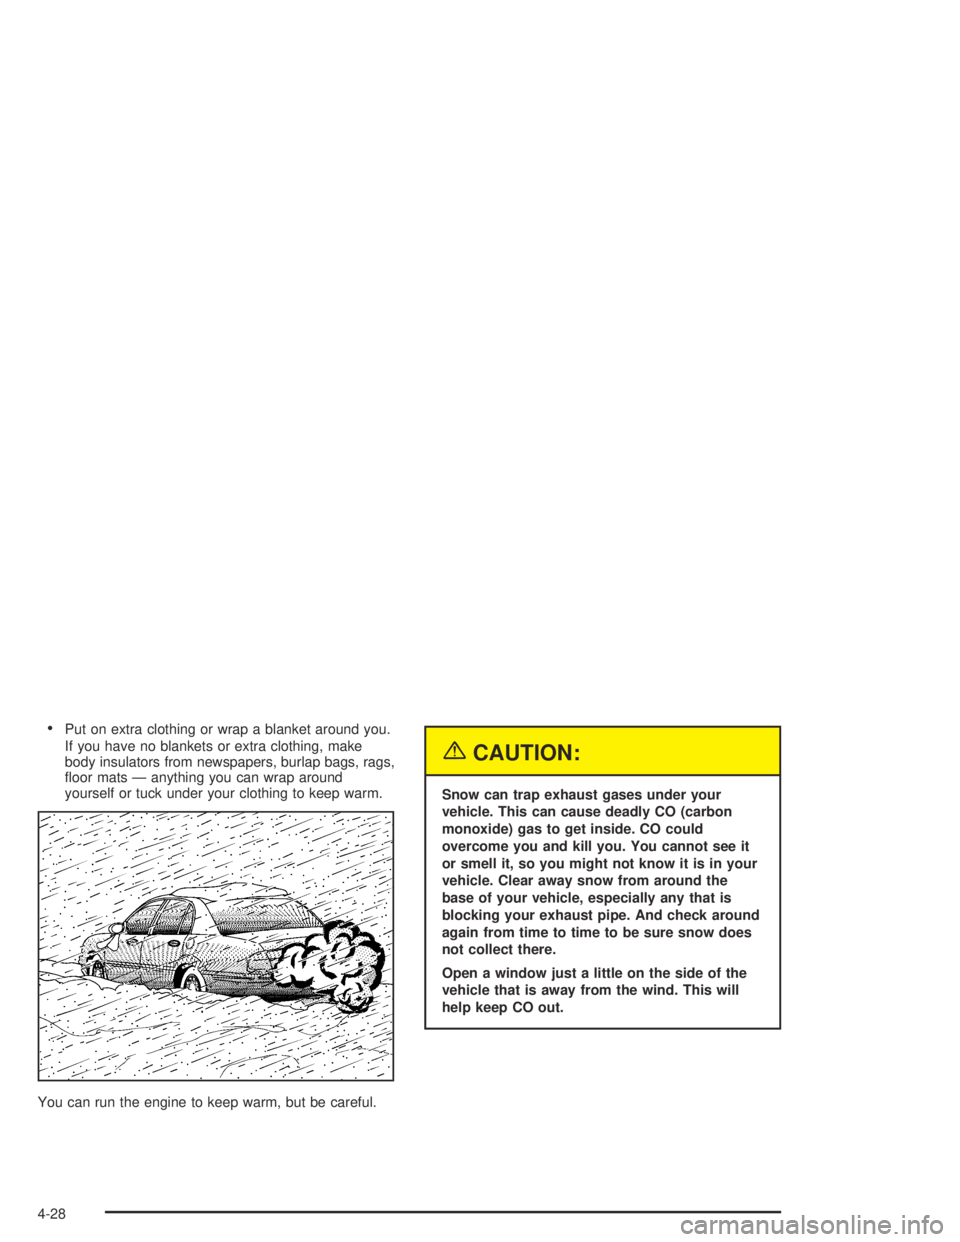
You can run the engine to keep warm, but be careful.
{CAUTION:
Snow can trap exhaust gases under your
vehicle. This can cause deadly CO (carbon
monoxide) gas to get inside. CO could
overcome you and kill you. You cannot see it
or smell it, so you might not know it is in your
vehicle. Clear away snow from around the
base of your vehicle, especially any that is
blocking your exhaust pipe. And check around
again from time to time to be sure snow does
not collect there.
Open a window just a little on the side of the
vehicle that is away from the wind. This will
help keep CO out.
4-28
Page 219 of 388
Tire and Loading Information Label
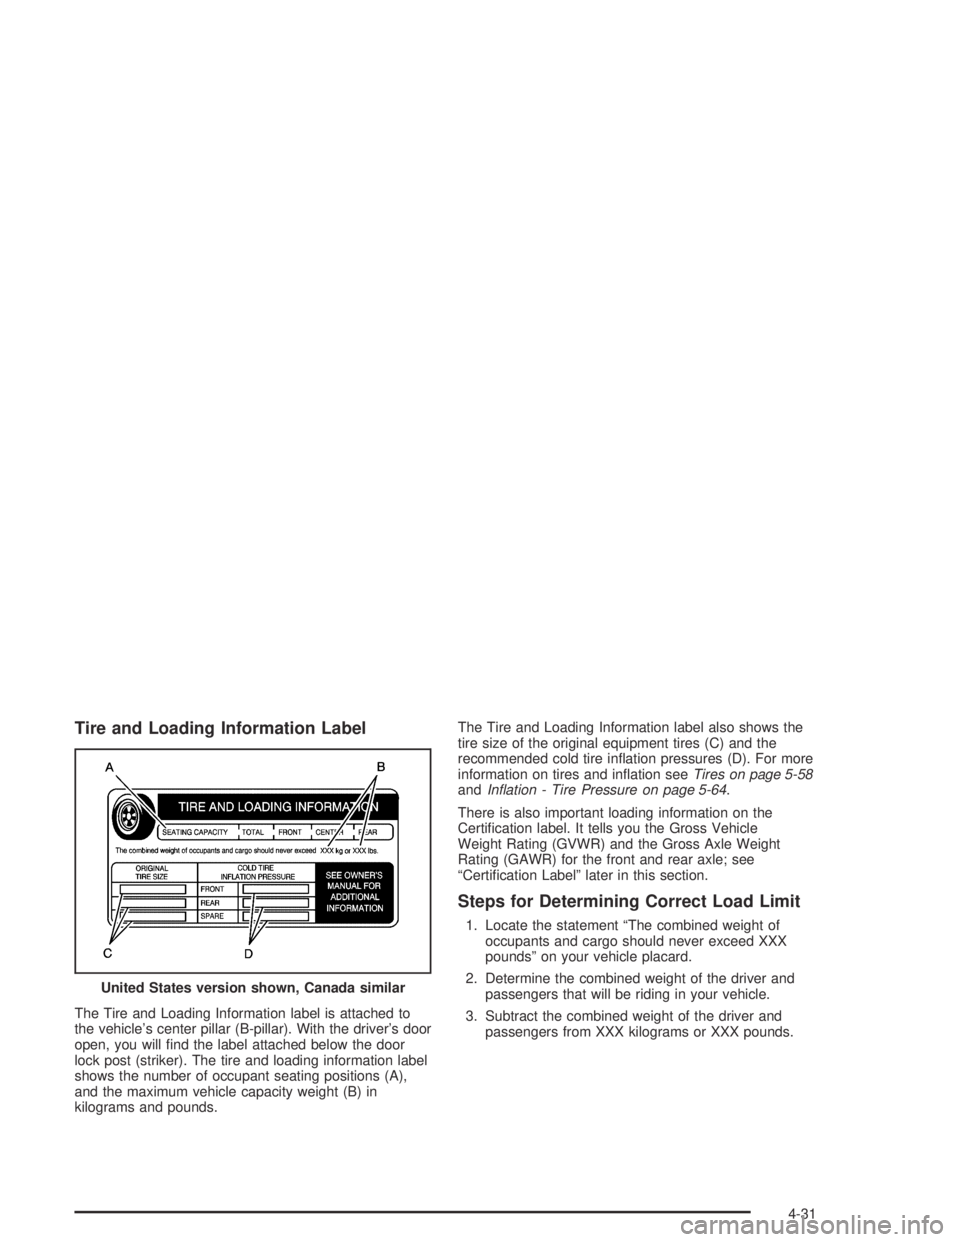
The Tire and Loading Information label is attached to
the vehicle’s center pillar (B-pillar). With the driver’s door
open, you will �nd the label attached below the door
lock post (striker). The tire and loading information label
shows the number of occupant seating positions (A),
and the maximum vehicle capacity weight (B) in
kilograms and pounds.The Tire and Loading Information label also shows the
tire size of the original equipment tires (C) and the
recommended cold tire in�ation pressures (D). For more
information on tires and in�ation seeTires on page 5-58
andIn�ation - Tire Pressure on page 5-64.
There is also important loading information on the
Certi�cation label. It tells you the Gross Vehicle
Weight Rating (GVWR) and the Gross Axle Weight
Rating (GAWR) for the front and rear axle; see
“Certi�cation Label” later in this section.
Steps for Determining Correct Load Limit
1. Locate the statement “The combined weight of
occupants and cargo should never exceed XXX
pounds” on your vehicle placard.
2. Determine the combined weight of the driver and
passengers that will be riding in your vehicle.
3. Subtract the combined weight of the driver and
passengers from XXX kilograms or XXX pounds. United States version shown, Canada similar
4-31
Page 228 of 388
Safety Chains
You should always attach chains between your vehicle
and your trailer. Cross the safety chains under the
tongue of the trailer so that the tongue will not drop to
the road if it becomes separated from the hitch.
Instructions about safety chains may be provided by the
hitch manufacturer or by the trailer manufacturer.
Follow the manufacturer’s recommendation for attaching
safety chains and do not attach them to the bumper.
Always leave just enough slack so you can turn
with your rig. And, never allow safety chains to drag on
the ground.
Trailer Brakes
Be sure to read and follow the instructions for the trailer
brakes so you will be able to install, adjust and
maintain them properly.
Because you have anti-lock brakes, do not try to tap
into your vehicle’s brake system. If you do, both brake
systems will not work well, or at all.
Driving with a Trailer
Towing a trailer requires a certain amount of experience.
Before setting out for the open road, you will want to
get to know your rig. Acquaint yourself with the feel of
handling and braking with the added weight of the trailer.
And always keep in mind that the vehicle you are
driving is now a good deal longer and not nearly as
responsive as your vehicle is by itself.
Before you start, check all trailer hitch parts and
attachments, safety chains, electrical connector, lamps,
tires and mirror adjustment. If the trailer has electric
brakes, start your vehicle and trailer moving and then
apply the trailer brake controller by hand to be sure
the brakes are working. This lets you check your
electrical connection at the same time.
During your trip, check occasionally to be sure that the
load is secure, and that the lamps and any trailer
brakes are still working.
4-40
Page 234 of 388
Wheel Alignment and Tire Balance..................5-71
Wheel Replacement......................................5-71
Tire Chains..................................................5-72
If a Tire Goes Flat........................................5-73
Changing a Flat Tire.....................................5-74
Removing the Spare Tire and Tools................5-75
Removing the Flat Tire and Installing
the Spare Tire..........................................5-76
Storing a Flat or Spare Tire and Tools............5-80
Compact Spare Tire......................................5-82
Appearance Care............................................5-82
Fabric/Carpet...............................................5-83
Vinyl...........................................................5-85
Leather.......................................................5-85
Instrument Panel..........................................5-85
Interior Plastic Components............................5-85
Speaker Covers............................................5-86
Glass Surfaces.............................................5-86
Care of Safety Belts......................................5-86
Weatherstrips...............................................5-86
Washing Your Vehicle...................................5-87
Cleaning Exterior Lamps/Lenses.....................5-87
Finish Care..................................................5-87Windshield and Wiper Blades.........................5-88
Aluminum or Chrome-Plated Wheels................5-88
Tires...........................................................5-88
Sheet Metal Damage.....................................5-89
Finish Damage.............................................5-89
Underbody Maintenance................................5-89
Chemical Paint Spotting.................................5-89
Vehicle Care/Appearance Materials..................5-90
Vehicle Identi�cation......................................5-91
Vehicle Identi�cation Number (VIN).................5-91
Service Parts Identi�cation Label.....................5-91
Electrical System............................................5-91
Add-On Electrical Equipment..........................5-91
Fuses and Circuit Breakers............................5-92
Main Instrument Panel Fuse Block..................5-92
Auxiliary Instrument Panel
Fuse Block...............................................5-94
Underhood Fuse Block..................................5-95
Rear Compartment Fuse Block.......................5-97
Capacities and Speci�cations........................5-100
Normal Maintenance Replacement Parts.........5-101
Engine Drive Belt Routing............................5-102
Section 5 Service and Appearance Care
5-2
Page 240 of 388
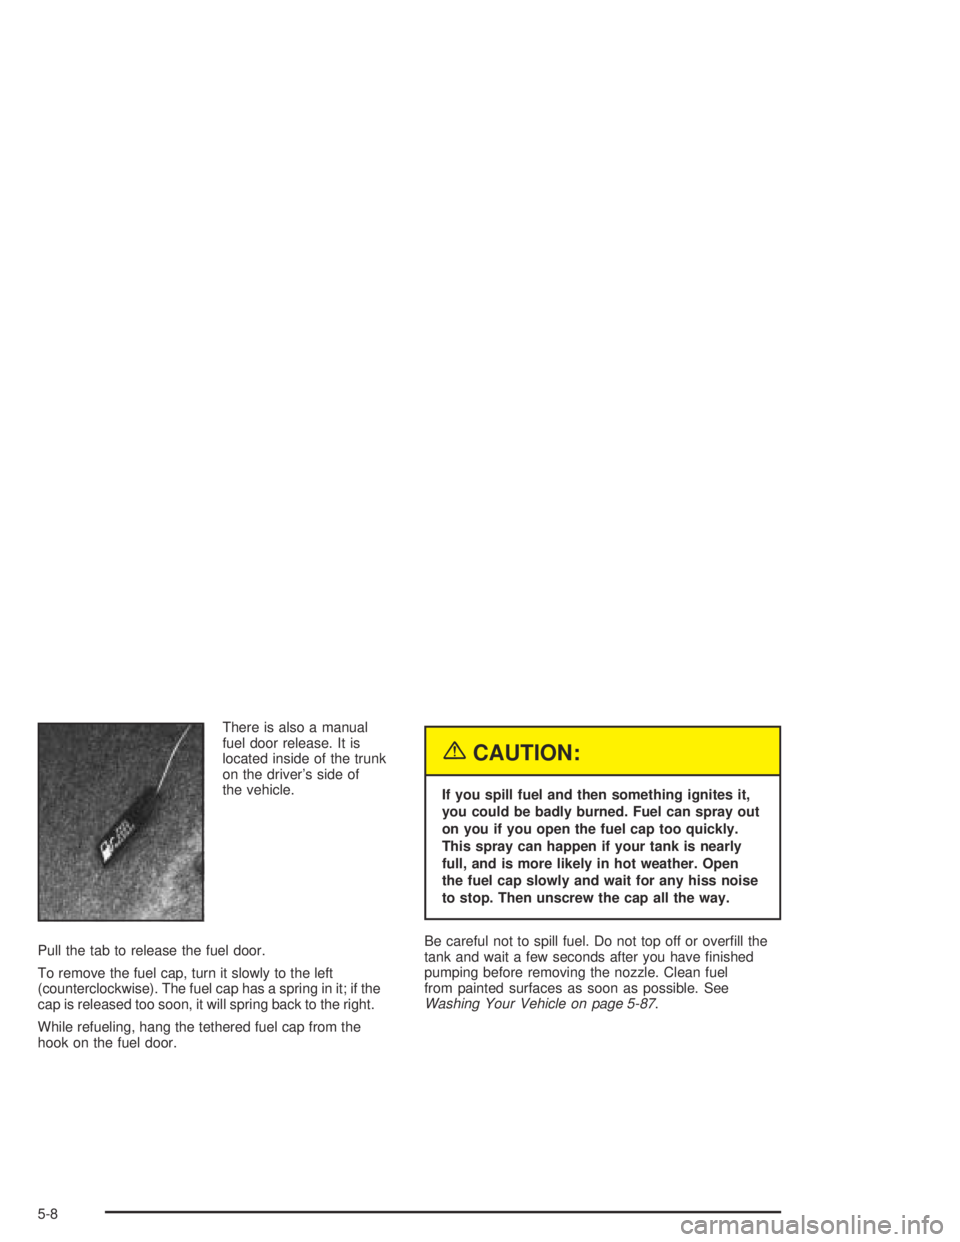
There is also a manual
fuel door release. It is
located inside of the trunk
on the driver’s side of
the vehicle.
Pull the tab to release the fuel door.
To remove the fuel cap, turn it slowly to the left
(counterclockwise). The fuel cap has a spring in it; if the
cap is released too soon, it will spring back to the right.
While refueling, hang the tethered fuel cap from the
hook on the fuel door.
{CAUTION:
If you spill fuel and then something ignites it,
you could be badly burned. Fuel can spray out
on you if you open the fuel cap too quickly.
This spray can happen if your tank is nearly
full, and is more likely in hot weather. Open
the fuel cap slowly and wait for any hiss noise
to stop. Then unscrew the cap all the way.
Be careful not to spill fuel. Do not top off or over�ll the
tank and wait a few seconds after you have �nished
pumping before removing the nozzle. Clean fuel
from painted surfaces as soon as possible. See
Washing Your Vehicle on page 5-87.
5-8
Page 241 of 388
When replacing the fuel cap, turn it to the right
(clockwise) until it clicks. Make sure the cap is fully
installed. The diagnostic system can determine if the fuel
cap has been left off or improperly installed. This
would allow fuel to evaporate into the atmosphere. See
Malfunction Indicator Lamp on page 3-40.
{CAUTION:
If a �re starts while you are refueling, do not
remove the nozzle. Shut off the �ow of fuel by
shutting off the pump or by notifying the
station attendant. Leave the area immediately.
Notice:If you need a new fuel cap, be sure to get
the right type. Your dealer can get one for you.
If you get the wrong type, it may not �t properly.
This may cause your malfunction indicator lamp to
light and may damage your fuel tank and emissions
system. SeeMalfunction Indicator Lamp on
page 3-40.
Filling a Portable Fuel Container
{CAUTION:
Never �ll a portable fuel container while it is in
your vehicle. Static electricity discharge from
the container can ignite the gasoline vapor.
You can be badly burned and your vehicle
damaged if this occurs. To help avoid injury to
you and others:
Dispense gasoline only into
approved containers.
Do not �ll a container while it is inside a
vehicle, in a vehicle’s trunk, pickup bed or
on any surface other than the ground.
Bring the �ll nozzle in contact with the
inside of the �ll opening before operating
the nozzle. Contact should be maintained
until the �lling is complete.
Do not smoke while pumping gasoline.
5-9