rear view mirror BUICK RANDEZVOUS 2004 Owner's Manual
[x] Cancel search | Manufacturer: BUICK, Model Year: 2004, Model line: RANDEZVOUS, Model: BUICK RANDEZVOUS 2004Pages: 486, PDF Size: 3.18 MB
Page 1 of 486

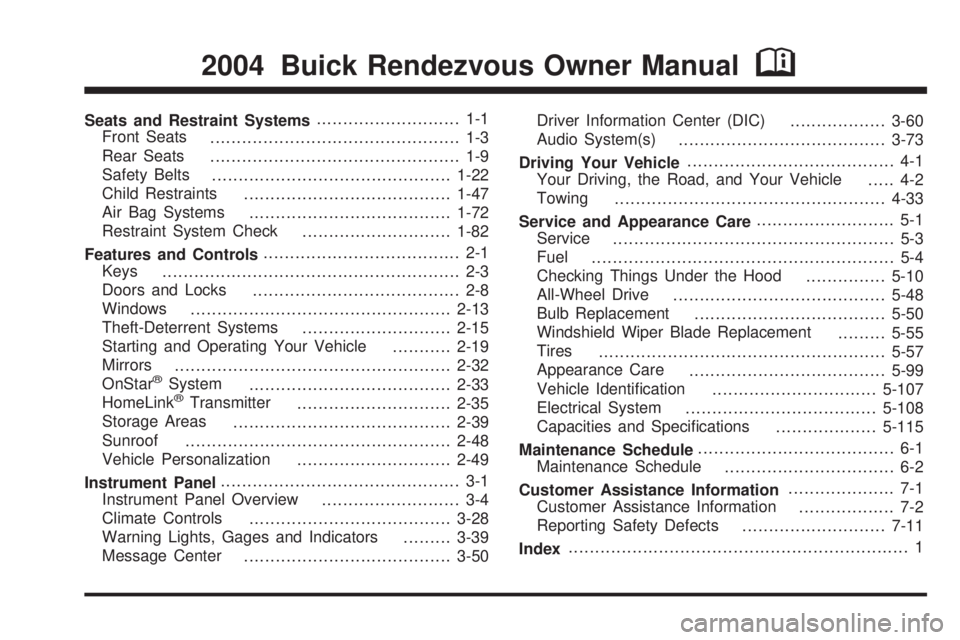
Seats and Restraint Systems........................... 1-1
Front Seats
............................................... 1-3
Rear Seats
............................................... 1-9
Safety Belts
.............................................1-22
Child Restraints
.......................................1-47
Air Bag Systems
......................................1-72
Restraint System Check
............................1-82
Features and Controls..................................... 2-1
Keys
........................................................ 2-3
Doors and Locks
....................................... 2-8
Windows
.................................................2-13
Theft-Deterrent Systems
............................2-15
Starting and Operating Your Vehicle
...........2-19
Mirrors
....................................................2-32
OnStar
®System
......................................2-33
HomeLink®Transmitter
.............................2-35
Storage Areas
.........................................2-39
Sunroof
..................................................2-48
Vehicle Personalization
.............................2-49
Instrument Panel............................................. 3-1
Instrument Panel Overview
.......................... 3-4
Climate Controls
......................................3-28
Warning Lights, Gages and Indicators
.........3-39
Message Center
.......................................3-50Driver Information Center (DIC)
..................3-60
Audio System(s)
.......................................3-73
Driving Your Vehicle....................................... 4-1
Your Driving, the Road, and Your Vehicle
..... 4-2
Towing
...................................................4-33
Service and Appearance Care.......................... 5-1
Service
..................................................... 5-3
Fuel
......................................................... 5-4
Checking Things Under the Hood
...............5-10
All-Wheel Drive
........................................5-48
Bulb Replacement
....................................5-50
Windshield Wiper Blade Replacement
.........5-55
Tires
......................................................5-57
Appearance Care
.....................................5-99
Vehicle Identi�cation
...............................5-107
Electrical System
....................................5-108
Capacities and Speci�cations
...................5-115
Maintenance Schedule..................................... 6-1
Maintenance Schedule
................................ 6-2
Customer Assistance Information.................... 7-1
Customer Assistance Information
.................. 7-2
Reporting Safety Defects
...........................7-11
Index................................................................ 1
2004 Buick Rendezvous Owner ManualM
Page 91 of 486

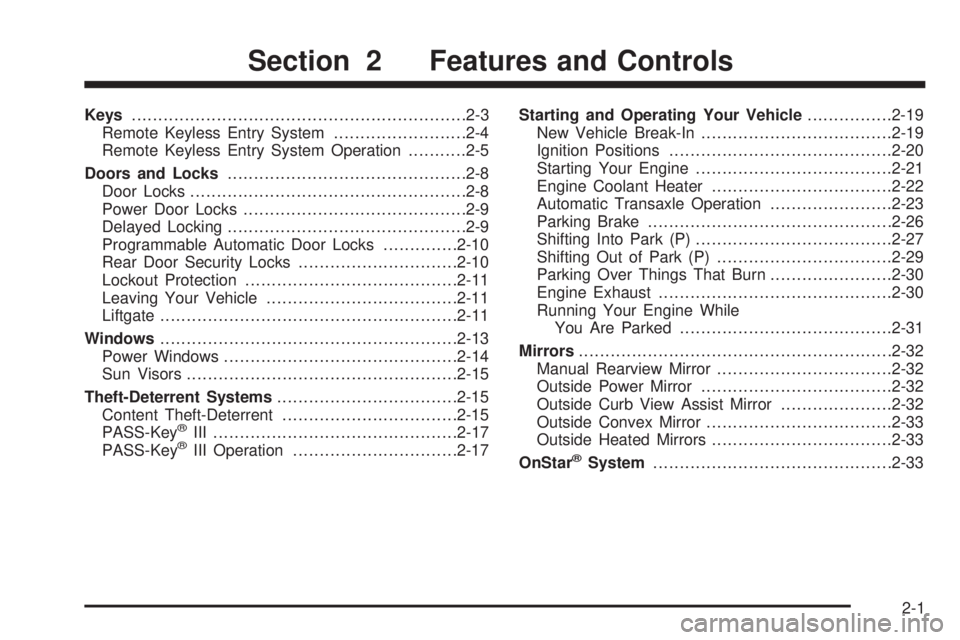
Keys...............................................................2-3
Remote Keyless Entry System.........................2-4
Remote Keyless Entry System Operation...........2-5
Doors and Locks.............................................2-8
Door Locks....................................................2-8
Power Door Locks..........................................2-9
Delayed Locking.............................................2-9
Programmable Automatic Door Locks..............2-10
Rear Door Security Locks..............................2-10
Lockout Protection........................................2-11
Leaving Your Vehicle....................................2-11
Liftgate........................................................2-11
Windows........................................................2-13
Power Windows............................................2-14
Sun Visors...................................................2-15
Theft-Deterrent Systems..................................2-15
Content Theft-Deterrent.................................2-15
PASS-Key
®III ..............................................2-17
PASS-Key®III Operation...............................2-17Starting and Operating Your Vehicle................2-19
New Vehicle Break-In....................................2-19
Ignition Positions..........................................2-20
Starting Your Engine.....................................2-21
Engine Coolant Heater..................................2-22
Automatic Transaxle Operation.......................2-23
Parking Brake..............................................2-26
Shifting Into Park (P).....................................2-27
Shifting Out of Park (P).................................2-29
Parking Over Things That Burn.......................2-30
Engine Exhaust............................................2-30
Running Your Engine While
You Are Parked........................................2-31
Mirrors...........................................................2-32
Manual Rearview Mirror.................................2-32
Outside Power Mirror....................................2-32
Outside Curb View Assist Mirror.....................2-32
Outside Convex Mirror...................................2-33
Outside Heated Mirrors..................................2-33
OnStar®System.............................................2-33
Section 2 Features and Controls
2-1
Page 122 of 486

Mirrors
Manual Rearview Mirror
To reduce glare from lights behind you, pull the lever
toward you to for the night position. To return the mirror
to the day position, push the lever away from you.
The mirror’s two outer buttons operate the lights on the
bottom sides of the mirror.
Outside Power Mirror
The power mirror controls
are located on the driver’s
door armrest.To choose either the left or right outside mirror, press
the selector switch. Press any of the four arrows located
on the control pad to move the mirrors in the desired
direction.
Adjust each mirror so you can see the side of your
vehicle and the area behind your vehicle.
Outside Curb View Assist Mirror
If your vehicle has this feature, the passenger’s outside
rearview mirror will tilt towards the curb when the
vehicle is shifted into REVERSE (R) and return to its
previous position when the vehicle is shifted out
of REVERSE (R). SeeDIC Vehicle Personalization on
page 3-64for information on how to turn this feature
on and off.
2-32
Page 123 of 486

Outside Convex Mirror
Your passenger’s side mirror is convex. A convex
mirror’s surface is curved so you can see more from
the driver’s seat.
{CAUTION:
A convex mirror can make things (like other
vehicles) look farther away than they really are.
If you cut too sharply into the right lane, you
could hit a vehicle on your right. Check your
inside mirror or glance over your shoulder
before changing lanes.
Outside Heated Mirrors
If your vehicle has this feature, the outside rearview
mirrors are heated when you activate the rear window
defogger. See “Rear Window Defogger” under
Climate Control System on page 3-28.
OnStar®System
OnStar®uses global positioning system (GPS) satellite
technology, wireless communications, and call centers
to provide you with a wide range of safety, security,
information and convenience services.
A complete OnStar
®user’s guide and the terms and
conditions of the OnStar®Subscription Service
Agreement are included in your vehicle’s glove box
literature. For more information, visit www.onstar.com,
contact OnStar
®at 1-888-4-ONSTAR (1-888-466-7827),
or press the blue OnStar®button to speak to an
OnStar®advisor 24 hours a day, 7 days a week.
A completed Subscription Service Agreement is required
prior to delivery of OnStar
®services and prepaid
calling minutes are also required for OnStar®Personal
Calling and OnStar®Virtual Advisor use. Terms and
conditions of the Subscription Service Agreement can be
found at www.onstar.com.
2-33
Page 139 of 486

Vehicle Personalization
Memory Seat
If your vehicle has this
feature, the controls are
located on the driver’s door
panel and are used to
store and recall the driver’s
seat position and outside
rearview mirror position.
To store a seat position, do the following:
1. Adjust the driver’s seat and the outside rearview
mirrors to the position you would like for driving.
2. Press and hold memory button 1 for more than
three seconds.
A double beep will sound when the memory seat and
mirror position have been stored.
To store the seat and outside rearview mirror positions for
a second driver, follow the previous steps, but press
button 2 instead.To recall your stored positions, your vehicle must be in
PARK (P). Push and release the memory button (1 or 2)
corresponding to the desired driving position. The seat
and the outside rearview mirrors will move to the position
previously stored for the identi�ed driver. You will hear
one beep.
To store an exit position for each driver, do the following:
1. Move the seat to the desired exit position.
2. Hold the button with the exit symbol, located below
the memory buttons, for more than three seconds.
The exit position stored will be for the most recently
selected driving position (1 or 2). A double beep
will sound when the exit position is stored.
To use the exit feature, your vehicle must be in
PARK (P). Push and release the button with the exit
symbol and the seat will move to the exit position stored
for the most recently selected driver. You will hear
one beep.
To stop recall movement of the seat at any time, press
one of the three memory buttons or one of the power seat
controls located on the outboard side of the driver’s seat.
If your vehicle is equipped with a Driver Information
Center (DIC), you can use it to program certain functions
of the memory seats. SeeDIC Vehicle Personalization
on page 3-64.
2-49
Page 160 of 486

Front Reading Lamps
There are two reading lamps located on the rearview
mirror.
To turn either reading lamp on or off, press the button
located next to each lamp. These lamps will come
on each time you open the doors, if the interior lamp
control is in the ON or DOOR position.
Rear Reading Lamps
There are two reading lamps with coat hooks above the
rear doors.
To turn on or off either reading lamp, press the lens of
the lamp.
Cargo Lamp
The cargo lamp is located in the rear of the vehicle,
above the liftgate opening. It comes on automatically
each time you open the doors, if the interior lamp control
is in the DOOR position.
There are two reading lamps located on the cargo lamp.
To turn either reading lamp on or off, press the button
located next to the lamp.
Battery Run-Down Protection
Your vehicle has a feature to help prevent you from
draining the battery, in case you accidentally leave the
interior or exterior lamps on. If the interior lamps are
left on while the ignition is in OFF, they will automatically
turn off after 10 minutes. If the exterior lamps are left
on while the ignition is in OFF with all doors and
the liftgate closed, they will automatically turn off after
10 minutes.
If your vehicle has less than 14 miles (24 km) on the
odometer, the battery saver will turn off the lamps after
only three minutes.
If the interior lamps are turned off as a result of the
battery saver feature, they may be turned back on by
turning the interior lamp control to OFF and then back to
ON. The battery saver will not turn the interior lamps
off automatically after doing this. They will have to
be turned off manually.
3-20
Page 178 of 486

Rear Window Defogger
The rear window defogger uses a warming grid to
remove fog from the rear window.
will come on to let you know that the rear window
defogger is activated.
The rear window defogger will turn off approximately
10 minutes after the button is pressed. If turned on
again, the defogger will only run for approximately �ve
minutes before turning off. The defogger can also
be turned off by pressing the button again or by turning
off the engine.
If your vehicle has heated outside rearview mirrors, the
mirrors will heat to help clear fog or frost from the
surface of the mirror when the rear window defog button
is pressed.
Notice:Don’t use anything sharp on the inside of
the rear window. If you do, you could cut or damage
the warming grid, and the repairs wouldn’t be
covered by your warranty. Do not attach a temporary
vehicle license, tape, a decal or anything similar
to the defogger grid.
Outlet Adjustment
Use the knob located in the center of the outlet,
to change the direction of the air �ow.
Operation Tips
Clear away any ice, snow or leaves from the air
inlets on the hood that may block the �ow of air
into your vehicle.
Use of non-GM approved hood de�ectors may
adversely affect the performance of the system.
Keep the path under the front seats clear of objects
to help circulate the air inside your vehicle more
effectively.
3-38
Page 212 of 486

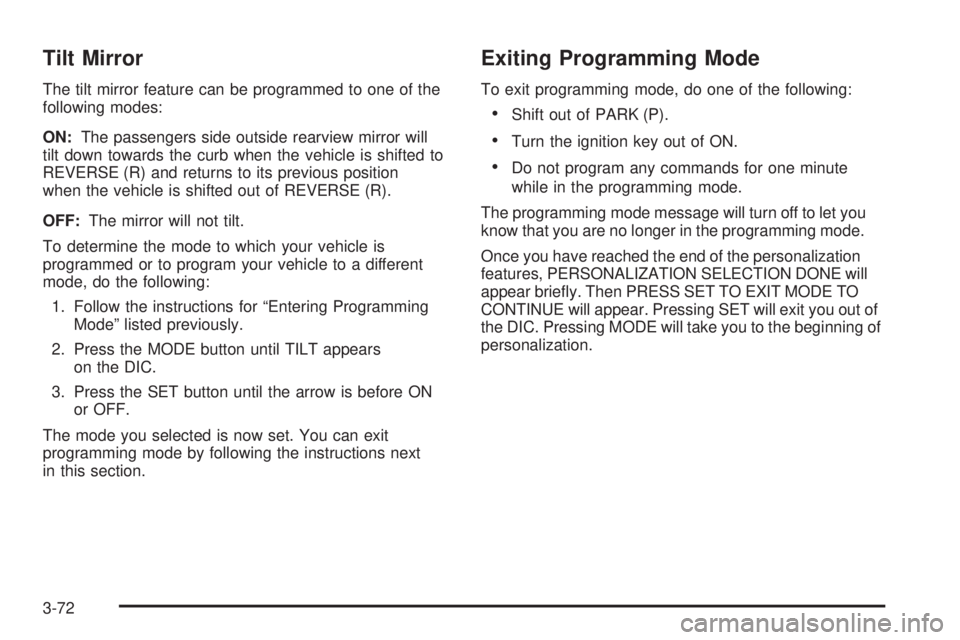
Tilt Mirror
The tilt mirror feature can be programmed to one of the
following modes:
ON:The passengers side outside rearview mirror will
tilt down towards the curb when the vehicle is shifted to
REVERSE (R) and returns to its previous position
when the vehicle is shifted out of REVERSE (R).
OFF:The mirror will not tilt.
To determine the mode to which your vehicle is
programmed or to program your vehicle to a different
mode, do the following:
1. Follow the instructions for “Entering Programming
Mode” listed previously.
2. Press the MODE button until TILT appears
on the DIC.
3. Press the SET button until the arrow is before ON
or OFF.
The mode you selected is now set. You can exit
programming mode by following the instructions next
in this section.
Exiting Programming Mode
To exit programming mode, do one of the following:
Shift out of PARK (P).
Turn the ignition key out of ON.
Do not program any commands for one minute
while in the programming mode.
The programming mode message will turn off to let you
know that you are no longer in the programming mode.
Once you have reached the end of the personalization
features, PERSONALIZATION SELECTION DONE will
appear brie�y. Then PRESS SET TO EXIT MODE TO
CONTINUE will appear. Pressing SET will exit you out of
the DIC. Pressing MODE will take you to the beginning of
personalization.
3-72
Page 291 of 486

Here are some tips on night driving.
Drive defensively.
Do not drink and drive.
Adjust your inside rearview mirror to reduce the
glare from headlamps behind you.
Since you can not see as well, you may need to
slow down and keep more space between you
and other vehicles.
Slow down, especially on higher speed roads. Your
headlamps can light up only so much road ahead.
In remote areas, watch for animals.
If you are tired, pull off the road in a safe place
and rest.
No one can see as well at night as in the daytime.
But as we get older these differences increase.
A 50-year-old driver may require at least twice as much
light to see the same thing at night as a 20-year-old.
What you do in the daytime can also affect your
night vision. For example, if you spend the day in bright
sunshine you are wise to wear sunglasses. Your
eyes will have less trouble adjusting to night. But if you
are driving, do not wear sunglasses at night. They
may cut down on glare from headlamps, but they also
make a lot of things invisible.You can be temporarily blinded by approaching
headlamps. It can take a second or two, or even several
seconds, for your eyes to re-adjust to the dark. When
you are faced with severe glare (as from a driver
who does not lower the high beams, or a vehicle with
misaimed headlamps), slow down a little. Avoid
staring directly into the approaching headlamps.
Keep your windshield and all the glass on your vehicle
clean — inside and out. Glare at night is made much
worse by dirt on the glass. Even the inside of the glass
can build up a �lm caused by dust. Dirty glass makes
lights dazzle and �ash more than clean glass would,
making the pupils of your eyes contract repeatedly.
Remember that your headlamps light up far less of a
roadway when you are in a turn or curve. Keep
your eyes moving; that way, it is easier to pick out dimly
lighted objects. Just as your headlamps should be
checked regularly for proper aim, so should your eyes
be examined regularly. Some drivers suffer from
night blindness — the inability to see in dim light — and
are not even aware of it.
4-19
Page 478 of 486

Maintenance Schedule (cont.)
Maintenance Footnotes.................................. 6-7
Maintenance Record....................................6-14
Maintenance Requirements............................. 6-2
Normal Maintenance Replacement Parts.........6-13
Owner Checks and Services........................... 6-8
Recommended Fluids and Lubricants.............6-12
Scheduled Maintenance................................. 6-4
Using Your................................................... 6-2
Your Vehicle and the Environment................... 6-2
Maintenance When Trailer Towing.....................4-50
Making Turns.................................................4-48
Malfunction Indicator Light................................3-46
Manual Lumbar Controls.................................... 1-5
Manual Operation...........................................3-36
Manual Passenger Seat.................................... 1-3
Matching Transmitter(s) to Your Vehicle............... 2-6
Memory Seat.................................................2-49
Message
All-Wheel Drive Disable Warning....................3-55
Center.......................................................3-50
Change Engine Oil......................................3-53
Charging System Indicator............................3-52
Door Ajar Warning.......................................3-54
Engine Coolant Temperature Warning.............3-51
Highbeam Out Warning................................3-59Message (cont.)
Low Brake Fluid Warning..............................3-57
Low Fuel Warning.......................................3-56
Low Oil Pressure.........................................3-52
Low Tire .....................................................3-54
Low Washer Fluid Warning...........................3-56
Park Lamp Warning.....................................3-59
PASS-Key
®III Security.................................3-55
Program Mode............................................3-58
Rear Hatch Ajar Warning..............................3-54
Remote Keyless Entry Transmitter Battery
Low Warning...........................................3-58
Service Traction System Warning...................3-50
Service Vehicle Soon...................................3-57
Traction Active............................................3-51
Mexico, Central America and Caribbean Islands/
Countries (Except Puerto Rico and U.S. Virgin
Islands) – Customer Assistance........................ 7-5
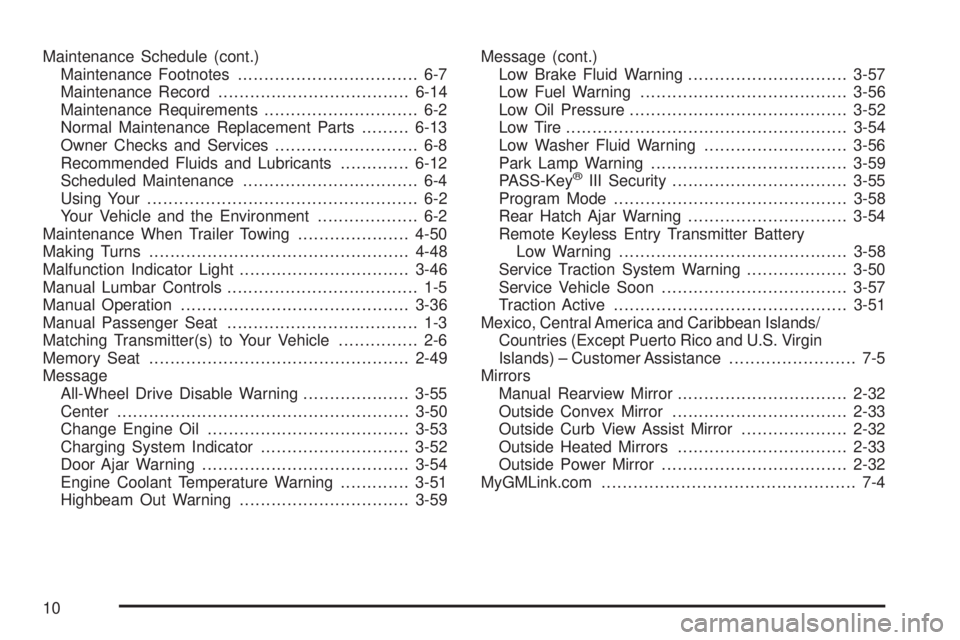
Mirrors
Manual Rearview Mirror................................2-32
Outside Convex Mirror.................................2-33
Outside Curb View Assist Mirror....................2-32
Outside Heated Mirrors................................2-33
Outside Power Mirror...................................2-32
MyGMLink.com................................................ 7-4
10