buttons BUICK RANDEZVOUS 2007 Owner's Guide
[x] Cancel search | Manufacturer: BUICK, Model Year: 2007, Model line: RANDEZVOUS, Model: BUICK RANDEZVOUS 2007Pages: 528, PDF Size: 2.99 MB
Page 284 of 528
n,q,p,o(Directional Control
Circle):Press these buttons to move through
menu choices, or to move forward or back
in a movie. These controls can be used to move
forward or backward through a CD.
r(Enter):Press this button to select choices
highlighted in any menu.
Playing a Disc
To play a disc, gently insert the disc, label side
up, into the loading slot. The DVD player will
continue loading the disc and the player will
automatically start if the vehicle is in
ACCESSORY, ON, START, or RAP.
If a disc is already in the player, make sure that
the DVD player is on, then press the play/pause
button on the player faceplate or on the remote
control.
Some DVDs will not allow fast forwarding or
skipping of the copyright information or the
previews. Some DVDs will begin playing after the
previews have �nished. If the DVD does not
begin playing at the main title, refer to the
on-screen instructions.
Stopping and Resuming Playback
To stop playing a disc, press and release the stop
button on the DVD player faceplate or the
remote control.
To resume playback, press the play/pause button
on the DVD player faceplate or the remote
control. The movie should resume play from where
it was last stopped if the disc has not been
ejected and the stop button has not been pressed
twice on the remote control or the DVD player
faceplate.
If the disc has been ejected or if the stop button
has been pressed twice on the remote control
or the DVD player faceplate, the disc will resume
play at the beginning of the disc.
Ejecting a Disc
Press the eject button on the DVD player faceplate
to eject the disc. There is not an eject button on
the remote control.
If a disc is ejected from the player, but not
removed, the DVD player will reload the disc after
a short period of time. The disc will be stored
in the DVD player. The DVD player will not resume
play of the disc automatically.
284
Page 285 of 528
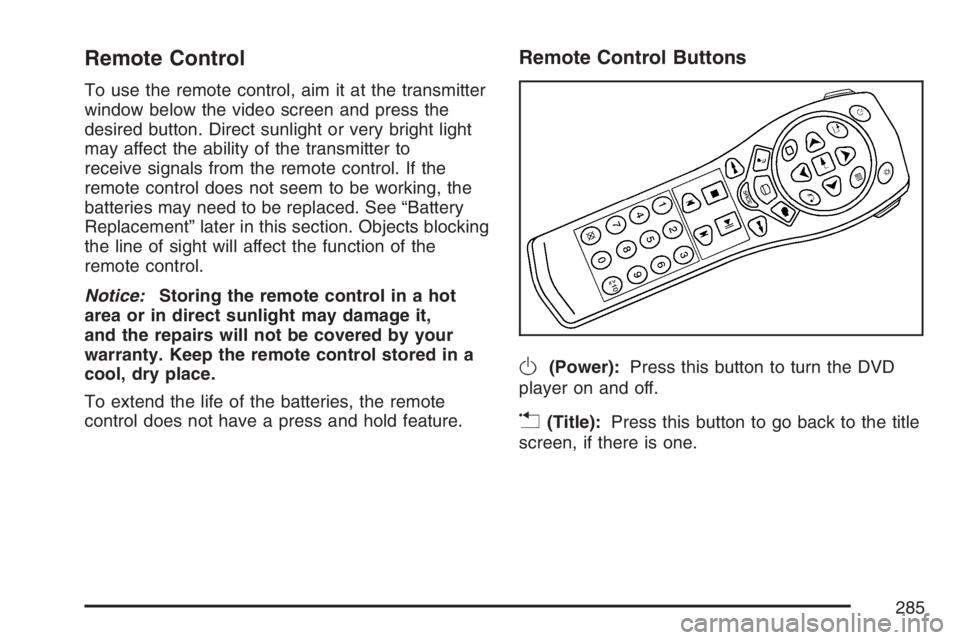
Remote Control
To use the remote control, aim it at the transmitter
window below the video screen and press the
desired button. Direct sunlight or very bright light
may affect the ability of the transmitter to
receive signals from the remote control. If the
remote control does not seem to be working, the
batteries may need to be replaced. See “Battery
Replacement” later in this section. Objects blocking
the line of sight will affect the function of the
remote control.
Notice:Storing the remote control in a hot
area or in direct sunlight may damage it,
and the repairs will not be covered by your
warranty. Keep the remote control stored in a
cool, dry place.
To extend the life of the batteries, the remote
control does not have a press and hold feature.
Remote Control Buttons
O(Power):Press this button to turn the DVD
player on and off.
v(Title):Press this button to go back to the title
screen, if there is one.
285
Page 286 of 528
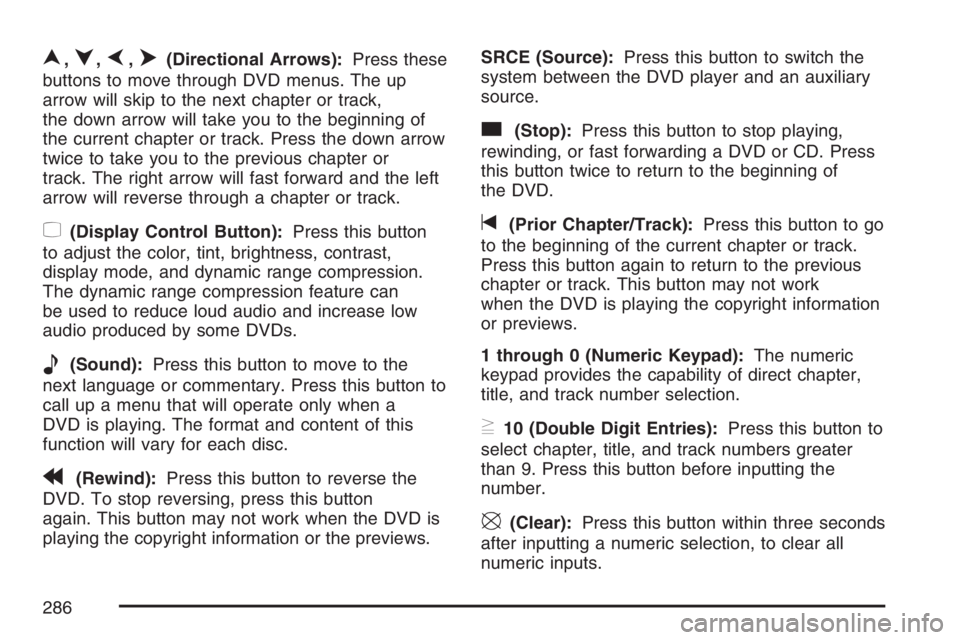
n,q,p,o(Directional Arrows):Press these
buttons to move through DVD menus. The up
arrow will skip to the next chapter or track,
the down arrow will take you to the beginning of
the current chapter or track. Press the down arrow
twice to take you to the previous chapter or
track. The right arrow will fast forward and the left
arrow will reverse through a chapter or track.
z(Display Control Button):Press this button
to adjust the color, tint, brightness, contrast,
display mode, and dynamic range compression.
The dynamic range compression feature can
be used to reduce loud audio and increase low
audio produced by some DVDs.
e(Sound):Press this button to move to the
next language or commentary. Press this button to
call up a menu that will operate only when a
DVD is playing. The format and content of this
function will vary for each disc.
r(Rewind):Press this button to reverse the
DVD. To stop reversing, press this button
again. This button may not work when the DVD is
playing the copyright information or the previews.SRCE (Source):Press this button to switch the
system between the DVD player and an auxiliary
source.
c(Stop):Press this button to stop playing,
rewinding, or fast forwarding a DVD or CD. Press
this button twice to return to the beginning of
the DVD.
t(Prior Chapter/Track):Press this button to go
to the beginning of the current chapter or track.
Press this button again to return to the previous
chapter or track. This button may not work
when the DVD is playing the copyright information
or previews.
1 through 0 (Numeric Keypad):The numeric
keypad provides the capability of direct chapter,
title, and track number selection.
}10 (Double Digit Entries):Press this button to
select chapter, title, and track numbers greater
than 9. Press this button before inputting the
number.
\(Clear):Press this button within three seconds
after inputting a numeric selection, to clear all
numeric inputs.
286
Page 287 of 528
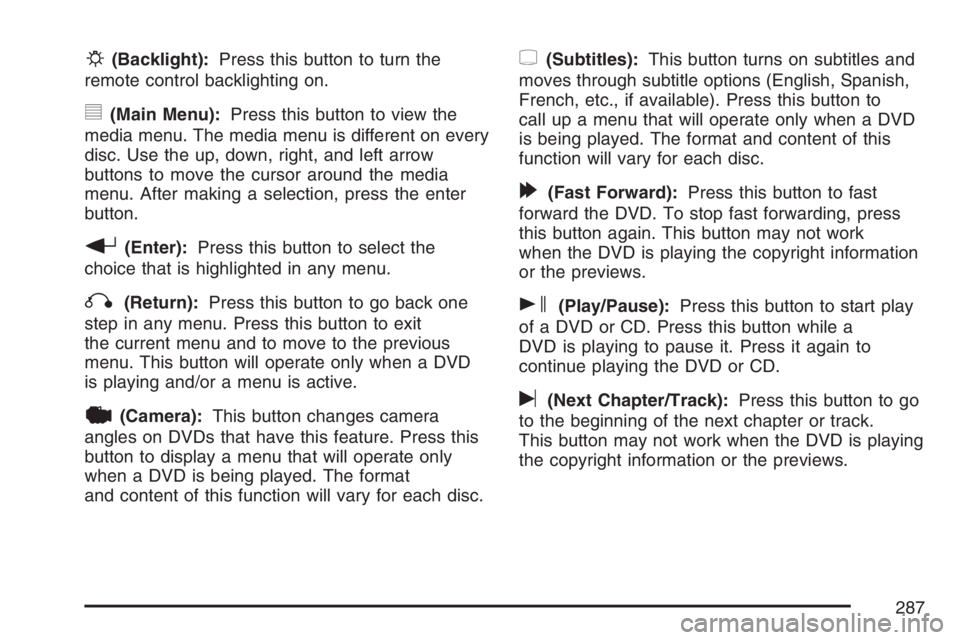
P(Backlight):Press this button to turn the
remote control backlighting on.
y(Main Menu):Press this button to view the
media menu. The media menu is different on every
disc. Use the up, down, right, and left arrow
buttons to move the cursor around the media
menu. After making a selection, press the enter
button.
r(Enter):Press this button to select the
choice that is highlighted in any menu.
q(Return):Press this button to go back one
step in any menu. Press this button to exit
the current menu and to move to the previous
menu. This button will operate only when a DVD
is playing and/or a menu is active.
|(Camera):This button changes camera
angles on DVDs that have this feature. Press this
button to display a menu that will operate only
when a DVD is being played. The format
and content of this function will vary for each disc.
{(Subtitles):This button turns on subtitles and
moves through subtitle options (English, Spanish,
French, etc., if available). Press this button to
call up a menu that will operate only when a DVD
is being played. The format and content of this
function will vary for each disc.
[(Fast Forward):Press this button to fast
forward the DVD. To stop fast forwarding, press
this button again. This button may not work
when the DVD is playing the copyright information
or the previews.
s(Play/Pause):Press this button to start play
of a DVD or CD. Press this button while a
DVD is playing to pause it. Press it again to
continue playing the DVD or CD.
u(Next Chapter/Track):Press this button to go
to the beginning of the next chapter or track.
This button may not work when the DVD is playing
the copyright information or the previews.
287
Page 292 of 528
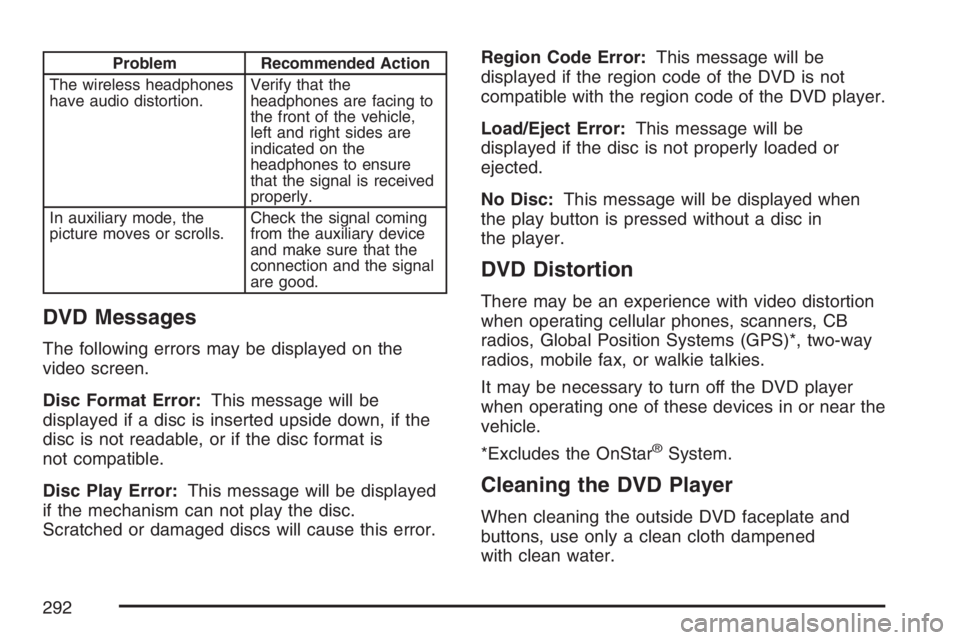
Problem Recommended Action
The wireless headphones
have audio distortion.Verify that the
headphones are facing to
the front of the vehicle,
left and right sides are
indicated on the
headphones to ensure
that the signal is received
properly.
In auxiliary mode, the
picture moves or scrolls.Check the signal coming
from the auxiliary device
and make sure that the
connection and the signal
are good.
DVD Messages
The following errors may be displayed on the
video screen.
Disc Format Error:This message will be
displayed if a disc is inserted upside down, if the
disc is not readable, or if the disc format is
not compatible.
Disc Play Error:This message will be displayed
if the mechanism can not play the disc.
Scratched or damaged discs will cause this error.Region Code Error:This message will be
displayed if the region code of the DVD is not
compatible with the region code of the DVD player.
Load/Eject Error:This message will be
displayed if the disc is not properly loaded or
ejected.
No Disc:This message will be displayed when
the play button is pressed without a disc in
the player.
DVD Distortion
There may be an experience with video distortion
when operating cellular phones, scanners, CB
radios, Global Position Systems (GPS)*, two-way
radios, mobile fax, or walkie talkies.
It may be necessary to turn off the DVD player
when operating one of these devices in or near the
vehicle.
*Excludes the OnStar
®System.
Cleaning the DVD Player
When cleaning the outside DVD faceplate and
buttons, use only a clean cloth dampened
with clean water.
292
Page 295 of 528
Press BAND to listen to the radio when a cassette
tape or a CD is playing. The inactive cassette
or CD will remain safely inside the radio for future
listening.
The BAND button will not access XM™ Satellite
Radio service when the front seat passengers are
listening to the RSE system through the vehicle’s
speakers and the rear seat passengers are
using the wired headphones to listen to the RSA
system.
P.SET PROG (Preset Program):Press this
button to scan through the preset radio stations
set on the pushbuttons on the main radio.
The radio will go to a preset station stored on the
pushbuttons, play for a few seconds, then go
on to the next preset station. Press this button
again to stop scanning presets. This function
is inactive if the front seat passengers are listening
to the radio.When a cassette tape is playing, press this button
to go to the other side of the tape. This function
is inactive if the front seat passengers are listening
to a cassette tape.
When a CD is playing, press this button to select
the next CD, if multiple CDs are loaded. This
function is inactive if the front seat passengers are
listening to a CD.
VOL
#(Volume):Press this knob lightly so it
extends. Turn the knob to increase or to decrease
the volume. Push the knob back into its stored
position when you are not using it. The upper knob
controls the upper headphones and the lower
knob controls the lower headphones.
PHONES:To listen to the RSA sound, plug the
wired headphones, into these RCA jacks.
295
Page 297 of 528
QVOLR(Volume):Press the up or down
arrow to increase or decrease the volume.
QSEEKR:Press the up or the down arrow to
go to the next or to the previous station and
stay there. The sound will mute while seeking.
The radio will only seek stations with a strong
signal that are in the selected band.
When playing a cassette tape or a CD, press the
up arrow to go to the next selection.
BAND:Press this button to switch between FM1,
FM2, AM, or XM1 or XM2 (if equipped).
SCAN:Press this button to scan the stations that
are programmed on the radio preset pushbuttons.
The radio will go to the �rst preset station
stored, play for a few seconds, then go on to the
next preset station. Press this button again to
stop scanning. The radio will only scan preset
stations with a strong signal that are in the
selected band.
Radio Reception
You may experience frequency interference and
static during normal radio reception if items
such as cellphone chargers, vehicle convenience
accessories, and external electronic devices
are plugged into the accessory power outlet. If
there is interference or static, unplug the item from
the accessory power outlet.
AM
The range for most AM stations is greater than for
FM, especially at night. The longer range can
cause station frequencies to interfere with each
other. For better radio reception, most AM
radio stations will boost the power levels during
the day, and then reduce these levels during
the night. Static can also occur when things like
storms and power lines interfere with radio
reception. When this happens, try reducing the
treble on your radio.
297
Page 452 of 528
Remove any accidental over-spray from other
surfaces immediately. To prevent over-spray, apply
cleaner directly to the cleaning cloth.
Notice:If you use abrasive cleaners when
cleaning glass surfaces on your vehicle, you
could scratch the glass and/or cause damage
to the integrated radio antenna and the rear
window defogger. When cleaning the glass on
your vehicle, use only a soft cloth and glass
cleaner.
Many cleaners contain solvents that may become
concentrated in your vehicle’s breathing space.
Before using cleaners, read and adhere to all safety
instructions on the label. While cleaning your
vehicle’s interior, maintain adequate ventilation
by opening your vehicle’s doors and windows.
Dust may be removed from small buttons and
knobs using a small brush with soft bristles.
Your dealer has a product for cleaning your
vehicle’s glass. Should it become necessary, you
can also obtain a product from your dealer to
remove odors from your vehicle’s upholstery.Do not clean your vehicle using the following
cleaners or techniques:
Never use a knife or any other sharp object to
remove a soil from any interior surface.
Never use a stiff brush. It can cause damage
to your vehicle’s interior surfaces.
Never apply heavy pressure or rub
aggressively with a cleaning cloth. Use of
heavy pressure can damage your interior and
does not improve the effectiveness of soil
removal.
Use only mild, neutral-pH soaps. Avoid
laundry detergents or dishwashing soaps with
degreasers. Using too much soap will leave
a residue that leaves streaks and attracts dirt.
For liquid cleaners, about 20 drops per
gallon (3.78 L) of water is a good guide.
Do not heavily saturate your upholstery while
cleaning.
Damage to your vehicle’s interior may result
from the use of many organic solvents such
as naptha, alcohol, etc.
452