check engine BUICK REGAL 1994 User Guide
[x] Cancel search | Manufacturer: BUICK, Model Year: 1994, Model line: REGAL, Model: BUICK REGAL 1994Pages: 308, PDF Size: 15.78 MB
Page 171 of 308
Parking on Hills
You really should not park your vehicle, with a trailer
attached,
on a hill. If something goes wrong, your rig
could start to move. People can be injured, and both
your vehicle and the trailer can be damaged.
But
if you ever have to park your rig on a hill, here’s
how
to do it:
0 Shift into a gear; and
2. Have someone place chocks under the trailer wheels,
3. When the wheel chocks are in place, release the
regular brakes until the chocks absorb the load.
4. Reapply the regular brakes. Then apply your parking
brake, and
then shift to “P” (Park).
5. Release the regular brakes.
When You Are Ready to Leave After
Parking
on a Hill
0 Release the parking brake.
2. Let up on the brake pedal.
3. Drive slowly until the trailer is clear of the chocks.
4. Stop and have someone pick up and store the chocks.
Maintenance When Trailer Towing
Your vehicle will need service more often when you’re
pulling a trailer. See the Maintenance Schedule for more
on this. Things that are especially important
in trailer
operation are automatic transaxle fluid (don’t overfill),
engine oil, belt, cooling system, and brake adjustment.
Each of these is covered
in this manual, and the Index
will help you find them quickly. If you’re trailering, it’s
a good idea to review these sections before you start
your trip.
Check periodically to see that all hitch nuts and bolts are
tight.
1. Apply your regular brakes and hold the pedal down
while you:
0 Start your engine;
169
ProCarManuals.com
Page 177 of 308
4. Open the hoods and locate the batteries.
Find the positive
(+) and negative (-) terminals on
each battery.
Your Buick has
a remote positive (+)jump starting
terminal. The terminal is on the same side
of the
engine compartment as your battery. You should
always use the remote positive
(+) terminal instead
of the positive (+) terminal on your battery. To
uncover the remote positive (+) terminal, lift the red
plastic cap.
5. Check that the jumper cables don’t have loose or
missing insulation. If they do, you could get a shock.
The vehicles could be damaged, too.
175
ProCarManuals.com
Page 191 of 308
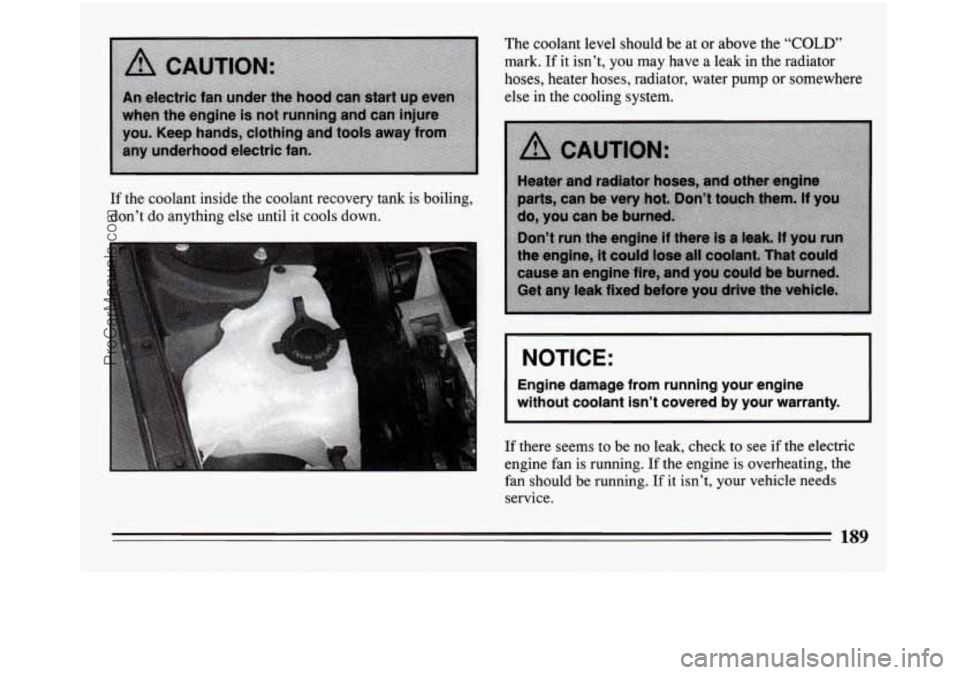
If the coolant inside the coolant recovery tank is boiling,
don’t do anything else until it cools down. The coolant level should be
at or above the
“COLD’
mark. If it isn’t, you may have a leak in the radiator
hoses, heater hoses, radiator, water pump or somewhere
else in the cooling system.
I NOTICE:
I
Engine damage from running your engine
without
coolant isn’t covered by your warranty. I
If there seems to be no leak, check to see if the electric
engine fan is running.
If the engine is overheating, the
fan should be running.
If it isn’t, your vehicle needs
service.
ProCarManuals.com
Page 198 of 308
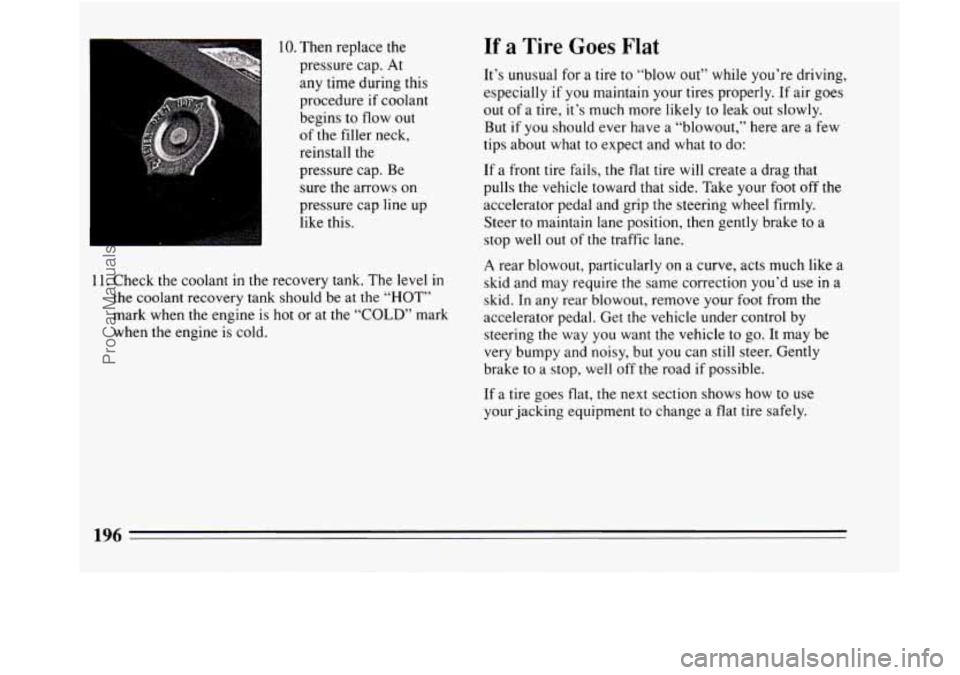
10. Then replace the pressure cap. At
any time during this
procedure
if coolant
begins to flow out
of the filler neck,
reinstall the
pressure cap. Be
sure the arrows on
pressure cap line up
like this.
11. Check the coolant in the recovery tank. The level
in
the coolant recovery tank should be at the “HOT”
mark when the engine is hot or at the “COLD” mark
when the engine is cold.
If a Tire Goes Flat
It’s unusual for a tire to “blow out” while you’re driving,
especially
if you maintain your tires properly. If air goes
out
of a tire, it’s much more likely to leak out slowly.
But if you should ever have a “blowout,” here are a few
tips about what to expect and what to do:
If a front tire fails, the flat tire will create a drag that
pulls the vehicle toward that side. Take your foot off the
accelerator pedal and grip the steering wheel firmly.
Steer to maintain lane position, then gently brake to a
stop well out of the traffic lane.
A rear blowout, particularly on a curve, acts much like a
skid and may require
the same correction you’d use in a
skid. In any rear blowout, remove your foot from the
accelerator pedal. Get the vehicle under control by
steering the way you want the vehicle to go.
It may be
very bumpy and noisy, but you can still steer. Gently
brake
to a stop, well off the road if possible.
If a tire goes flat, the next section shows how to use
your jacking equipment to change
a flat tire safely.
ProCarManuals.com
Page 209 of 308
Part 6 Service and Appearance Care
Here you will find information about the care of your Buick . This part begins with service and fuel information. and
then
it shows how to check important fluid and lubricant levels . There is also technical information about your
vehicle. and a section devoted to its appearance care
.
Part 6 includes:
Service ........................................................................\
.. 208
Fuel
........................................................................\
..... 209
HoodRelease
..................................................................... 212
Engineoil
....................................................................... \
214
Aircleaner
....................................................................... \
219
Automatic Transaxle Fluid
................................................... : ....... 220
Enginecoolant
.................................................................... 223
PowerSteeringFluid
............................................................... 226
Windshield Washer Fluid
............................................................ 227
Brakes
........................................................................\
... 228
Battery
........................................................................\
.. 231
LoadingYourVehicle
............................................................... 235
Tires
........................................................................\
.... 236
Vehicle Identification Number (VIN)
.................................................. 253
Fuses and Circuit Breakers
....................... ’. ................................... 254
Capacities and Specifications
......................................................... 260
BulbReplacement
................................................................. 232
Appearancecare
.................................................................. 244
207
ProCarManuals.com
Page 212 of 308
Many gasolines are now blended with oxygenates.
General Motors recommends that
you use gasolines with
these blending materials, such as MTBE and ethanol. By
doing
so, you can help clean the air, especially in those
parts of the country that have high carbon monoxide.
levels.
In addition, some gasoline suppliers are now producing
reformulated gasolines. These gasolines are specially
designed to reduce vehicle emissions. General Motors
recommends that you use reformulated gasoline. By
doing
so, you can help clean the air, especially in those
parts of the country that have high ozone levels.
You should ask your service station operators if their
gasolines contain deposit control additives and
oxygenates, and if they have been reformulated to
reduce vehicle emissions.
Fuels in Foreign Countries
If you plan on driving in another country outside the
U.S. or Canada, unleaded fuel may be hard to find. Do
not use leaded gasoline. If you use even one tankful, your emission controls won’t work well or at all. With
continuous use, spark plugs can get fouled, the exhaust
system can corrode, and your engine oil can deteriorate
quickly. Your vehicle’s oxygen sensor will be damaged.
All
of that means costly repairs that wouldn’t be covered
by your warranty.
To check on fuel availability, ask an auto club, or
contact a major oil company that does business in the
country where you’ll be driving.
You can also write
us at the following address for
advice. Just tell
us where you’re going and give your
Vehicle Identification Number
(VIN).
General Motors Overseas Distribution Corporation,
North American Export Sales (NAES)
1908 Colonel Sam Drive
Oshawa, Ontario
L1H 8P7
210
ProCarManuals.com
Page 216 of 308
Engine Oil
LOW
OIL
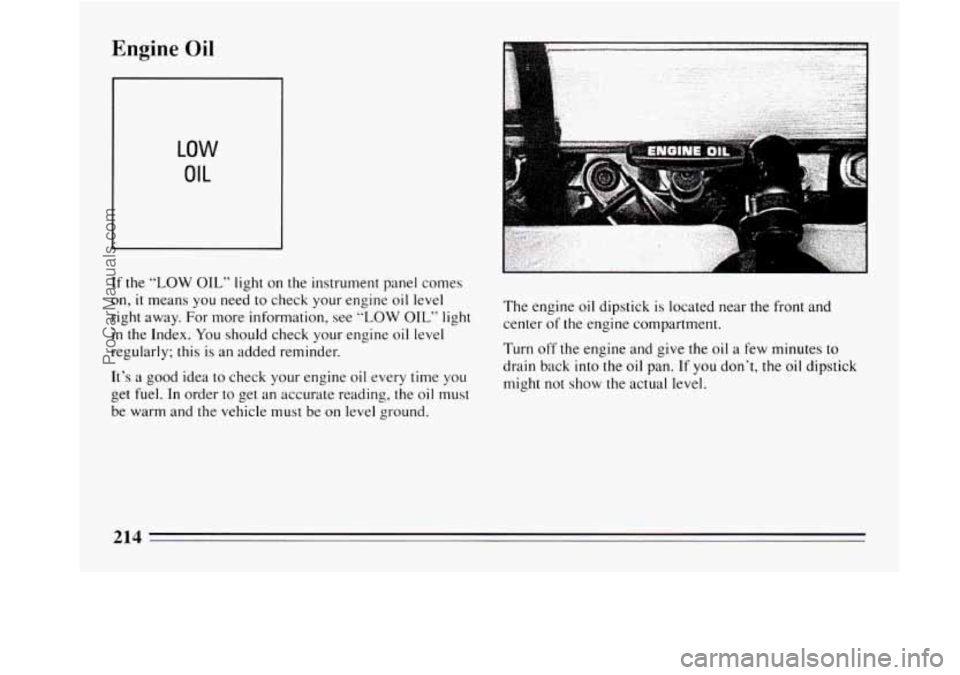
If the “LOW OIL” light on the instrument panel comes
on,
it means you need to check your engine oil level
right away. For more information, see
“LOW OIL” light
in the Index. You should check your engine oil level
regularly; this
is an added reminder.
It’s a good idea
to check your engine oil every time you
get fuel. In order to get an accurate reading, the oil must
be warm and the vehicle
must be on level ground. The
engine oil dipstick is located near the front and
center of the engine compartment.
Turn off the engine and give the oil
a few minutes to
drain back into the oil pan. If you don’t, the oil dipstick
might not show the actual level.
214
ProCarManuals.com
Page 217 of 308
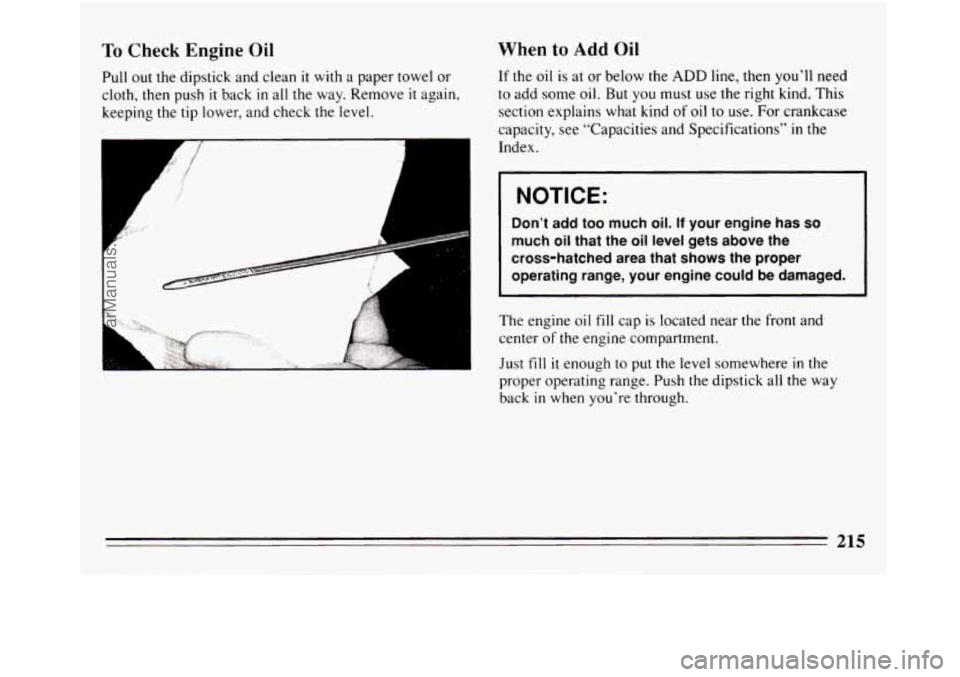
To Check Engine Oil
Pull out the dipstick and clean it with a paper towel or
cloth, then push
it back in all the way. Remove it again,
keeping the tip lower, and check the level.
A
A
r
When to Add Oil
If the oil is at or below the ADD line, then you’ll need
to add some oil. But you must use the right kind. This
section explains what kind of oil
to use. For crankcase
capacity, see “Capacities and Specifications’’
in the
Index.
NOTICE:
Don’t add too much oil. If your engine has so
much oil that the oil level gets above the
cross-hatched area that shows the proper
operating range, your engine could be damaged.
The engine oil fill cap is located near the front and
center
of the engine compartment.
Just
fill it enough to put the level somewhere in the
proper operating range. Push the dipstick all
the way
back
in when you’re through.
215
ProCarManuals.com
Page 222 of 308
I NOTICE:
If the air cleaner is off, a backfire can cause a
damaging engine fire. And, dirt can easily get
into your engine, which will damage
it. Always
have the air cleaner
in place when you’re driving.
Automatic Transaxle Fluid
When to Check and Change
A good time to check your automatic transaxle fluid
level
is when the engine oil is changed. Refer to the
Maintenance Schedule to determine when to change
your fluid. See “Scheduled Maintenance Services” in
the Index.
How to Check
Because this operation can be a little difficult, you may
choose to have this done at a Buick dealership Service
Department.
If you do it yourself, be sure to follow all the
instructions here, or you could get a false reading on the
dipstick.
NOTICE:
Too much or too little fluid can damage your
transaxle.
Too much can mean that some of the
fluid could come out and fall on hot engine parts
or exhaust system, starting a fire. Be sure to get
an accurate reading
if you check your transaxle
fluid.
ProCarManuals.com
Page 223 of 308
Wait at least 30 minutes before checking the transaxle
fluid level if you have been driving:
0 When outside temperatures are above 90°F (32°C).
0 At high speed for quite a while.
In heavy traffic -- especially in hot weather.
0 While pulling a trailer.
To get the right reading, the fluid should be at normal
operating temperature, which is
180°F to 200°F (82°C
to 93°C).
Get the vehicle warmed up by driving about 15 miles
(24 km) when outside temperatures are above 50°F
(10°C).
If it’s colder than 50°F (lO”C), you may have
to drive longer.
To check the fluid level
Park your vehicle on a level place.
0 With the parking brake applied, place the shift lever
0 With your foot on the brake pedal, move the shift
in “P” (Park).
lever through each gear range, pausing for about three seconds
in each range. Then, position the shift
lever
in “P” (Park).
0 Let the engine run at idle for three to five minutes.
Then, without shutting off the engine. follow these
steps:
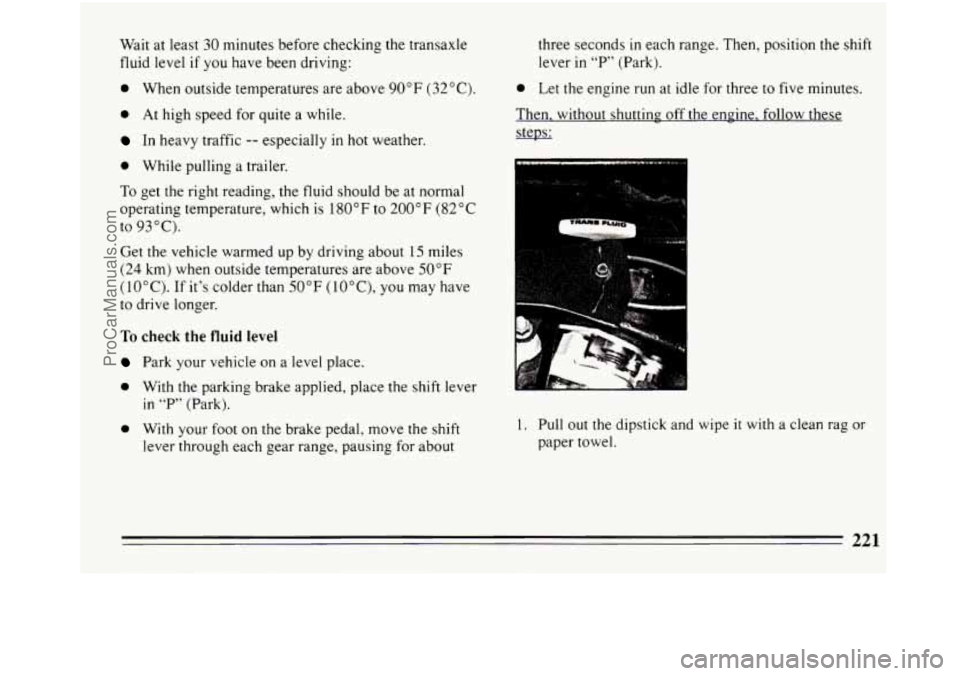
1. Pull out the dipstick and wipe it with a clean rag or
paper towel.
ProCarManuals.com