reset BUICK REGAL 1997 Owners Manual
[x] Cancel search | Manufacturer: BUICK, Model Year: 1997, Model line: REGAL, Model: BUICK REGAL 1997Pages: 422, PDF Size: 21.34 MB
Page 113 of 422
Windshield Wipers
-!
..
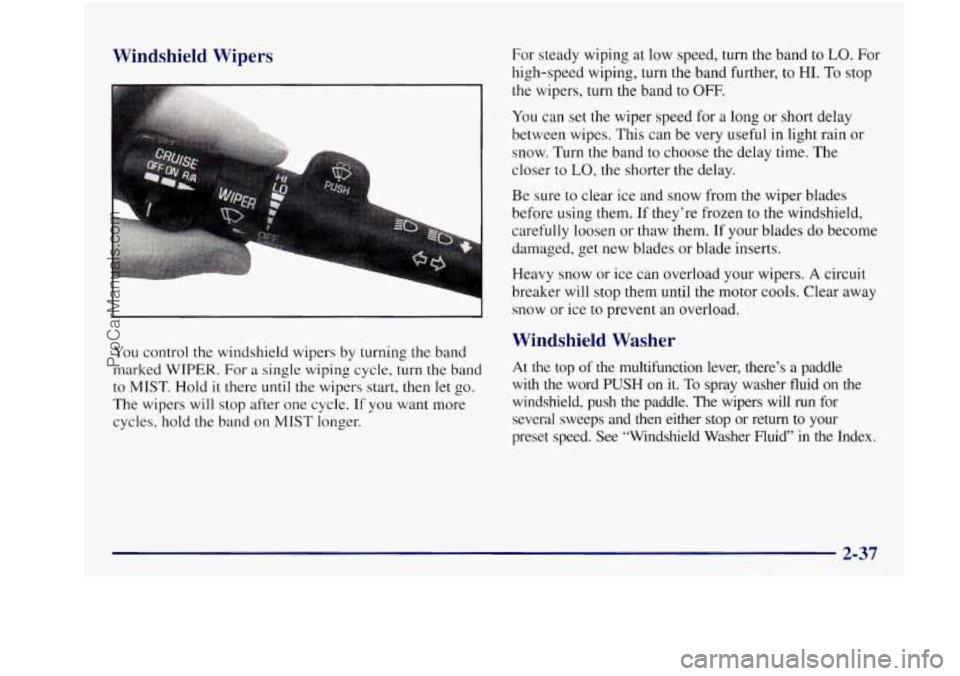
You control the windshield wipers by turning the band
marked
WIPER. For a single wiping cycle, turn the band
to
MIST. Hold it there until the wipers start, then let go.
The wipers will stop after one cycle.
If you want more
cycles, hold the band
on MIST longer. For steady wiping at low
speed, turn the band to
LO. For
high-speed wiping, turn the band further, to HI. To stop
the wipers, turn the band
to OFF.
You can set the wiper speed for a long or short delay
between wipes. This can be very useful in light rain or
snow. Turn the band
to choose the delay time. The
closer to
LO, the shorter the delay.
Be sure to clear ice and snow from the wiper blades
before using them, If they’re frozen to the windshield,
carefully loosen
or thaw them. If your blades do become
damaged, get new blades or blade inserts.
Heavy snow or ice can overload your wipers.
A circuit
breaker will stop them until the motor cools. Clear away
snow or ice to prevent an overload.
Windshield Washer
At the top of the multifunction lever, there’s a paddle
with the word PUSH on it. To spray washer fluid on the
windshield, push the paddle. The wipers will
run for
several sweeps and then either stop or return
to your
preset speed. See “Windshield Washer Fluid” in the Index.
ProCarManuals.com
Page 116 of 422
Resuming a Set Speed
Suppose you set your cruise control at a desired speed
and then you apply the brake. This, of course, shuts off
the cruise control. But you don’t need to reset it.
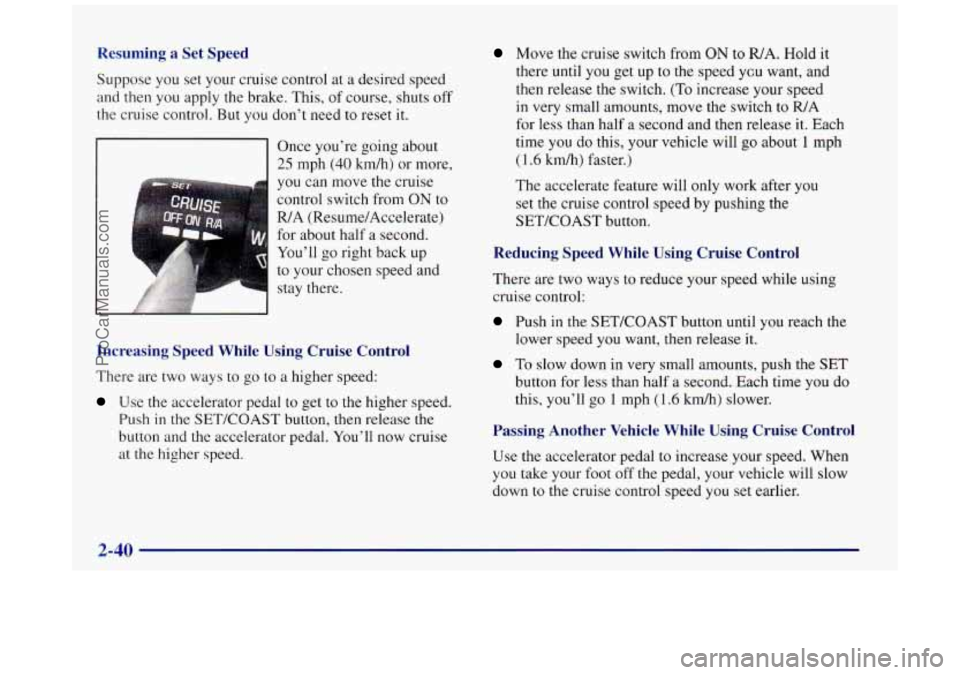
Once you’re going about
25 mph (40 km/h) or more,
you can move the cruise
control switch from
ON to
R/A (ResumelAccelerate)
for about half a second.
You’ll go right back up
to your chosen speed and stay there.
Increasing Speed While Using Cruise Control
There are two ways to go to a higher speed:
Use the accelerator pedal to get to the higher speed.
Push
in the SET/COAST button, then release the
button and the accelerator pedal. You’ll now cruise
at the higher speed.
Move the cruise switch from ON to WA. Hold it
there until you get up to the speed ycu want, and
then release the switch.
(To increase your speed
in very small amounts, move the switch to
FUA
for less than half a second and then release it. Each
time you do this, your vehicle will
go about 1 mph
(1.6 kdh) faster.)
The accelerate feature will only work after you
set the cruise control speed by pushing the
SETKOAST button.
Reducing Speed While Using Cruise Control
There are two ways to reduce your speed while using
cruise control:
Push in the SET/COAST button until you reach the
lower speed
you want, then release it.
To slow down in very small amounts, push the SET
button for less than half a second. Each time you do
this, you’ll go 1 mph (1.6
km/h) slower.
Passing Another Vehicle While Using Cruise Control
Use the accelerator pedal to increase your speed. When
you take your foot
off the pedal, your vehicle will slow
down to the cruise control speed you set earlier.
ProCarManuals.com
Page 134 of 422
Speedometer and Odometer
Your speedometer lets you see your speed in both miles
per hour (mph) and kilometers per hour (km/h). Your
odometer shows how far your vehicle has been driven
in either miles (used
in the United States) or in
kilometers (used in Canada).
Your Buick has a tamper-resistant odometer. If you see
ERROR, you’ll know someone has probably tampered
with it and the numbers may not be accurate.
You may wonder what happens if your vehicle needs
a new odometer installed. If the new one can be set to
the mileage total of the old odometer, then that will be
done. But if it can’t, then it will be set at zero and
a label
must be put
on the driver’s door to show the old mileage
reading when the new odometer was installed.
Trip Odometer
Your trip odometer tells how far you have driven since
you last reset it.
To set it to zero, press the button on the
right side
of the instrument cluster.
Your triphelect reset switch will
go back and forth
between the odometer and the trip odometer if the button
is pressed and released within 1.5 seconds. If the button is
pressed and held for longer than
1.5 seconds while in the trip
odometer mode, it will be reset to zero. If the button
is pressed and held for longer than 1.5 seconds while in
the odometer mode, it will have no effect.
Tachometer
1
0
5 /
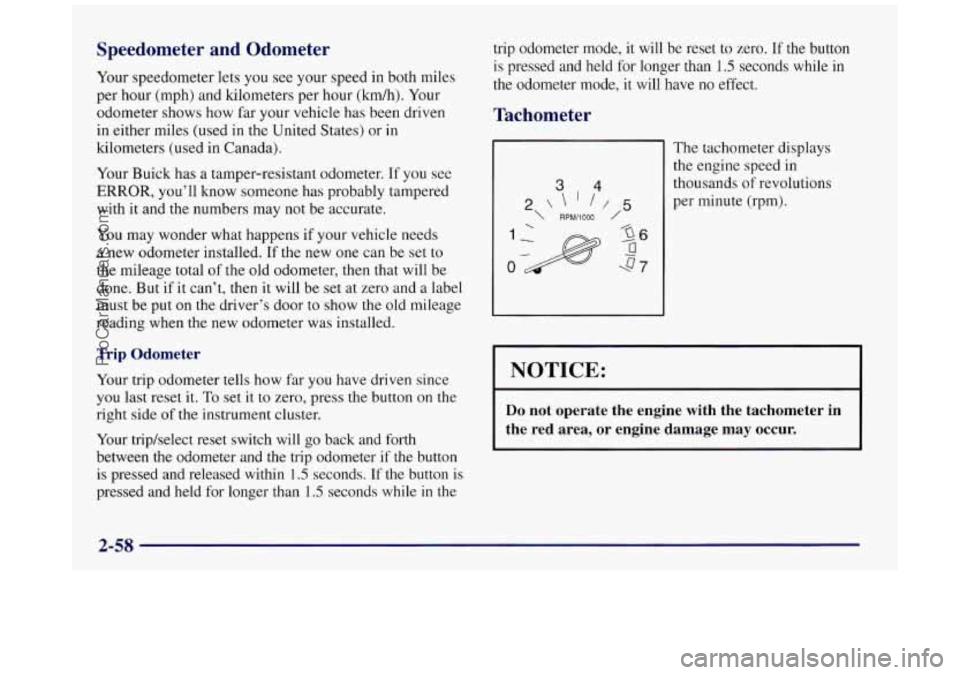
The tachometer displays
the engine speed
in
thousands of revolutions
per minute (rpm).
NOTICE:
Do not operate the engine with the tachometer in
the red area, or engine damage may occur.
2-58
ProCarManuals.com
Page 138 of 422
Anti-Lock Brake System Warning Light
ANTI -
LOCK
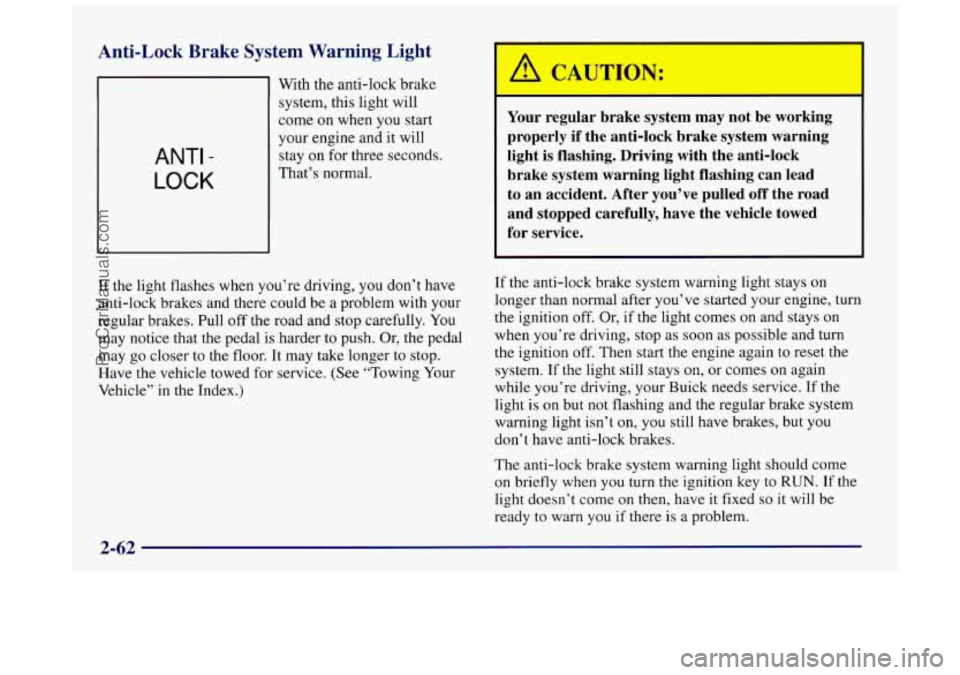
With the anti-lock brake
system, this light will
come
on when you start
your engine and it will
stay on for three seconds.
That’s normal.
If the light flashes when you’re driving, you don’t have
anti-lock brakes and there could be a problem with your
regular brakes. Pull off the road and stop carefully.
You
may notice that the pedal is harder to push. Or, the pedal
may go closer to the floor.
It may take longer to stop.
Have the vehicle towed for service. (See “Towing Your
Vehicle” in the Index.)
Your regular brake system may not be working
properly if the anti-lock brake system warning
light is flashing. Driving with the anti-lock
brake system warning light flashing can lead
to an accident. After you’ve pulled off the road
and stopped carefully, have the vehicle towed
for service.
I
If the anti-lock brake system warning light stays on
longer than normal after you’ve started your engine, turn
the ignition off. Or, if the light comes on and stays on
when you’re driving, stop as soon as possible and turn
the ignition off. Then start the engine again to reset the
system. If the light still stays on, or comes on again
while you’re driving, your Buick needs service. If the
light
is on but not flashing and the regular brake system
warning light isn’t on, you still have brakes, but you
don’t have anti-lock brakes.
The anti-lock brake system warning light should come
on briefly when
you turn the ignition key to RUN. If the
light doesn’t come
on then, have it fixed so it will be
ready to warn
you if there is a problem.
2-62
ProCarManuals.com
Page 143 of 422
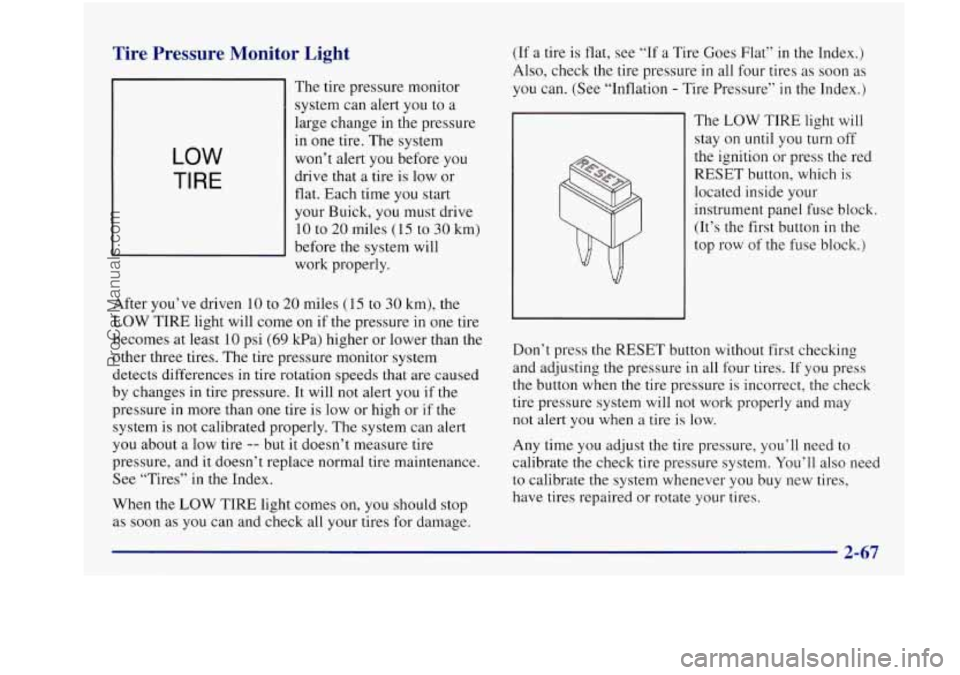
Tire Pressure Monitor Light
LOW
TI RE
The tire pressure monitor
system can alert you to
a
large change in the pressure
in
one tire. The system
won’t alert you before you
drive that a tire is low or
flat. Each time you start
your Buick, you must drive
10 to
20 miles (15 to 30 km)
before the system will
work properly.
After you’ve driven
10 to 20 miles (15 to 30 km), the
LOW TIRE light will come on if the pressure in one tire
becomes at least 10 psi
(69 kPa) higher or lower than the
other three tires. The tire pressure monitor system
detects differences in tire rotation speeds that are caused
by changes in tire pressure. It will not alert you
if the
pressure in more than one tire is low or high or
if the
system is not calibrated properly.
The system can alert
you about a low tire
-- but it doesn’t measure tire
pressure, and it doesn’t replace normal tire maintenance.
See “Tires’’
in the Index.
When the LOW TIRE light comes
on, you should stop
as soon as you can and check all your tires for damage. (If
a tire
is flat, see “If a Tire Goes Flat” in the Index.)
Also, check the tire pressure in all four tires as soon
as
you can. (See “Inflation - Tire Pressure” in the Index.)
The
LOW TIRE light will
stay on until you turn off
the ignition or press the red
RESET button, which is
located inside your
instrument panel fuse block.
(It’s the first button in
the
top row of the fuse block.)
Don’t press the RESET button without first checking
and adjusting the pressure in all four tires.
If you press
the button when the tire pressure is incorrect,
the check
tire pressure system will not work properly
and may
not alert you when a tire is low.
Any time
you adjust the tire pressure, you’ll need to
calibrate the check tire pressure system.
You’ll also neea
to calibrate the system whenever you buy new tires,
have tires repaired or rotate your tires.
ProCarManuals.com
Page 149 of 422
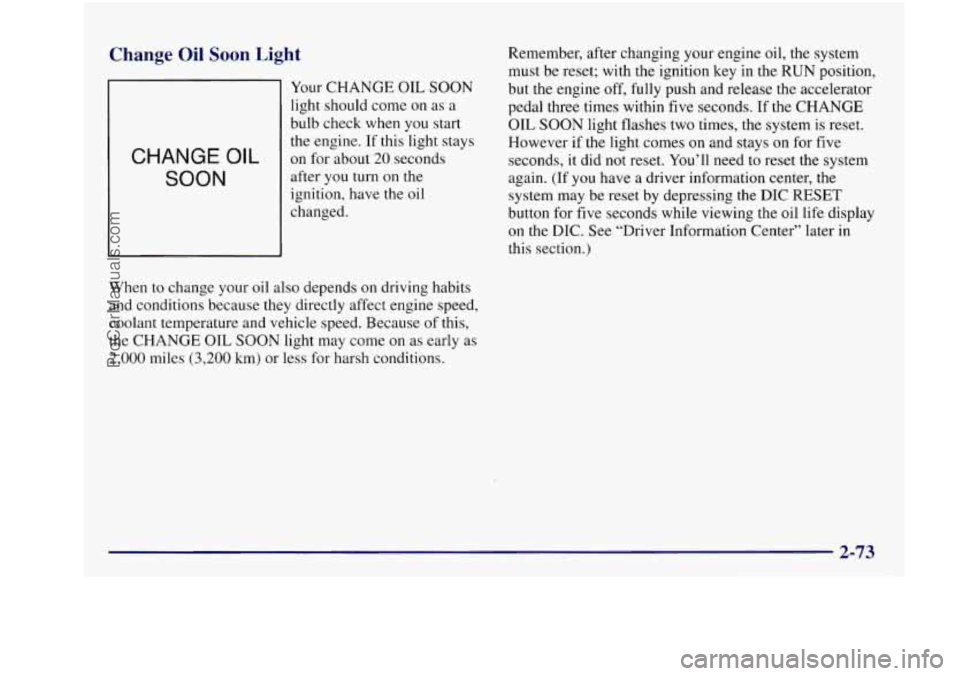
Change Oil Soon Light
CHANGE OIL
SOON
Your CHANGE OIL SOON
light should come on as a
bulb check when you start
the engine. If this light stays
on for about 20 seconds
afte.r you turn
on the
ignition, have the oil
changed.
When to change your oil also depends
on driving habits
and conditions because they directly affect engine speed,
coolant temperature and vehicle speed. Because
of this,
the CHANGE OIL SOON light may come on as early as
2,000 miles (3,200 km) or less for harsh conditions. Remember,
after changing your engine
oil, the system
must be reset; with the ignition key in the
RUN position,
but the engine off,
fully push and release the accelerator
pedal three times within five seconds.
If the CHANGE
OIL SOON light flashes two times, the system is reset.
However if the light comes on and stays on for five
seconds, it did not reset. You’ll need to reset the system
again. (If you have a driver information center, the
system may be reset
by depressing the DIC RESET
button for five seconds while viewing the oil life display
on the DIC. See “Driver Information Center” later in
this section.)
ProCarManuals.com
Page 154 of 422
Control Buttons
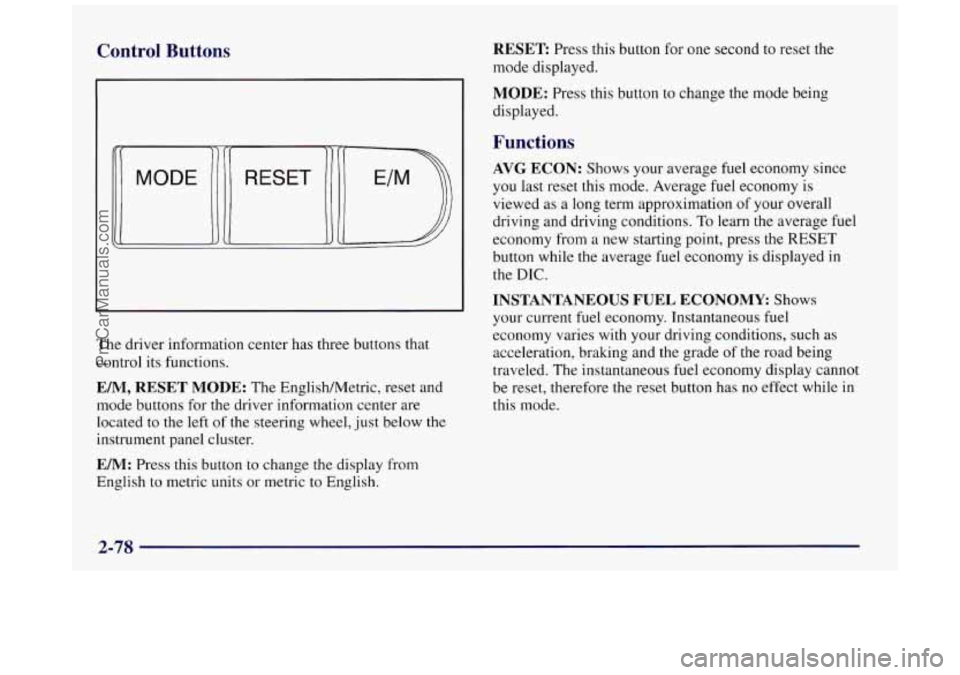
The driver information center has three buttons that
control its functions.
EM, RESET MODE: The EnglishMetric, reset and
mode buttons for
the driver information center are
located to the left
of the steering wheel, just below the
instrument panel cluster.
EM: Press this button to change the display from
English to metric units or metric
to English.
RESET Press this button for one second to reset the
mode displayed.
MODE: Press this button to change the mode being
displayed.
Functions
AVG ECON: Shows your average fuel economy since
you last reset this mode. Average fuel economy is
viewed
as a long term approximation of your overall
driving and driving conditions.
To learn the average fuel
economy from a new starting point, press the RESET
button while the average fuel economy is displayed
in
the DIC.
INSTANTANEOUS FUEL ECONOMY Shows
your current
fuel economy. Instantaneous fuel
economy varies with your driving conditions, such
as
acceleration, braking and the grade of the road being
traveled.
The instantaneous fuel economy display cannot
be reset, therefore the reset button has no effect while in
this mode.
2-78
ProCarManuals.com
Page 155 of 422
OIL LIFE MONITOR: Shows an estimate of the oil’s RANGE: Shows the approximate distance you can
remaining useful life. When the oil life index is less than drive without refueling. This is based on the amount
of
lo%, the CHANGE OIL SOON light will come on. fuel in the
tank and on the fuel economy of the most
When you have the oil changed according to the recent 25 miles. Pressing
RESET while in this mode
maintenance schedule (see “Maintenance Schedule” in will have
no effect.
the Index),
YOU will have to reset the oil life monitor. TO BOOST GAGE: If you have the supercharged engine,
five seconds while the oil life monitor is being displayed receiving. Pressing RESET while in this mode will have
on the DIC. The
oil life will change to 100%.
do this, press and hold the RESET button for than this gage will show the amount of boost your engine is
no effect.
ProCarManuals.com
Page 170 of 422
PUSHBUTTONS: The six numbered pushbuttons let
you return to your favorite stations. You can set up to
18 stations (six AM, six
FM1 and six FM2). Just:
1.
2.
3.
4.
5.
Turn the radio on.
Press the AM-FM button to select the band.
Tune in the desired station. Press and hold one of the six numbered buttons. The
sound will mute. When it returns, release the button.
Whenever you press that numbered button, the
station you set will return.
Repeat the steps for each pushbutton.
P SCAN: Press this button to listen to each of your
preset stations for a few seconds. The radio will
go to
the first preset station, stop for a few seconds, then go
on to the next preset station. Press
P SCAN again to stop
scanning. The radio will not stop at a preset station if the
station is weak.
Setting the Tone
BASS:
Press this knob lightly so it extends. Turn the
knob to increase or decrease bass.
TREB: Press this knob lightly so it extends. Turn the
knob to increase or decrease treble. If a station is weak
or noisy,
you may want to decrease the treble.
Push these knobs back into their stored positions when
you’re not using them.
Adjusting the Speakers
BAL:
Turn the control behind the upper knob to move
the sound to the
left or right speakers. The middle
position balances the sound between the speakers.
FADE: Turn the control behind the lower knob to move
the sound to
the front or rear speakers. The middle
position balances the sound between the speakers.
3-14
ProCarManuals.com
Page 172 of 422
PUSHBUTTONS: The six numbered pushbuttons let
you return to your favorite stations. You can set up to
18 stations (six AM, six FMl and six FM2). Just:
1. Turn the radio on.
2. Press AM-FM to select the band.
3. Tune in the desired station.
4. Press and hold one of the six numbered buttons. The
sound will mute. When it returns, release the button.
Whenever you press that numbered button, the
station you set will return.
5. Repeat the steps for each pushbutton.
P SCAN: Press this button to listen to each of your
preset stations for
a few seconds. The radio will go to
the first preset station, stop for
a few seconds, then go
on to the next preset station. Press P SCAN again to stop
scanning.
The radio will not stop at a preset if the station
is weak.
Setting the Tone
BASS: Press this knob lightly so it extends. Turn the
knob to increase or decrease bass.
TREB: Press this knob lightly so it extends. Turn the
knob to increase or decrease treble.
If a station is weak
or noisy, you may want to decrease the treble.
Push these knobs back into their stored positions when
you’re not using them.
Adjusting the Speakers
BAL: Turn the control behind the upper knob to move
the sound to the
left or right speakers. The middle
position balances the sound between the speakers.
FADE: Turn the control behind the lower knob to move
the sound to
the front or rear speakers. The middle
position balances the sound between the speakers.
Playing a Cassette Tape
The longer side with the tape visible should face to the
right.
If the ignition and the radio are on, the tape can be
inserted and will begin playing.
If you hear nothing or
hear a garbled sound, the tape may not be in squarely.
Press
EJECT to remove the tape and start over.
3-16
ProCarManuals.com