service indicator BUICK REGAL 1997 Owners Manual
[x] Cancel search | Manufacturer: BUICK, Model Year: 1997, Model line: REGAL, Model: BUICK REGAL 1997Pages: 422, PDF Size: 21.34 MB
Page 95 of 422
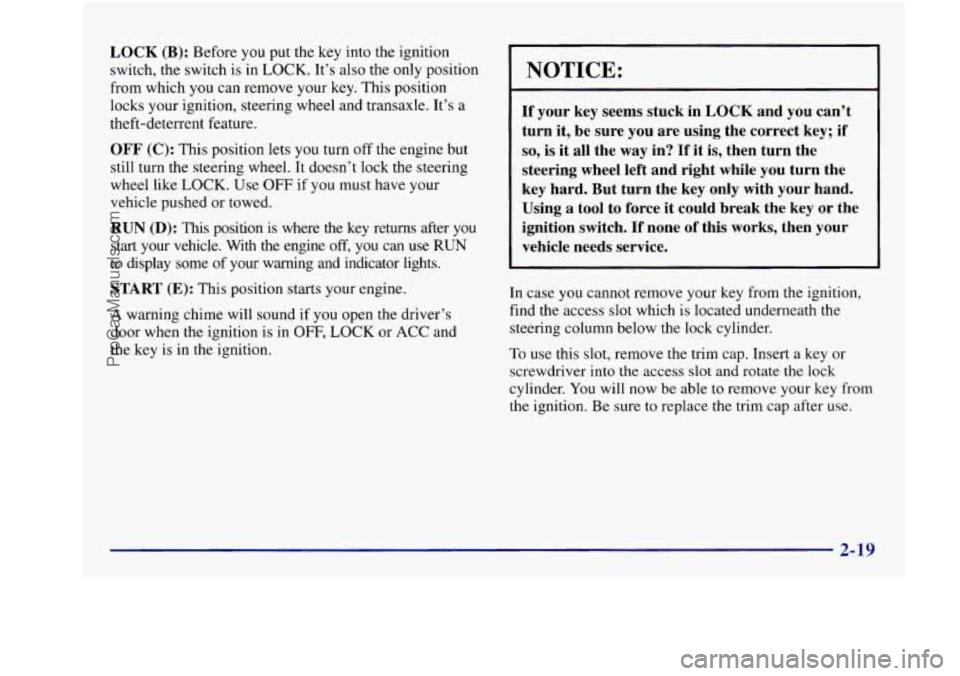
LOCK (B): Before you put the key into the ignition
switch, the switch is in LOCK. It’s also the only position
from which you can remove your key. This position
locks your ignition, steering wheel and transaxle. It’s a
theft-deterrent feature.
OFF (C): This position lets you turn off the engine but
still turn the steering wheel. It doesn’t lock the steering
wheel like LOCK. Use
OFF if you must have your
vehicle pushed or towed.
RUN (D): This position is where the key returns after you
start your vehicle. With the engine off, you can use RUN
to display some of your warning and indicator lights.
START (E): This position starts your engine.
A warning chime will sound if
you open the driver’s
door when the ignition is in
OFF, LOCK or ACC and
the key is in the ignition.
NOTICE:
If your key seems stuck in LOCK and you can’t
turn it, be sure
you are using the correct key; if
so, is it all the way in? If it is, then turn the
steering wheel left and right while you turn the
key hard. But turn the key only with your hand.
Using a tool to force it could break the key or the
ignition switch.
If none of this works, then your
vehicle needs service.
In case you cannot remove your key from the ignition,
find the access
slot which is located underneath the
steering column below the lock cylinder.
To use this slot, remove the trim cap. Insert a key or
screwdriver
into the access slot and rotate the lock
cylinder. You will now be able to remove your key
from
the ignition. Be sure to replace the trim cap after use.
ProCarManuals.com
Page 145 of 422
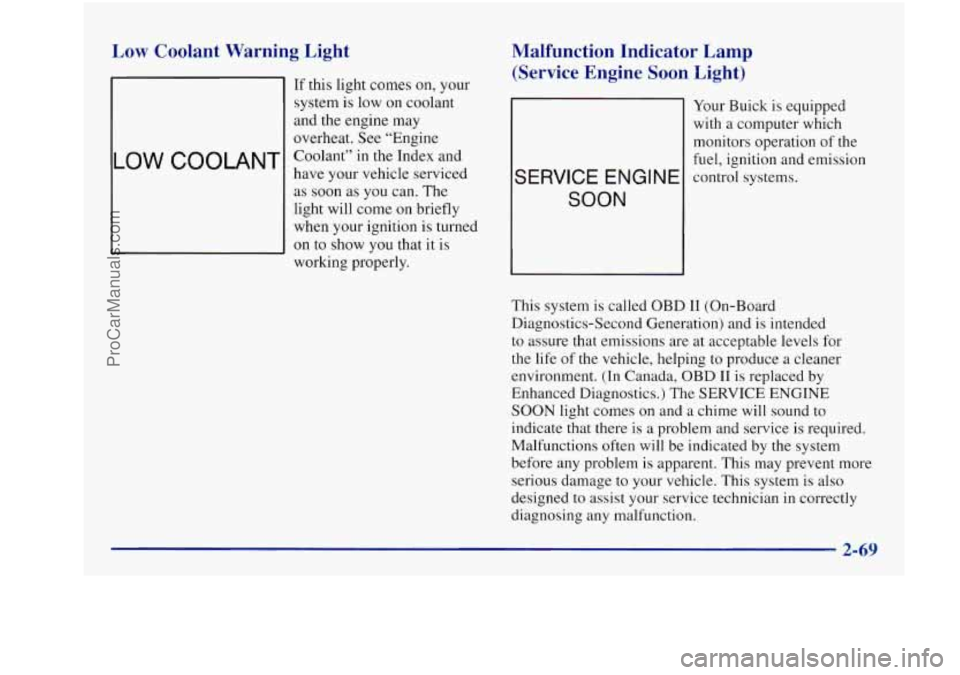
Low Coolant Warning Light
I OW COOLANT
If this light comes on, your
system is low on coolant
and the engine may
overheat. See “Engine
Coolant” in the Index and
have your vehicle serviced as soon as you can.
The
light will come on briefly
when your ignition is turned
on to show you that it is
working properly.
Malfunction Indicator Lamp (Service Engine Soon Eight)
SERVICE ENGINE
SOON
Your Buick is equipped
with a computer which
monitors operation
of the
fuel, ignition and emission
control systems.
This system is called OBD
I1 (On-Board
Diagnostics-Second Generation) and
is intended
to assure that emissions are at acceptable levels for
the life of the vehicle, helping to produce a cleaner
environment. (In Canada,
OBD I1 is replaced by
Enhanced Diagnostics.) The
SERVICE ENGINE
SOON light comes on and a chime will sound to
indicate that there is a problem and service is required.
Malfunctions often will be indicated by the system
before any problem is apparent. This may prevent more
serious damage to your vehicle. This system is also
designed to assist your service technician
in correctly
diagnosing any malfunction.
2-69
-.
ProCarManuals.com
Page 152 of 422
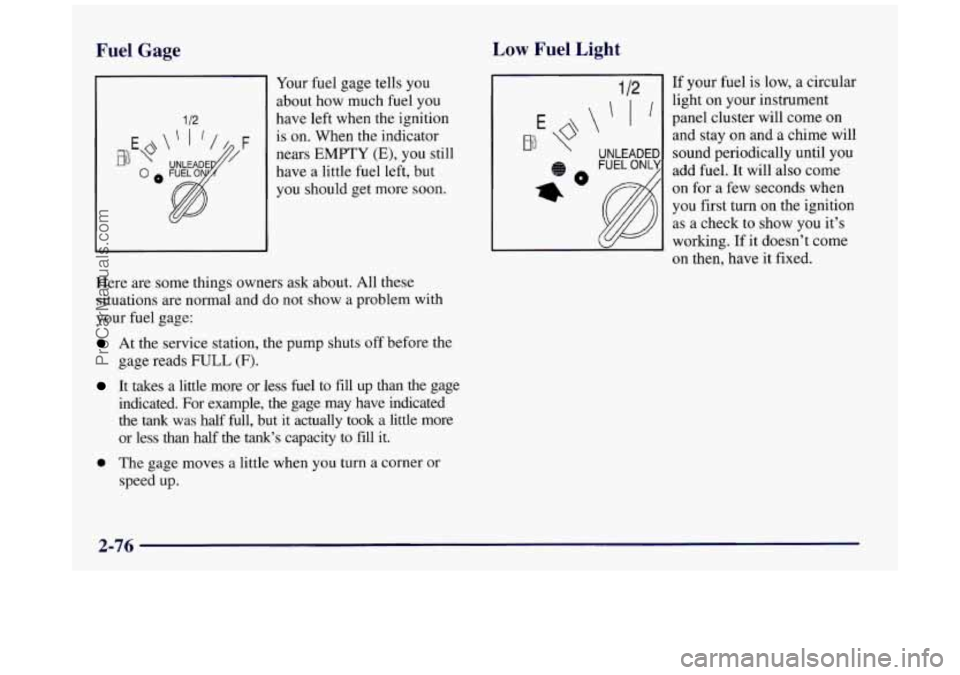
Fuel Gage Low Fuel Light
1 12
Your fuel gage tells you
about how much fuel you
have left when the ignition
is on. When the indicator
nears
EMPTY (E), you still
have a little fuel
left, but
you should get more soon.
Here are some things owners ask about. All these
situations are normal and do not show a problem with
your fuel gage:
At the service station, the pump shuts off before the
gage reads
FULL (F).
It takes a little more or less fuel to fill up than the gage
indicated. For example, the gage may have indicated
the tank was half full, but it actually took a little more
or less than half the tank’s capacity to fill it.
0 The gage moves a little when you turn a corner or
speed up. If
your fuel is low, a circular
light
on your instrument
panel cluster will come
on
and stay on and a chime will
sound periodically until you
add fuel. It will also come
on for a few seconds when
you first turn
on the ignition
as a check to show you it’s
working. If it doesn’t come
on then, have it fixed.
2-76
ProCarManuals.com
Page 192 of 422
Cleaning may be done with a scrubbing action,
non-abrasive cleaning cassette with pads which scrub
the tape head as the hubs of the cleaner cassette turn.
A
scrubbing action cleaning cassette is available through
your dealership.
You may also choose a non-scrubbing action, wet-type
cleaner which uses a cassette with a fabric belt to clean
the tape head. This type of cleaning cassette may not
clean as thoroughly as the scrubbing type cleaner.
After you clean the player, press and hold EJECT for
five seconds
to reset the CLN indicator. The radio will
display
--- to show the indicator was reset.
Cassettes are subject to wear and the sound quality
may degrade over time. Always make sure the cassette
tape
is in good condition before you have your tape
player serviced.
Care of Your Compact Discs
Handle discs carefully. Store them in their original cases
or other protective cases and away from direct sunlight
and dust. If the surface of a disc is soiled, dampen a
clean, soft cloth in a mild, neutral detergent solution and
clean it, wiping from the center to the edge.
Be sure never to touch the signal surface when handling
discs. Pick up discs by grasping the outer edges or the
edge of the hole and the outer edge.
Fixed Mast Antenna
The fixed mast antenna can withstand most car washes
without being damaged. If the mast should ever become
slightly bent,
you can straighten it out by hand. If the
mast is badly bent, as it might be by vandals, you should
replace
it.
Check every once in a while to be sure the mast is still
tightened to the fender.
3-36
ProCarManuals.com
Page 280 of 422
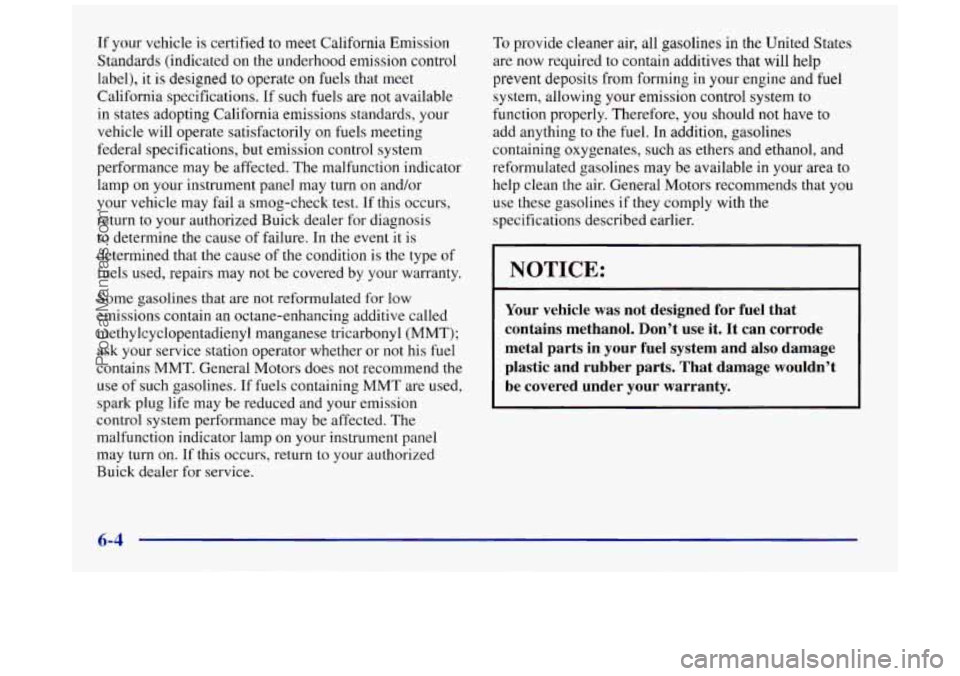
If your vehicle is certified to meet California Emission
Standards (indicated on the underhood emission control
label), it
is designed to operate on fuels that meet
California specifications. If such fuels are not available
in states adopting California emissions standards, your
vehicle will operate satisfactorily on fuels meeting
federal specifications, but emission control system
performance may be affected. The malfunction indicator
lamp on your instrument panel may turn
on and/or
your vehicle may fail a smog-check test. If this occurs,
return to your authorized Buick dealer for diagnosis
to determine the cause of failure. In the event it is
determined that the cause of the condition is the type of
fuels used, repairs may
not be covered by your warranty.
Some gasolines that are not reformulated
for low
emissions contain an octane-enhancing additive called
methylcyclopentadienyl manganese tricarbonyl (MMT);
ask your service station operator whether or not his fuel
contains MMT. General Motors does not recommend the
use of such gasolines.
If fuels containing MMT are used,
spark plug life may be reduced and your emission
control system performance may be affected. The
malfunction indicator lamp
on your instrument panel
may turn on. If this occurs, return to your authorized
Buick dealer for service.
To provide cleaner air, all gasolines in the United States
are now required to contain additives
that will help
prevent deposits from forming in your engine and
fuel
system, allowing your emission control system to
function properly. Therefore, you should not have
to
add anything to the fuel. In addition, gasolines
containing oxygenates, such as ethers and ethanol, and
reformulated gasolines may be available
in your area to
help clean the air. General Motors recommends that you
use these gasolines
if they comply with the
specifications described earlier.
I NOTICE:
Your vehicle was not designed for fuel that
contains methanol. Don’t use it. It can corrode
metal parts
in your fuel system and also damage
plastic and rubber parts. That damage wouldn’t be covered under your warranty.
6-4
ProCarManuals.com
Page 306 of 422
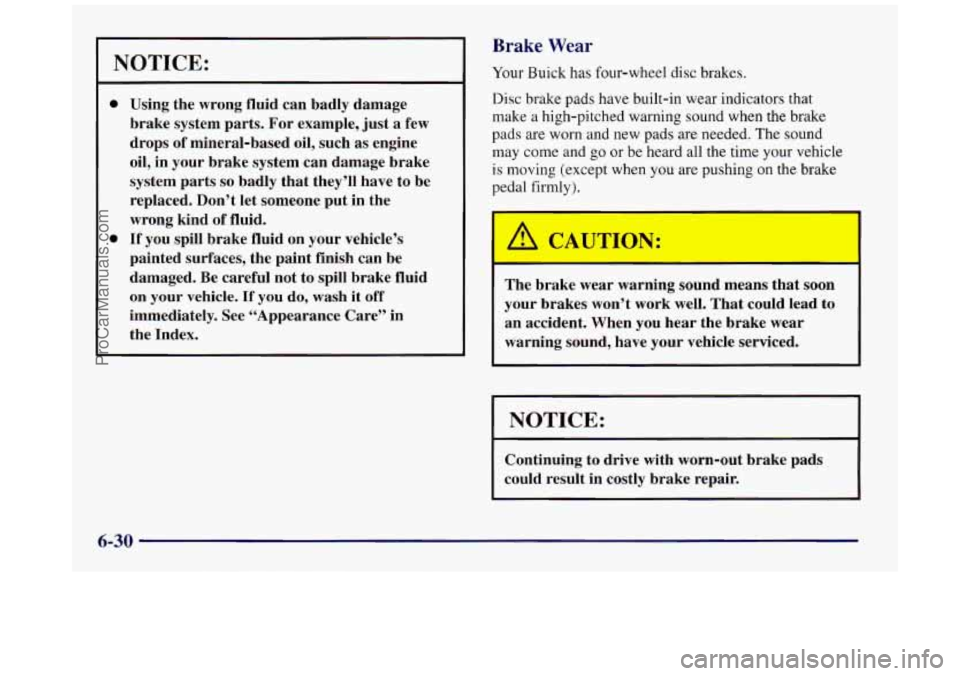
NOTICE:
e
0
Using the wrong fluid can badly damage
brake system parts. For example, just a few
drops
of mineral-based oil, such as engine
oil, in your brake system can damage brake
system parts
so badly that they’ll have to be
replaced. Don’t let someone put in the
wrong kind
of fluid.
If you spill brake fluid on your vehicle’s
painted surfaces, the paint finish can be
damaged. Be careful not
to spill brake fluid
on your vehicle. If you do, wash it off
immediately. See “Appearance Care” in
the Index.
Brake Wear
Your Buick has four-wheel disc brakes.
Disc brake pads have built-in wear indicators that
make a high-pitched warning sound when the brake
pads are worn and new pads are needed. The
sound
may come and go or be heard all the time your vehicle
is moving (except when you are pushing on the brake
pedal firmly).
The brake wear warning sound means that soon
your brakes won’t work well. That could lead to
an accident. When you hear the brake wear
warning sound, have your vehicle serviced.
I NOTICE:
~~
Continuing to drive with worn-out brake pads
could result in costly brake repair.
6-30
ProCarManuals.com
Page 349 of 422
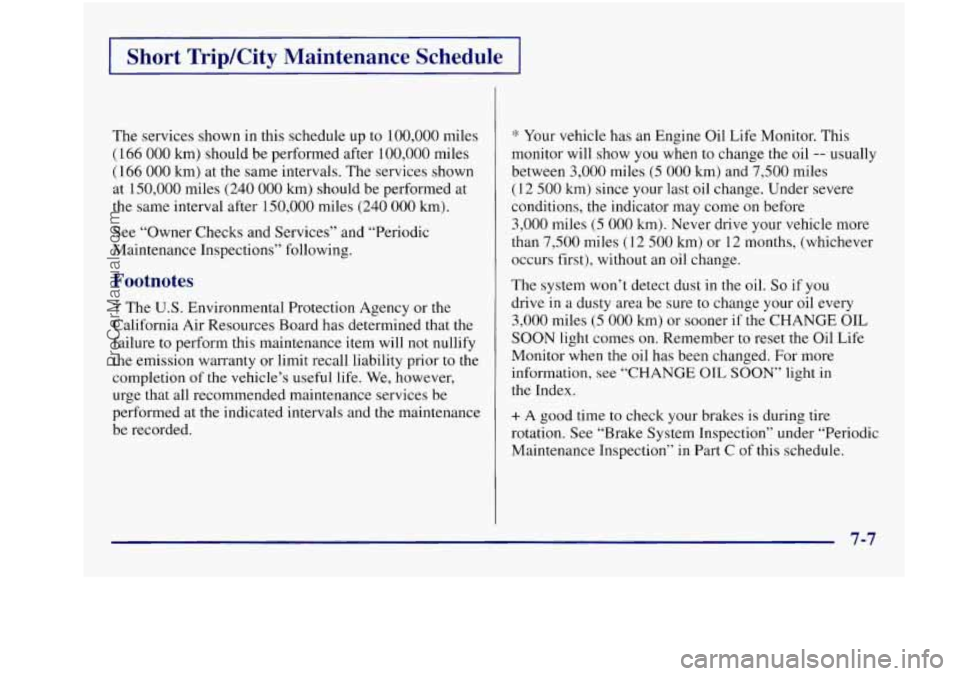
* Your vehicle has an Engine Oil L’
Short TripKity Maintenance Schedule
The services shown in this schedule up to 100,000 miles
(166 000 km) should be performed after 100,000 miles
(166 000 km) at the same intervals. The services shown
at
150,000 miles (240 000 km) should be performed at
the same interval after
150,000 miles (240 000 km).
See “Owner Checks and Services” and “Periodic
Maintenance Inspections” following.
Footnotes
-f The U.S. Environmental Protection Agency or the
California Air Resources Board has determined that the
failure to perform this maintenance item will not nullify
the emission warranty or limit recall liability prior to the
completion of the vehicle’s useful life. We, however,
urge that all recommended maintenance services be
performed at
the indicated intervals and the maintenance
be recorded. ~fe
Monitor. Thi
.s
monitor will show you when to change the oil -- usually
between
3,000 miles (5 000 km) and 7,500 miles
(1 2 500 km) since your last oil change. Under severe
conditions,
the indicator may come on before
3,000 miles (5 000 km). Never drive your vehicle more
than
7,500 miles (1 2 500 km) or 12 months, (whichever
occurs first), without an oil change.
The system won’t detect dust in the oil.
So if you
drive in
a dusty area be sure to change your oil every
3,000 miles (5 000 km) or sooner if the CHANGE OIL
SOON light comes on. Remember to reset the Oil Life
Monitor when the oil has been changed. For more
information, see
“CHANGE OIL SOON” light in
the Index.
+ A good time to check your brakes is during tire
rotation.
See “Brake System Inspection” under “Periodic
Maintenance Inspection” in Part C
of this schedule.
7-7
ProCarManuals.com
Page 370 of 422
I Long Tripmighway Maintenance Schedule 1
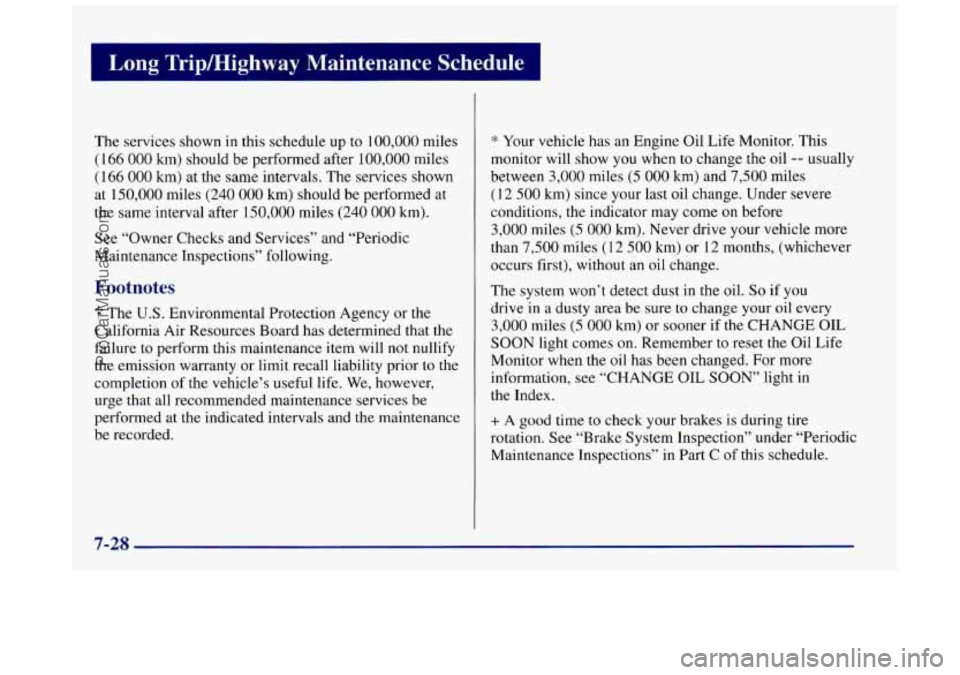
The services shown in this schedule up to 100,000 miles
( 166 000 km) should be performed after 100,000 miles
(166 000 km) at the same intervals. The services shown
at
150,000 miles (240 000 km) should be performed at
the same interval after 150,000 miles
(240 000 km).
See “Owner Checks and Services” and “Periodic
Maintenance Inspections” following.
Footnotes
The U.S. Environmental Protection Agency or the
California Air Resources Board has determined that the
failure to perform this maintenance item will not nullify
the emission warranty or limit recall liability prior to the
completion of the vehicle’s useful life.
We, however,
urge that all recommended maintenance services be
performed at the indicated intervals and the maintenance
be recorded.
* Your vehicle has an Engine Oil Life Monitor. This
monitor will show you when to change the oil
-- usually
between
3,000 miles (5 000 km) and 7,500 miles
(1 2 500 km) since your last oil change. Under severe
conditions, the indicator may come on before
3,000 miles (5 000 km). Never drive your vehicle more
than
7,500 miles (1 2 500 km) or 12 months, (whichever
occurs first), without an oil change.
The system won’t detect dust in the oil.
So if you
drive in a dusty area be sure to change your oil every
3,000 miles (5 000 km) or sooner if the CHANGE OIL
SOON light comes on. Remember to reset the Oil Life
Monitor when the
oil has been changed. For more
information, see “CHANGE OIL
SOON’ light in
the Index.
+ A good time to check your brakes is during tire
rotation.
See “Brake System Inspection” under “Periodic
Maintenance Inspections” in Part
C of this schedule.
7-28
ProCarManuals.com
Page 413 of 422
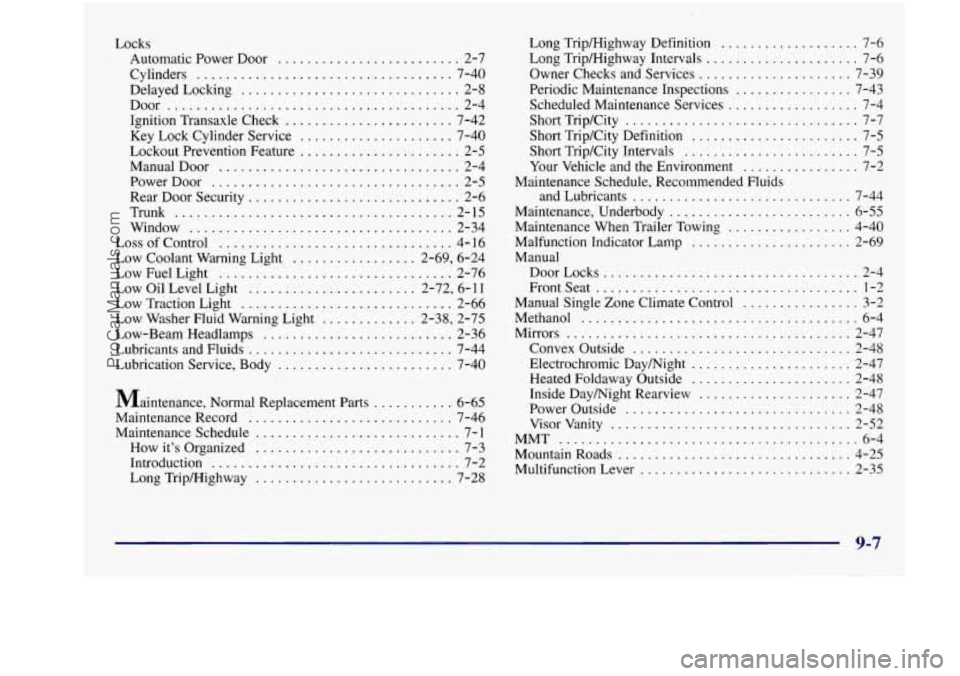
Locks Automatic Power Door
......................... 2-7
Cylinders
................................... 7-40
DelayedLocking
.............................. 2-8
Ignition Transaxle Check
....................... 7-42
Key Lock Cylinder Service
..................... 7-40
Lockout Prevention Feature
...................... 2-5
ManualDoor
................................. 2-4
PowerDoor
.................................. 2-5
Rear Door Security
............................. 2-6
Trunk
...................................... 2-15
Window
.................................... 2-34
Loss
of Control ................................ 4- 16
Low Coolant Warning Light
................. 2.69. 6.24
LowFuelLight
................................ 2-76
Low Oil Level Light
....................... 2.72. 6. 11
Low Traction Light ............................. 2-66
Low Washer Fluid Warning Light
............. 2.38. 2-75
Low-Beam Headlamps
.......................... 2-36
Lubricants and Fluids
............................ 7-44
Lubrication Service. Body
........................ 7-40
Door
........................................ 2-4
Maintenance. Normal Replacement Parts
........... 6-65
Maintenance Record
............................ 7-46
Maintenance Schedule
............................ 7-1
How it’s Organized
............................ 7-3
Introduction
.................................. 7-2
Long Trip/Highway
........................... 7-28 Long
Trip/Highway Definition
................... 7-6
Long Trip/Highway Intervals
..................... 7-6
Owner Checks and Services
..................... 7-39
Periodic Maintenance Inspections
................ 7-43
Scheduled Maintenance Services
.................. 7-4
Short Trip/City
................................ 7-7
Short Trip/City Definition
....................... 7-5
Short Trip/City Intervals
........................ 7-5
Your Vehicle and the Environment
................ 7-2
Maintenance Schedule. Recommended Fluids
andLubricants
.............................. 7-44
Maintenance. Underbody
......................... 6-55
Maintenance When Trailer Towing
................. 4-40
Malfunction Indicator Lamp
...................... 2-69
Manual DoorLocks
................................... 2-4
Frontseat
.................................... 1-2
Manual Single Zone Climate Control
................ 3-2
Methanol
...................................... 6-4
Mirrors
....................................... 2-47
Convex Outside
.............................. 2-48
Electrochromic Day/Night
...................... 2-47
Heated Foldaway Outside
...................... 2-48
Inside Daymight Rearview
..................... 2-47
Power Outside
............................... 2-48
Visor Vanity
................................. 2-52
Mountain Roads
................................ 4-25
Multifunction Lever
............................. 2-35
MMT
......................................... 6-4
ProCarManuals.com
Page 418 of 422
L
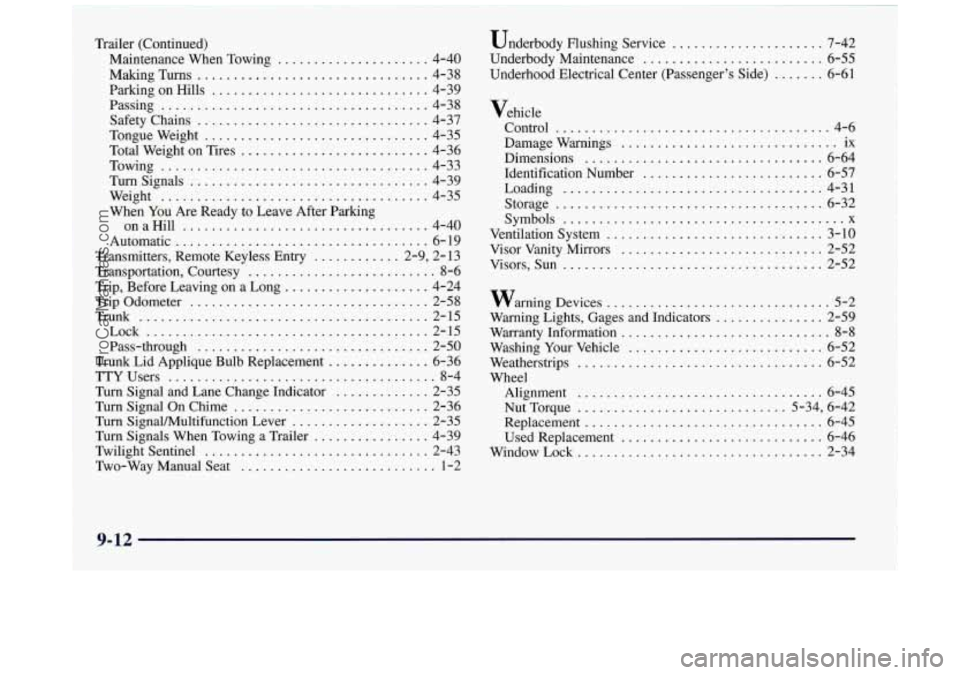
Trailer (Continued) Maintenance When Towing
..................... 4-40
MakingTurns
................................ 4-38
ParkingonHills
.............................. 4-39
Passing
..................................... 4-38
Tongueweight
............................... 4-35
Total Weight on Tires
.......................... 4-36
Towing
..................................... 4-33
Turn Signals ................................. 4-39
Weight
..................................... 4-35
When
You Are Ready to Leave After Parking
onaHill
.................................. 4-40
Automatic
................................... 6- 19
Transportation. Courtesy
.......................... 8-6
Trip. Before Leaving on a Long
.................... 4-24
Trip Odometer
................................. 2-58
Trunk
........................................ 2-15
Lock
....................................... 2-15
Trunk Lid Applique Bulb Replacement
.............. 6-36
TTYUsers
...................................... 8-4
Turn Signal and Lane Change Indicator
............. 2-35
Turn Signal
On Chime ........................... 2-36
Turn SignaYMultifunction Lever
................... 2-35
Turn Signals When Towing a Trailer
................ 4-39
Safety Chains
................................ 4-37
Transmitters. Remote Keyless Entry
............ 2.9. 2.13
Pass-through
................................ 2-50
llvilight Sentinel
............................... 2-43
Two-way Manual Seat
........................... 1-2 Underbody
Flushing Service
..................... 7-42
Underbody Maintenance
......................... 6-55
Underhood Electrical Center (Passenger’s Side)
....... 6-61
Vehicle Control
...................................... 4-6
Damage Warnings
.............................. ix
Dimensions
................................. 6-64
Identification Number
......................... 6-57
Storage
..................................... 6-32
Symbols
....................................... x
Ventilationsystem
.............................. 3-10
Visor Vanity Mirrors
............................ 2-52
Visors. Sun
.................................... 2-52
Loading
.................................... 4-31
warning Devices
............................... 5-2
Warning Lights. Gages and Indicators
............... 2-59
Warranty Information
............................. 8-8
Weatherstrips
.................................. 6-52
Nut Torque ............................. 5-34. 6-42
Replacement
................................. 6-45
Used Replacement
............................ 6-46
Washing
Your Vehicle ........................... 6-52
Wheel Alignment
.................................. 6-45
WindowLock
.................................. 2-34
9-12
ProCarManuals.com