BUICK REGAL 2003 Owner's Manual
Manufacturer: BUICK, Model Year: 2003, Model line: REGAL, Model: BUICK REGAL 2003Pages: 344, PDF Size: 2.21 MB
Page 251 of 344

Headlamps
1. Open the hood.
2. Pull up on the headlamp retainers (A) to release the
assembly locator tabs.
3. Disconnect the electrical connector (B) from the
headlamp assembly.
4. Slide the headlamp assembly out of the slots.5. Remove the rubber access cover from behind the
bulb you are replacing.
6. Turn the bulb socket one-quarter turn and remove it
from the headlamp assembly.
7. Lift the plastic locking tab on the electrical connector
and pull the connector from the headlamp bulb
socket.
8. Connect the new headlamp bulb to the electrical
connector, making sure the connector tab snaps
into place.
9. Insert the bulb socket into the headlamp assembly.
10. Reverse all steps to reassemble the headlamp
assembly, then check the lamps.
5-51
2003 - Regal OM
Page 252 of 344

Front Turn Signal and Parking
Lamps
1. Remove the headlamp assembly. Refer to the
removal procedure earlier in this section.
2. Remove the rubber bulb access cover.
3. Twist the sidemarker lamp socket, located on the
outboard side of the headlamp assembly,
counterclockwise and pull it from the headlamp
assembly.
4. Holding the base of the socket, pull the old bulb
from the socket.
5. Push the new bulb into the socket.
6. Reverse Steps 1 through 3 to reinstall the lamp
assembly.
Center High-Mounted
Stoplamp (CHMSL)
1. Open the trunk.
2. Reach through the access opening in the trunk lid.
5-52
2003 - Regal OM
Page 253 of 344

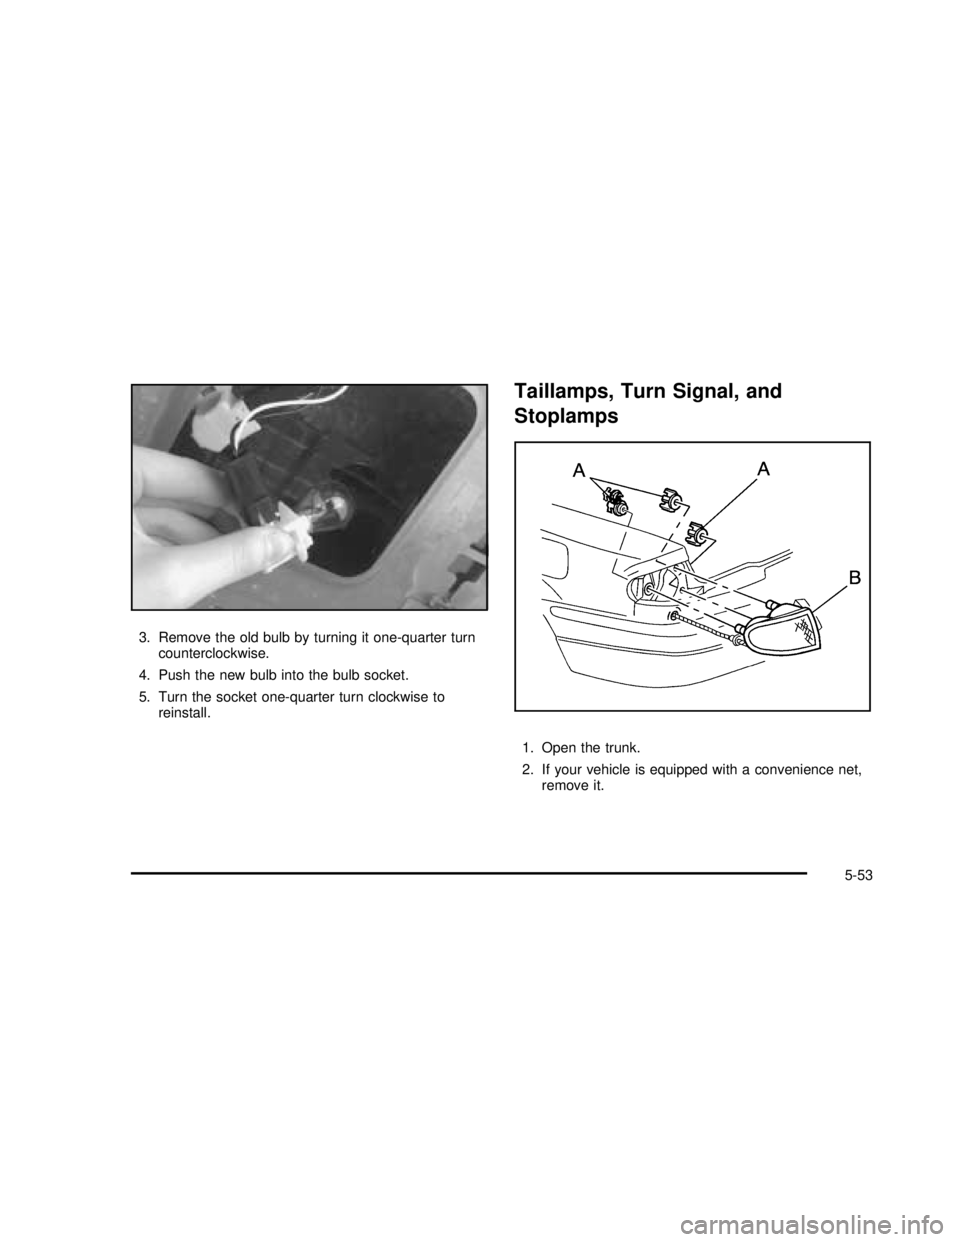
3. Remove the old bulb by turning it one-quarter turn
counterclockwise.
4. Push the new bulb into the bulb socket.
5. Turn the socket one-quarter turn clockwise to
reinstall.
Taillamps, Turn Signal, and
Stoplamps
1. Open the trunk.
2. If your vehicle is equipped with a convenience net,
remove it.
5-53
2003 - Regal OM
Page 254 of 344

3. Remove the three plastic wing nuts (A).
There is one wing nut located on the outside of the
carpet. The other two are located underneath
the carpet.
4. Pull the taillamp housing (B) away from the body of
the vehicle.
5. Squeeze the tab on the socket and turn the socket
counterclockwise.
6. Pull out the socket.
7. Pull the old bulb out of the socket. (There are two
bulbs on each taillamp.)
8. Push in a new bulb.
9. Reverse these steps to reinstall the lamp assembly.Back-Up Lamps
1. Open the trunk lid.
2. Remove the seven wing nuts (A) from the lamp
covering.
3. Remove the lamp covering.
5-54
2003 - Regal OM
Page 255 of 344

4. Twist and pull the bulb socket (B) from the trunk lid.
5. Twist and/or pull the old bulb from the bulb
socket.
6. Twist and/or push the new bulb into the lamp
socket.
7. Twist and/or push the lamp socket into the trunk lid
covering.
8. Reverse Steps 2 and 3 to reinstall the lamp
covering.
Replacement Bulbs
Exterior Lamps Bulb Number
Back-Up 1156
Center High-Mounted Stoplamp
(CHMSL)3155
Front Turn Signal and Parking
Lamps4157NAK
Headlamps, High Beam 9005
Headlamps, Low Beam 9006
Taillamps and Stoplamps/Turn
Signal3057
Taillamp 194
For any bulb not listed here contact your dealer.
Windshield Wiper Blade
Replacement
Windshield wiper blades should be inspected at least
twice a year for wear or cracking. See“Wiper Blade
Check”underPart B: Owner Checks and Services on
page 6-10for more information.
1. Turn on the wipers to LO.
2. Turn off the ignition while the wipers are at the
outer positions of the wiper pattern. The blades
are more accessible for removal/replacement while
in this position.
3. Pull the windshield wiper arm 3 to 4 inches
(7.5 to 10 cm) away from the windshield.
5-55
2003 - Regal OM
Page 256 of 344

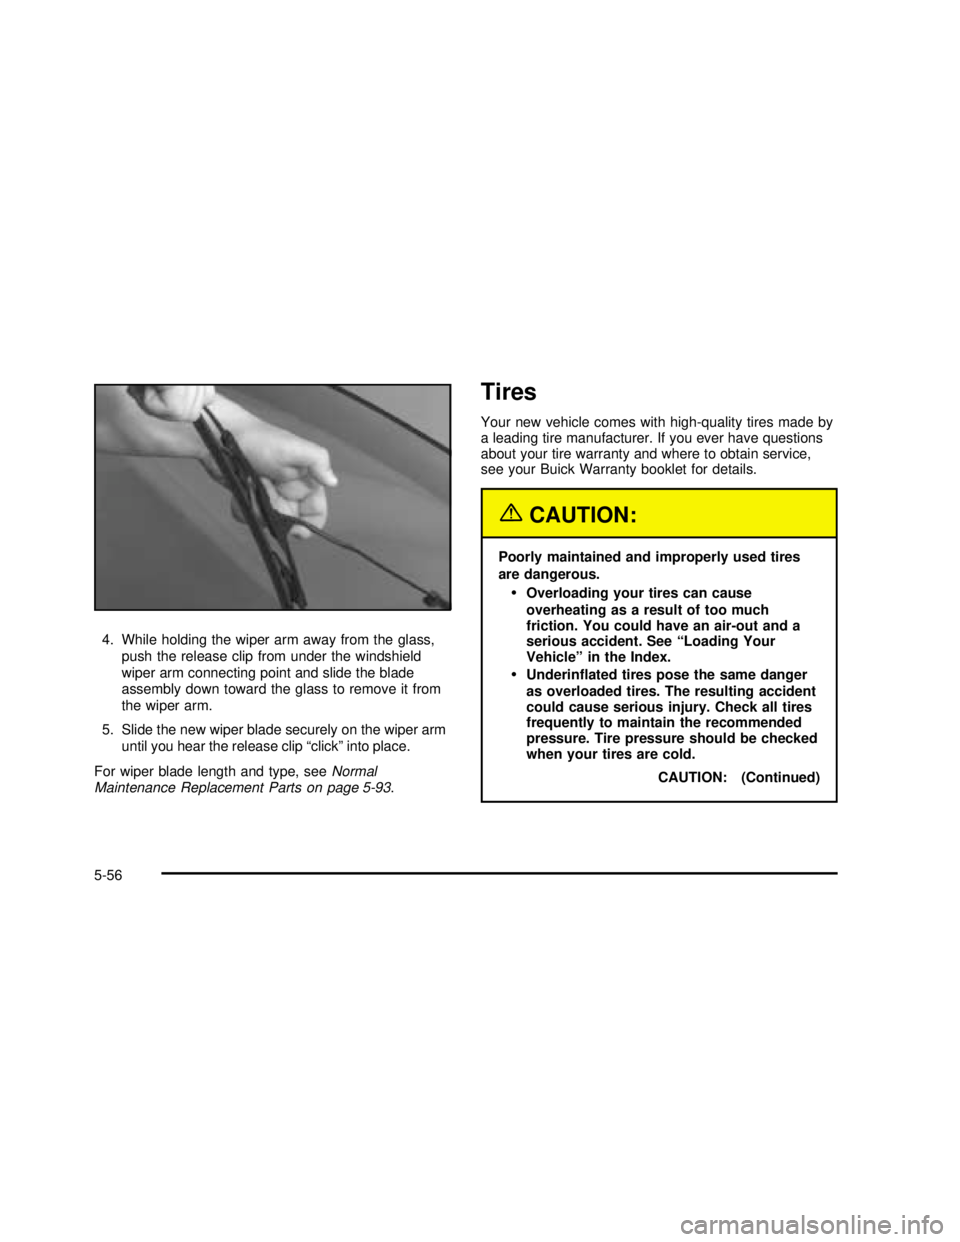
4. While holding the wiper arm away from the glass,
push the release clip from under the windshield
wiper arm connecting point and slide the blade
assembly down toward the glass to remove it from
the wiper arm.
5. Slide the new wiper blade securely on the wiper arm
until you hear the release clip“click”into place.
For wiper blade length and type, seeNormal
Maintenance Replacement Parts on page 5-93.
Tires
Your new vehicle comes with high-quality tires made by
a leading tire manufacturer. If you ever have questions
about your tire warranty and where to obtain service,
see your Buick Warranty booklet for details.
{CAUTION:
Poorly maintained and improperly used tires
are dangerous.
Overloading your tires can cause
overheating as a result of too much
friction. You could have an air-out and a
serious accident. See“Loading Your
Vehicle”in the Index.
Underin�ated tires pose the same danger
as overloaded tires. The resulting accident
could cause serious injury. Check all tires
frequently to maintain the recommended
pressure. Tire pressure should be checked
when your tires are cold.
CAUTION: (Continued)
5-56
2003 - Regal OM
Page 257 of 344

CAUTION: (Continued)
Overin�ated tires are more likely to be
cut, punctured or broken by a sudden
impact—such as when you hit a pothole.
Keep tires at the recommended pressure.
Worn, old tires can cause accidents. If
your tread is badly worn, or if your tires
have been damaged, replace them.
In�ation—Tire Pressure
The Tire-Loading Information label, which is on the
inside of the trunk lid, shows the correct inflation
pressures for your tires when they’re cold.“Cold”means
your vehicle has been sitting for at least three hours
or driven no more than 1 mile (1.6 km).
Notice:Don’t let anyone tell you that underin�ation
or overin�ation is all right. It’s not. If your tires
don’t have enough air (underin�ation), you can get
the following:
Too much�exing
Too much heat
Tire overloading
Bad wear
Bad handling
Bad fuel economy
If your tires have too much air (overin�ation), you
can get the following:
Unusual wear
Bad handling
Rough ride
Needless damage from road hazards
When to Check
Check your tires once a month or more.
Don’t forget your compact spare tire. It should be at
60 psi (420 kPa).
How to Check
Use a good quality pocket-type gage to check tire
pressure. You can’t tell if your tires are properly inflated
simply by looking at them. Radial tires may look
properly inflated even when they’re underinflated.
Be sure to put the valve caps back on the valve stems.
They help prevent leaks by keeping out dirt and
moisture.
5-57
2003 - Regal OM
Page 258 of 344

Tire Pressure Monitor System
If your vehicle has the tire inflation monitor system, it
can alert you to a large change in the pressure of
one tire. The system“learns”the pressure at each tire
throughout the operating speed range of your vehicle.
The system normally takes between 45 and 90 minutes
of driving to learn the tire pressures. This time may
be longer depending on your individual driving habits.
Learning need not be accumulated during a single
trip. Once learned, the system will remember the tire
pressures until the system is recalibrated.
After the system has learned tire pressures with properly
inflated tires, the LOW TIRE light will come on if the
pressure in one tire becomes 12 psi (83 kPa) lower than
the other three tires. The tire inflation monitor system
won’t alert you if the pressure in more than one tire is low,
if the system is not properly calibrated, or if the vehicle is
moving faster than 70 mph (110 km/h).
The tire inflation monitor system detects differences in
tire rotation speeds that are caused by changes in
tire pressure. The system can alert you about a low
tire—but it doesn’t replace normal tire maintenance.
SeeTires on page 5-56.When the LOW TIRE light comes on, you should stop
as soon as you can and check all your tires for damage.
(If a tire isflat, seeIf a Tire Goes Flat on page 5-66.)
Also check the tire pressure in all four tires as soon as
you can. SeeInflation—Tire Pressure on page 5-57.
The LOW TIRE light will also be displayed (while
the ignition is on) until you reset (calibrate) the system.
Don’t reset the tire inflation monitor system without
first correcting the cause of the problem and checking
and adjusting the pressure in all four tires. If you
reset the system when the tire pressures are incorrect,
the system will not work properly and may not alert
you when a tire is low.
Any time you adjust a tire’s pressure, rotate your tires,
or have one or more tires repaired or replaced, you’ll
need to reset (calibrate) the tire inflation monitor system.
You’ll also need to reset the system whenever you
buy new tires and whenever the vehicle’s battery has
been disconnected.
To reset (calibrate) the system:
1. Turn the ignition to RUN.
2. Locate the red RESET button inside of your
instrument panel fuse block.
The fuse block is located under the cover labeled
FUSES, which is at the end of the instrument panel
on the passenger’s side of the vehicle. The
RESET button is thefirst button in the top row of
the fuse block.
5-58
2003 - Regal OM
Page 259 of 344

3. Press and hold the RESET button for aboutfive
seconds.
The LOW TIRE light will come on andflash three
times. Then it will go off. If the light doesn’tgo
off, see your dealer for service.
The system completes the calibration process during
driving.
The system normally takes 15 to 20 minutes of driving
in each of three speed ranges to“learn”tire pressures.
The speed ranges are 15 to 40 mph (25 to 65 km/h),
40 to 65 mph (65 to 105 km/h) and above 65 mph
(105 km/h). When learning is complete, the system will
alert you after two to eight minutes if a tire is 12 psi
(83 kPa) different from the other three tires. Detection
thresholds may be higher and detection times may
be longer on rough roads, curves and at high speeds.
The system is not capable of detection at speeds greater
than 70 mph (110 km/h).Tire Inspection and Rotation
Tires should be rotated every 7,500 miles (12 500 km).
Any time you notice unusual wear, rotate your tires
as soon as possible and check wheel alignment. Also
check for damaged tires or wheels. SeeWhen It Is Time
for New Tires on page 5-60andWheel Replacement
on page 5-63for more information.
The purpose of regular rotation is to achieve more
uniform wear for all tires on the vehicle. Thefirst rotation
is the most important. See“Part A: Scheduled
Maintenance Services,”in Section 6, for scheduled
rotation intervals.
When rotating your tires, always use the correct rotation
pattern shown here.
Don’t include the compact spare tire in your tire rotation.
5-59
2003 - Regal OM
Page 260 of 344

After the tires have been rotated, adjust the front and
rear inflation pressures as shown on the Tire-Loading
Information label.
Reset the Tire Inflation Monitor System. SeeTire
Pressure Monitor System on page 5-58.
Make certain that all wheel nuts are properly tightened.
See“Wheel Nut Torque”underCapacities and
Specifications on page 5-92.
{CAUTION:
Rust or dirt on a wheel, or on the parts to
which it is fastened, can make wheel nuts
become loose after a time. The wheel could
come off and cause an accident. When you
change a wheel, remove any rust or dirt from
places where the wheel attaches to the vehicle.
In an emergency, you can use a cloth or a
paper towel to do this; but be sure to use a
scraper or wire brush later, if you need to, to
get all the rust or dirt off. See“Changing a Flat
Tire”in the Index.
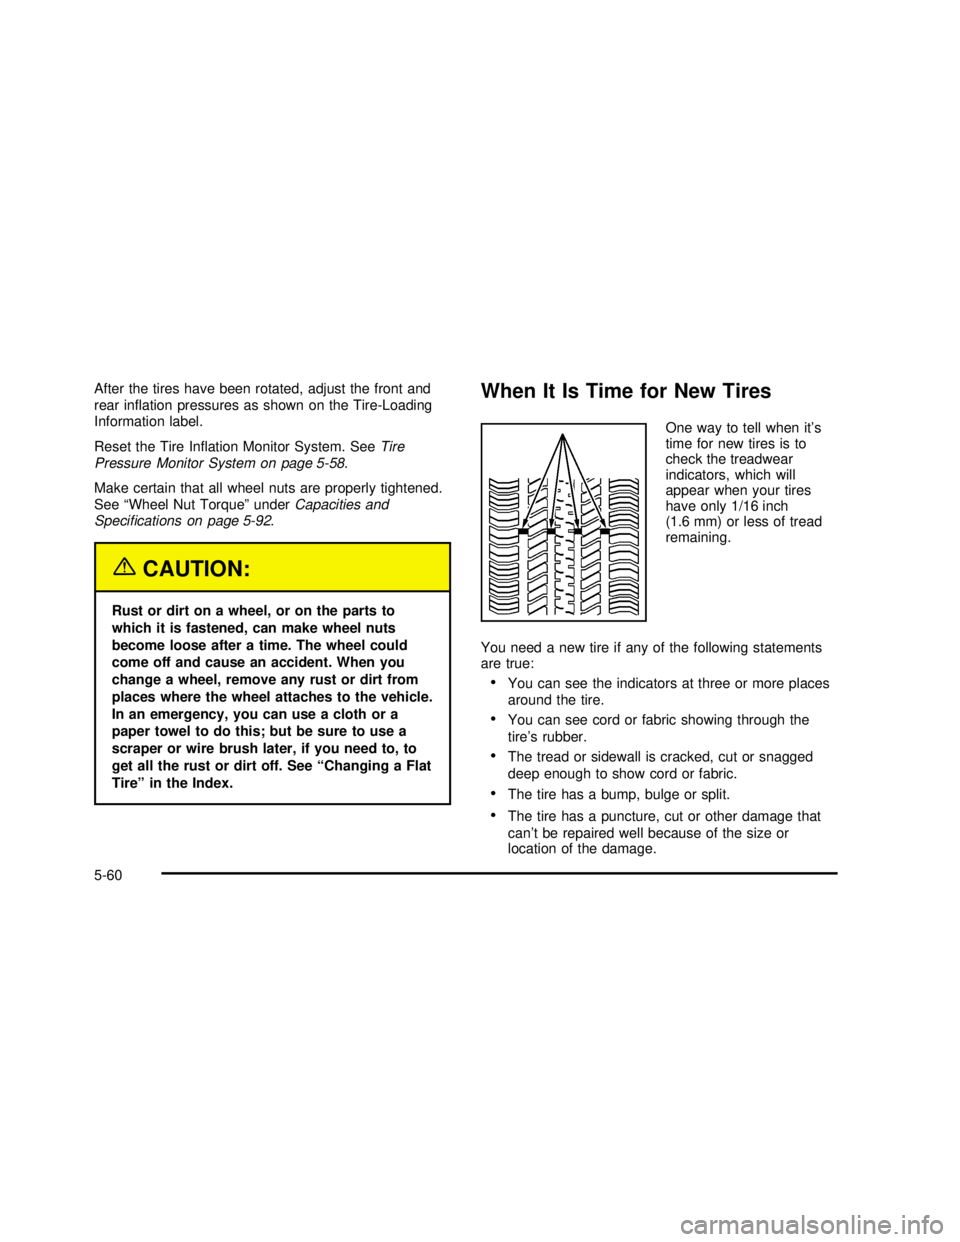
When It Is Time for New Tires
One way to tell when it’s
time for new tires is to
check the treadwear
indicators, which will
appear when your tires
have only 1/16 inch
(1.6 mm) or less of tread
remaining.
You need a new tire if any of the following statements
are true:
•You can see the indicators at three or more places
around the tire.
•You can see cord or fabric showing through the
tire’s rubber.
•The tread or sidewall is cracked, cut or snagged
deep enough to show cord or fabric.
•The tire has a bump, bulge or split.
•The tire has a puncture, cut or other damage that
can’t be repaired well because of the size or
location of the damage.
5-60
2003 - Regal OM