clock setting BUICK REGAL 2012 Owner's Manual
[x] Cancel search | Manufacturer: BUICK, Model Year: 2012, Model line: REGAL, Model: BUICK REGAL 2012Pages: 440, PDF Size: 6.22 MB
Page 22 of 440
Black plate (16,1)Buick Regal Owner Manual - 2012
1-16 In Brief
Manual Mode
Driver Shift Control (DSC) allows
you to shift an automatic
transmission similar to a manual
transmission. To use the DSC
feature:
1. Move the shift lever to the leftfrom D (Drive) into the side gate
marked with (+) and (−).
2. Press the shift lever forward to upshift or rearward to downshift.
See Automatic Transmission on
page 9‑28.Vehicle Features
Radio(s)
3
/O: Press to turn the system
on and off. Turn to increase or
decrease the volume.
SRCE: Press to choose between
FM, AM, XM™, if equipped, or CD.
Multifunction Knob: Turn to select
radio stations.
s ©:Press to seek the previous
station or track.
¨ \:Press to seek the next
station or track.
Buttons 1 to 6: Press to save and
select favorite stations.
INFO: Press to show available
information about the current station
or track, or to display the time when
the ignition is off.
For more information about these
and other radio features, see
Operation on page 7‑10.
Storing a Favorite Station
Stations from all bands can be
stored in the favorite lists in any
order. Up to six stations can be
stored in each favorite page and the
number of available favorite pages
can be set.
To store the station to a position in
the list, press the corresponding
numeric button 1 to 6 until a beep is
heard. The stored station will begin
playback.
For more information, see “Storing a
Station as a Favorite” inAM-FM
Radio on page 7‑14.
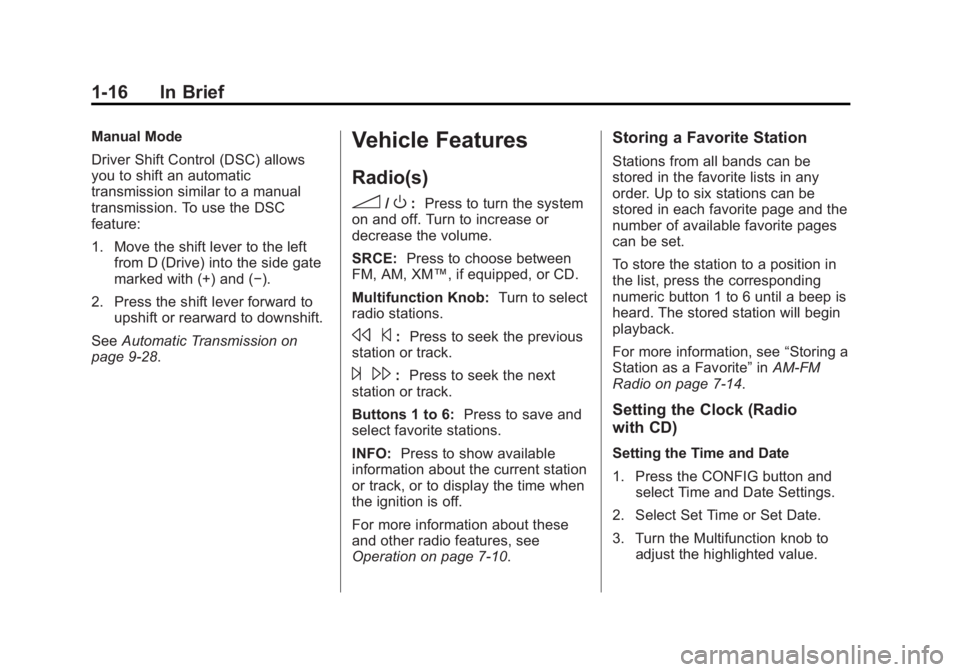
Setting the Clock (Radio
with CD)
Setting the Time and Date
1. Press the CONFIG button and select Time and Date Settings.
2. Select Set Time or Set Date.
3. Turn the Multifunction knob to adjust the highlighted value.
Page 23 of 440
Black plate (17,1)Buick Regal Owner Manual - 2012
In Brief 1-17
4. Press the Multifunction knob toselect the next value.
5. To save the time and return to the Time Settings menu, press
the BACK button at any time or
press the Multifunction button
after adjusting the minutes.
Setting the 12/24 Hour Format
1. Press the CONFIG button and select Time and Date Settings.
2. Highlight 12/24 Hour Format.
3. Press the Multifunction knob to select the 12 hour or 24 hour
display format.
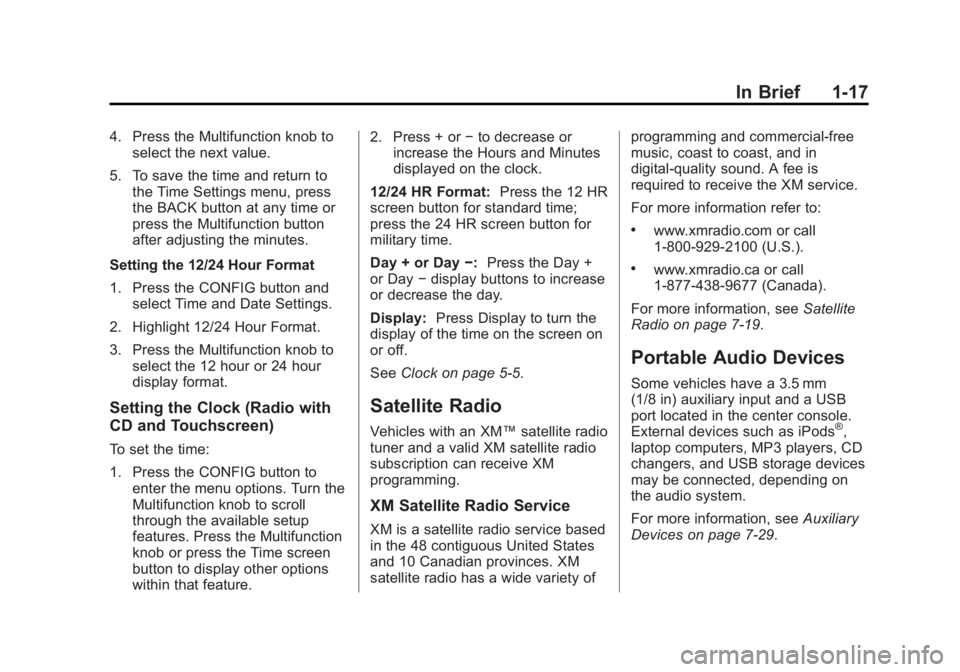
Setting the Clock (Radio with
CD and Touchscreen)
To set the time:
1. Press the CONFIG button toenter the menu options. Turn the
Multifunction knob to scroll
through the available setup
features. Press the Multifunction
knob or press the Time screen
button to display other options
within that feature. 2. Press + or
−to decrease or
increase the Hours and Minutes
displayed on the clock.
12/24 HR Format: Press the 12 HR
screen button for standard time;
press the 24 HR screen button for
military time.
Day + or Day −:Press the Day +
or Day −display buttons to increase
or decrease the day.
Display: Press Display to turn the
display of the time on the screen on
or off.
See Clock on page 5‑5.
Satellite Radio
Vehicles with an XM™ satellite radio
tuner and a valid XM satellite radio
subscription can receive XM
programming.
XM Satellite Radio Service
XM is a satellite radio service based
in the 48 contiguous United States
and 10 Canadian provinces. XM
satellite radio has a wide variety of programming and commercial-free
music, coast to coast, and in
digital-quality sound. A fee is
required to receive the XM service.
For more information refer to:
.www.xmradio.com or call
1-800-929-2100 (U.S.).
.www.xmradio.ca or call
1-877-438-9677 (Canada).
For more information, see Satellite
Radio on page 7‑19.
Portable Audio Devices
Some vehicles have a 3.5 mm
(1/8 in) auxiliary input and a USB
port located in the center console.
External devices such as iPods
®,
laptop computers, MP3 players, CD
changers, and USB storage devices
may be connected, depending on
the audio system.
For more information, see Auxiliary
Devices on page 7‑29.
Page 119 of 440
Black plate (5,1)Buick Regal Owner Manual - 2012
Instruments and Controls 5-5
Compass
There is a compass display in the
Driver Information Center (DIC). The
compass receives its heading and
other information from the Global
Positioning System (GPS) antenna,
StabiliTrak, and vehicle speed
information.
Avoid covering the GPS antenna for
long periods of time with objects
that may interfere with the antenna's
ability to receive a satellite signal.
SeeBackglass Antenna on
page 7‑23 andSatellite Radio
Antenna on page 7‑24 for the
location of the vehicle's antennas.
The compass system is designed to
operate for a certain number of
miles or degrees of turn before
needing a signal from the GPS
satellites. When the compass
display shows CAL, drive the
vehicle for a short distance in an
open area where it can receive a
GPS signal. The compass system
will automatically determine when
the GPS signal is restored and provide a heading again. See
Compass Messages on page 5‑30
for more information on the
messages that may be displayed for
the compass.
Clock
The infotainment system controls
are used to access the time and
date settings through the menu
system. See
Operation on
page 7‑10 for information about how
to use the menu system.
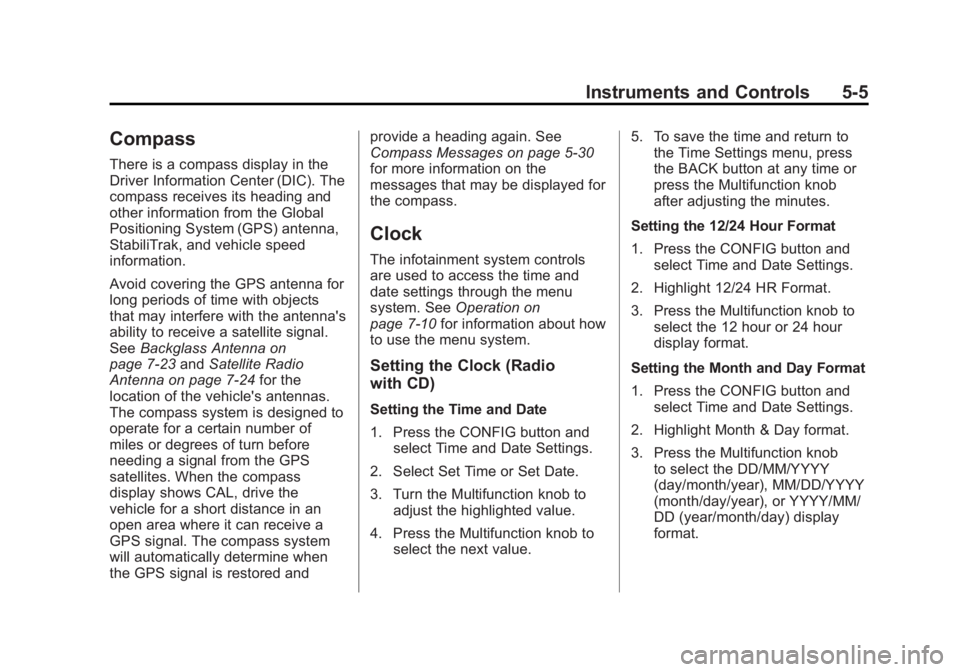
Setting the Clock (Radio
with CD)
Setting the Time and Date
1. Press the CONFIG button and select Time and Date Settings.
2. Select Set Time or Set Date.
3. Turn the Multifunction knob to adjust the highlighted value.
4. Press the Multifunction knob to select the next value. 5. To save the time and return to
the Time Settings menu, press
the BACK button at any time or
press the Multifunction knob
after adjusting the minutes.
Setting the 12/24 Hour Format
1. Press the CONFIG button and select Time and Date Settings.
2. Highlight 12/24 HR Format.
3. Press the Multifunction knob to select the 12 hour or 24 hour
display format.
Setting the Month and Day Format
1. Press the CONFIG button and select Time and Date Settings.
2. Highlight Month & Day format.
3. Press the Multifunction knob to select the DD/MM/YYYY
(day/month/year), MM/DD/YYYY
(month/day/year), or YYYY/MM/
DD (year/month/day) display
format.
Page 120 of 440
Black plate (6,1)Buick Regal Owner Manual - 2012
5-6 Instruments and Controls
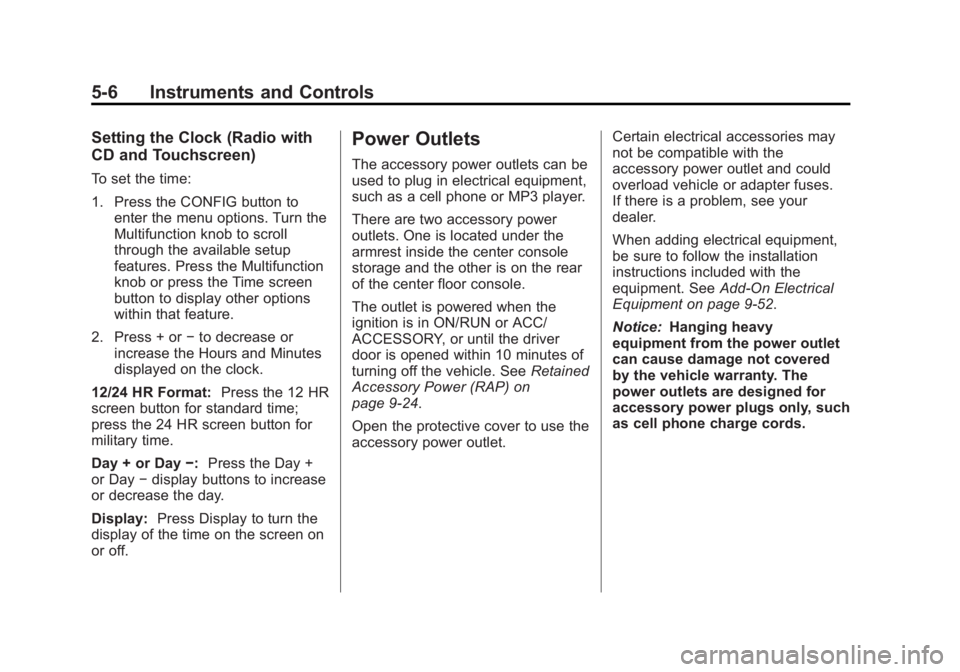
Setting the Clock (Radio with
CD and Touchscreen)
To set the time:
1. Press the CONFIG button toenter the menu options. Turn the
Multifunction knob to scroll
through the available setup
features. Press the Multifunction
knob or press the Time screen
button to display other options
within that feature.
2. Press + or −to decrease or
increase the Hours and Minutes
displayed on the clock.
12/24 HR Format: Press the 12 HR
screen button for standard time;
press the 24 HR screen button for
military time.
Day + or Day −:Press the Day +
or Day −display buttons to increase
or decrease the day.
Display: Press Display to turn the
display of the time on the screen on
or off.
Power Outlets
The accessory power outlets can be
used to plug in electrical equipment,
such as a cell phone or MP3 player.
There are two accessory power
outlets. One is located under the
armrest inside the center console
storage and the other is on the rear
of the center floor console.
The outlet is powered when the
ignition is in ON/RUN or ACC/
ACCESSORY, or until the driver
door is opened within 10 minutes of
turning off the vehicle. See Retained
Accessory Power (RAP) on
page 9‑24.
Open the protective cover to use the
accessory power outlet. Certain electrical accessories may
not be compatible with the
accessory power outlet and could
overload vehicle or adapter fuses.
If there is a problem, see your
dealer.
When adding electrical equipment,
be sure to follow the installation
instructions included with the
equipment. See
Add-On Electrical
Equipment on page 9‑52.
Notice: Hanging heavy
equipment from the power outlet
can cause damage not covered
by the vehicle warranty. The
power outlets are designed for
accessory power plugs only, such
as cell phone charge cords.
Page 173 of 440
Black plate (9,1)Buick Regal Owner Manual - 2012
Infotainment System 7-9
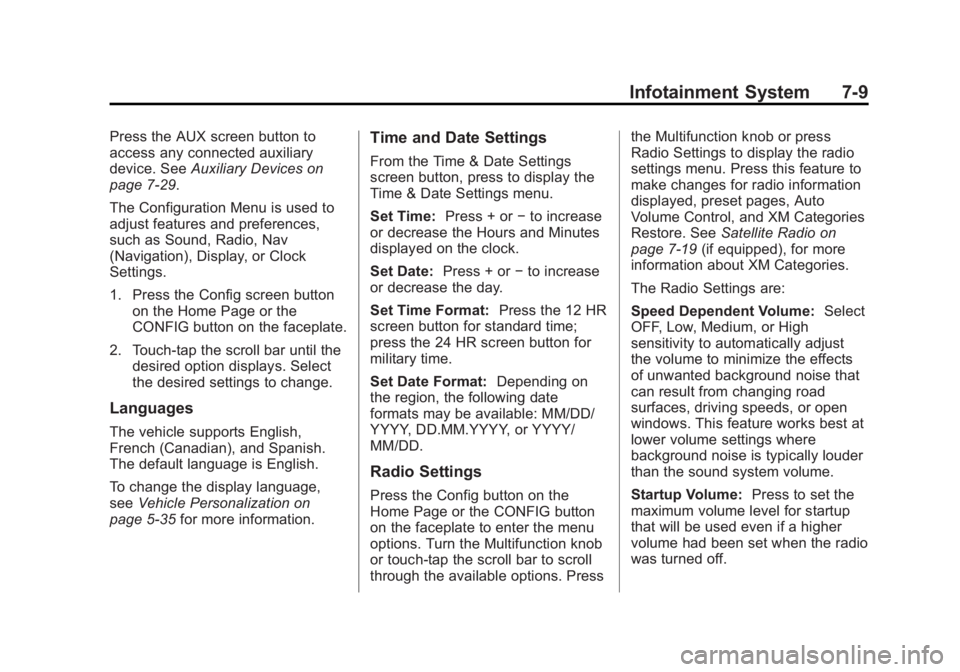
Press the AUX screen button to
access any connected auxiliary
device. SeeAuxiliary Devices on
page 7‑29.
The Configuration Menu is used to
adjust features and preferences,
such as Sound, Radio, Nav
(Navigation), Display, or Clock
Settings.
1. Press the Config screen button on the Home Page or the
CONFIG button on the faceplate.
2. Touch-tap the scroll bar until the desired option displays. Select
the desired settings to change.
Languages
The vehicle supports English,
French (Canadian), and Spanish.
The default language is English.
To change the display language,
see Vehicle Personalization on
page 5‑35 for more information.
Time and Date Settings
From the Time & Date Settings
screen button, press to display the
Time & Date Settings menu.
Set Time: Press + or−to increase
or decrease the Hours and Minutes
displayed on the clock.
Set Date: Press + or−to increase
or decrease the day.
Set Time Format: Press the 12 HR
screen button for standard time;
press the 24 HR screen button for
military time.
Set Date Format: Depending on
the region, the following date
formats may be available: MM/DD/
YYYY, DD.MM.YYYY, or YYYY/
MM/DD.
Radio Settings
Press the Config button on the
Home Page or the CONFIG button
on the faceplate to enter the menu
options. Turn the Multifunction knob
or touch-tap the scroll bar to scroll
through the available options. Press the Multifunction knob or press
Radio Settings to display the radio
settings menu. Press this feature to
make changes for radio information
displayed, preset pages, Auto
Volume Control, and XM Categories
Restore. See
Satellite Radio on
page 7‑19 (if equipped), for more
information about XM Categories.
The Radio Settings are:
Speed Dependent Volume: Select
OFF, Low, Medium, or High
sensitivity to automatically adjust
the volume to minimize the effects
of unwanted background noise that
can result from changing road
surfaces, driving speeds, or open
windows. This feature works best at
lower volume settings where
background noise is typically louder
than the sound system volume.
Startup Volume: Press to set the
maximum volume level for startup
that will be used even if a higher
volume had been set when the radio
was turned off.
Page 215 of 440
Black plate (1,1)Buick Regal Owner Manual - 2012
Climate Controls 8-1
Climate Controls
Climate Control Systems
Climate Control Systems . . . . . . 8-1
Dual Automatic Climate ControlSystem . . . . . . . . . . . . . . . . . . . . . . 8-3
Air Vents
Air Vents . . . . . . . . . . . . . . . . . . . . . . 8-7
Maintenance
Air Intake . . . . . . . . . . . . . . . . . . . . . 8-8
Passenger Compartment AirFilter . . . . . . . . . . . . . . . . . . . . . . . . . 8-8
Climate Control Systems
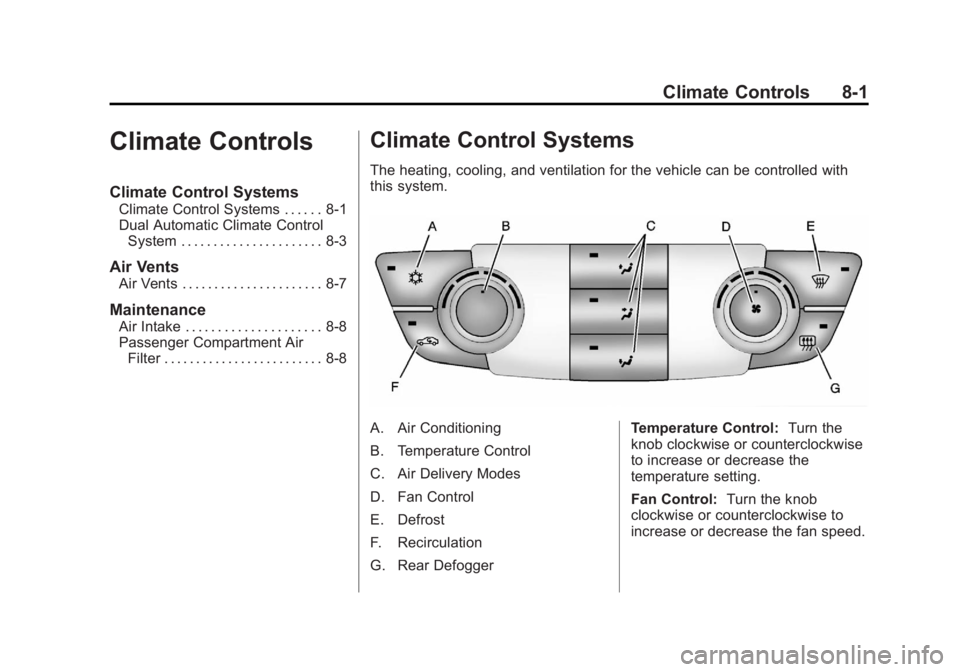
The heating, cooling, and ventilation for the vehicle can be controlled with
this system.
A. Air Conditioning
B. Temperature Control
C. Air Delivery Modes
D. Fan Control
E. Defrost
F. Recirculation
G. Rear Defogger Temperature Control:
Turn the
knob clockwise or counterclockwise
to increase or decrease the
temperature setting.
Fan Control: Turn the knob
clockwise or counterclockwise to
increase or decrease the fan speed.
Page 219 of 440
Black plate (5,1)Buick Regal Owner Manual - 2012
Climate Controls 8-5
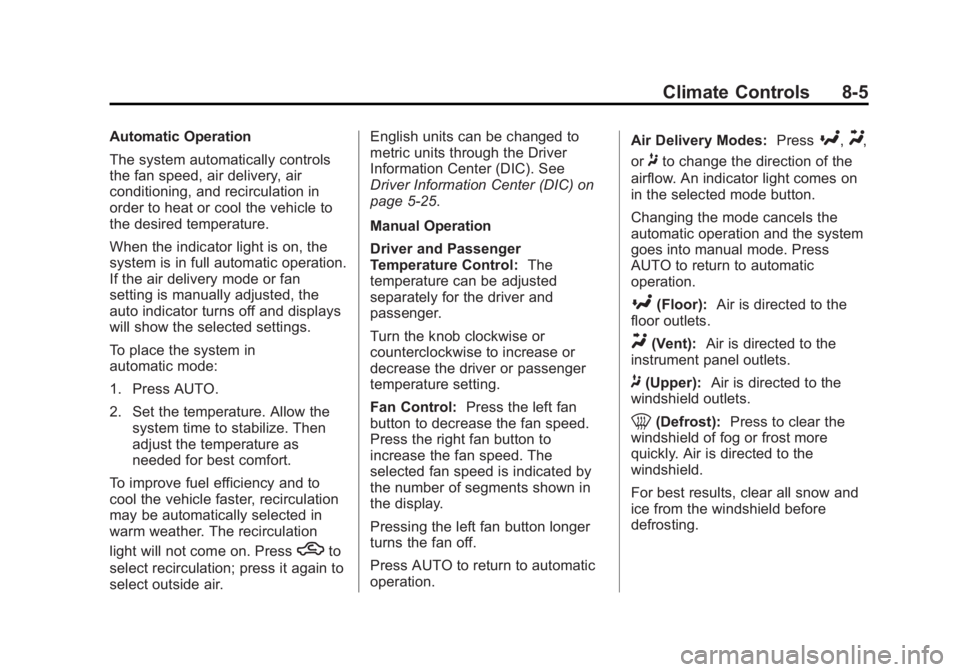
Automatic Operation
The system automatically controls
the fan speed, air delivery, air
conditioning, and recirculation in
order to heat or cool the vehicle to
the desired temperature.
When the indicator light is on, the
system is in full automatic operation.
If the air delivery mode or fan
setting is manually adjusted, the
auto indicator turns off and displays
will show the selected settings.
To place the system in
automatic mode:
1. Press AUTO.
2. Set the temperature. Allow thesystem time to stabilize. Then
adjust the temperature as
needed for best comfort.
To improve fuel efficiency and to
cool the vehicle faster, recirculation
may be automatically selected in
warm weather. The recirculation
light will not come on. Press
hto
select recirculation; press it again to
select outside air. English units can be changed to
metric units through the Driver
Information Center (DIC). See
Driver Information Center (DIC) on
page 5‑25.
Manual Operation
Driver and Passenger
Temperature Control:
The
temperature can be adjusted
separately for the driver and
passenger.
Turn the knob clockwise or
counterclockwise to increase or
decrease the driver or passenger
temperature setting.
Fan Control: Press the left fan
button to decrease the fan speed.
Press the right fan button to
increase the fan speed. The
selected fan speed is indicated by
the number of segments shown in
the display.
Pressing the left fan button longer
turns the fan off.
Press AUTO to return to automatic
operation. Air Delivery Modes:
Press
[,Y,
or
8to change the direction of the
airflow. An indicator light comes on
in the selected mode button.
Changing the mode cancels the
automatic operation and the system
goes into manual mode. Press
AUTO to return to automatic
operation.
[(Floor): Air is directed to the
floor outlets.
Y(Vent): Air is directed to the
instrument panel outlets.
8(Upper): Air is directed to the
windshield outlets.
0(Defrost): Press to clear the
windshield of fog or frost more
quickly. Air is directed to the
windshield.
For best results, clear all snow and
ice from the windshield before
defrosting.