Ignition set up BUICK SKYLARK 1993 Owners Manual
[x] Cancel search | Manufacturer: BUICK, Model Year: 1993, Model line: SKYLARK, Model: BUICK SKYLARK 1993Pages: 306, PDF Size: 15.84 MB
Page 78 of 306
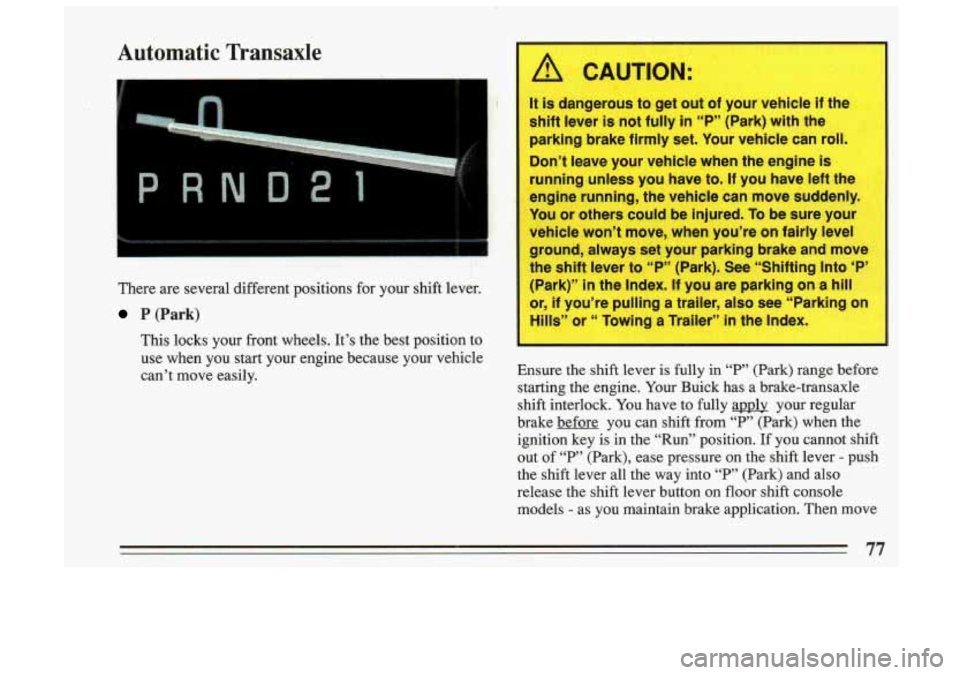
Automatic Transaxle
There are several different positions for your shift lever.
P.(Park)
This locks your front wheels. It’s the best position to
use when you start your engine because your vehicle
can’t move easily.
A CAUTION:
It is dangerous to get out of your vehicle if the
shift lever
is not fully in “P” (Park) with the
parking brake firmly set. Your vehicle can
roll.
Don’t leave your vehicle when the engine is
running unless you have to. If you have left the
engine running, the vehicle can move suddenly.
You or others could be injured.
To be sure your
ehicle won’t move, when you’re on fairly level
ound, always set your parking brake and move
e shift lever to
“P” (Park). See “Shifting Into ‘P’
ark)”
in the Index. If you are parking on a hill
, if you’re pulling a trailer, also see “Parking on
11s” or “ Towing a Trailer” in the Index.
Ensure the shift lever is fully in “P” (Park) range before
starting the engine. Your Buick has a brake-transaxle
shift interlock. You have to fully apply your regular
brake before you can shift from “P” (Park) when the
ignition key is in the “Run” position.
If you cannot shift
out of
“P” (Park), ease pressure on the shift lever - push
the shift lever all the way into
“P,’ (Park) and also
release the shift lever button on floor shift console
models
- as you maintain brake application. Then move
77
Page 83 of 306
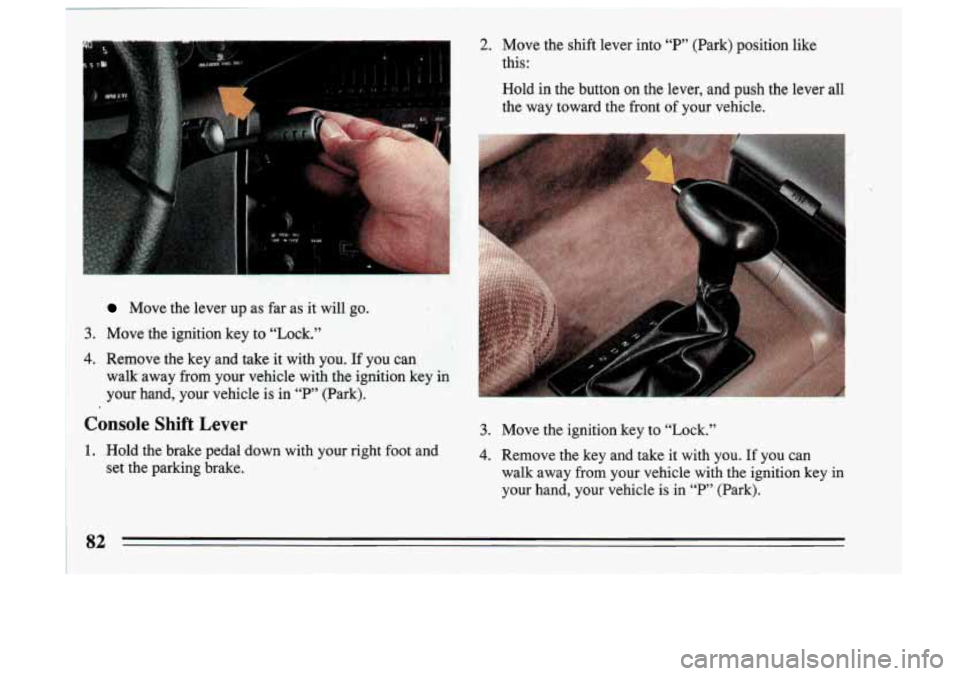
2. Move the shift lever into “P” (Park) position like
this:
Move the lever up as far is it will go.
3. Move the ignition key to “Lock.”
4. Remove the key and take it with you. If you can
walk away
from your vehicle with the ignition key-in
your hand, your vehicle is-in
‘‘P13 (Park).
Console Shift Lever
1. Hold the brake ped4 down with your right foot and
set the parking brake.
Hold in the button on the lever, and push the lever all
the way toward the front of your vehicle.
3. Move the ignition key to “Lock.”
4. Remove the key and take it with you. If you can
walk away from your vehicle with the ignition key in
your hand, your vehicle is in
“P” (Park).
82
Page 84 of 306
Leaving Your Vehicle With the Engine
Running
CAUTION:
It can be dangerous,to leave your vehicle with
the engine running. Your vehicle could move
suddenly
if the shift lever is not fully in “P”
(Park) with the parking brake firmly set. And,
il
you leave the vehicle with the engine running, it
could overheat and even catch fire. You or others
I
could be injured. Don’t leave your vehic ’ wi
the engine running unless you have to.
I
If you have to leave your vehicle with the engine
running, be sure your vehicle is in
“P” (Park) and your
parking brake is firmly set before you leave it. After
you’ve moved the shift lever into the
“P” (Park)
position, hold the regular brake pedal down. Then, see if
you can move the shift lever away from “P” (Park)
without first pulling it toward you (or, if you have the
console shift lever, without first pushing the button). If
you can, it means that the shift lever wasn’t fully locked
into
“P” (Park).
Shifting Out of P (Park) 66 99
Your Buick has a brake-transaxle shift interlock. You
have to fully applv your regular brake before
you can
shift
from “P” (Park) when the ignition is in the “Run”
position. See “Automatic Transaxle ” in the Index.
If you cannot shift out of “P” (Park), ease pressure on
the shift lever -- push the shift lever all^ the way into “P”
(Park) and also release the shift lever button on floor
shift console models as you maintain brake application.
Then move the shift lever into the gear you wish. (Press
the shift lever button before moving the
shift lever.) If
you ever hold the brake pedal down but still can’t shift
out of “P” (Park), try this:
1. Turn the key to “Off.”
2. Apply and hold the brake until the end of Step 4.
3. Shift to “N’ (Neutral).
4. Start the vehicle and then shift to the drive gear you
5. Have the vehicle fixed as soon as you can. want.
Page 87 of 306
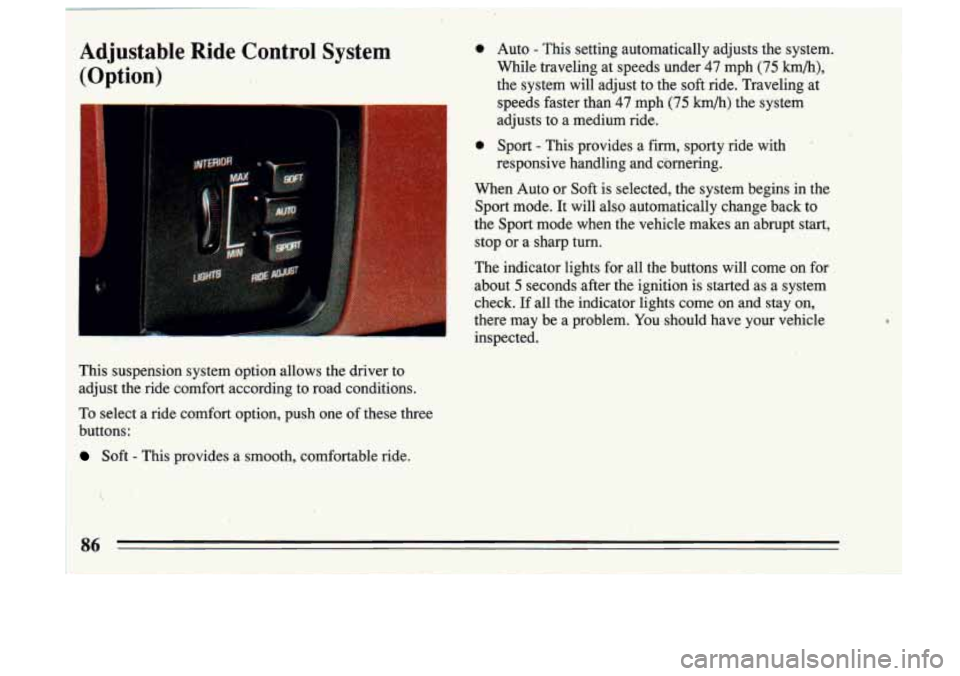
Adjustable Ride Control System
(Option)
adjusts to a medium ride.
0 Sport - This provides a firm, sporty ride with
This suspension system option allows the driver to
adjust the ride comfort according to road conditions.
To select a ride comfort option, push one of these three
1 buttons:
i Soft - This provides a smooth, comfortable ride.
0 Auto - This setting automatically adjusts the system.
While traveling at speeds under
47 mph (75 km/h),
the system will adjust to the soft ride. Traveling at
speeds faster than
47 mph (75 km/h) the system
responsive handling and cQrnering.
When Auto or
Soft is selected, the system begins in the
Sport mode. It will also automatically change back to
the Sport mode when the vehicle _---lkes anabrupt start,
stop or a sharp turn.
The indicator lights for all the buttons will come on for about
5 seconds after the ignition is started as a system
check.
If all the indicator lights come on and stay on,
there may be a problem.
You should have your vehicle
inspected.
Page 99 of 306
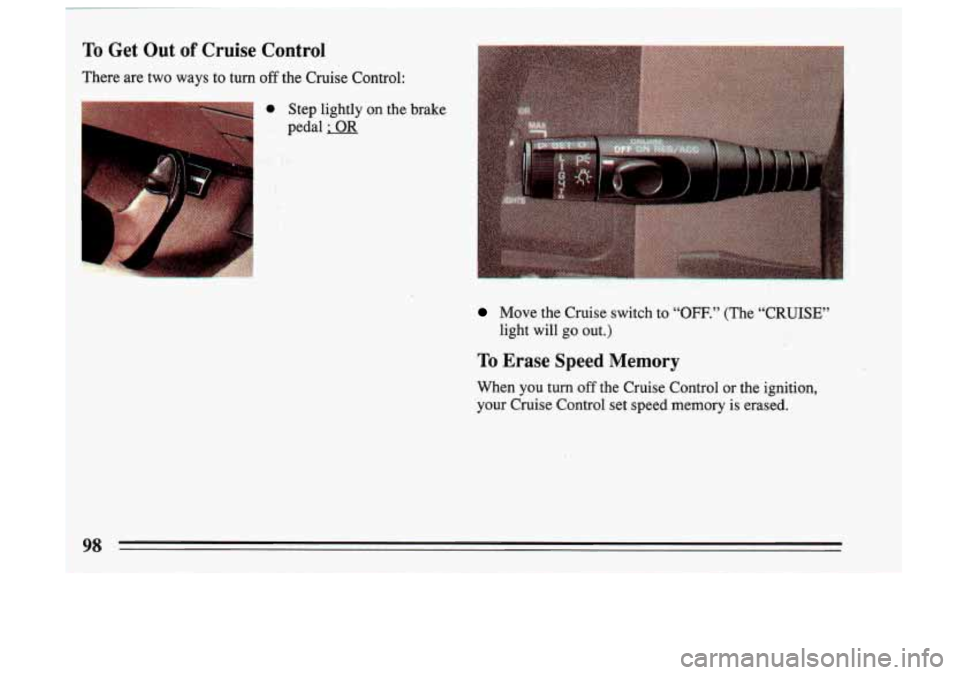
Move the Cruise switch to “OFF.” (The “CRUISE’
light will go out.)
To Erase Speed Memory
When you turn off the Cruise Control or the ignition,
your Cruise Control set speed memory
is erased.
Page 127 of 306
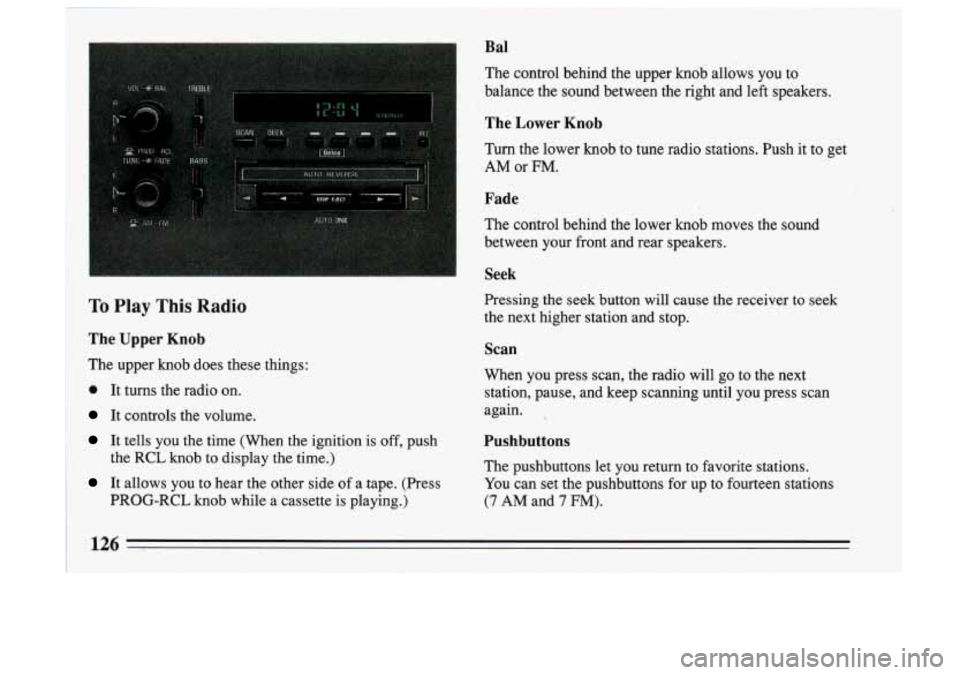
Bal
The control behind the upper knob allows you IO
balance the sound between the right and left speakers.
The Lower Knob
Turn the lower knob to tune radio stations. Push it to get
AM or FM.
Fade
The control behind the lower knob moves the sound
between
your front and rear speakers.
Seek
I
6
B
To Play This Radio
The Upper Knob
The upper knob does these things:
0 It turns the radio on.
It controls the volume.
It tells you the time (When the ignition is off, push
the
RCL knob to display the time.)
It allows you to hear the other side of a tape. (Press
PROG-RCL knob while a cassette is playing.) Pressing the seek button will cause the receiver to seek
the next higher station and stop.
Scan
When you press scan, the radio will go to the next station, pause, and keep scanning until you press scan
again.
Pushbuttons
The pushbuttons let you return to favorite stations. You can set the pushbuttons for up to fourteen stations
(7 AM and 7 FM).
126 I _____
Page 130 of 306
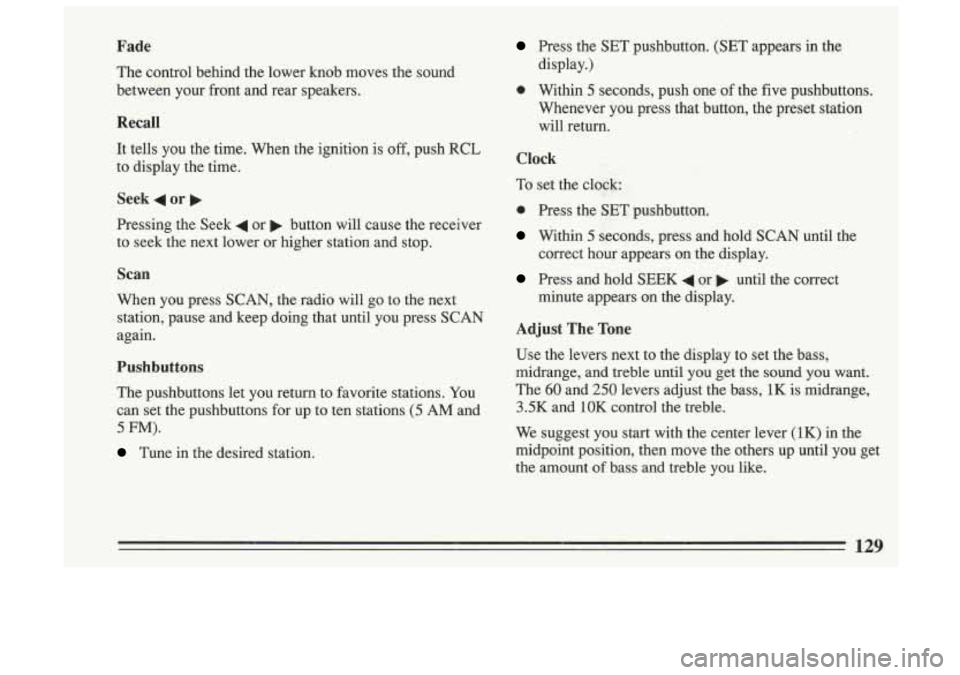
Fade
The control behind the lower knob moves the sound
between your front and rear speakers.
Recall
It tells you the time. When the ignition is off, push RCL
to display the time.
Seek 4 or
Pressing the Seek 4 or b button will cause the receiver
to seek the next lower or higher station and stop.
Scan
When you press SCAN, the radio will go to the next
station, pause and keep doing that until you press
SCAN
again.
Pushbuttons
The pushbuttons let you return to favorite stations. You
can set the pushbuttons for up to ten stations
(5 AM and
5 FM).
Tune in the desired station.
Press the SET pushbutton. (SET appears in the
display.)
0 Within 5 seconds, push one of the five pushbuttons.
Whenever you press that button, the preset station
will return.
Clock
To set the clock; :
0 Press the SET pushbutton.
Within 5 seconds, press and hold SCAN until the
correct
hour appears on the display.
Press and hold SEEK 4 or b until the correct
minute appears on the display.
Adjust The Tone
Use the levers next to the display to set the bass,
midrange, and treble until you get the sound you want.
The
60 and 250 levers adjust the bass, 1K is midrange,
3.5K and 1OK control the treble.
We suggest you start with the center lever (1K) in the
midpoint position, then move the others up until you get
the amount
of bass and treble you like.
129
Page 132 of 306
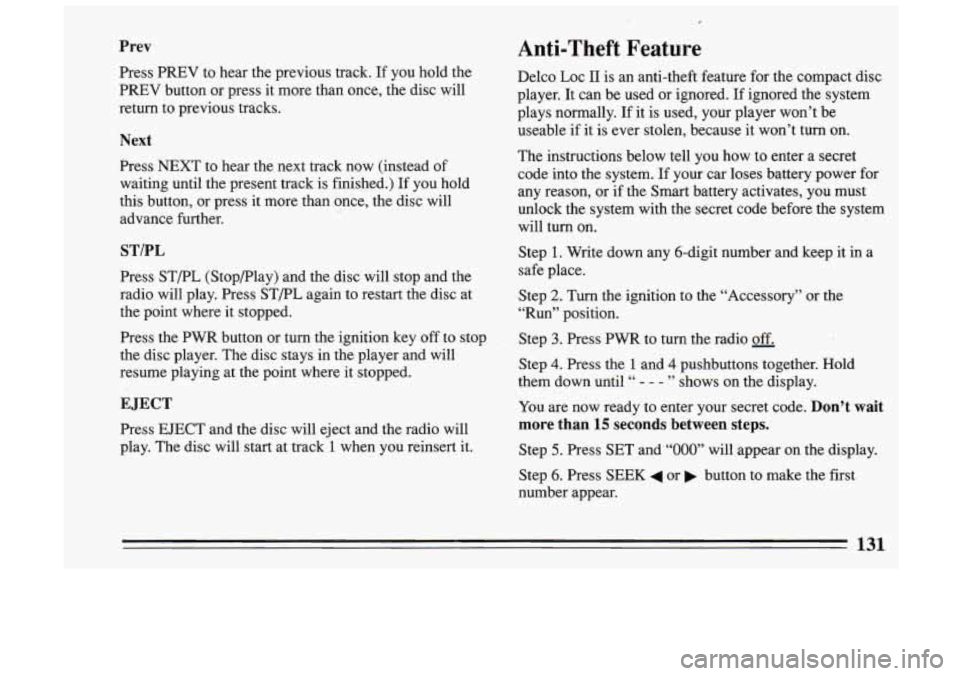
Prev
Press PREV to hear the previous track. If you hold the
PREV button or press it more than once, the disc will
return to previous tracks.
Next
Press NEXT to hear the next track now (instead of
waiting until the present track is finished.)
If you hold
this button, or press it more than once, the disc will
advance further.
STPL
Press ST/PL (Stop/Play) and the disc will stop and the
radio will play. Press ST/PL again to restart the disc at
the point where it stopped.
Press the
PWR button or turn the ignition key off to stop
the disc player. The disc stays in the player and will
resume playing at the point where it stopped.
EJECT
Press EJECT and the disc will eject and the radio will
play. The disc will start at track
1 when you reinsert it.
-,
Anti-Theft Feature
Delco LOC I1 is an anti-theft feature for the compact disc
player. It can be used or ignored. If ignored the system
plays normally. If it is used, your player won’t be
useable if it
is ever stolen, because it won’t turn on.
The instructions below tell you how to enter
a secret
code into the system. If your car loses battery power for
any reason, or if the Smart battery activates, you must
unlock the system with the secret code before the system
will turn on.
Step
1. Write down any &digit number and keep it in a
safe place.
Step
2. Turn the ignition to the “Accessory” or the
“Run” position.
Step
3. Press PWR to turn the radio OIT.
Step 4. Press the 1 and 4 pushbuttons together. Hold
them down until
“ - - - ” shows on the display.
You are now ready to enter your secret code.
Don’t wait
more than
15 seconds between steps.
Step 5. Press SET and “000” will appear on the display.
Step
6. Press SEEK 4 or button to make the first
number appear.
131
Page 133 of 306
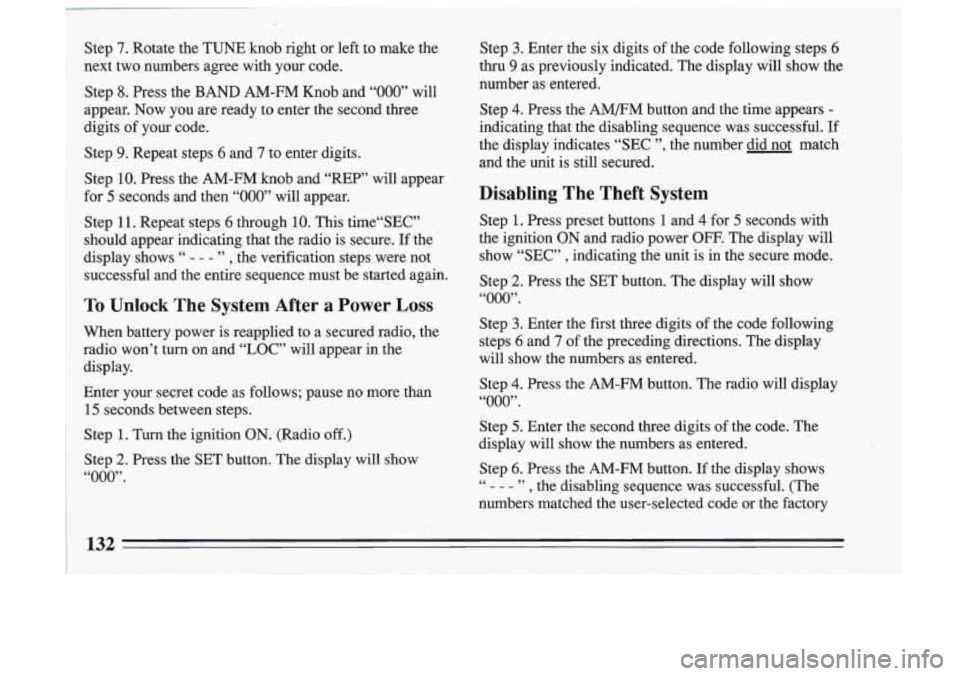
Step 7. Rotate the TUNE knob right or left to make the
next two numbers agree with your code.
Step
8. Press the BAND AM-FM Knob and “000” will
appear. Now you are ready to enter the second
three
digits of your code.
Step
9. Repeat steps 6 and 7 to enter digits.
Step
10. Press the AM-FM knob and “REP” will appear
for
5 seconds and then “000” will appear.
Step
11. Repeat steps 6 through 10. This time“SEC”
should appear indicating that the radio is secure.
If the
display shows
“ - - - ” , the verification steps .were not
successful and the entire sequence must be started again.
To Unlock The System After a Power Loss
When battery power is reapplied to a secured radio, the
radio won’t turn on and
“LOC” will appear in the
display.
Enter your secret code as follows; pause no more than
15 seconds between steps.
Step
1. Turn the ignition ON. (Radio off.)
Step
2. Press the SET button. The display will show
“000”.
Step 3. Enter the six digits of the code following steps 6
thru 9 as previously indicated. The display will show the
number as entered.
Step
4. Press the AM/FM button and the time appears -
indicating that the disabling sequence was successful. If
the display indicates “SEC ”, the number did not match
and the unit is still secured.
Disabling The Theft System
Step 1. Press preset buttons 1 and 4 for 5 seconds with
the ignition
ON and radio power OFF. The display will
show,“SEC”
, indicating the unit is in the secure mode.
Step
2. Press the SET button. The display will show
“000”.
Step 3. Enter the first three digits of the code following
steps
6 and 7 of the preceding directions. The display
will show the numbers as entered.
Step
4. Press the AM-FM button. The radio will display
“000”.
atep 5. Enter the second three digits of the code. The
display will show the numbers as entered.
Step
6. Press the AM-FM button. If the display shows
- - - ” , the disabling sequence was successful. (The
numbers matched the user-selected code or the factory 66
Page 302 of 306
Safety Belt Care ................................ 252
Safety Belt Extender
.............................. 59
Safety Belt Replacement
........................... 60
Safety Belt Warning Light
.......................... 28
Safety Belt. Automatic Lap-Shoulder
................. 29
Safety Belt. Lap
.................................. 28
Safety Belts
..................................... 21
Safety Belts. Cars First Sold in Canada
................ 29
Safety Belts. Center Adult Passenger
................. 42
Safety Belts. Loose
............................... 32
Safety Belts. Questions About
....................... 27
Safety Belts. Rear Comfort Guides
................... 40
Safety Belts. Rear Seat Passengers
................... 37
Safety Belts. Right Front. Adult Passenger
............. 36
Safety Belts. Tom
................................. 60
Safety Belts. Twisted
.............................. 35
Safety Belts. Why They Work
....................... 23
Safety Chains
................................... 182
Safety Warnings
.................................. 10
Safety Defects. Reporting ......................... 287
Schedule. Maintenance
........................... 265
Scheduled Maintenance Services
.................... 268
Seat Adjustment
............................... 14. 60
Seat Controls
.................................... 14
Seatback. Folding Rear
............................ 20
Seats and Safety Belts
............................. 13
SecondGear
..................................... 79
Securing a Child Restraint
..................... 47.50. 5 1
Safety Belts. Checking Your ........................ 59
Safety Belts. Worn Under Arm
...................... 34 Security
Lock. Rear Door
.......................... 69
Service Tips
.................................... 216
Service and Appearance Care
...................... 215
“Service Engine
Soon” Warning Light ............... 113
Service Parts Identification Label
.................... 257
Service Publications
.............................. 288
Setting the Clock
......................... 125.127. 129
Setting the Trip Odometer
......................... 108
ShapeofRoadSigns
............................. 141
Sheet Metal Damage
............................. 254
Shift. Brake-Transaxle Interlock
..................... 83
Shift Lever Positions
.............................. 77
Shifting into Park
................................. 81
Shifting out of Park
............................ 77. 83
Signaling Turns .................................. 89
Signs. Road
.................................... 138
Skidding
....................................... 158
Snow or Ice. Driving
on ........................... 176
Solvent-Type Cleaner
on Fabric .................... 249
Soundsystems
.................................. 122
SpareTire
...................................... 212
Specifications Chart
.......................... 263. 264
Speech Impaired. Customer Assistance for
............ 286
Speed Control
.................................... 93
Speedometer
.................................... 108
Stains. Removing
................................ 251
Start (Ignition Key Position)
........................ 73
Starting Your Engine
.............................. 73
Snowstorm.
If You’re Caught in a Bad
............... 177
Sound Equipment. Adding
......................... 123
301