reset BUICK VERANO 2012 User Guide
[x] Cancel search | Manufacturer: BUICK, Model Year: 2012, Model line: VERANO, Model: BUICK VERANO 2012Pages: 388, PDF Size: 5.26 MB
Page 155 of 388

Black plate (5,1)Buick Verano Owner Manual - 2012 - CRC - 1/10/12
Infotainment System 7-5
C.s©(Previous/Reverse)
.Press to seek to the
beginning of the current or
previous track. If the track
has been playing for less
than five seconds, it seeks
the previous track. If longer
than five seconds, the
current track starts from
the beginning.
.Press and hold to quickly
reverse through a track.
Release the button to
return to playing speed.
See CD Player on
page 7‑22 andMP3 on
page 7‑25 for more
information.
.For AM, FM, or XM (if
equipped), press to seek to
the previous strong station. D.
O/VOL (Power/Volume)
.Press to turn the system
on and off.
.Turn to adjust the volume.
E.
¨ \(Next/Forward)
.Press to seek the next
track.
.Press and hold to fast
forward through a track.
.Release the button to
return to playing speed.
See CD Player on
page 7‑22 andMP3 on
page 7‑25 for more
information.
.For AM, FM, or XM (if
equipped), press to seek to
the next strong station. F. FAV 1-2-3 (Favorites Page)
.Press to display the
current page number
above the preset buttons.
The stored stations for
each list display on the
touch-sensitive preset
buttons at the bottom of
the screen. The number
of preset FAV lists
can be changed in the
Configuration Menu.
G. SRCE (Source)
.Press to change the audio
sources such as AM-FM
Radio, XM™ (if equipped),
CD, and AUX.
H.
p/j(Play/Pause)
.Press to start, pause, and
resume playback. See CD
Player on page 7‑22 and
MP3 on page 7‑25 for
more information.
Page 158 of 388
Black plate (8,1)Buick Verano Owner Manual - 2012 - CRC - 1/10/12
7-8 Infotainment System
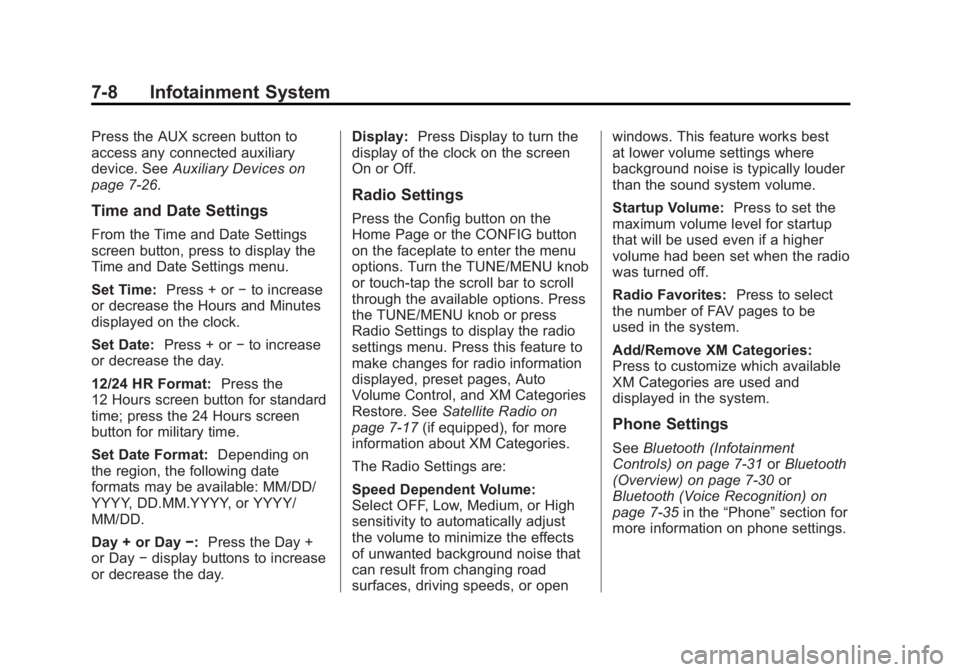
Press the AUX screen button to
access any connected auxiliary
device. SeeAuxiliary Devices on
page 7‑26.
Time and Date Settings
From the Time and Date Settings
screen button, press to display the
Time and Date Settings menu.
Set Time: Press + or−to increase
or decrease the Hours and Minutes
displayed on the clock.
Set Date: Press + or−to increase
or decrease the day.
12/24 HR Format: Press the
12 Hours screen button for standard
time; press the 24 Hours screen
button for military time.
Set Date Format: Depending on
the region, the following date
formats may be available: MM/DD/
YYYY, DD.MM.YYYY, or YYYY/
MM/DD.
Day + or Day −:Press the Day +
or Day −display buttons to increase
or decrease the day. Display:
Press Display to turn the
display of the clock on the screen
On or Off.
Radio Settings
Press the Config button on the
Home Page or the CONFIG button
on the faceplate to enter the menu
options. Turn the TUNE/MENU knob
or touch-tap the scroll bar to scroll
through the available options. Press
the TUNE/MENU knob or press
Radio Settings to display the radio
settings menu. Press this feature to
make changes for radio information
displayed, preset pages, Auto
Volume Control, and XM Categories
Restore. See Satellite Radio on
page 7‑17 (if equipped), for more
information about XM Categories.
The Radio Settings are:
Speed Dependent Volume:
Select OFF, Low, Medium, or High
sensitivity to automatically adjust
the volume to minimize the effects
of unwanted background noise that
can result from changing road
surfaces, driving speeds, or open windows. This feature works best
at lower volume settings where
background noise is typically louder
than the sound system volume.
Startup Volume:
Press to set the
maximum volume level for startup
that will be used even if a higher
volume had been set when the radio
was turned off.
Radio Favorites: Press to select
the number of FAV pages to be
used in the system.
Add/Remove XM Categories:
Press to customize which available
XM Categories are used and
displayed in the system.
Phone Settings
See Bluetooth (Infotainment
Controls) on page 7‑31 orBluetooth
(Overview) on page 7‑30 or
Bluetooth (Voice Recognition) on
page 7‑35 in the“Phone” section for
more information on phone settings.
Page 161 of 388
Black plate (11,1)Buick Verano Owner Manual - 2012 - CRC - 1/10/12
Infotainment System 7-11
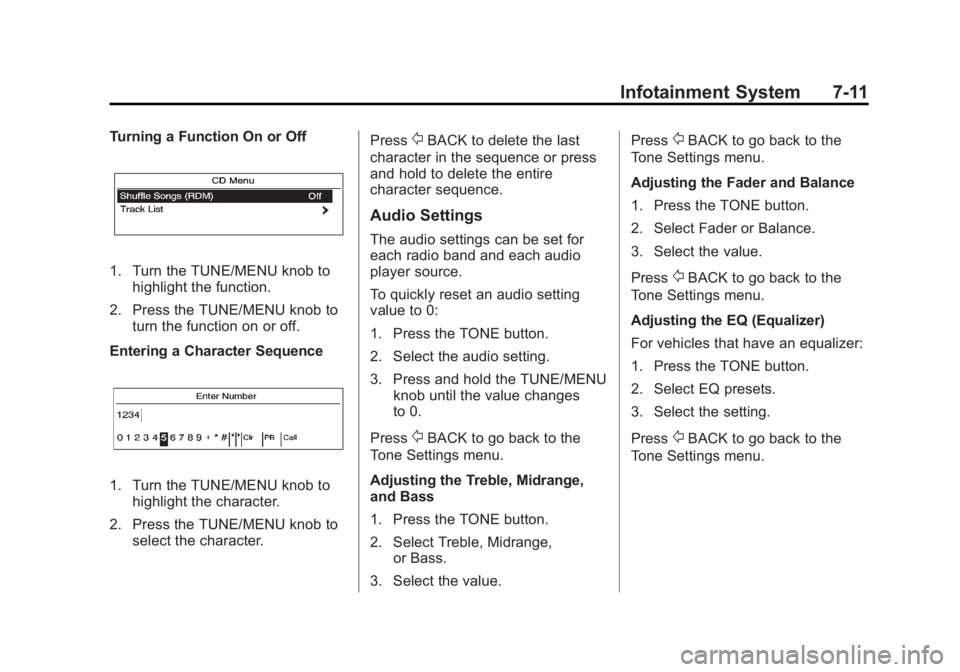
Turning a Function On or Off
1. Turn the TUNE/MENU knob tohighlight the function.
2. Press the TUNE/MENU knob to turn the function on or off.
Entering a Character Sequence
1. Turn the TUNE/MENU knob to highlight the character.
2. Press the TUNE/MENU knob to select the character. Press
/BACK to delete the last
character in the sequence or press
and hold to delete the entire
character sequence.
Audio Settings
The audio settings can be set for
each radio band and each audio
player source.
To quickly reset an audio setting
value to 0:
1. Press the TONE button.
2. Select the audio setting.
3. Press and hold the TUNE/MENU knob until the value changes
to 0.
Press
/BACK to go back to the
Tone Settings menu.
Adjusting the Treble, Midrange,
and Bass
1. Press the TONE button.
2. Select Treble, Midrange, or Bass.
3. Select the value. Press
/BACK to go back to the
Tone Settings menu.
Adjusting the Fader and Balance
1. Press the TONE button.
2. Select Fader or Balance.
3. Select the value.
Press
/BACK to go back to the
Tone Settings menu.
Adjusting the EQ (Equalizer)
For vehicles that have an equalizer:
1. Press the TONE button.
2. Select EQ presets.
3. Select the setting.
Press
/BACK to go back to the
Tone Settings menu.
Page 163 of 388
Black plate (13,1)Buick Verano Owner Manual - 2012 - CRC - 1/10/12
Infotainment System 7-13
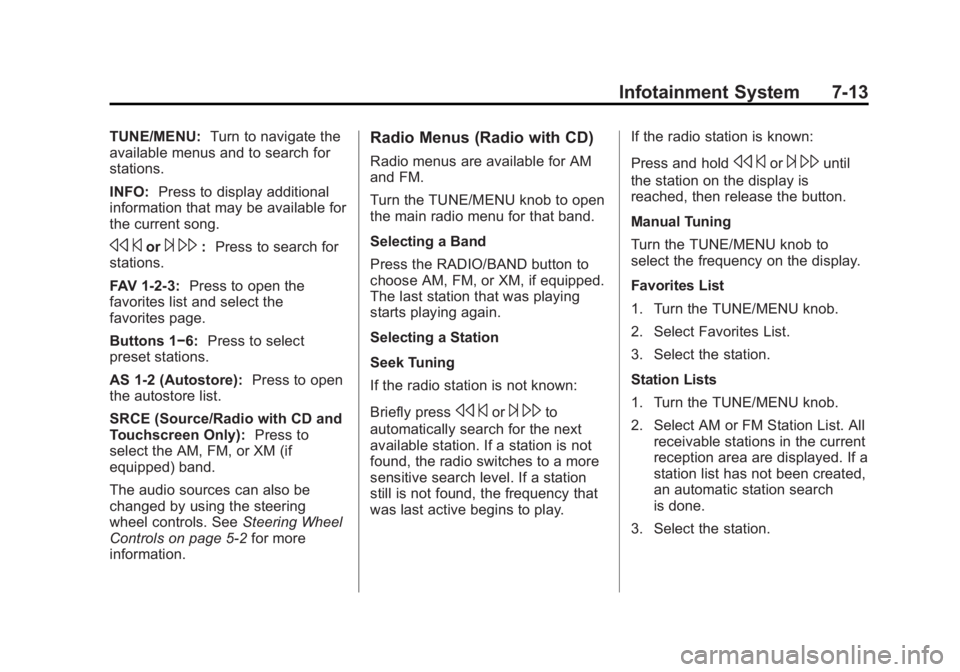
TUNE/MENU:Turn to navigate the
available menus and to search for
stations.
INFO: Press to display additional
information that may be available for
the current song.
s ©or¨\: Press to search for
stations.
FAV 1-2-3: Press to open the
favorites list and select the
favorites page.
Buttons 1−6: Press to select
preset stations.
AS 1-2 (Autostore): Press to open
the autostore list.
SRCE (Source/Radio with CD and
Touchscreen Only): Press to
select the AM, FM, or XM (if
equipped) band.
The audio sources can also be
changed by using the steering
wheel controls. See Steering Wheel
Controls on page 5‑2 for more
information.
Radio Menus (Radio with CD)
Radio menus are available for AM
and FM.
Turn the TUNE/MENU knob to open
the main radio menu for that band.
Selecting a Band
Press the RADIO/BAND button to
choose AM, FM, or XM, if equipped.
The last station that was playing
starts playing again.
Selecting a Station
Seek Tuning
If the radio station is not known:
Briefly press
s ©or¨\to
automatically search for the next
available station. If a station is not
found, the radio switches to a more
sensitive search level. If a station
still is not found, the frequency that
was last active begins to play. If the radio station is known:
Press and hold
s
©or¨\until
the station on the display is
reached, then release the button.
Manual Tuning
Turn the TUNE/MENU knob to
select the frequency on the display.
Favorites List
1. Turn the TUNE/MENU knob.
2. Select Favorites List.
3. Select the station.
Station Lists
1. Turn the TUNE/MENU knob.
2. Select AM or FM Station List. All receivable stations in the current
reception area are displayed. If a
station list has not been created,
an automatic station search
is done.
3. Select the station.
Page 165 of 388
Black plate (15,1)Buick Verano Owner Manual - 2012 - CRC - 1/10/12
Infotainment System 7-15
To adjust the speaker balance:
.Press L (Left) or R (Right) to
change from the left or right
speakers.
EQ Settings
EQ (Equalization): The EQ
settings are selected through the
sound menu. EQ provides a choice
of Manual or Talk. Turn the TUNE/
MENU knob to highlight. Press
TUNE/MENU to select Manual
or Talk.
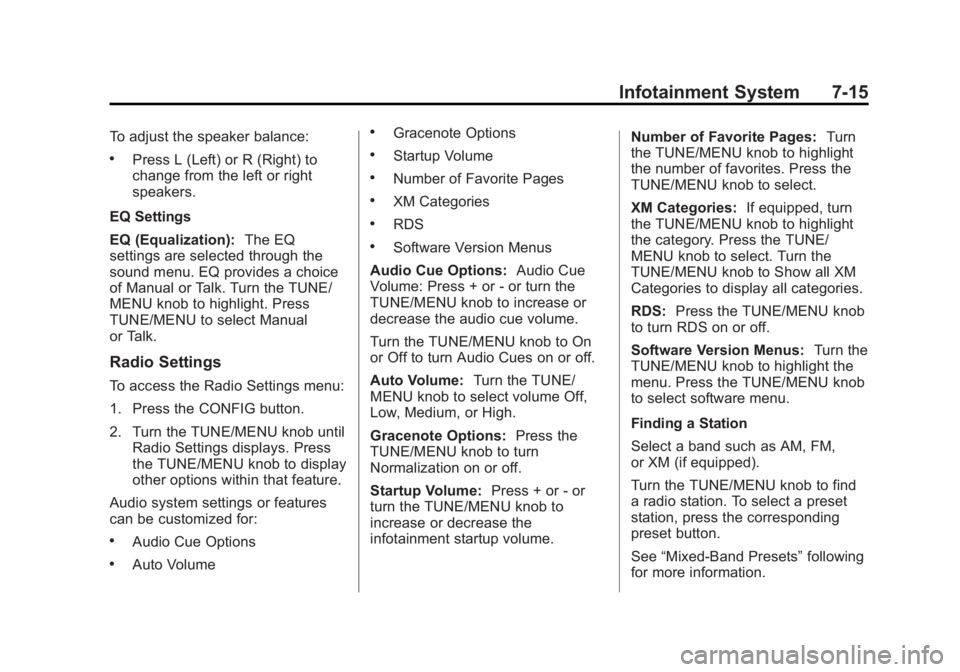
Radio Settings
To access the Radio Settings menu:
1. Press the CONFIG button.
2. Turn the TUNE/MENU knob until
Radio Settings displays. Press
the TUNE/MENU knob to display
other options within that feature.
Audio system settings or features
can be customized for:
.Audio Cue Options
.Auto Volume
.Gracenote Options
.Startup Volume
.Number of Favorite Pages
.XM Categories
.RDS
.Software Version Menus
Audio Cue Options: Audio Cue
Volume: Press + or - or turn the
TUNE/MENU knob to increase or
decrease the audio cue volume.
Turn the TUNE/MENU knob to On
or Off to turn Audio Cues on or off.
Auto Volume: Turn the TUNE/
MENU knob to select volume Off,
Low, Medium, or High.
Gracenote Options: Press the
TUNE/MENU knob to turn
Normalization on or off.
Startup Volume: Press + or - or
turn the TUNE/MENU knob to
increase or decrease the
infotainment startup volume. Number of Favorite Pages:
Turn
the TUNE/MENU knob to highlight
the number of favorites. Press the
TUNE/MENU knob to select.
XM Categories: If equipped, turn
the TUNE/MENU knob to highlight
the category. Press the TUNE/
MENU knob to select. Turn the
TUNE/MENU knob to Show all XM
Categories to display all categories.
RDS: Press the TUNE/MENU knob
to turn RDS on or off.
Software Version Menus: Turn the
TUNE/MENU knob to highlight the
menu. Press the TUNE/MENU knob
to select software menu.
Finding a Station
Select a band such as AM, FM,
or XM (if equipped).
Turn the TUNE/MENU knob to find
a radio station. To select a preset
station, press the corresponding
preset button.
See “Mixed-Band Presets” following
for more information.
Page 166 of 388

Black plate (16,1)Buick Verano Owner Manual - 2012 - CRC - 1/10/12
7-16 Infotainment System
Seeking a Station
Press
s©or¨\to search for a
station.
Local Station List Search (Radio
with CD and Touchscreen)
To find a list of local stations in the
current AM or FM band, turn the
TUNE/MENU knob. The radio
performs a search for available
stations.
Storing a Station as a Favorite
Up to 36 preset stations can be
stored. Each page can store
six preset stations. The presets
within a page can be from different
radio bands.
To scroll through the pages, press
the FAV 1-2-3 (favorites) button. The
current page number displays above
the preset buttons. The stored
stations for each list display at the
bottom of the screen. The number of
preset FAV lists can be changed. To store a radio station to a
favorites page:
1. Press the RADIO/BAND or
SRCE button until the desired
band is selected.
2. Turn the TUNE/MENU knob to the station.
3. Press the FAV 1-2-3 button to scroll the list.
4. Press and hold one of the preset buttons for more than
two seconds. The station
frequency appears on the preset
button at the bottom of the
display.
5. Repeat the steps for each preset in each page.
To recall a preset station from a
favorites page:
1. Press the FAV 1-2-3 button to scroll to the page.
2. Press the preset button. The stored preset station is recalled.
Autostore Stations
AS 1-2 (Autostore): Autostore
searches and stores six FM and
six AM stations with the strongest
signal. To use autostore:
1. Press RADIO/BAND or SRCE to select FM or AM.
2. Press AS 1-2 for at least two seconds until a beep
sounds. SEARCH displays
on the radio, followed by the
number of stations found.
3. The radio will automatically store the six strongest stations found
as autostore presets.
Press the AS 1-2 button to alternate
between the autostore stations and
favorites.
AS displays on the radio when using
autostore presets.
Autostore does not delete
previously stored favorite stations.
Autostore does not function with XM
radio stations.
Page 236 of 388
Black plate (34,1)Buick Verano Owner Manual - 2012 - CRC - 1/10/12
9-34 Driving and Operating
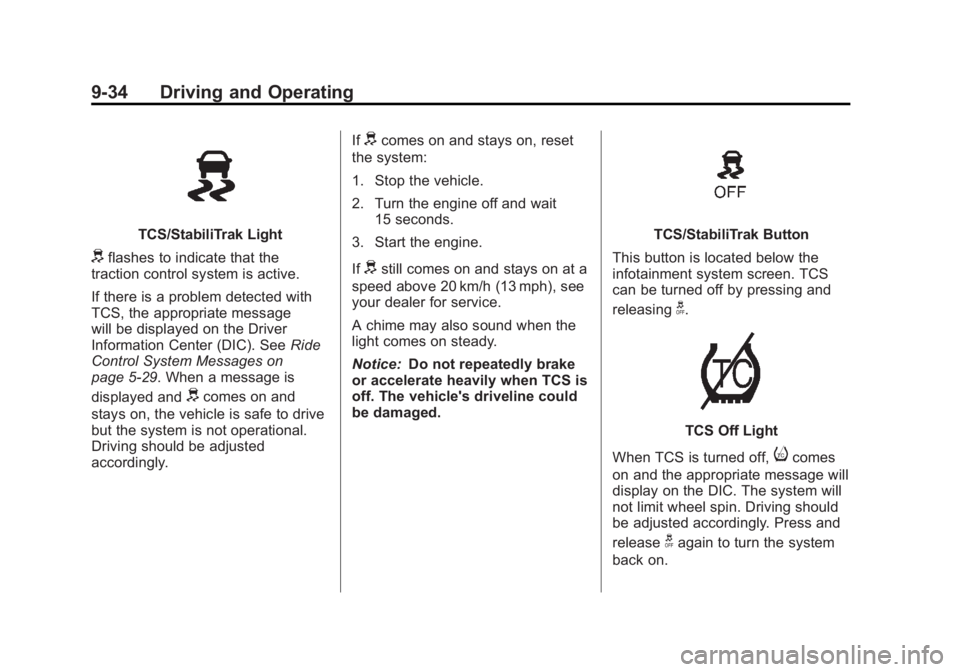
TCS/StabiliTrak Light
dflashes to indicate that the
traction control system is active.
If there is a problem detected with
TCS, the appropriate message
will be displayed on the Driver
Information Center (DIC). See Ride
Control System Messages on
page 5‑29. When a message is
displayed and
dcomes on and
stays on, the vehicle is safe to drive
but the system is not operational.
Driving should be adjusted
accordingly. If
dcomes on and stays on, reset
the system:
1. Stop the vehicle.
2. Turn the engine off and wait 15 seconds.
3. Start the engine.
If
dstill comes on and stays on at a
speed above 20 km/h (13 mph), see
your dealer for service.
A chime may also sound when the
light comes on steady.
Notice: Do not repeatedly brake
or accelerate heavily when TCS is
off. The vehicle's driveline could
be damaged.
TCS/StabiliTrak Button
This button is located below the
infotainment system screen. TCS
can be turned off by pressing and
releasing
g.
TCS Off Light
When TCS is turned off,
icomes
on and the appropriate message will
display on the DIC. The system will
not limit wheel spin. Driving should
be adjusted accordingly. Press and
release
gagain to turn the system
back on.
Page 238 of 388

Black plate (36,1)Buick Verano Owner Manual - 2012 - CRC - 1/10/12
9-36 Driving and Operating
Ifdcomes on and stays on, reset
the system:
1. Stop the vehicle.
2. Turn the engine off and wait 15 seconds.
3. Start the engine.
If
dstill comes on and stays on at a
speed above 20 km/h (13 mi/h), see
your dealer for service.
TCS/StabiliTrak Button
This button is located below the
infotainment system screen.
StabiliTrak Off LightTCS Off Light
StabiliTrak can be turned off
if needed by pressing and
holding
guntilgandicome on
in the instrument panel and the
appropriate message displays on
the DIC. When StabiliTrak is turned off, the system will not assist with
directional control of the vehicle or
limit wheel spin. Driving should be
adjusted accordingly. Press and
release
gagain to turn the system
back on.
If cruise control is being used when
StabiliTrak activates, cruise control
will automatically disengage. Press
the appropriate cruise control button
to reengage when road conditions
allow. See Cruise Control on
page 9‑37 for more information.
Page 263 of 388
Black plate (9,1)Buick Verano Owner Manual - 2012 - CRC - 1/10/12
Vehicle Care 10-9
Viscosity Grade
SAE 5W-30 is the best viscosity
grade for the vehicle. Do not use
other viscosity grade oils such as
SAE 10W-30, 10W-40, or 20W-50.
Cold Temperature Operation: In an
area of extreme cold, where the
temperature falls below−29°C
(−20°F), an SAE 0W-30 oil may be
used. An oil of this viscosity grade
will provide easier cold starting
for the engine at extremely low
temperatures. When selecting an oil
of the appropriate viscosity grade,
always select an oil of the correct
specification. See “Specification”
earlier in this section for more
information.
Engine Oil Additives/Engine
Oil Flushes
Do not add anything to the oil. The
recommended oils with the dexos
specification and displaying the
dexos certification mark are all that
is needed for good performance and
engine protection. Engine oil system flushes are not
recommended and could cause
engine damage not covered by the
vehicle warranty.
What to Do with Used Oil
Used engine oil contains certain
elements that can be unhealthy for
your skin and could even cause
cancer. Do not let used oil stay on
your skin for very long. Clean your
skin and nails with soap and water,
or a good hand cleaner. Wash or
properly dispose of clothing or rags
containing used engine oil. See the
manufacturer's warnings about the
use and disposal of oil products.
Used oil can be a threat to the
environment. If you change your
own oil, be sure to drain all the oil
from the filter before disposal. Never
dispose of oil by putting it in the
trash or pouring it on the ground,
into sewers, or into streams or
bodies of water. Recycle it by taking
it to a place that collects used oil.
Engine Oil Life System
When to Change Engine Oil
This vehicle has a computer system
that indicates when to change the
engine oil and filter. This is based
on a combination of factors which
include engine revolutions, engine
temperature, and miles driven.
Based on driving conditions, the
mileage at which an oil change is
indicated can vary considerably. For
the oil life system to work properly,
the system must be reset every time
the oil is changed.
When the system has calculated
that oil life has been diminished, it
indicates that an oil change is
necessary. A CHANGE ENGINE
OIL SOON message comes on. See
Engine Oil Messages on page 5‑27.
Change the oil as soon as possible
within the next 1 000 km (600 mi).
Page 264 of 388
Black plate (10,1)Buick Verano Owner Manual - 2012 - CRC - 1/10/12
10-10 Vehicle Care
It is possible that, if driving under
the best conditions, the oil life
system might indicate that an oil
change is not necessary for up to a
year. The engine oil and filter must
be changed at least once a year
and, at this time, the system must
be reset. Your dealer has trained
service people who will perform this
work and reset the system. It is also
important to check the oil regularly
over the course of an oil drain
interval and keep it at the proper
level.
If the system is ever reset
accidentally, the oil must be
changed at 5 000 km (3,000 mi)
since the last oil change.
Remember to reset the oil life
system whenever the oil is changed.How to Reset the Engine Oil
Life System
Reset the system whenever the
engine oil is changed so that the
system can calculate the next
engine oil change. To reset the
system:
1. Turn the ignition to ON/RUN withthe engine off.
2. Press the DIC MENU button on the turn signal lever to enter the
Vehicle Information Menu. Use
the thumbwheel to scroll through
the menu items until you reach
REMAINING OIL LIFE.
3. Press the SET/CLR button to reset the oil life at 100%.
4. Turn the ignition to LOCK/OFF.
The system is reset when the
CHANGE ENGINE OIL SOON
message is off and the REMAINING
OIL LIFE 100% message is
displayed. If the CHANGE ENGINE OIL SOON
message comes back on when the
vehicle is started, the engine oil life
system has not been reset. Repeat
the procedure.
Automatic Transmission
Fluid
How to Check Automatic
Transmission Fluid
It is not necessary to check
the transmission fluid level.
A transmission fluid leak is the
only reason for fluid loss. If a leak
occurs, take the vehicle to your
dealer and have it repaired as soon
as possible.
The vehicle is not equipped with a
transmission fluid level dipstick.
There is a special procedure for
checking and changing the
transmission fluid. Because this
procedure is difficult, this should be
done at the dealer. Contact the
dealer for additional information.