headlamp CADILLAC CATERA 1997 1.G User Guide
[x] Cancel search | Manufacturer: CADILLAC, Model Year: 1997, Model line: CATERA, Model: CADILLAC CATERA 1997 1.GPages: 338, PDF Size: 18.02 MB
Page 126 of 338
Downloaded from www.Manualslib.com manuals search engine Voltmeter
I6h
VOLTS
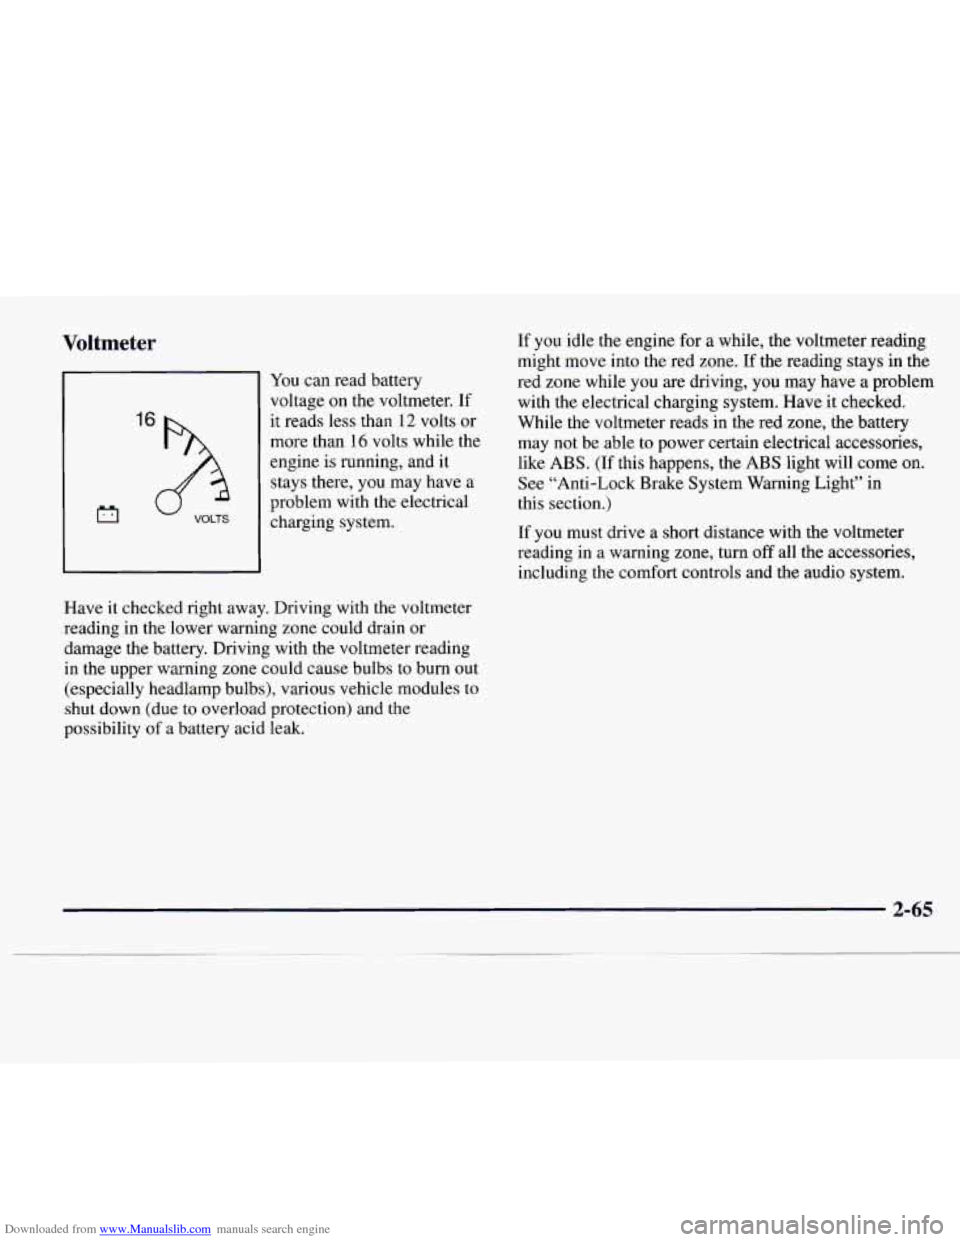
You can read battery
voltage on the voltmeter. If
it reads
less than 12 volts or
more than 16 volts while the
engine
is running, and it
stays there, you may have a
problem with the electrical
charging system.
Have it checked right away. Driving with the voltmeter
reading in the lower warning zone could drain
or
damage the battery. Driving with the voltmeter reading
in the upper warning zone could cause bulbs
to burn out
(especially headlamp bulbs), various vehicle modules to
shut down (due to overload protection) and the
possibility of a battery acid leak. If
you idle
the engine for a while, the voltmeter reading
might move into the red zone. If the reading stays in
the
red zone while you are driving, you may have a problem
with the electrical charging system. Have it checked.
While the voltmeter reads in the red zone, the battery
may not be able
to power certain electrical accessories,
like
ABS. (If this happens, the ABS light will come on.
See “Anti-Lock Brake System Warning Light” in
this section.)
If
you must drive a short distance with the voltmeter
reading in a warning zone, turn
off all the accessories,
including the comfort controls and the audio system.
Page 183 of 338
Downloaded from www.Manualslib.com manuals search engine Here are some tips on night driving,
0 Drive defensively.
0 Don’t drink and drive.
Since you can’t see as well, you may need to slow
down and keep more space between you and
other vehicles.
0 Slow down, especially on higher speed roads. Your
headlamps can light up only
so much road ahead.
In remote areas, watch for animals.
If you’re tired, pull off the road in a safe place
and rest.
Night Vision
No one can see as well at night as in the daytime. But as
we get older these differences increase. A 50-year-old
driver may require at least twice as much light to see the
same thing at night as a 20-year-old.
What you do in the daytime can also affect your night
vision. For example, if you spend the day
in bright
sunshine you
are wise to wear sunglasses. Your eyes will
have less trouble adjusting to night. But if you’re
driving, don’t wear sunglasses at night. They may cut
down
on glare from headlamps, but they also make a lot
of things invisible.
You can be temporarily blinded by approaching
headlamps. It can take a second’or two,
or even several
seconds, for your eyes to readjust to the
dark. When
you
are faced with severe glare (as from a driver who
doesn’t lower the high beams, or a vehicle with
misaimed headlamps), slow down
a little. Avoid staring
directly into the approaching headlamps.
4-16
Page 184 of 338
Downloaded from www.Manualslib.com manuals search engine Keep your windshield and all the glass on your vehicle
clean
-- inside and out. Glare at night is made much
worse by dirt on the glass. Even the inside
of the glass
can build up a film caused by dust. Dirty glass makes
lights dazzle and flash more than clean glass would,
making the pupils
of your eyes contract repeatedly.
Remember that your headlamps light up far less
of a
roadway when you are in a turn or curve. Keep your
eyes moving; that way, it's easier to pick out dimly
lighted objects. Just as your headlamps should be
checked regularly for proper aim,
so should your eyes
be examined regularly. Some drivers suffer from night
blindness
-- the inability to see in dim light -- and
aren't even aware
of it.
Driving in Rain and on Wet Roads
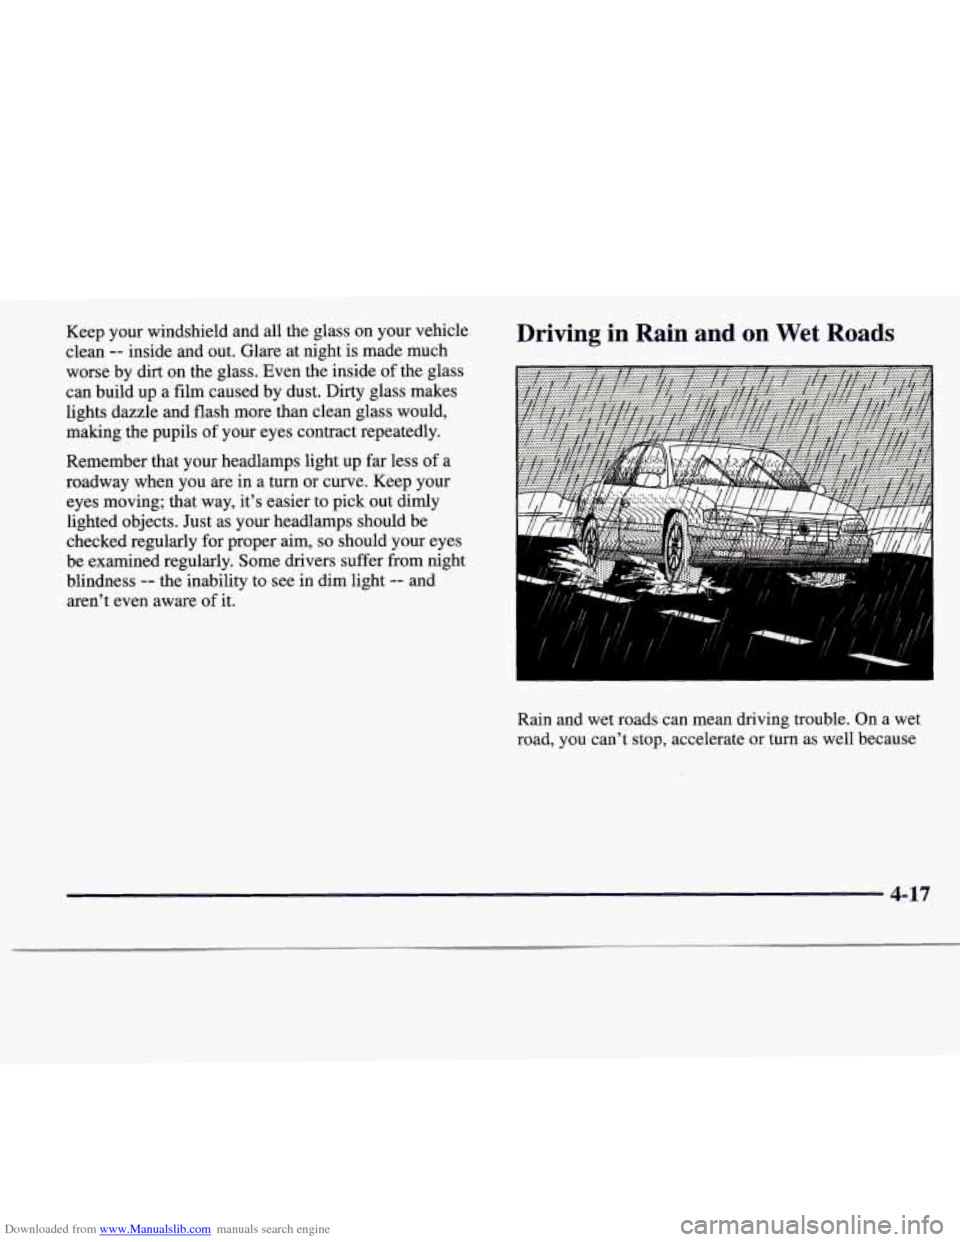
Rain and wet roads can mean driving trouble. On a wet
road, you can't stop, accelerate
or turn as well because
4-17
Page 196 of 338
Downloaded from www.Manualslib.com manuals search engine A CAUTION:
Snow can trap exhaust gases under your vehicle.
This can cause deadly
CO (carbon monoxide) gas
to get inside.
CO could overcome you and kill
you. You can’t see it or smell it,
so you might not
know it is in your vehicle. Clear away snow from
around the base of your vehicle, especially any
that
is blocking your exhaust pipe. And check
around again from time to time to be sure snow
doesn’t collect there.
Open
a window just a little on the side of the
vehicle that’s away from the wind. This will help
keep
CO out.
Run your engine only as long as you must. This saves
fuel. When you
run the engine, make it go .a little faster
than just idle. That is, push the accelerator slightly. This
uses less fuel for the heat that you get and it keeps the
battery charged.
You will need a well-charged battery to
restart the vehicle, and possibly for signaling later
on
with your headlamps. Let the heater run for awhile.
Then, shut the engine
off and close the window almost
all the way to preserve the heat. Start the engine again
and repeat this only when
you feel really uncomfortable
from the cold. But do it as little as possible. Preserve the
fuel as long as
you can. To help keep warm, you can get
out of the vehicle and do some fairly vigorous exercises
every half hour or
so until help comes.
4-29
Page 258 of 338

Downloaded from www.Manualslib.com manuals search engine Air Cleaner
L
The air cleaner is located behind the headlamps on the
passenger’s side
of the engine. Be sure the engine has
cooled before following these steps
to replace the air filter.
I
1. Unhook the five clips that attach the air cleaner lid to
the housing.
2. Loosen the retaining clamp on the air intake tube
and then disconnect the tube (as shown by the
arrow above).
3. Move the hose going to the coolant surge tank out
of the way so the air cleaner lid can be lifted.
6-15
Page 273 of 338
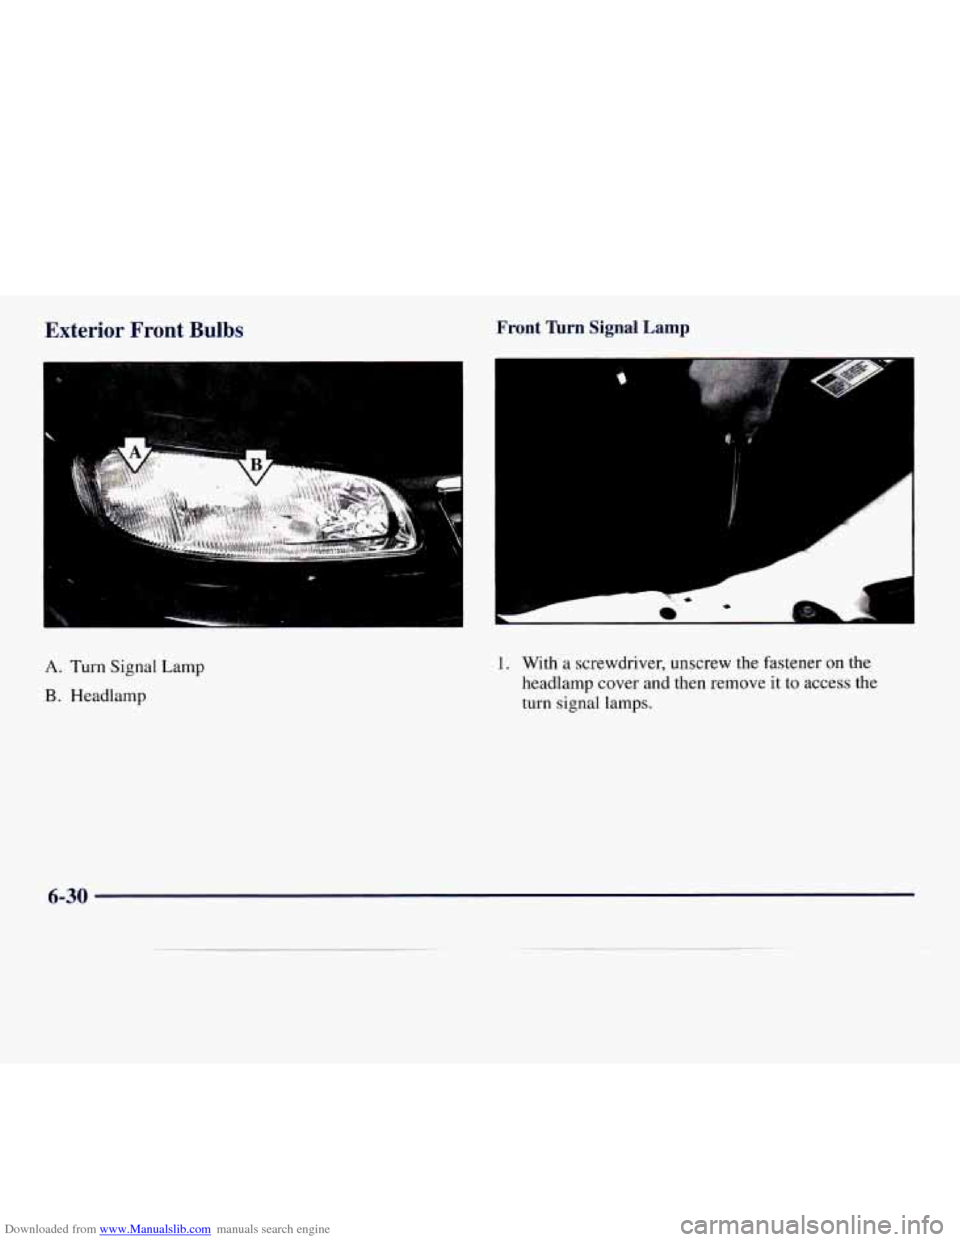
Downloaded from www.Manualslib.com manuals search engine Exterior Front Bulbs
I
Front Turn Signal Lamp
A
I
A. Turn Signal Lamp
B, Headlamp
1. With a screwdriver, unscrew the fastener on the
headlamp cover and then remove
it to access the
turn signal lamps.
6-30
Page 274 of 338
Downloaded from www.Manualslib.com manuals search engine c
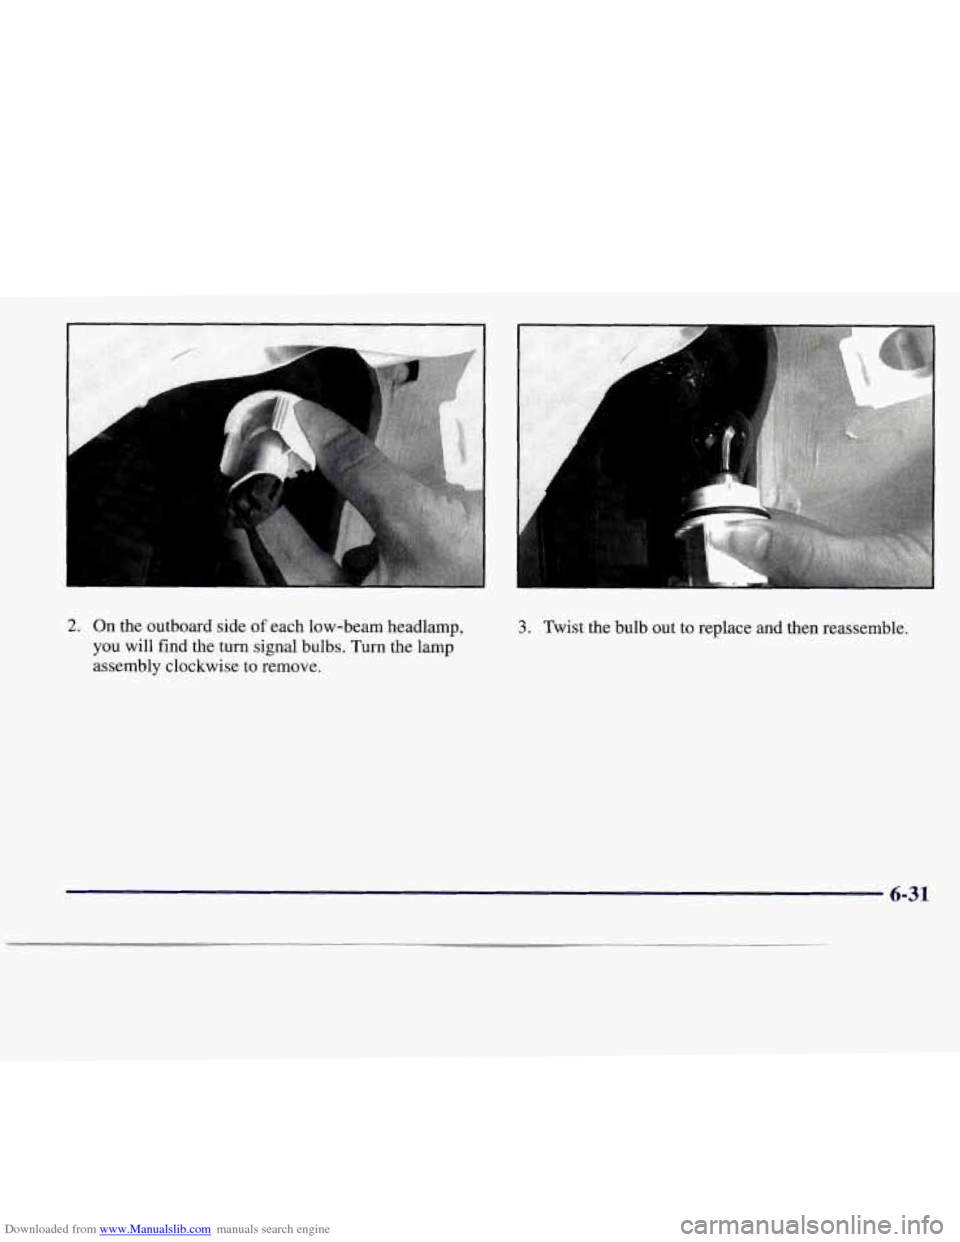
2. On the outboard side of each low-beam headlamp,
you will find the turn signal bulbs. Turn the lamp
assembly clockwise to remove. 3. Twist the bulb out to replace and then reassemble.
6-31
Page 275 of 338
Downloaded from www.Manualslib.com manuals search engine Headiamp
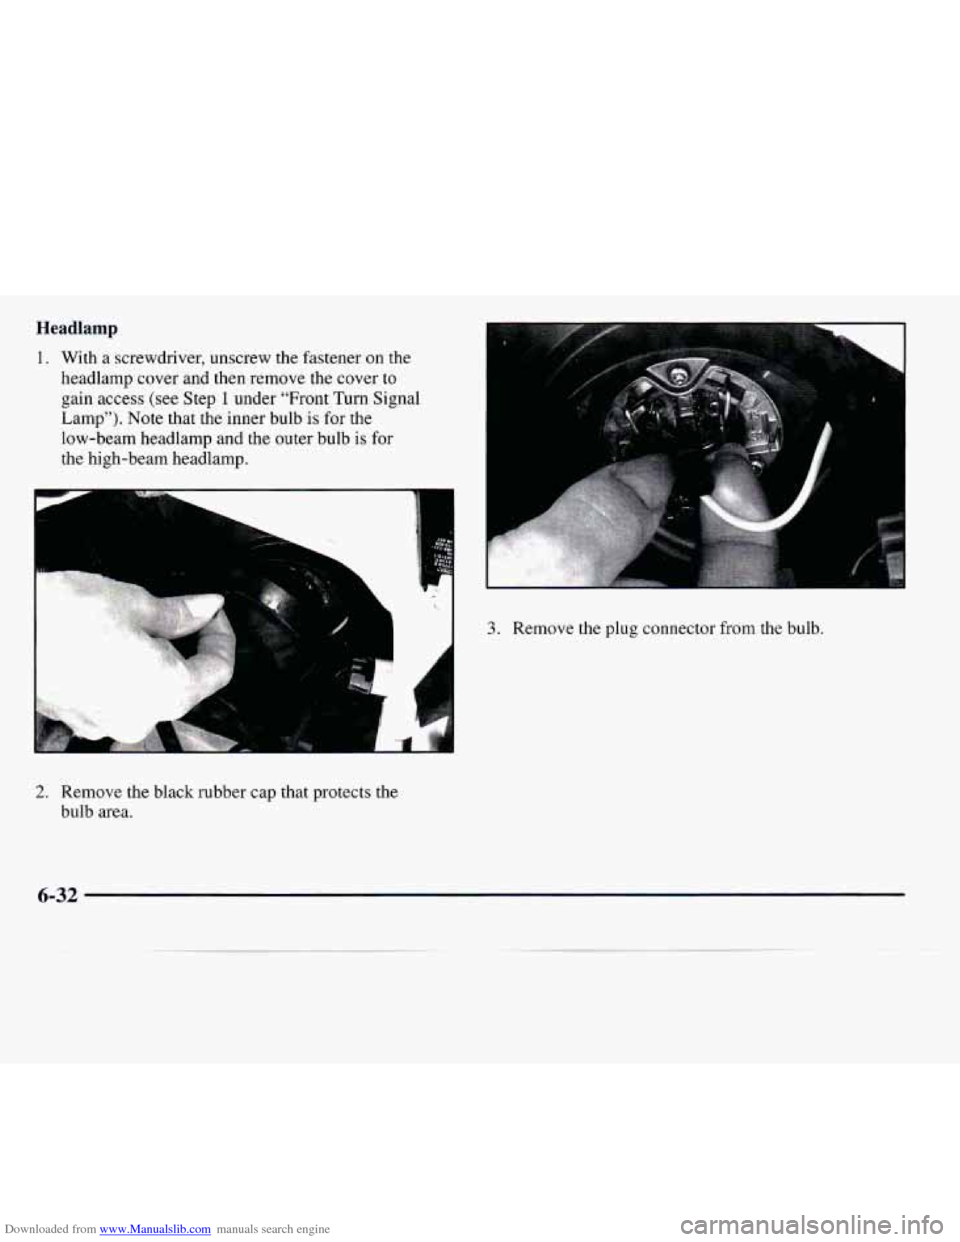
1. With a screwdriver, unscrew the fastener on the
headlamp cover and then remove the cover
to
gain access (see Step 1 under “Front Turn Signal
Lamp”). Note that the inner bulb is for the
low-beam headlamp and the outer bulb is for
the high-beam headlamp.
IF-
P
3. Remove the plug connector from the bulb.
2. Remove the black rubber cap that protects the
bulb area.
6-32
Page 278 of 338
Downloaded from www.Manualslib.com manuals search engine Headlamp Aiming
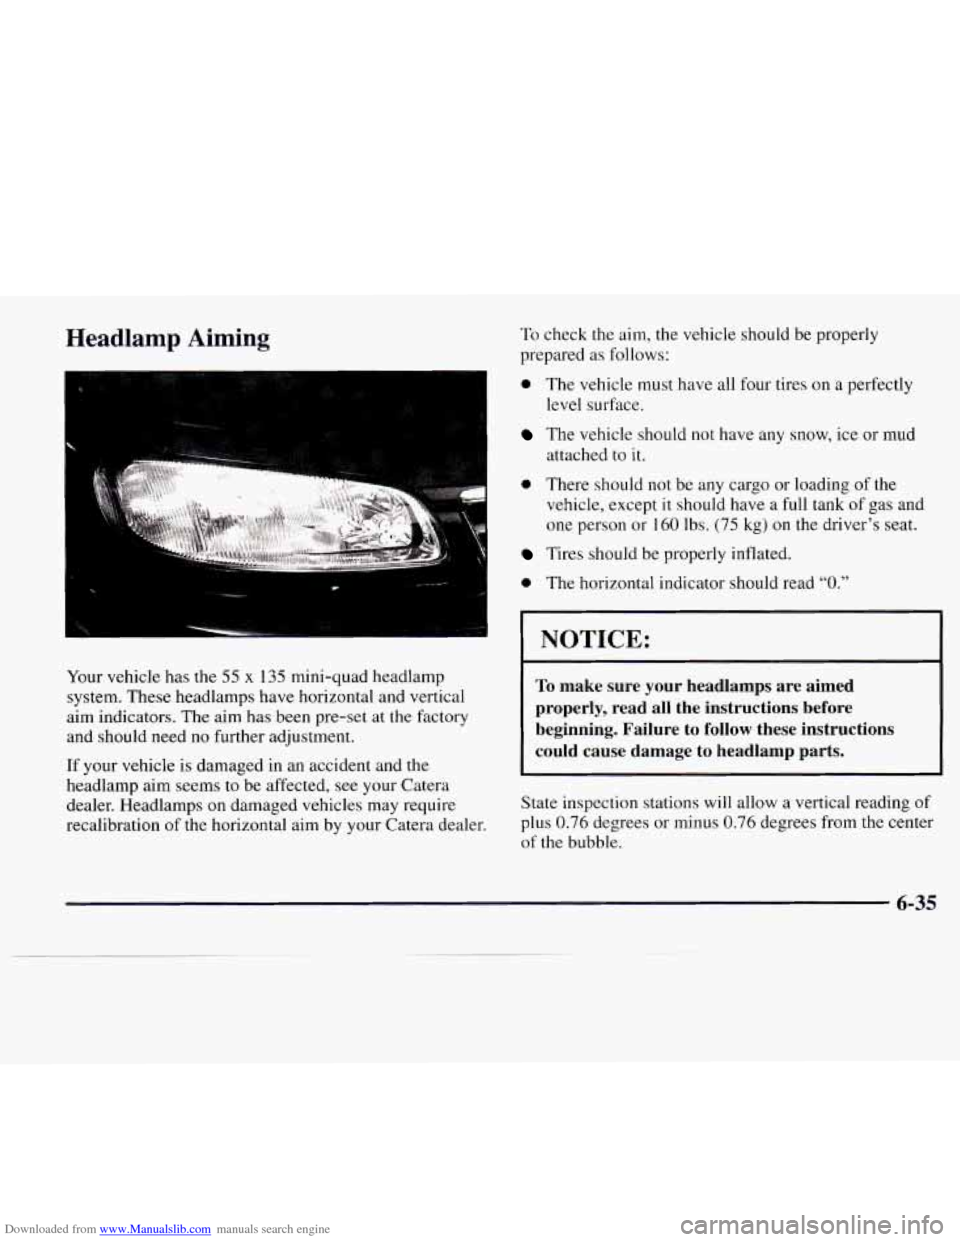
Your vehicle has the 55 x 135 mini-quad headlamp
system. These headlamps have horizontal and vertical
aim indicators. The aim has been pre-set at the factory
and should need
no further adjustment.
If your vehicle is damaged in an accident and the
headlamp aim seems
to be affected, see your Catera
dealer. Headlamps on damaged vehicles may require
recalibration of the horizontal aim by your Catera dealer.
To check the aim, the vehicle should be properly
prepared as follows:
0 The vehicle must have all four tires on a perfectly
level surfxe.
The vehicle should not have any snow, ice or mud
attached to
it.
0 There should not be any cargo or loading of the
vehicle, except it should have a full tank
of gas and
one person or 160 lbs.
(75 kg) on the driver’s seat.
Tires should be properly inflated.
0 The horizontal indicator should read “0.”
NOTICE:
To make sure your headlamps are aimed
properly, read all the instructions before
beginning. Failure
to follow these instructions
could cause damage
to headlamp parts.
State inspection stations will allow a vertical reading of
plus
0.76 degrees or minus 0.76 degrees from the center
of the bubble.
6-35
Page 279 of 338
Downloaded from www.Manualslib.com manuals search engine It is recommended that the upper limit not exceed plus
0.4 degrees from the center of the bubble. Other drivers
may flash their high beams at you if your adjustment is
much above plus
0.4 degrees.
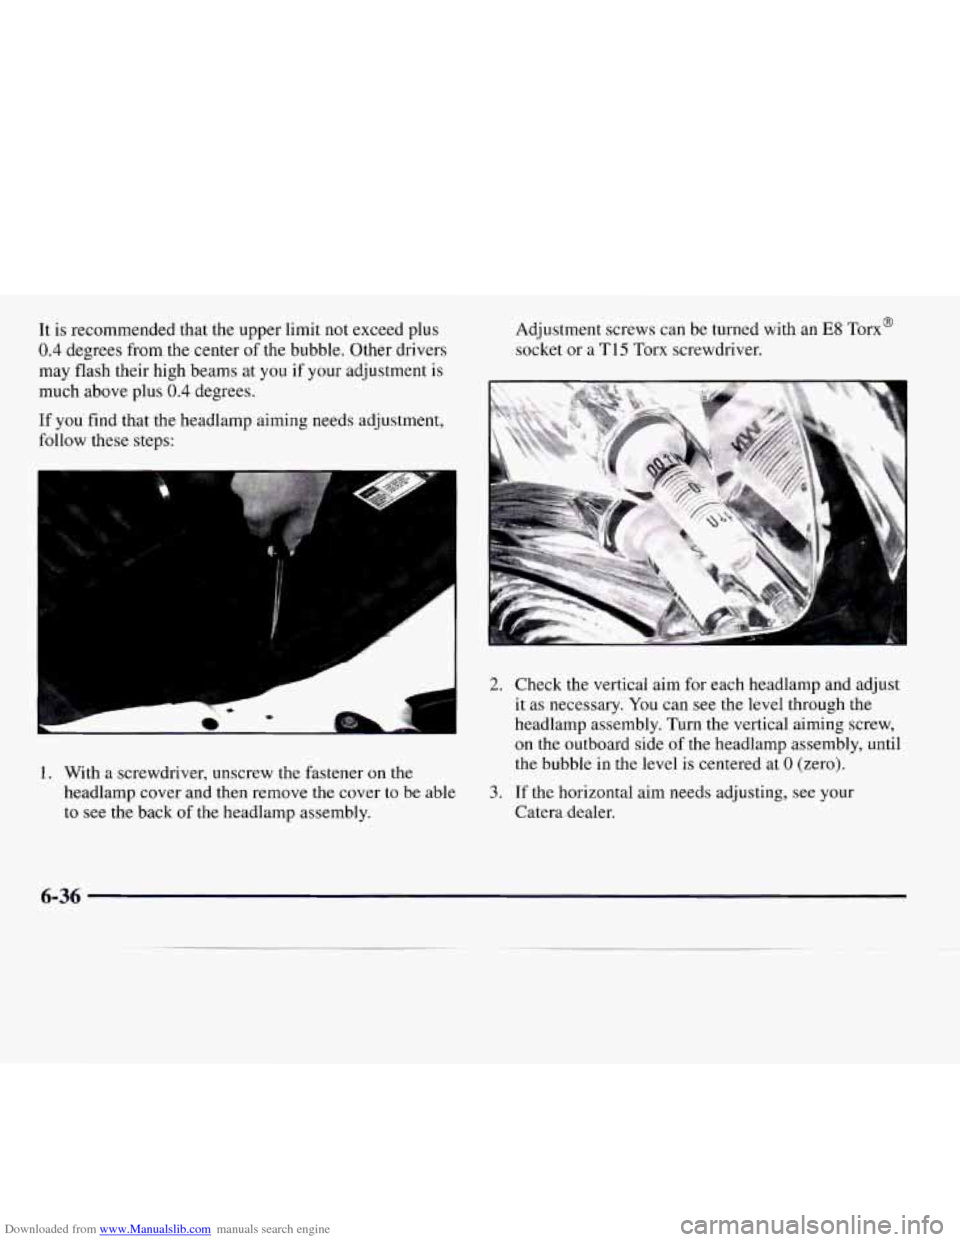
If you find that the headlamp aiming needs adjustment,
follow these steps: Adjustment screws can be turned with an
E8 Torx@
socket or a
TI 5 Torx screwdriver.
2. Check the vertical aim for each headlamp and adjust
it as necessary. You can see the level through the
headlamp assembly. Turn the vertical aiming screw,
on the outboard side of the headlamp assembly, until
the bubble in the level is centered at
0 (zero). 1. With a screwdriver, unscrew the fastener on the
headlamp cover and then remove the cover to be able
to
see the back of the headlamp assembly.
3. If the horizontal aim needs adjusting, see your
Catera dealer.
6-36