fuse CADILLAC CATERA 1998 1.G Owners Manual
[x] Cancel search | Manufacturer: CADILLAC, Model Year: 1998, Model line: CATERA, Model: CADILLAC CATERA 1998 1.GPages: 346, PDF Size: 19.13 MB
Page 12 of 346
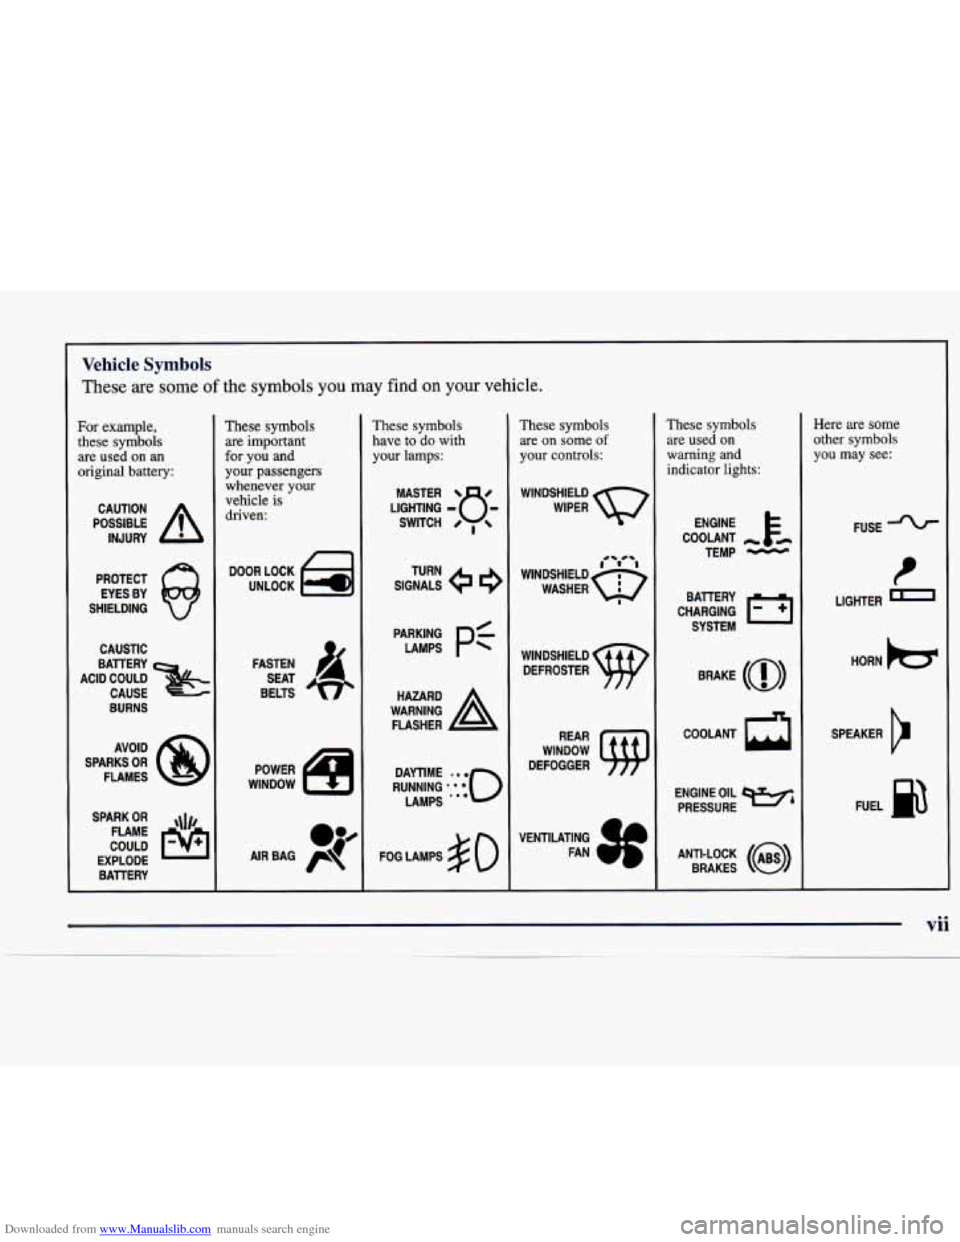
Downloaded from www.Manualslib.com manuals search engine Vehicle Symbols
These are some of the symbols you may find on your vehicle.
For example,
these symbols
are used on
an
original battery:
POSSIBLE A
CAUTION
INJURY
PROTECT EYES BY
SHIELDING
CAUSTIC
ACID COULD BAlTERY
CAUSE
BURNS
AVOID
SPARKS
OR
FLAMES
SPARK
OR ,\I/,
COULD FLAME
EXPLODE BAllERY
These symbols
are important
for you and
your passengers
whenever your
vehicle is
driven:
DOOR LOCK
UNLOCK
FASTEN SEAT
BELTS
POWER
WINDOW
These symbols
have to do with
your lamps:
SIGNALS e e
TURN
FOG LAMPS
$0
These symbols
are on some
of
your controls:
WINDSHIELD
DEFROSTER
WINDOW
DEFOGGER
VENTILATING FAN
These symbols
are used on
warning and indicator lights:
COOLANT
TEMP
-
CHARGING I-1
BAllERY
SYSTEM
BRAKE
(0)
COOLANT a
ENGINE OIL e,
PRESSURE
ANTI-LOCK
(e)
BRAKES
Here are some other symbols
you may see:
FUSE
LIGHTER
I
HORN b
SPEAKER
b
FUEL la
Page 85 of 346
Downloaded from www.Manualslib.com manuals search engine To avoid activating the alarm by accident:
The vehicle should be locked with the key after the
doors are closed
if you don’t want to activate the
theft-deterrent system.
Always unlock a door with a key or use the remote
keyless entry transmitter. (Pressing the unlock button
on the remote keyless entry transmitter disables the
theft-deterrent system.) Unlocking a door any other
way will activate the
alarm. Cycling the ignition
without disarming the theft-deterrent system will
also activate the alarm.
If you activate the alarm by accident, unlock the driver’s
door with your key. You can also turn
off the alarm by
using the remote keyless entry transmitter. The
alarm
won’t stop if you try to unlock a door in any other way.
Testing the Alarm
1. From inside the vehicle, roll down the window, then
get out
of the vehicle, keeping the door open.
2. From outside the vehicle, with the door open, lock
the vehicle using the power door lock or the remote
keyless entry transmitter and close the door. Wait
30 seconds.
3. Reach in and unlock the door using the manual lock
and open the door. The horn will sound and the
headlarnps will flash.
If the alarm does not sound when it should, check to see
if the horn works. The horn fuse may be blown. To
replace the fuse, see
“Fuses and Circuit Breakers” in the
Index. If the fuse does not need to be replaced,
you may
need to have your vehicle serviced.
To reduce the possibility of theft, always activate
the optional theft-deterrent system when leaving
your vehicle.
2-14
Page 86 of 346
Downloaded from www.Manualslib.com manuals search engine Immobilizer
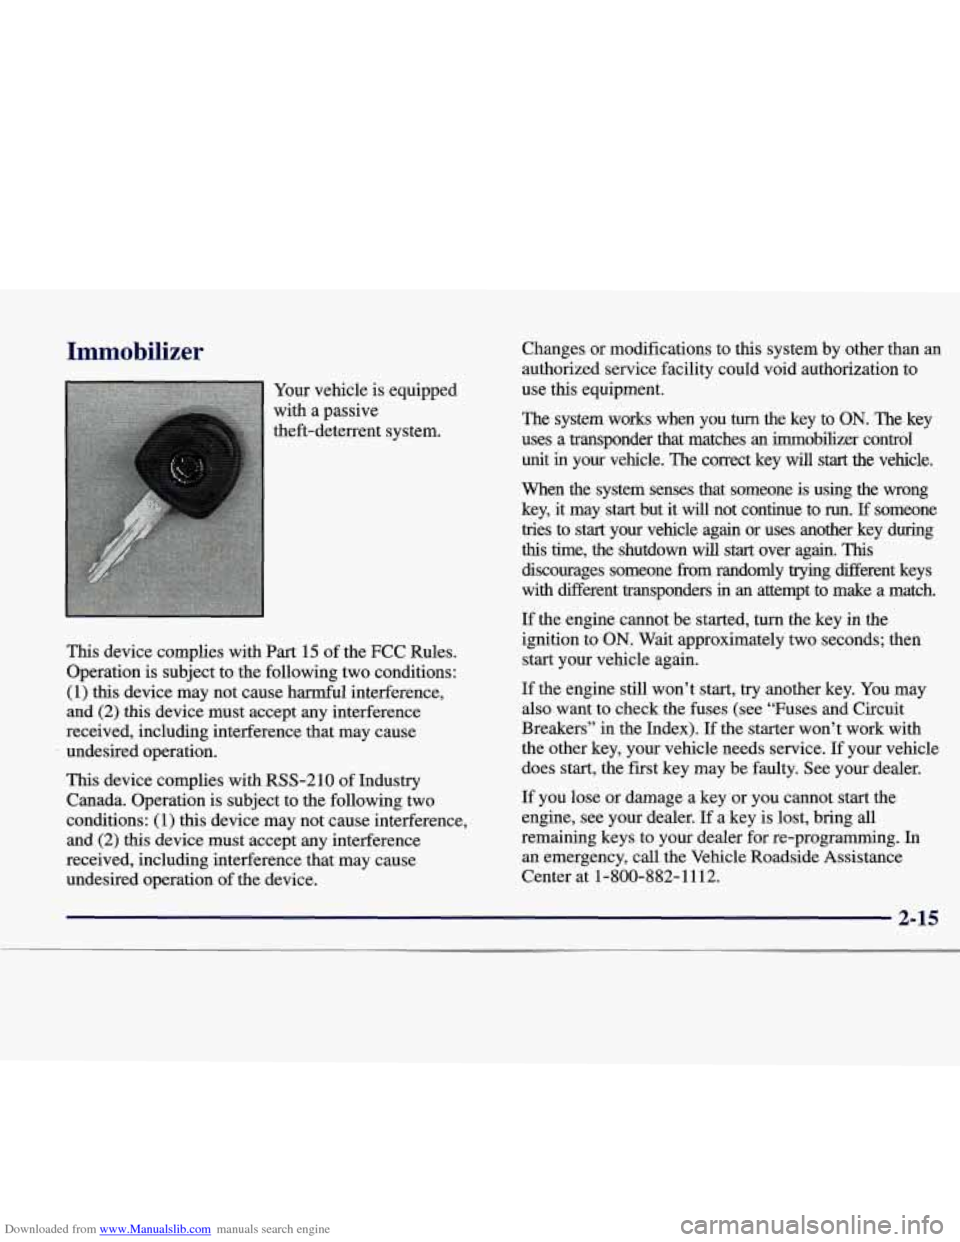
Your vehicle is equipped
with
a passive
theft-deterrent system.
This device complies with Part
15 of the FCC Rules.
Operation
is subject to the following two conditions:
(1)
this device may not cause harmful interference,
and
(2) this device must accept any interference
received, including interference that may cause
undesired operation.
This device complies with RSS-210 of Industry
Canada. Operation
is subject to the following two
conditions: (1) this device may not cause interference,
and
(2) this device must accept any interference
received, including interference that may cause
undesired operation of the device. Changes
or modifications to this system by other than an
authorized service facility could void authorization to
use this equipment.
The system works when you
turn the key to ON. The key
uses a transponder that matches an immobilizer control
unit
in your vehicle. The correct key will start the vehicle.
When the system senses that someone is using the wrong key, it may
start but it will not continue to run. If someone
tries to
start your vehicle again or uses another key during
this time, the shutdown will start over again. This
discourages someone from randomly trying different keys
with different transponders in an attempt to make a match.
If the engine cannot be started, turn the key in the
ignition to
ON. Wait approximately two seconds; then
start your vehicle again.
If the engine still won’t start, try another key.
You may
also want to check the fuses (see “Fuses and Circuit
Breakers” in the Index).
If the starter won’t work with
the other key, your vehicle needs service. If your vehicle
does start, the first key may be faulty. See your dealer.
If you lose or damage a key or you cannot start the
engine, see your dealer. If a key
is lost, bring all
remaining keys to your dealer for re-programming. In
an emergency, call the Vehicle Roadside Assistance
Center at 1-800-882-1112.
Page 104 of 346
Downloaded from www.Manualslib.com manuals search engine Tilt Steering Wheel
1;
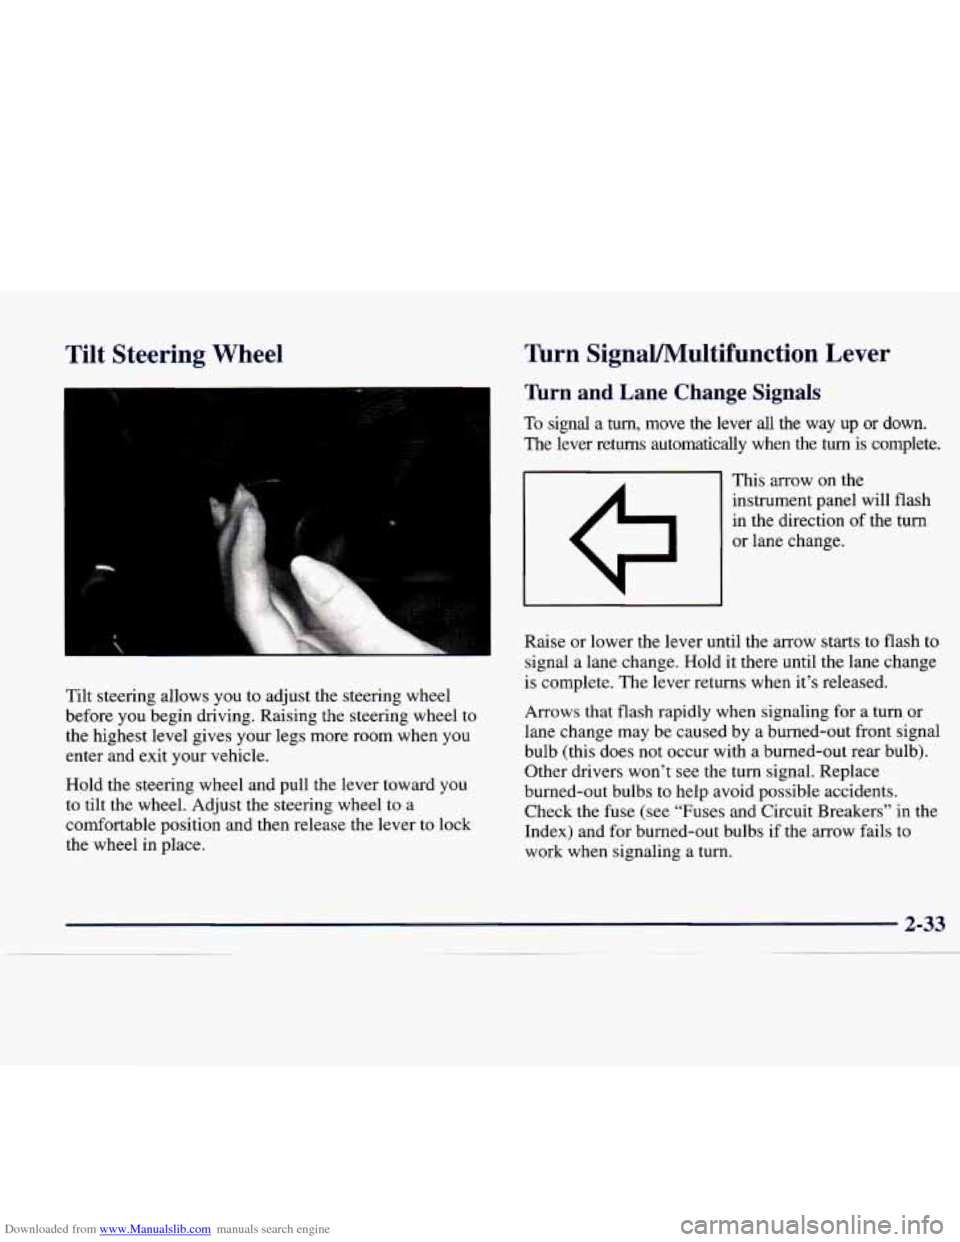
Tilt steering allows you to adjust the steering wheel
before you begin driving. Raising the steering wheel to
the highest level gives your legs more room when you
enter and exit your vehicle.
Hold the steering wheel and pull the lever toward you
to tilt the wheel. Adjust the steering wheel to a
comfortable position and then release the lever
to lock
the wheel in place.
Turn SignaVMultifunction Lever
Turn and Lane Change Signals
To signal a turn, move the lever all the way up or down.
The lever returns automatically when the turn
is complete.
This arrow
on the
instrument panel will flash
in the direction of the turn
or lane change.
Raise or lower the lever until the arrow starts
to flash to
signal a lane change. Hold it there until the lane change
is complete. The lever returns when it’s released.
Arrows that flash rapidly when signaling for a turn or
lane change may be caused by a burned-out front signal
bulb (this
does not occur with a burned-out rear bulb).
Other drivers won’t see the
turn signal. Replace
burned-out bulbs to help avoid possible accidents. Check the fuse
(see “Fuses and Circuit Breakers” in the
Index) and for burned-out bulbs if the arrow fails to
work when signaling a turn.
Page 219 of 346
Downloaded from www.Manualslib.com manuals search engine 1 unnecessary accessories plugged into the cigarette
lighter.
Turn off all lamps that aren’t needed as well
as the radios. This will avoid sparks and help save
both batteries.
In addition, it could save the radio!
3. Turn off the ignition on both vehicles. Unplug
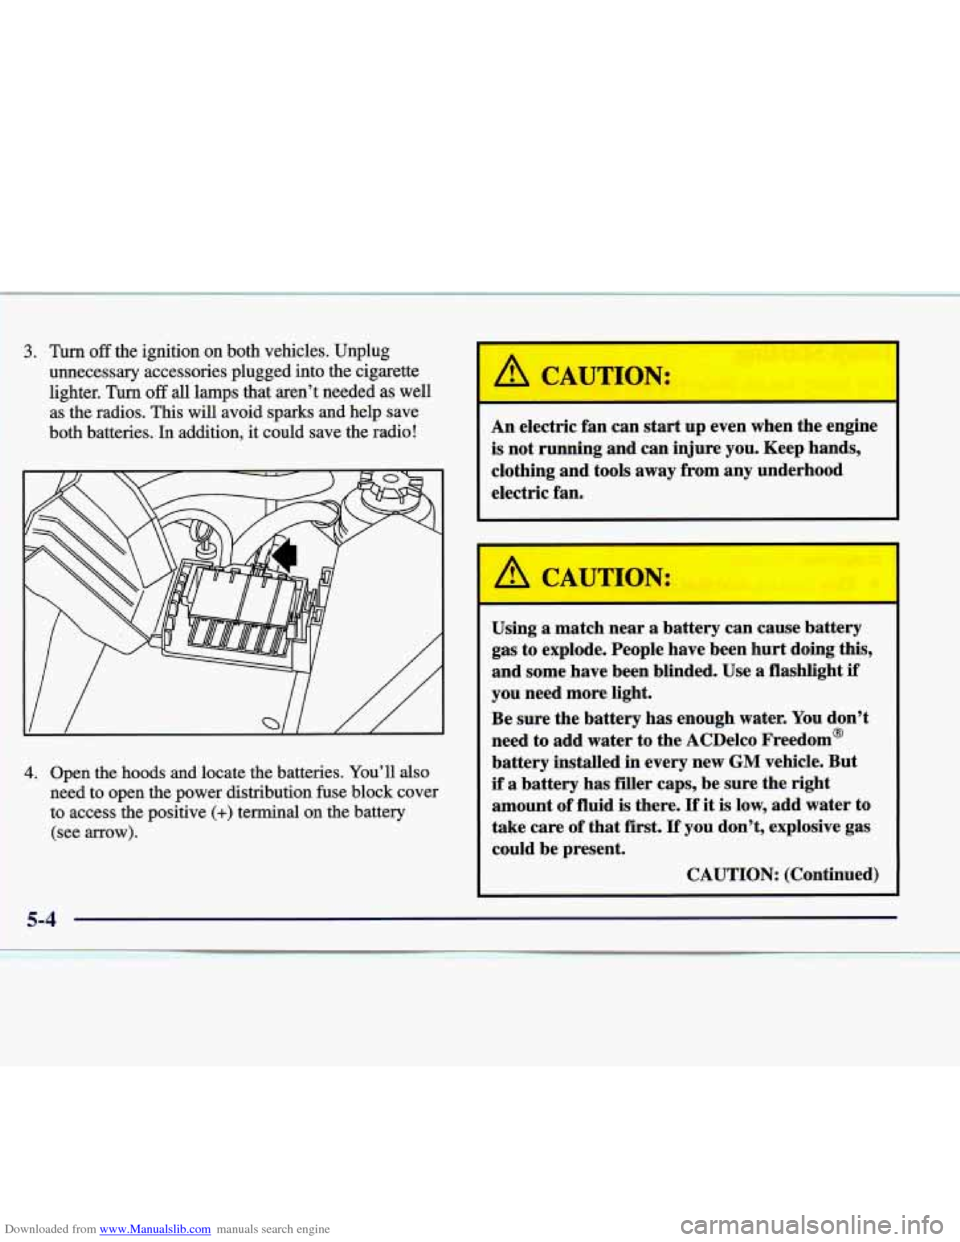
I 4. Open the hoods and locate the batteries. You’ll also
need
to open the power distribution fuse block cover
to access the positive (+) terminal on the battery
(see arrow).
CAUTION:
An electric fan can start up even when the engine
is not running and can injure you. Keep hands,
clothing and tools away from any underhood
electric fan.
I I
4 CAUTION:
Using a match near a battery can cause battery
gas to explode. People have been hurt doing this,
and some have been blinded. Use a flashlight
if
you need more light.
Be sure the battery has enough water.
You don’t
need to add water to the ACDelco Freedom@
battery installed in every new
GM vehicle. But
if a battery has filler caps, be sure the right
amount of fluid is there.
If it is low, add water to
take care
of that first. If you don’t, explosive gas
could be present.
CAUTION: (Continued)
I
=-4
Page 252 of 346
Downloaded from www.Manualslib.com manuals search engine You can be injured and your vehicle could be damaged if you try to do service work on a
vehicle without knowing enough about it.
Be sure you have sufficient knowledge,
experience, the proper replacement parts
and tools before you attempt any vehicle
maintenance task.
Be sure to use the proper nuts, bolts and
other fasteners. “English” and “metric”
fasteners can be easily confused. If you use
the wrong fasteners, parts can later break
or fall
off. You could be hurt.
Adding Equip] !nt to the Outside of
Your Vehicle
Things you might add to the outside of your vehicle can
affect the airflow around
it. This may cause wind noise
and affect windshield washer performance. Check with
your dealer before adding equipment to the outside of
your vehicle.
Fuel
Use premium unleaded gasoline rated at 9 1 octane or
higher for best performance. You may use middle grade
or regular unleaded gasolines, but your vehicle may not
accelerate as well.
At a minimum, the gasoline you use shoula meet
specifications ASTM
D4814 in the United States and
CGSB 35M93 in Canada. Improved gasoline
specifications have been developed by the American
Automobile Manufacturers Association (AAMA) for
better vehicle performance and engine protection.
Gasolines meeting the AAMA specification could
provide improved driveability and emission control
system protection compared to other gasolines.
Be sure the posted octane for premium is at least
91 (at
least
89 for middle grade and 87 for regular). If the octane
is less than
87, you may get a heavy knocking noise when
you drive. If it’s bad enough, it can damage
your engine.
If you’re using
fuel rated at the recommended octane or
higher and you hear heavy knocking, your engine needs
service. But don’t worry if you hear a little pinging
noise when you’re accelerating or driving up a hill.
That’s normal, and you don’t have to buy a higher
octane fuel to get rid of pinging. It’s the heavy, constant
knock that means you have a problem.
6-3
Page 304 of 346
Downloaded from www.Manualslib.com manuals search engine Electrical System
Add-on Electrical Equipment
I NOTICE:
Don’t add anything electrical to your vehicle
unless you check with your dealer first. Some electrical equipment can damage your vehicle
and the damage wouldn’t be covered by your
warranty. Some add-on electrical equipment
can keep other components from working as
they should.
Headlamp Wiring
The headlamp wiring has several fuses which are
powered by a MaxiFuse@. An electrical overload will
cause the lamps to go on and off, or in some cases to
remain
off. If this happens, have the headlamp wiring
checked right away.
MaxiFuse is a registered trademark of Little Fuse
Incorporated.
Windshield Wiper Fuses
If the windshield wiper motor overheats due to heavy
snow, etc., the wipers will stop until the motor cools. If
the overload is caused by some electrical problem, be
sure to have it fixed.
Your vehicle has an air bag system. Before attempting
to
add anything electrical to your vehicle, see “Servicing
Your Air Bag-Equipped Vehicle” in the Index.
Power Windows and Other Power Options
Circuit breakers protect the power windows and other
power accessories. When the current load is
too heavy,
the circuit breaker opens and closes, protecting the
circuit until the problem is fixed or goes away.
Page 305 of 346
Downloaded from www.Manualslib.com manuals search engine Power Distribution Fuse Block Fuses and Circuit Breakers
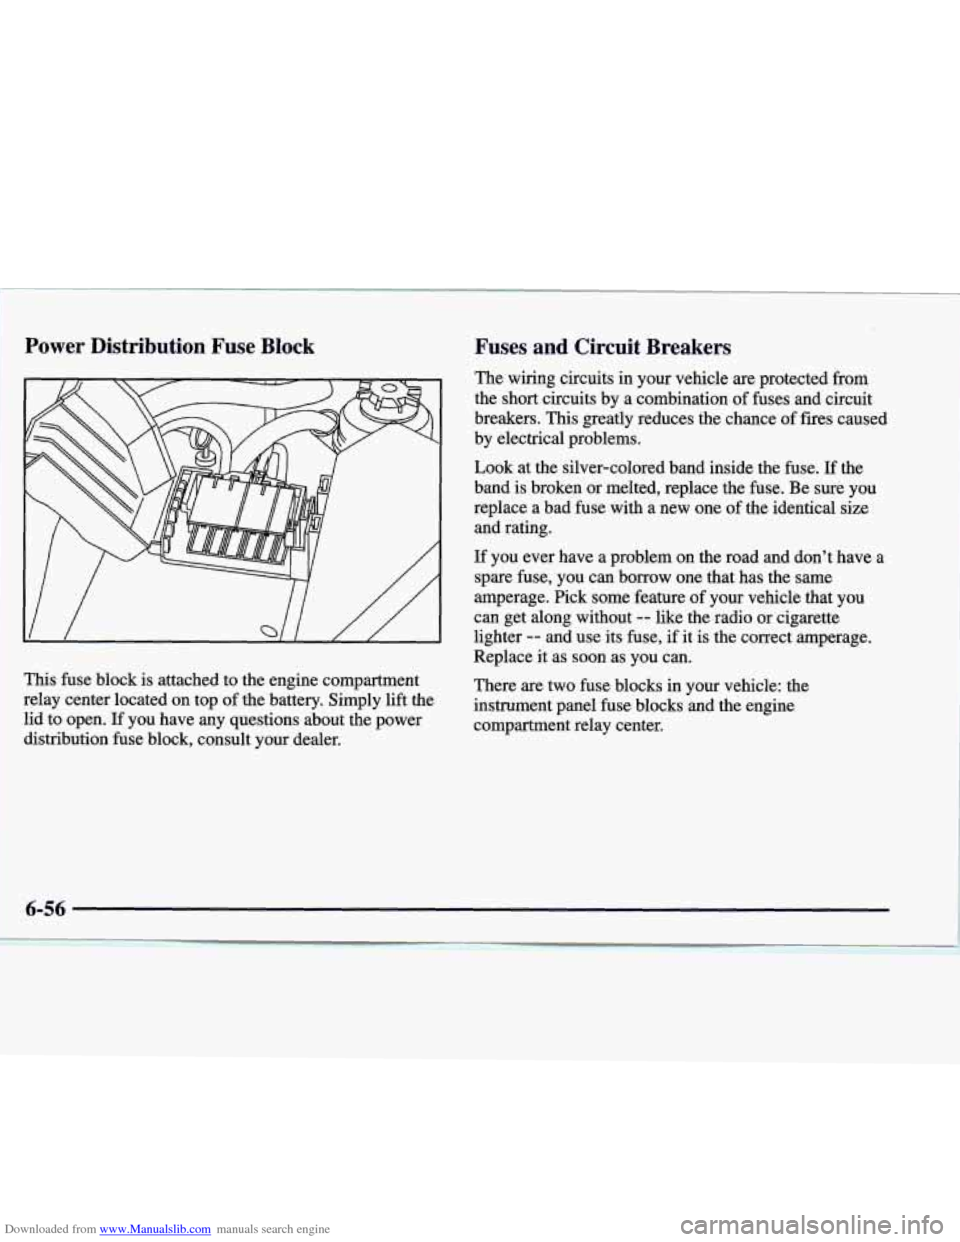
This fuse block is attached to the engine compartment
relay center located on top of the battery. Simply lift the
lid to open. If you have any questions about the power
distribution fuse block, consult your dealer. The
wiring circuits in your vehicle are protected from
the
short circuits by a combination of fuses and circuit
breakers.
This greatly reduces the chance of fires caused
by electrical problems.
Look at the silver-colored band inside the fuse.
If the
band is broken or melted, replace the
fuse. Be sure you
replace a bad fuse with a new one of the identical size
and rating.
If you ever have a problem on the road and don’t have a
spare fuse, you can borrow one that has the same
amperage. Pick some feature of your vehicle that
you
can get along without -- like the radio or cigarette
lighter
-- and use its fuse, if it is the correct amperage.
Replace it as soon as you can.
There
are two €use blocks in your vehicle: the
instrument panel fuse blocks and the engine
compartment relay center.
6-56
Page 306 of 346
Downloaded from www.Manualslib.com manuals search engine Instrument Panel Fuse Block (Driver's Side)
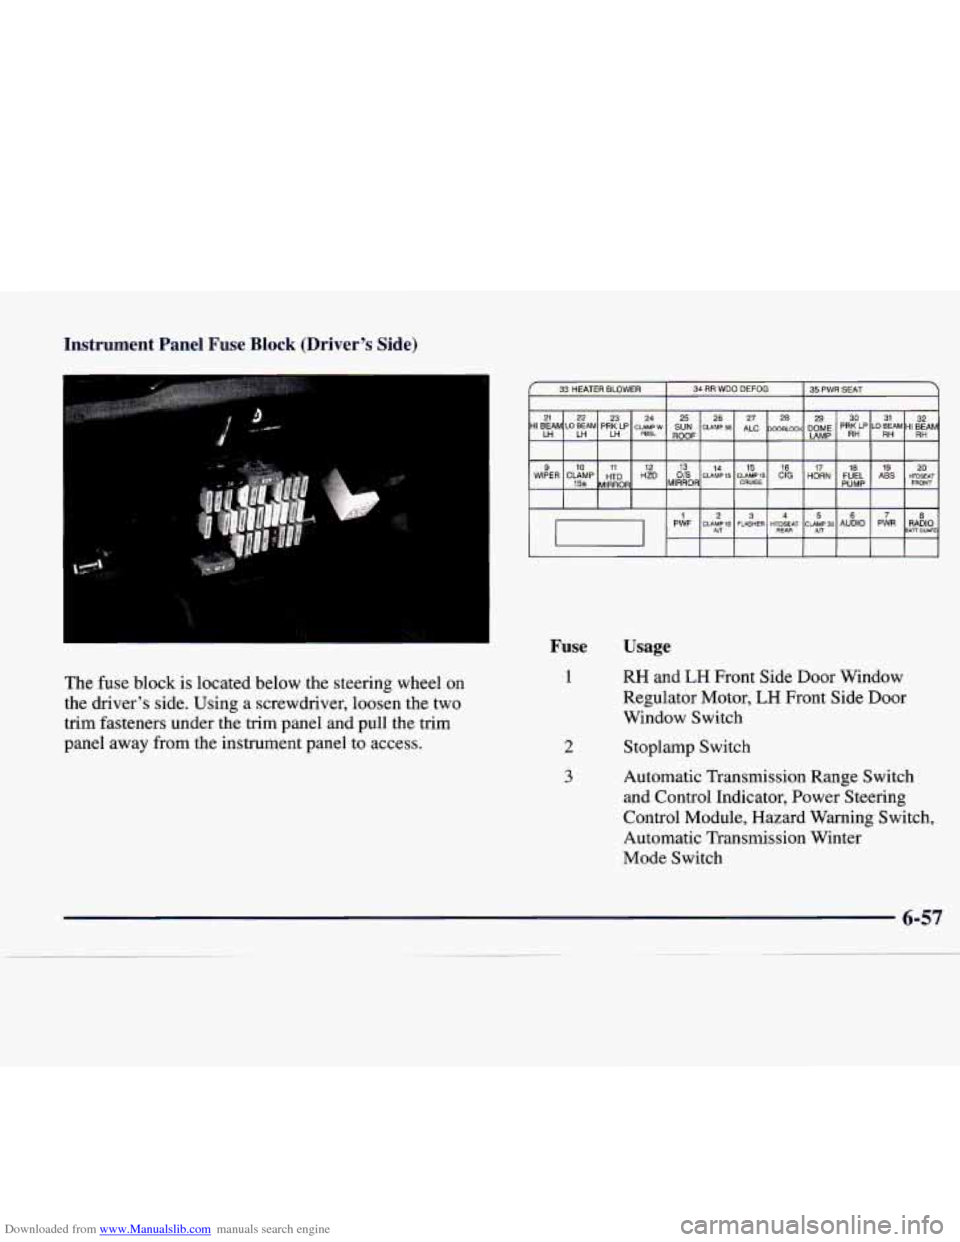
The fuse block is located below the steering wheel on
the driver's side. Using a screwdriver, loosen the two
trim fasteners under the trim panel and pull the trim
panel away from the instrument panel to access.
33 HEATER BLOWER
34 RR WDO DEFOG 35 PWR SEAT I I 7
Fuse
1
2
3
Usage
RH and LH Front Side Door Window
Regulator Motor,
LH Front Side Door
Window Switch
Stoplamp Switch
Automatic Transmission Range Switch
and Control Indicator, Power Steering
Control Module, Hazard Warning Switch,
Automatic Transmission Winter
Mode Switch
Page 307 of 346
Downloaded from www.Manualslib.com manuals search engine Fuse Usage
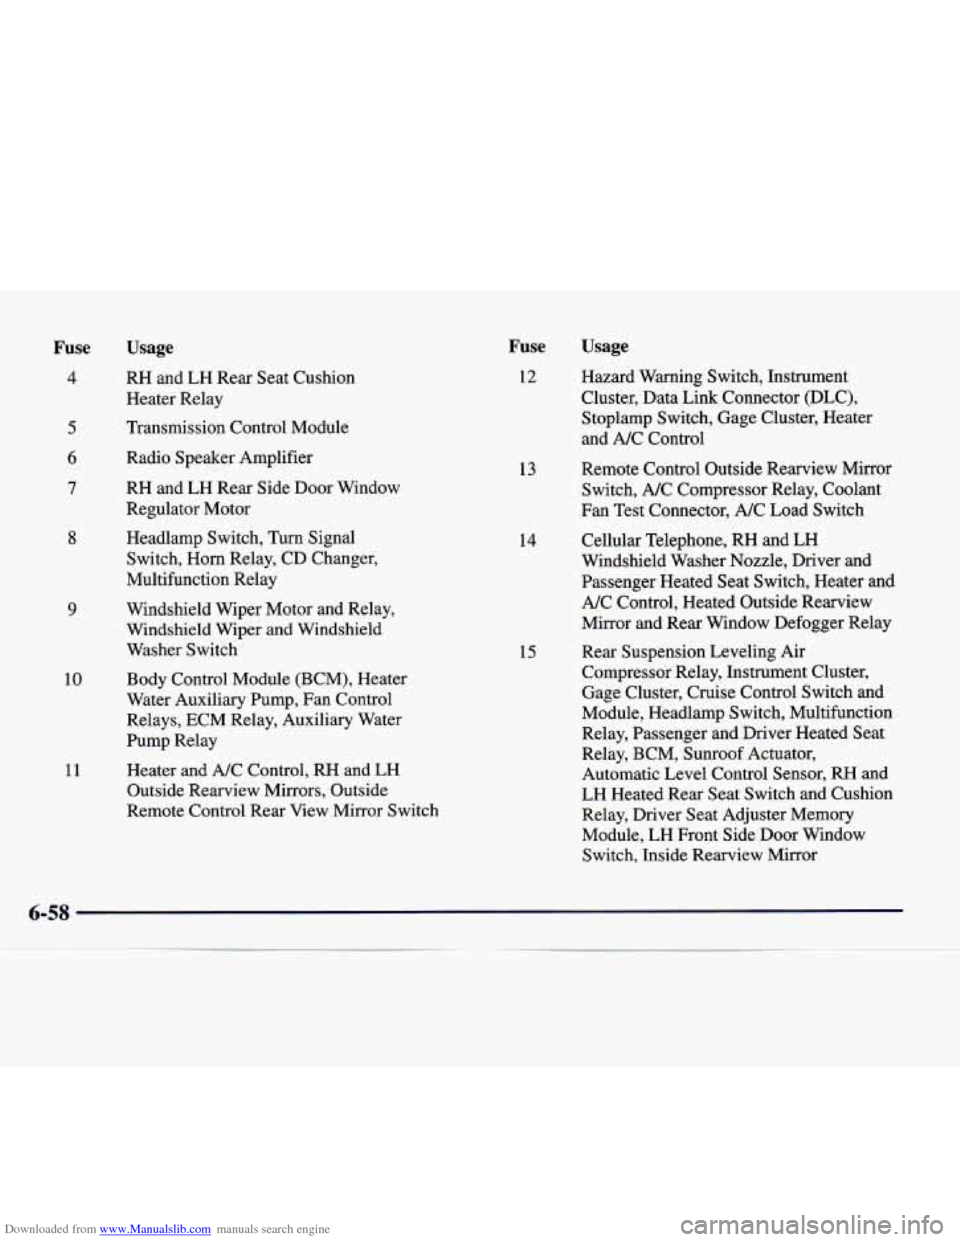
4 RH and LH Rear Seat Cushion
Heater Relay
8
9
10
11
Transmission Control Module
Radio Speaker Amplifier
RH and LH Rear Side Door Window
Regulator Motor
Headlamp Switch,
Turn Signal
Switch, Horn Relay, CD Changer,
Multifunction Relay
Windshield Wiper Motor and Relay,
Windshield Wiper and Windshield Washer Switch
Body Control Module (BCM), Heater
Water Auxiliary Pump, Fan Control
Relays, ECM Relay, Auxiliary Water
Pump Relay
Heater and A/C Control, RH and LH
Outside Rearview Mirrors, Outside
Remote Control Rear View Mirror Switch
Fuse
12
13
14
15
Usage
Hazard Warning Switch, Instrument
Cluster, Data Link Connector (DLC),
Stoplamp Switch, Gage Cluster, Heater
and A/C Control
Remote Control Outside Rearview Mirror
Switch,
A/C Compressor Relay, Coolant
Fan Test Connector, A/C Load Switch
Cellular Telephone, RH and LH
Windshield Washer Nozzle, Driver and
Passenger Heated Seat Switch, Heater and
A/C Control, Heated Outside Rearview
Mirror and Rear Window Defogger Relay
Rear Suspension Leveling Air
Compressor Relay, Instrument Cluster,
Gage Cluster, Cruise Control Switch and
Module, Headlamp Switch, Multifunction
Relay, Passenger and Driver Heated Seat
Relay, BCM, Sunroof Actuator,
Automatic Level Control Sensor,
RH and
LH Heated Rear Seat Switch and Cushion
Relay, Driver Seat Adjuster Memory
Module, LH Front Side Door Window
Switch, Inside Rearview Mirror
6-58