light CADILLAC CTS 2007 1.G Owner's Manual
[x] Cancel search | Manufacturer: CADILLAC, Model Year: 2007, Model line: CTS, Model: CADILLAC CTS 2007 1.GPages: 518, PDF Size: 2.77 MB
Page 115 of 518

Canadian Owners:If you lose or damage your
keys, only a GM dealer can service the
theft-deterrent system to have new keys made.
To program additional keys you will require
two current driver’s keys. You must add a step to
the following procedure. After Step 2, repeat
Steps 1 and 2 with the second current driver’s key.
Then continue with Step 3.
To program a new key do the following:
1. Verify that the new key has PK3+ stamped
on it.
2. Insert the current driver’s key in the ignition
and start the engine. If the engine will not
start see your dealer for service.
3. After the engine has started, turn the key to
OFF, and remove the key.4. Insert the key to be programmed and turn it to
ON within ten seconds of removing the
previous key.
5. The security light will turn off once the key
has been programmed. It may not be
apparent that the security light went on due to
how quickly the key is programmed.
6. Repeat the Steps 1 through 4 if additional
keys are to be programmed.
If the security light comes on and stays on while
driving, you will be able to restart the engine if you
turn it off. The theft-deterrent system, however,
is not working properly and must be serviced
by your dealer. Your vehicle is not protected by
the theft-deterrent system at this time.
In an emergency, contact Cadillac Roadside
Service
®. SeeRoadside Service on page 488.
115
Page 124 of 518

DRIVE (D):This position is for normal driving.
It provides the best fuel economy for your vehicle.
If you need more power for passing, and you are:
Going less than 35 mph (55 km/h), push the
accelerator pedal about halfway down.
Going about 35 mph (55 km/h) or more,
push the accelerator all the way down.
The transmission will shift down to a lower gear
and have more power.
Downshifting the transmission in slippery road
conditions could result in skidding, see Skidding
underLoss of Control on page 303
Notice:Spinning the tires or holding the
vehicle in one place on a hill using only
the accelerator pedal may damage the
transmission. If you are stuck, do not spin
the tires. When stopping on a hill, use
the brakes to hold the vehicle in place.
Driver Shift Control (DSC)
Notice:If you drive your vehicle at high RPMs
without upshifting while using Driver Shift
Control (DSC), you could damage your
vehicle. Always upshift when necessary while
using DSC.
Your automatic transmission has a Driver Shift
Control (DSC) feature that allows you to change
gears similar to a manual transmission. To use the
DSC feature:
1. Slide the shift lever over from DRIVE (D) to
the right into the DSC area.
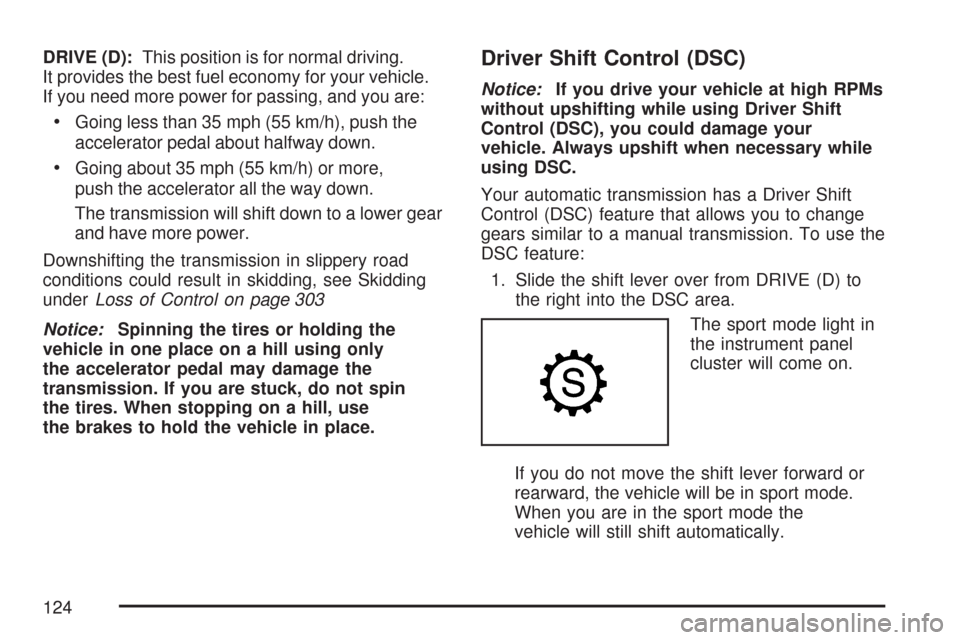
The sport mode light in
the instrument panel
cluster will come on.
If you do not move the shift lever forward or
rearward, the vehicle will be in sport mode.
When you are in the sport mode the
vehicle will still shift automatically.
124
Page 128 of 518

Skip Shift (CTS-V)
1r4:This message may appear in the message
center in the speedometer during light throttle, low
speed maneuvers (15 to 19 mph (24 to 31 km/h)).
When this message appears, you can only shift
from FIRST (1) to FOURTH (4) instead of
FIRST (1) to SECOND (2).
SeeOne-to-Four Shift Message (CTS-V Only) on
page 222for more information.
During the shift from FIRST (1) to FOURTH (4),
pull the shift lever straight back using light force on
the shift lever. You must complete the shift into
FOURTH (4) to turn off this feature. This helps get
the best possible fuel economy. The skip shift
feature is turned backed on when the vehicle is at
a complete stop and the digital speedometer
reads 0 mph (0 km/h).
Notice:Forcing the shift lever into any gear
except FOURTH (4), when the One – to – Four
Shift message comes on, may damage the
transmission. Shift only from FIRST (1) to
FOURTH (4) when the One – to – Four Shift
message comes on.The One – to – Four Shift message comes on when:The engine coolant temperature is higher than
169°F (76°C) and you are going 15 to 19 mph
(24 to 31 km/h).
You are pressing the accelerator pedal less
then a quarter of the way down.
Parking Brake
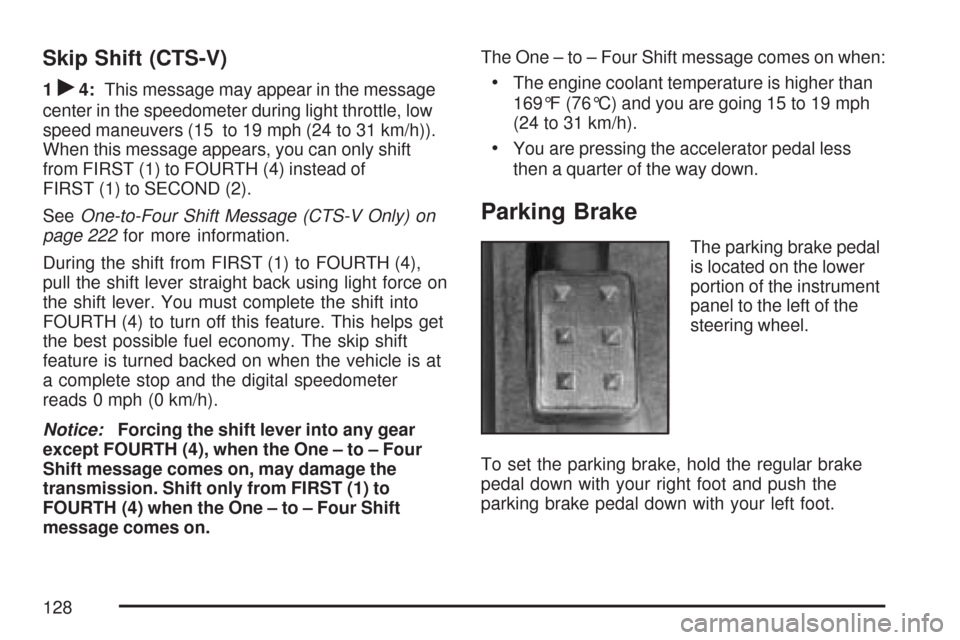
The parking brake pedal
is located on the lower
portion of the instrument
panel to the left of the
steering wheel.
To set the parking brake, hold the regular brake
pedal down with your right foot and push the
parking brake pedal down with your left foot.
128
Page 129 of 518

If the ignition is on, the brake system warning light
on the instrument panel cluster should come
on. If it does not, you need to have your vehicle
serviced. SeeBrake System Warning Light
on page 205for more information.
To release the parking brake, pull the release
lever located to the left of the steering wheel on
the instrument panel.Notice:Driving with the parking brake on
can overheat the brake system and cause
premature wear or damage to brake system
parts. Verify that the parking brake is fully
released and the brake warning light is
off before driving.
A warning chime will sound if the parking brake
is set, the ignition is on, and the vehicle begins
to move. To stop the chime, fully release the
parking brake.
If you are towing a trailer and parking on a hill,
seeTowing a Trailer on page 328for more
information.
129
Page 136 of 518

Mirrors
Automatic Dimming Rearview Mirror
with OnStar
®
The vehicle may have an automatic dimming
inside rearview mirror with OnStar®controls.
For more information about OnStar®, seeOnStar®
System on page 142.
O(On/Off):The on/off button, located on the
lower left side of the mirror, is used for the
automatic dimming functions of the rearview mirror.
Mirror Operation
The automatic dimming feature comes on each
time the vehicle is started. Automatic dimming
reduces the glare of lights from behind the vehicle.
To turn the automatic dimming feature on or off,
press and release the on/off button. The indicator
light will come on when this feature is on.
Passenger Airbag Indicator
The mirror may have a passenger airbag indicator
on the mirror glass, just above the buttons.
If the vehicle has this feature, the mirror will
display the word ON, or an airbag symbol
in Canada, when the passenger airbag is enabled.
SeePassenger Sensing System on page 82for
more information.
Cleaning the Mirror
When cleaning the mirror, use a paper towel or
similar material dampened with glass cleaner.
Do not spray glass cleaner directly on the mirror
as that may cause the liquid cleaner to enter
the mirror housing.
136
Page 137 of 518

Automatic Dimming Rearview Mirror
with OnStar
®and Compass
The vehicle may have an automatic dimming
inside rearview mirror with a compass and
OnStar
®controls. For more information about
OnStar®, seeOnStar®System on page 142.
The mirror has an eight-point compass display in
the upper right corner of the mirror. When on,
the compass automatically calibrates, or sets the
driving direction, as the vehicle is driven. If the
vehicle has the navigation option, the direction the
vehicle is facing will be displayed on the
navigation screen.
O(On/Off):The on/off button is located on the
lower left side of the mirror and is used for
the automatic dimming and compass functions of
the rearview mirror.
Mirror Operation
The automatic dimming feature comes on each
time the vehicle is started.
To turn the automatic dimming feature on or off,
press the on/off button. The indicator light will
illuminate when this feature is on.
Compass Operation
Press the on/off button once to turn the compass
on or off.
When the ignition and the compass feature are
on, the compass will show two character boxes for
approximately two seconds. After two seconds,
the mirror will display the current compass
direction.
137
Page 145 of 518

The vehicle information usually includes your GPS
location and, in the event of a crash, additional
information regarding the accident that your vehicle
has been involved in (e.g. the direction from
which your vehicle was hit). When you use the
Virtual Advisor feature of OnStar
®Hands-Free
Calling, your vehicle also sends OnStar®your
GPS location so that we can provide you
with location-based services.
OnStar
®service cannot work unless your vehicle
is in a place where OnStar®has an agreement
with a wireless service provider for service in that
area. OnStar
®service also cannot work unless
you are in a place where the wireless service
provider OnStar
®has hired for that area
has coverage, network capacity and reception
when the service is needed, and technology that
is compatible with the OnStar
®service. Not all
services are available everywhere, particularly in
remote or enclosed areas, or at all times.
OnStar
®service that involves location information
about your vehicle cannot work unless GPS
satellite signals are unobstructed and available in
that place as well.Your vehicle must have a working electrical
system (including adequate battery power) for the
OnStar
®equipment to operate. There are other
problems OnStar®cannot control that may prevent
OnStar®from providing OnStar®service to you
at any particular time or place. Some examples are
damage to important parts of your vehicle in an
accident, hills, tall buildings, tunnels, weather
or wireless phone network congestion.
Your Responsibility
You may need to increase the volume of your
radio to hear the OnStar®advisor. If the light next
to the OnStar®buttons is red, this means that
your system is not functioning properly and should
be checked by your dealer/retailer. If the light
appears clear (no light is appearing), your OnStar
®
subscription has expired. You can always press
the OnStar®button to con�rm that your OnStar®
equipment is active.
145
Page 146 of 518

Universal Home Remote System
System Identi�cation
Your vehicle may have a Universal Home Remote
System.
Determine which Universal Home Remote your
vehicle has and then read the pages following for
instructions on programming your speci�c system.
If there is one triangular Light Emitting Diode
(LED) indicator light above the Universal Home
Remote buttons, follow the instructions under
Universal Home Remote System Operation
(With One Triangular LED).If there are three round LED indicator lights above
the Universal Home Remote buttons, follow the
instructions under Universal Home Remote System
Operation (With Three Round LED).
For help or information on the Universal Home
Remote System, call the customer assistance
phone number underCustomer Assistance Offices
on page 486.
146
Page 147 of 518

Universal Home Remote System
The Universal Home Remote System provides a
way to replace up to three hand-held
radio-frequency (RF) transmitters used to activate
devices such as garage door openers, security
systems, and home lighting.
This device complies with Part 15 of the FCC
Rules. Operation is subject to the following
two conditions:
1. This device may not cause harmful
interference.
2. This device must accept any interference
received, including interference that may
cause undesired operation.
The FCC Grant of Equipment Authorization
Certi�cate number is CB2SAHL3, if your vehicle
has one triangular LED.
The FCC Grant of Equipment Authorization
Certi�cate number is KOBGTV06A, if your system
has three round LED.This device complies with RSS-210 of Industry
Canada. Operation is subject to the following
two conditions:
1. This device may not cause interference.
2. This device must accept any interference
received, including interference that may
cause undesired operation of the device.
The Canadian Registration ID number is
2791021849A, if your system has one
triangular LED.
The Canadian Registration ID number is
3521A-GTV06A, if your system has
three round LED.
Changes or modi�cations to this system by other
than an authorized service facility could void
authorization to use this equipment.
147
Page 148 of 518

Universal Home Remote System
Operation (With One Triangular LED)
If there is one triangular Light Emitting Diode
(LED) indicator light above the Universal Home
Remote buttons, follow the instructions below.
Do not use the Universal Home Remote with
any garage door opener that does not have the
stop and reverse feature. This includes any
garage door opener model manufactured before
April 1, 1982. If you have a newer garage
door opener with rolling codes, please be sure
to follow Steps 6 through 8 to complete the
programming of your Universal Home Remote
Transmitter.Read the instructions completely before attempting
to program the Universal Home Remote.
Because of the steps involved, it may be helpful
to have another person available to assist you
in the programming steps
Keep the original hand-held transmitter for use in
other vehicles as well as for future Universal
Home Remote programming. It is also
recommended that upon the sale of the vehicle,
the programmed Universal Home Remote buttons
should be erased for security purposes.
See “Erasing Universal Home Remote Buttons”
later in section.
When programming a garage door, it is advised to
park outside of the garage. Be sure that people
and objects are clear of the garage door or
gate operator you are programming.
It is recommended that a new battery be installed
in your hand-held transmitter for quicker and
more accurate transmission of the radio-frequency
signal.
148