warning CADILLAC CTS V 2005 1.G User Guide
[x] Cancel search | Manufacturer: CADILLAC, Model Year: 2005, Model line: CTS V, Model: CADILLAC CTS V 2005 1.GPages: 432, PDF Size: 2.52 MB
Page 137 of 432

x(Delay Adjustment):Use this band to set the
length of the delay between wipes when using the delay
feature. The closer you move the band toward mist,
the longer the delay. The windshield wiper lever must be
in delay for this feature to work.
6(Low Speed):Put the lever in this position for
slow, steady wiping cycles.
1(High Speed):Put the lever in this position for
rapid wiping cycles.
If the windshield wipers are in use for about six seconds
while you are driving, the exterior lamps will come on
automatically if the exterior lamp control is in AUTO. See
Wiper Activated Headlamps on page 3-20for more
information.
Be sure to clear ice and snow from the wiper blades
before using them. If they’re frozen to the windshield,
gently loosen or thaw them. If the blades do become
damaged, install new blades or blade inserts. For more
information, seeWindshield Wiper Blade Replacement
on page 5-52.
Heavy snow or ice can overload the wiper motor. A
circuit breaker will stop the motor until it cools down.
Clear away snow or ice to prevent an overload.
Windshield Washer
{CAUTION:
In freezing weather, do not use your washer
until the windshield is warmed. Otherwise the
washer �uid can form ice on the windshield,
blocking your vision.
The windshield washer button is located at the end of
the windshield wiper lever.
K(Washer Fluid):Press the button with this symbol
located at the end of the windshield washer lever to
wash the windshield. Washer �uid will spray onto
the windshield and the wipers will run for a few cycles
to clear the windshield. For more wash cycles, press and
hold the button.
If your vehicle is low on washer �uid, the Check Washer
Fluid message will appear on the Driver Information
Center (DIC) display. SeeDIC Warnings and Messages
on page 3-65.
If the headlamps are on when you wash the windshield,
the headlamp washers (if equipped) will turn on. Both
the windshield and the headlamps will be washed.
See “Headlamp Washer” following for more information.
3-11
Page 146 of 432
;(Parking Lamps):Turn the control to this
position to turn on the parking lamps together with
the following:
Sidemarker Lamps
Taillamps
License Plate Lamps
Instrument Panel Lights
5(Headlamps):Turn the control to this position to
turn on the headlamps, together with the previously
listed lamps and lights.
CTS-V
The exterior lamp control for the CTS-V has the
following four positions:
9(Off):Turning the control to this position turns off
all lamps except the Daytime Running Lamps (DRL).
;(Parking Lamps):Turning the control to this
position turns on the parking lamps together with
the following:
Sidemarker Lamps
Taillamps
License Plate Lamps
Instrument Panel Lights
5(Headlamps):Turning the control to this position
turns on the headlamps, together with the previously
listed lamps and lights.
AUTO (Automatic):Turning the control to this position
puts the headlamps in automatic mode. AUTO mode
will turn the exterior lamps on and off depending
upon how much light is available outside of the vehicle.
Wiper Activated Headlamps
This feature activates the headlamps and parking lamps
after the windshield wipers have been in use for
about six seconds. For this feature to work, the exterior
lamp control must be in AUTO.
When the exterior lamp control is off or in the parking
lamp position and the windshield wiper control is in any
position except off, the Headlamps Suggested
message will appear on the DIC display. See
“Headlamps Suggested Message” underDIC Warnings
and Messages on page 3-65for more information.
When the ignition is turned to OFF, the wiper-activated
headlamps will immediately turn off. They will also
turn off if the windshield wiper control is turned off.
3-20
Page 147 of 432
Headlamps on Reminder
A warning chime will sound if the exterior lamp control
is left on in either the headlamp or parking lamp position
and the driver’s door is opened with the ignition off.
SeeLights On Reminder on page 3-49for additional
information.
Daytime Running Lamps (DRL)
Daytime Running Lamps (DRL) can make it easier for
others to see the front of your vehicle during the
day. DRL can be helpful in many different driving
conditions, but they can be especially helpful in the short
periods after dawn and before sunset. Fully functional
daytime running lamps are required on all vehicles
�rst sold in Canada.
The DRL system will make the turn signal lamps come
on when the following conditions are met:
It is still daylight and the ignition is in ON
or START,
the exterior lamp control is in off or AUTO with the
headlamps off, and
an automatic transmission is not in PARK (P) or the
parking brake is not set on a manual transmission.When DRL are on, only your front turn signal lamps will
be on. No other exterior lamps will be on when the
DRL are being used. Your instrument panel won’t be lit
up either.
When the exterior lamp control is in AUTO and it’s dark
enough outside, the DRL will turn off and the low-beam
headlamps will turn on. When it’s bright enough
outside, the low-beam headlamps will go off, and the
DRL will turn back on. If you start your vehicle in a dark
garage, the automatic headlamp system will come on
immediately. Once you leave the garage, it will take
about one minute for the automatic headlamp system to
change to DRL if it is light outside. During that delay,
your instrument panel cluster may not be as bright
as usual. Make sure your instrument panel brightness
lever is in the full bright position. SeeInstrument
Panel Brightness on page 3-24.
3-21
Page 160 of 432
Warning Lights, Gages, and
Indicators
This part describes the warning lights and gages that
may be on your vehicle. The pictures will help you
locate them.
Warning lights and gages can signal that something is
wrong before it becomes serious enough to cause
an expensive repair or replacement. Paying attention to
your warning lights and gages could also save you
or others from injury.
Warning lights come on when there may be or is a
problem with one of your vehicle’s functions. As you will
see in the details on the next few pages, some
warning lights come on brie�y when you start the
engine just to let you know they’re working. If you are
familiar with this section, you should not be alarmed
when this happens.Gages can indicate when there may be or is a problem
with one of your vehicle’s functions. Often gages
and warning lights work together to let you know when
there’s a problem with your vehicle.
When one of the warning lights comes on and stays on
when you are driving, or when one of the gages
shows there may be a problem, check the section that
tells you what to do about it. Follow this manual’s
advice. Waiting to do repairs can be costly – and even
dangerous. So please get to know your warning
lights and gages. They’re a big help.
Your vehicle also has a Driver Information Center (DIC)
that works along with the warning lights and gages.
SeeDriver Information Center (DIC) on page 3-57for
more information.
3-34
Page 163 of 432

Speedometer and Odometer
The speedometer lets you see your speed in either
miles per hour (mph) or kilometers per hour (km/h). The
odometer shows how far your vehicle has been
driven, in either miles (used in the United States) or
kilometers (used in Canada).
You may wonder what happens if a vehicle has to have
a new odometer installed. The new one may read
the correct mileage. This is because your vehicle’s
computer has stored the mileage in memory.
Trip Odometers
The trip odometer can record the number of miles or
kilometers traveled for up to two trips.
The trip odometer is part of the Driver Information
Center (DIC). To access the trip odometer, use one of
the following procedures:
How to Access the Trip Odometer
Using the Base Audio System
Using the Base audio system, do the following:
1. Press the INFO (Information) button located to the
right of the screen to access the DIC menu.2. Scroll through the menu using the up or down
arrows on the INFO button until you reach Trip
Odometer A or Trip Odometer B.
The selected trip odometer (A or B) will be displayed
at the top of the screen with the accumulated
mileage.
3. Repeat the steps to view the other trip odometer.
You can reset the selected trip odometer by pressing
CLR (Clear) button located in the center of the
INFO button to the right of the screen. The mileage for
that trip odometer will return to zero. Each trip
odometer must be reset individually.
Tachometer
This gage indicates the engine speed in revolutions per
minute (rpm).
Notice:If you operate the engine with the
tachometer in the shaded warning area, your vehicle
could be damaged, and the damages would not
be covered by your warranty. Do not operate
the engine with the tachometer in the shaded
warning area.
3-37
Page 165 of 432

{CAUTION:
If the airbag readiness light stays on after you
start your vehicle, it means the airbag system
may not be working properly. The airbags in
your vehicle may not in�ate in a crash, or they
could even in�ate without a crash. To help
avoid injury to yourself or others, have your
vehicle serviced right away if the airbag
readiness light stays on after you start
your vehicle.
The airbag readiness light should �ash for a few
seconds when you turn the ignition key to ON. If the
light doesn’t come on then, have it �xed so it will
be ready to warn you if there is a problem.
If there is a problem with the airbag system in your
vehicle, the Service airbag message will appear on the
DIC display. SeeDIC Warnings and Messages on
page 3-65for more information.
Passenger Airbag Status Indicator
Your rearview mirror has a passenger airbag status
indicator.
When the ignition key is turned to ON or START, the
passenger airbag status indicator will light ON and OFF,
or the symbol for on and off, for several seconds as a
system check. Then, after several more seconds,
the status indicator will light either ON or OFF, or either
the on or off symbol to let you know the status of the
right front passenger’s frontal airbag.Passenger Airbag Status Indicator – United States
Passenger Airbag Status Indicator – Canada
3-39
Page 167 of 432

Charging System Light
When you turn the key to
ON or START, this light
will come on brie�y
to show that the generator
and battery charging
systems are working
properly.
If this light stays on, your vehicle needs service. You
should take your vehicle to the dealer at once. To save
your battery until you get there, turn off all accessories.
For more information seeDIC Warnings and Messages
on page 3-65.
Brake System Warning Light
Your vehicle’s hydraulic brake system is divided into
two parts. If one part isn’t working, the other part can still
work and stop you. For good braking, though, you
need both parts working well.
If the warning light comes on, there is a brake problem.
Have your brake system inspected right away.
This light should come on brie�y when you turn the
ignition key to ON. If it doesn’t come on then, have it
�xed so it will be ready to warn you if there’s a problem.
United StatesCanada
3-41
Page 168 of 432

When the ignition is on, the brake system warning light
will also come on when you set your parking brake.
The light will stay on if your parking brake doesn’t
release fully. If it stays on after your parking brake is
fully released, it means you have a brake problem.
If the light comes on while you are driving, pull off the
road and stop carefully. You may notice that the pedal is
harder to push, or the pedal may go closer to the
�oor. It may take longer to stop. If the light is still on,
have the vehicle towed for service. SeeTowing
Your Vehicle on page 4-38.
{CAUTION:
Your brake system may not be working
properly if the brake system warning light is
on. Driving with the brake system warning light
on can lead to an accident. If the light is still
on after you have pulled off the road and
stopped carefully, have the vehicle towed
for service.
Anti-Lock Brake System
Warning Light
With the anti-lock brake
system, the light will come
on when your engine is
started and may stay on for
several seconds. That is
normal.
If the ABS warning light comes on and stays on, there
may be a problem with the anti-lock portion of the brake
system. If the red BRAKE light is not on, you still
have brakes, but you do not have anti-lock brakes. See
Brake System Warning Light on page 3-41.
If the light stays on, turn the ignition to OFF. If the light
comes on when you are driving, stop as soon as
possible and turn the ignition off. Then start the engine
again to reset the system. If the light still stays on,
or comes on again while you are driving, your vehicle
needs service. If the regular brake system warning light
is not on, you still have brakes, but you do not have
anti-lock brakes. If the regular brake system warning
light is also on, you do not have anti-lock brakes
and there is a problem with your regular brakes. See
Brake System Warning Light on page 3-41.
3-42
Page 169 of 432
Traction Control System (TCS)
Warning Light
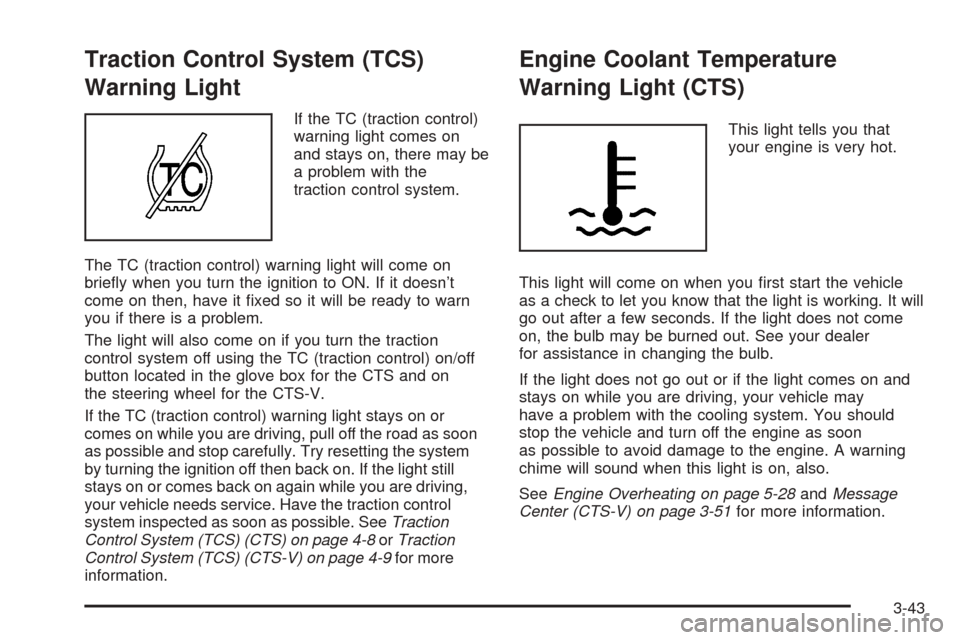
If the TC (traction control)
warning light comes on
and stays on, there may be
a problem with the
traction control system.
The TC (traction control) warning light will come on
brie�y when you turn the ignition to ON. If it doesn’t
come on then, have it �xed so it will be ready to warn
you if there is a problem.
The light will also come on if you turn the traction
control system off using the TC (traction control) on/off
button located in the glove box for the CTS and on
the steering wheel for the CTS-V.
If the TC (traction control) warning light stays on or
comes on while you are driving, pull off the road as soon
as possible and stop carefully. Try resetting the system
by turning the ignition off then back on. If the light still
stays on or comes back on again while you are driving,
your vehicle needs service. Have the traction control
system inspected as soon as possible. SeeTraction
Control System (TCS) (CTS) on page 4-8orTraction
Control System (TCS) (CTS-V) on page 4-9for more
information.
Engine Coolant Temperature
Warning Light (CTS)
This light tells you that
your engine is very hot.
This light will come on when you �rst start the vehicle
as a check to let you know that the light is working. It will
go out after a few seconds. If the light does not come
on, the bulb may be burned out. See your dealer
for assistance in changing the bulb.
If the light does not go out or if the light comes on and
stays on while you are driving, your vehicle may
have a problem with the cooling system. You should
stop the vehicle and turn off the engine as soon
as possible to avoid damage to the engine. A warning
chime will sound when this light is on, also.
SeeEngine Overheating on page 5-28andMessage
Center (CTS-V) on page 3-51for more information.
3-43
Page 170 of 432
Engine Coolant Temperature Gage
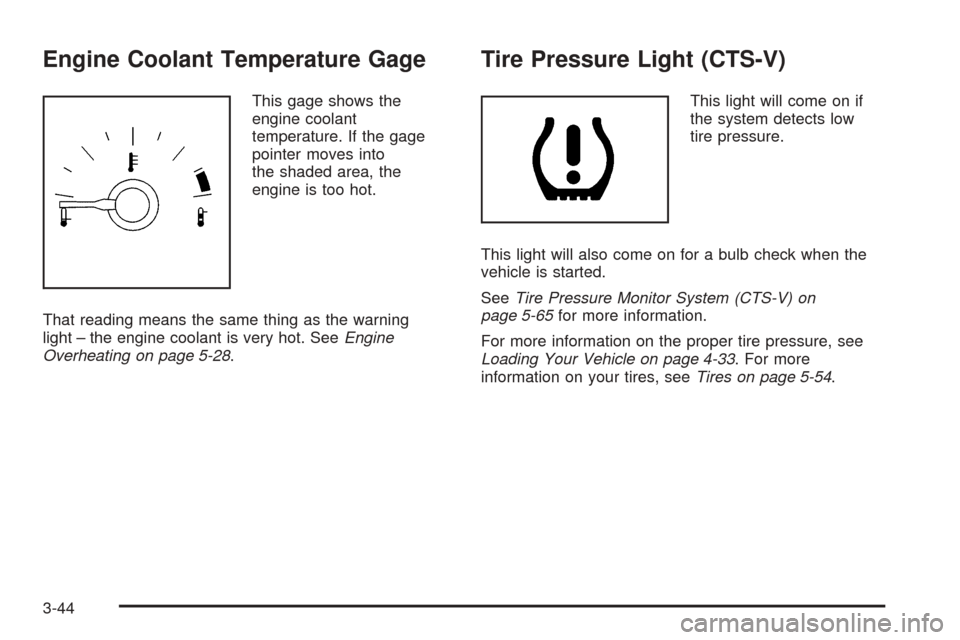
This gage shows the
engine coolant
temperature. If the gage
pointer moves into
the shaded area, the
engine is too hot.
That reading means the same thing as the warning
light – the engine coolant is very hot. SeeEngine
Overheating on page 5-28.
Tire Pressure Light (CTS-V)
This light will come on if
the system detects low
tire pressure.
This light will also come on for a bulb check when the
vehicle is started.
SeeTire Pressure Monitor System (CTS-V) on
page 5-65for more information.
For more information on the proper tire pressure, see
Loading Your Vehicle on page 4-33. For more
information on your tires, seeTires on page 5-54.
3-44