buttons CADILLAC CTS V 2006 1.G Owners Manual
[x] Cancel search | Manufacturer: CADILLAC, Model Year: 2006, Model line: CTS V, Model: CADILLAC CTS V 2006 1.GPages: 442, PDF Size: 2.57 MB
Page 10 of 442

Heated Seats
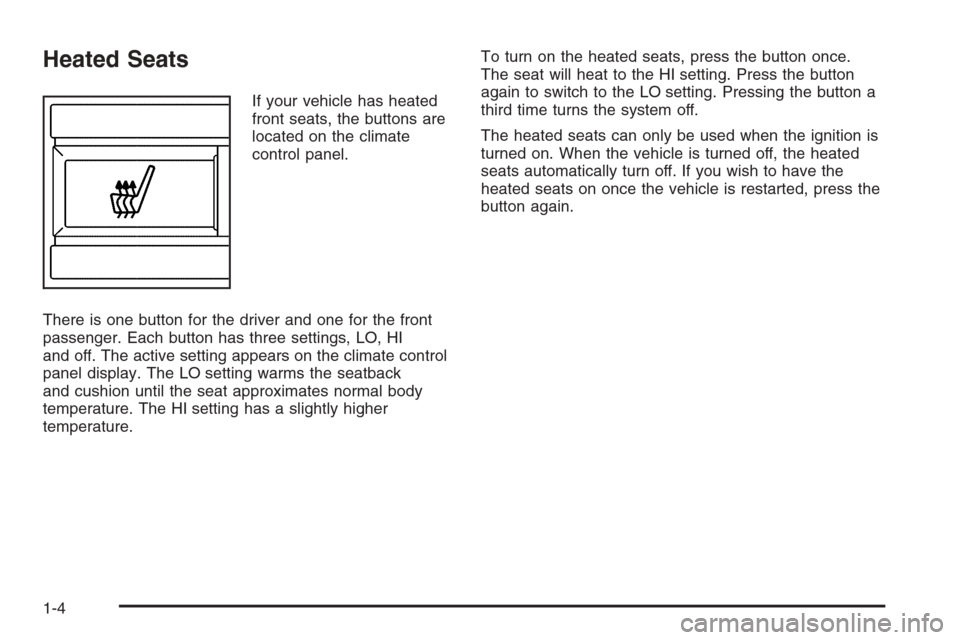
If your vehicle has heated
front seats, the buttons are
located on the climate
control panel.
There is one button for the driver and one for the front
passenger. Each button has three settings, LO, HI
and off. The active setting appears on the climate control
panel display. The LO setting warms the seatback
and cushion until the seat approximates normal body
temperature. The HI setting has a slightly higher
temperature.To turn on the heated seats, press the button once.
The seat will heat to the HI setting. Press the button
again to switch to the LO setting. Pressing the button a
third time turns the system off.
The heated seats can only be used when the ignition is
turned on. When the vehicle is turned off, the heated
seats automatically turn off. If you wish to have the
heated seats on once the vehicle is restarted, press the
button again.
1-4
Page 94 of 442

Sun Visors
Swing down the primary visor to block out glare. It can
also be detached from the center mount and moved
to the side to block glare from that direction.
The driver’s visor may also have buttons for a built-in
garage door opener. SeeUniversal Home Remote
System on page 2-45for more information.
Lighted Visor Vanity Mirror
Pull the visor down and lift the cover to access the
mirror. A light comes on when the cover is lifted and
goes out when it is closed.
Theft-Deterrent Systems
Vehicle theft is big business, especially in some cities.
Although your vehicle has a number of theft-deterrent
features, we know that nothing we put on it can make it
impossible to steal.
Theft-Deterrent System
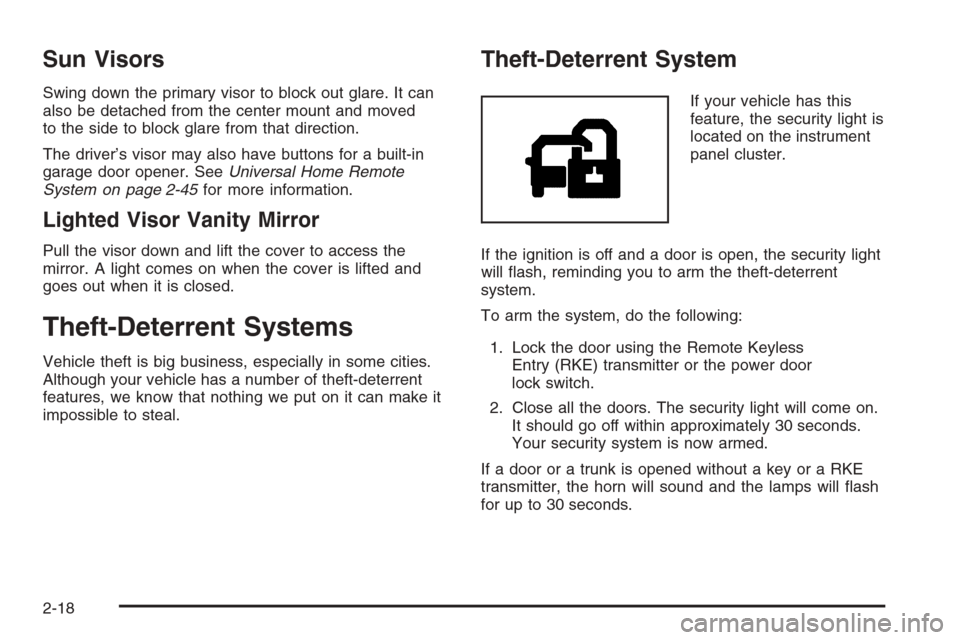
If your vehicle has this
feature, the security light is
located on the instrument
panel cluster.
If the ignition is off and a door is open, the security light
will �ash, reminding you to arm the theft-deterrent
system.
To arm the system, do the following:
1. Lock the door using the Remote Keyless
Entry (RKE) transmitter or the power door
lock switch.
2. Close all the doors. The security light will come on.
It should go off within approximately 30 seconds.
Your security system is now armed.
If a door or a trunk is opened without a key or a RKE
transmitter, the horn will sound and the lamps will �ash
for up to 30 seconds.
2-18
Page 115 of 442

Mirrors
Automatic Dimming Rearview Mirror
with OnStar
®
The vehicle may have an automatic dimming inside
rearview mirror with OnStar®controls. For more
information about OnStar®, seeOnStar®System on
page 2-43.
O(On/Off):The on/off button, located on the lower left
side of the mirror, is used for the automatic dimming
functions of the rearview mirror.
Mirror Operation
The automatic dimming feature comes on each time the
vehicle is started. Automatic dimming reduces the
glare of lights from behind the vehicle.
To turn the automatic dimming feature on or off, press
and release the on/off button. The indicator light will
come on when this feature is on.
Passenger Airbag Indicator
The mirror may have a passenger airbag indicator on
the mirror glass, just above the buttons. If the vehicle
has this feature, the mirror will display the word ON, or
an airbag symbol in Canada, when the passenger
airbag is enabled. SeePassenger Sensing System on
page 1-63for more information.
Cleaning the Mirror
When cleaning the mirror, use a paper towel or similar
material dampened with glass cleaner. Do not spray
glass cleaner directly on the mirror as that may cause
the liquid cleaner to enter the mirror housing.
Automatic Dimming Rearview Mirror
with OnStar
®and Compass
The vehicle may have an automatic dimming inside
rearview mirror with a compass and OnStar®controls.
For more information about OnStar®, seeOnStar®
System on page 2-43.
The mirror has an eight-point compass display in the
upper right corner of the mirror. When on, the compass
automatically calibrates, or sets the driving direction,
as the vehicle is driven. If the vehicle has the navigation
option, the direction the vehicle is facing will be
displayed on the navigation screen.
O(On/Off):The on/off button is located on the lower
left side of the mirror and is used for the automatic
dimming and compass functions of the rearview mirror.
2-39
Page 117 of 442

To adjust for compass variance, do the following:
1. Find your current location and variance zone
number on the zone map that follows.
2. Press and hold the on/off button until a zone
number appears on the display.
3. Once the zone number appears on the display, press
the on/off button quickly until you reach the correct
zone number. If C appears in the compass window,
the compass may need calibration. See “Compass
Calibration” listed previously.Passenger Airbag Indicator
The mirror may have a passenger airbag indicator on
the mirror glass, just above the buttons. If the vehicle
has this feature, the mirror will display the word ON, or
an airbag symbol in Canada, when the passenger
airbag is enabled. SeePassenger Sensing System on
page 1-63for more information.
Cleaning the Mirror
When cleaning the mirror, use a paper towel or similar
material dampened with glass cleaner. Do not spray
glass cleaner directly on the mirror as that may cause
the liquid cleaner to enter the mirror housing.
2-41
Page 121 of 442

Universal Home Remote
System
If your vehicle has this
feature, the control buttons
are located on the
driver’s sun visor.
The Universal Home Remote System, a combined
universal transmitter and receiver, provides a way to
replace up to three hand-held transmitters used to
activate devices such as gate operators, garage door
openers, entry door locks, security systems, and
home lighting.If your vehicle is equipped with the Universal Home
Remote Transmitter, it complies with Part 15 of the
FCC Rules. Operation is subject to the following
two conditions:
1. This device may not cause harmful interference.
2. This device must accept any interference received,
including interference that may cause undesired
operation.
This device complies with RSS-210 of Industry Canada.
Operation is subject to the following two conditions:
1. This device may not cause harmful interference.
2. This device must accept any interference, including
interference that may cause undesired operation of
the device.
Changes and modi�cations to this system by other than
an authorized service facility could void authorization
to use this equipment.
2-45
Page 122 of 442

Universal Home Remote System
Operation
Do not use the Universal Home Remote with any
garage door opener that does not have the stop and
reverse feature. This includes any garage door opener
model manufactured before April 1, 1982. If you
have a newer garage door opener with rolling codes,
please be sure to follow Steps 6 through 8 to complete
the programming of your Universal Home Remote
Transmitter.
Read the instructions completely before attempting to
program the Universal Home Remote. Because of
the steps involved, it may be helpful to have another
person available to assist you in the programming steps.
Keep the original hand-held transmitter for use in
other vehicles as well as for future Universal Home
Remote programming. It is also recommended that upon
the sale of the vehicle, the programmed Universal
Home Remote buttons should be erased for security
purposes. See “Erasing Universal Home Remote
Buttons” later in this section or, for assistance, see
Customer Assistance Offices on page 7-5.Be sure that people and objects are clear of the garage
door or gate operator you are programming. When
programming a garage door, it is advised to park outside
of the garage.
It is recommended that a new battery be installed in
your hand-held transmitter for quicker and more
accurate transmission of the radio-frequency signal.
Programming Universal Home Remote
Follow these steps to program up to three channels:
1. Press and hold down the two outside Universal
Home Remote buttons, releasing only when the
Universal Home Remote indicator light begins
to �ash, after 20 seconds. Do not hold down the
buttons for longer than 30 seconds and do not
repeat this step to program a second and/or third
hand-held transmitter to the remaining two Universal
Home Remote buttons.
2. Position the end of your hand-held transmitter
about 1 to 3 inches (3 to 8 cm) away from the
Universal Home Remote buttons while keeping the
indicator light in view.
3. Simultaneously press and hold both the desired
Universal Home Remote button and the hand-held
transmitter button. Do not release the buttons
until Step 4 has been completed.
2-46
Page 123 of 442

Some entry gates and garage door openers may
require you to substitute Step 3 with the procedure
noted in “Gate Operator and Canadian
Programming” later in this section.
4. The indicator light will �ash slowly at �rst and then
rapidly after Universal Home Remote successfully
receives the frequency signal from the hand-held
transmitter. Release both buttons.
5. Press and hold the newly-trained Universal Home
Remote button and observe the indicator light.
If the indicator light stays on constantly,
programming is complete and your device should
activate when the Universal Home Remote button is
pressed and released.
To program the remaining two Universal Home
Remote buttons, begin with Step 2 under
“Programming Universal Home Remote.” Do not
repeat Step 1 as this will erase all of the
programmed channels.
If the indicator light blinks rapidly for two seconds
and then turns to a constant light, continue with
Steps 6 through 8 following to complete the
programming of a rolling-code equipped device,
most commonly, a garage door opener.6. Locate in the garage, the garage door opener
receiver (motor-head unit). Locate the “Learn”
or “Smart” button. This can usually be found where
the hanging antenna wire is attached to the
motor-head unit.
7. Firmly press and release the “Learn” or “Smart”
button. The name and color of the button may
vary by manufacturer.
You will have 30 seconds to start Step 8.
8. Return to the vehicle. Firmly press and hold the
programmed Universal Home Remote button for
two seconds, then release. Repeat the
press/hold/release sequence a second time, and
depending on the brand of the garage door opener,
or other rolling code device, repeat this sequence
a third time to complete the programming.
The Universal Home Remote should now activate
your rolling-code equipped device.
To program the remaining two Universal Home Remote
buttons, begin with Step 2 of “Programming Universal
Home Remote.” You do not want to repeat Step 1,
as this will erase all previous programming from
the Universal Home Remote buttons.
2-47
Page 124 of 442

Gate Operator and Canadian
Programming
Canadian radio-frequency laws require transmitter
signals to time out or quit after several seconds of
transmission. This may not be long enough for Universal
Home Remote to pick up the signal during programming.
Similarly, some U.S. gate operators are manufactured
to time out in the same manner.
If you live in Canada, or you are having difficulty
programming a gate operator or garage door opener by
using the “Programming Universal Home Remote”
procedures, regardless of where you live, replace
Step 3 under “Programming Universal Home Remote”
with the following:
Continue to press and hold the Universal Home Remote
button while you press and release every two seconds
(cycle) the hand-held transmitter button until the
frequency signal has been successfully accepted by the
Universal Home Remote. The Universal Home Remote
indicator light will �ash slowly at �rst and then rapidly.
Proceed with Step 4 under “Programming Universal
Home Remote” to complete.
Using Universal Home Remote
Press and hold the appropriate Universal Home Remote
button for at least half of a second. The indicator light
will come on while the signal is being transmitted.
Erasing Universal Home
Remote Buttons
To erase programming from the three Universal Home
Remote buttons do the following:
1. Press and hold down the two outside buttons until
the indicator light begins to �ash, after 20 seconds.
Do not hold the two outside buttons for longer
than 30 seconds.
2. Release both buttons.
The Universal Home Remote is now in the training
(learning) mode and can be programmed at any time
beginning with Step 2 under “Programming Universal
Home Remote” shown earlier in this section.
Individual buttons cannot be erased, but they can be
reprogrammed. See “Reprogramming a Single Universal
Home Remote Button” following this section.
2-48
Page 128 of 442

Anti-Pinch Feature Override
A condition may exist that causes the anti-pinch feature
of the sunroof to activate due to weather or an
obstruction. In an emergency, the anti-pinch feature can
be overridden in a supervised mode.
To override the anti-pinch feature rotate the sunroof
control to the closed position, then press the control
upward and continue pressing upward until the sunroof
reaches the desired position.
In this mode, the sunroof can still close on an object in
its path. Use care when using the override mode.
Vehicle Personalization
In addition to the following features, your vehicle may
also have features that can be programmed through the
Driver Information Center (DIC). SeeDIC Vehicle
Personalization on page 3-70for more information.
Memory Seat and Mirrors
If your vehicle has the memory feature, you can
program and recall memory settings for the driver’s
seating and outside rearview mirror driving positions for
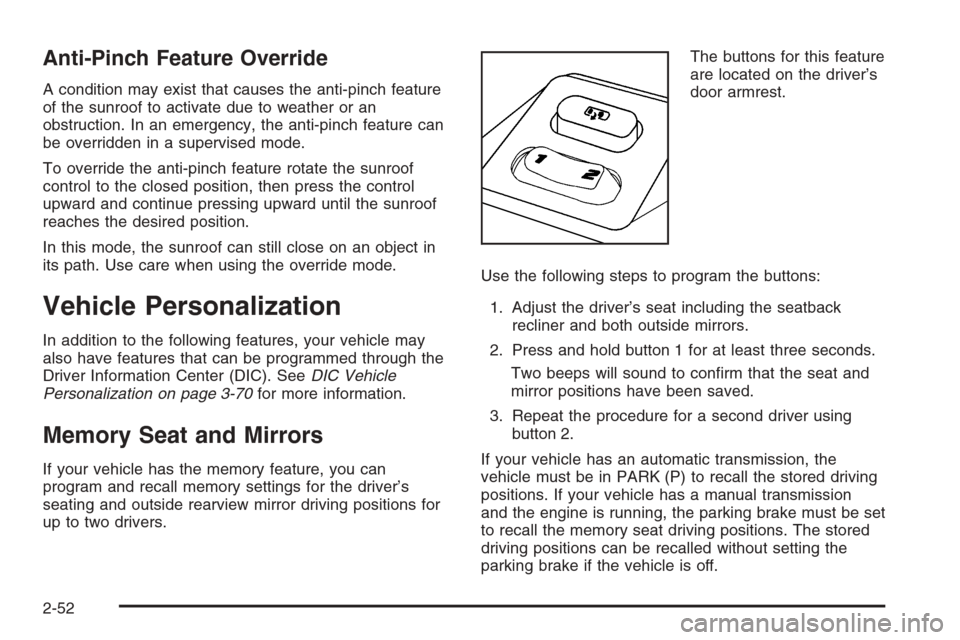
up to two drivers.The buttons for this feature
are located on the driver’s
door armrest.
Use the following steps to program the buttons:
1. Adjust the driver’s seat including the seatback
recliner and both outside mirrors.
2. Press and hold button 1 for at least three seconds.
Two beeps will sound to con�rm that the seat and
mirror positions have been saved.
3. Repeat the procedure for a second driver using
button 2.
If your vehicle has an automatic transmission, the
vehicle must be in PARK (P) to recall the stored driving
positions. If your vehicle has a manual transmission
and the engine is running, the parking brake must be set
to recall the memory seat driving positions. The stored
driving positions can be recalled without setting the
parking brake if the vehicle is off.
2-52
Page 129 of 442

Press one of the numbered memory buttons to recall
the stored setting. Each time a memory button is
pressed, a single beep will sound.
Three chimes will sound and the setting will not be
recalled if you press button 1 or 2 when the vehicle is
not in PARK (P) on an automatic transmission or
the parking brake is not set on a manual transmission.
If you would like the stored driving positions to be
recalled when unlocking your vehicle with the remote
keyless entry transmitter or when you place the
key in the ignition, seeDIC Vehicle Personalization on
page 3-70.
To stop recall movement of the memory feature at any
time, press one of the power seat or mirror controls.
Two personalized exit positions can also be
programmed. Use the following steps to program exit
positions:
1. Press memory seat button 1 or the button with the
unlock symbol on the remote keyless entry
transmitter with the number 1 on the back to recall
the driving position.
2. Adjust the driver’s seat to the desired exit position.
3. Press and hold the exit button located above
buttons 1 and 2 on the driver’s door armrest
for at least three seconds.
Two beeps will sound to con�rm that the exit
position has been saved.4. Repeat the procedure for a second driver using
memory seat button 2 or the remote keyless
entry transmitter with the number 2 on the back.
To recall the stored exit positions, press and release the
exit button. One beep will sound, and the seat will
move to the previously stored exit position for the
currently identi�ed driver. If an exit position has not
been stored for this driver, the seat will move all the way
back. The position of the outside mirrors is not stored
or recalled for the exit position.
If your vehicle has an automatic transmission, the
vehicle must be in PARK (P) to recall the exit positions.
For a manual transmission, the parking brake must
be set to recall the stored exit positions.
Three chimes will sound and the exit setting will not be
recalled if you press the exit button when the vehicle
is not in PARK (P) on an automatic transmission or the
parking brake is not set on a manual transmission.
If you would like your stored exit position to be recalled
when unlocking the vehicle with the remote keyless
entry transmitter or when the ignition is turned off and
the driver’s door is opened, seeDIC Vehicle
Personalization on page 3-70.
2-53