clock CADILLAC DEVILLE 1996 7.G Owner's Manual
[x] Cancel search | Manufacturer: CADILLAC, Model Year: 1996, Model line: DEVILLE, Model: CADILLAC DEVILLE 1996 7.GPages: 354, PDF Size: 20.32 MB
Page 266 of 354
Downloaded from www.Manualslib.com manuals search engine P
.. ..
-.;: 3
A CAUTION:
If you get gasoline on yourself and then
something ignites it, you could
be badly burned.
Gasoline can spray out
on you if you open the
fuel filler cap too quickly. This spray can happen
if your tank
is nearly full, and is more likely in
hot weather. Open the fuel filler cap slowly and
wait for
any “hiss” noise to stop. Then unscrew
the cap all the way.
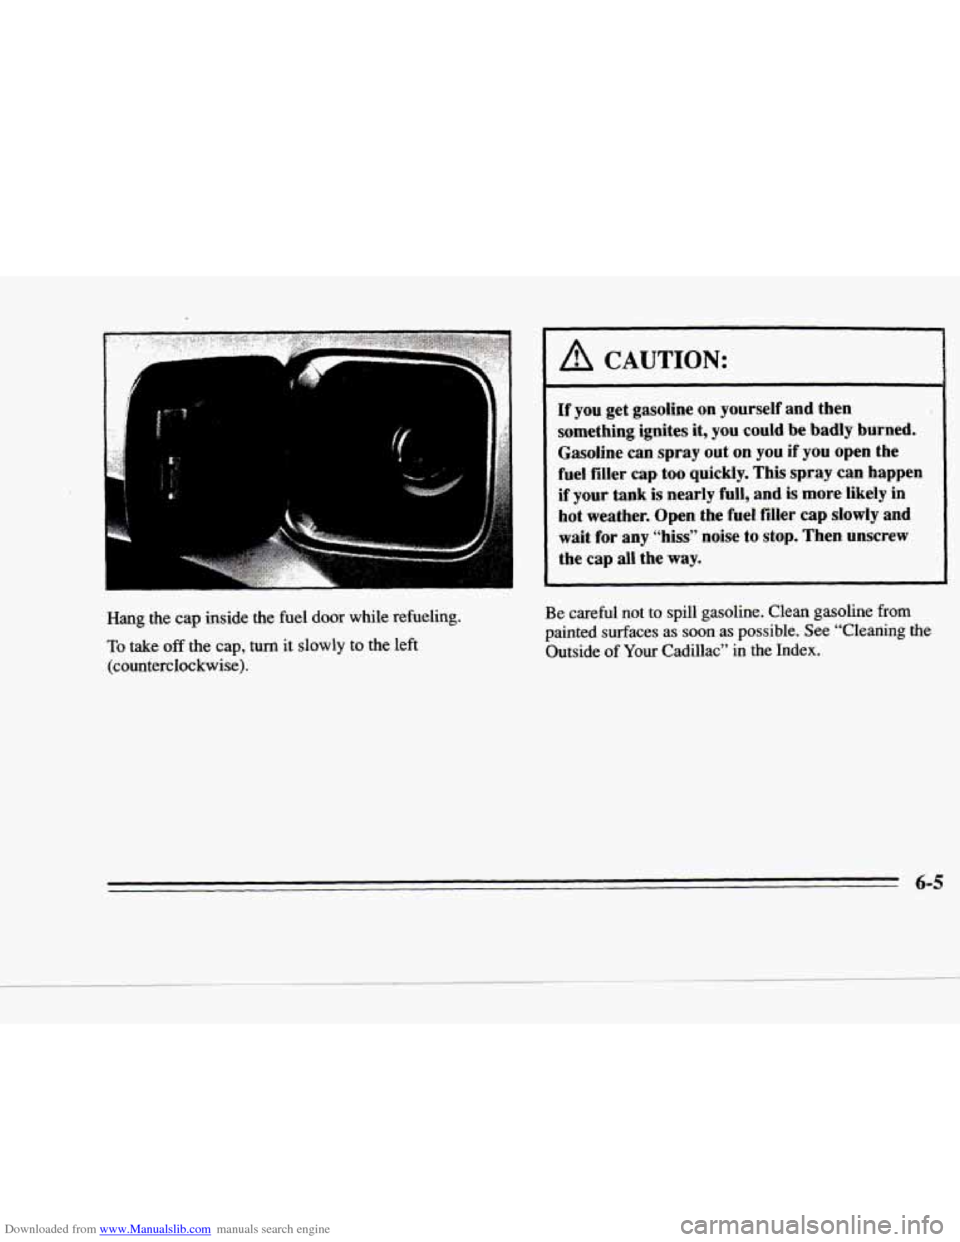
Hang the cap inside the fuel door while refueling.
TO take off the cap, turn it slowly to the left
(counterclockwise). Be careful not to
spill gasoline. Clean gasoline from
painted surfaces as soon as possible.
See “Cleaning the
Outside of Your Cadillac” in the Index.
6-5
Page 272 of 354
Downloaded from www.Manualslib.com manuals search engine c
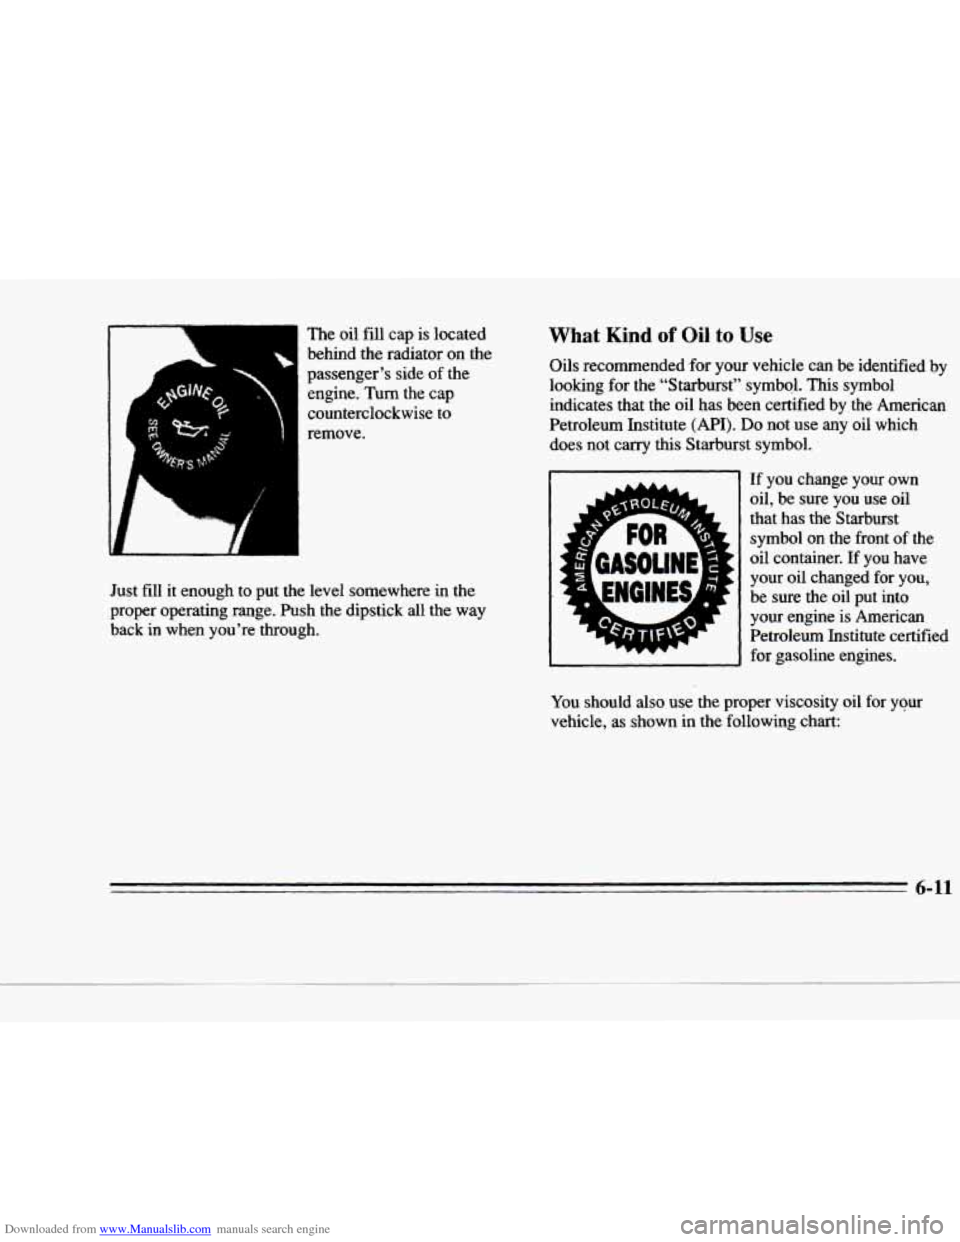
The oil fill cap is located
behind the radiator
on the
L
~ passenger’s side of the
~ engine. Turn the cap
1 counterclockwise to
remove.
Just fill it enough to
put the level somewhere in the
proper operating range. Push the dipstick all
the way
back in when
you’re through.
What Kind of Oil to Use
Oils recommended for your vehicle can be identified by
looking for the “Starburst” symbol. This symbol
indicates that the oil has been certified by the American
Petroleum Institute
(API). Do not use any oil which
does not carry this Starburst symbol.
If you change your own
oil, be sure you use oil
that has the Starburst
symbol on the front
of the
oil container. If you have
your oil changed for you,
be sure the oil put into
your engine
is American
Petroleum Institute certified
for gasoline engines.
You should also use the proper viscosity oil for your
vehicle, as shown in the following chart:
6-11
Page 279 of 354
Downloaded from www.Manualslib.com manuals search engine Wait at least 30 minutes before checking the transaxle
fluid level
if you have been driving:
When outside temperatures are above 90°F (32°C).
At high speed for quite a while.
0 In heavy traffic -- especially in hot weather.
While pulling a trailer.
To get the right reading, the fluid should be at normal
operating temperature, which is
180°F to 200°F
(82°C to 93°C).
Get the vehicle warmed up by driving abut 15 miles (24 km)
when outside temperatures are above 50°F (10°C). If it's
colder
than 50°F (lO"C), you may have to drive longer.
Checking the Fluid Level
0
0
0
0
Park your vehicle on a level place. Keep the engine
running.
With the parking brake applied, place the shift Lever
in
PARK (P).
With your foot on the brake pedal, move the shift
lever through each gear range, pausing for about
three seconds in each range. Then, position the shift lever
in PARK (P).
Let the engine run at idle for three to five minutes. Then, without shutting off
the engine, follow these steps:
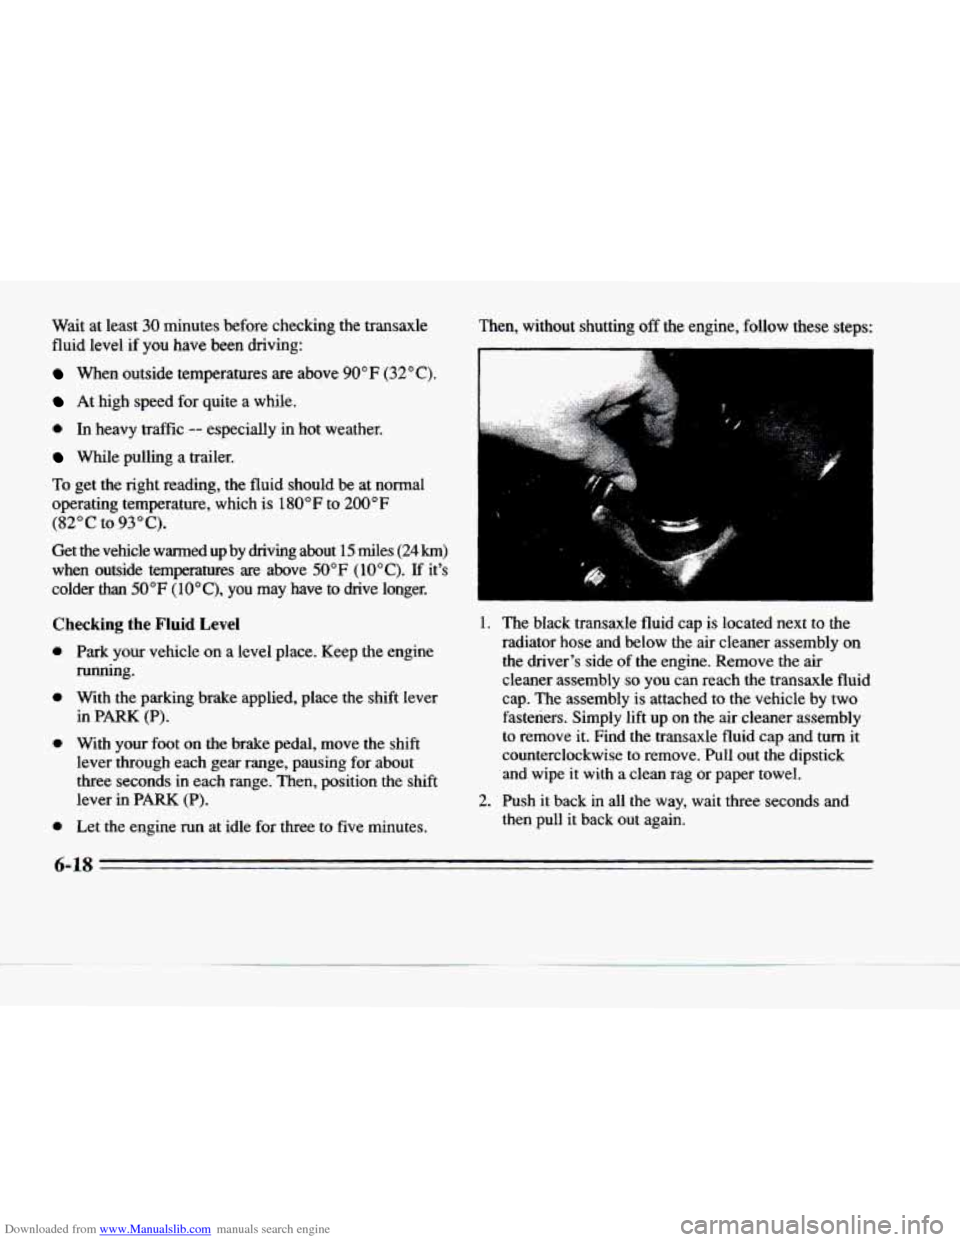
1. The black transaxle fluid cap is located next to the
radiator hose and below the air cleaner assembly
on
the driver's side of the engine. Remove the air
cleaner assembly
so you can reach the transaxle fluid
cap. The assembly is attached to the vehicle
by two
fasteners. Simply
lift up on the air cleaner assembly
to remove it. Find the transaxle fluid cap and turn
it
counterclockwise to remove. Pull out the dipstick
and wipe
it with a clean rag or paper towel.
then pull it back out again.
2. Push it back in all the way, wait three seconds and
6-18
Page 291 of 354
Downloaded from www.Manualslib.com manuals search engine Headlamp
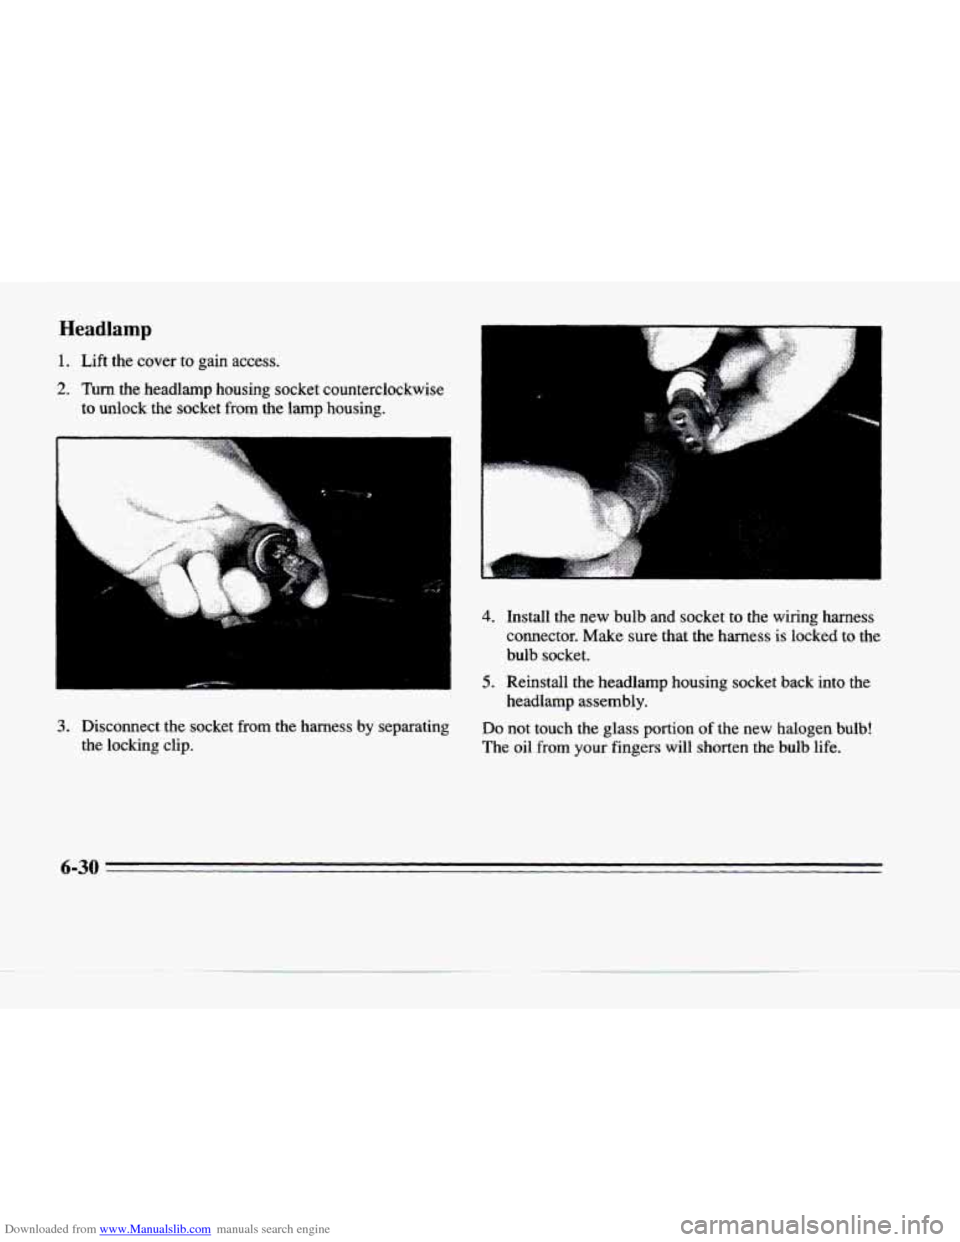
1. Lift the cover to gain access.
2. Turn the headlamp housing socket counterclockwise
to unlock the socket from the lamp housing.
4. Install the new bulb and socket to the wiring harness
connector. Make sure that the harness
is locked to the
bulb socket.
5. Reinstall the headlamp housing socket back into the headlamp assembly.
3. Disconnect the socket from the harness by separating
the locking clip. Do not touch the glass portion of the new halogen bulb!
The
oil from your fingers will shorten the bulb life.
6-30
c
.I
c*
Page 292 of 354
Downloaded from www.Manualslib.com manuals search engine rc
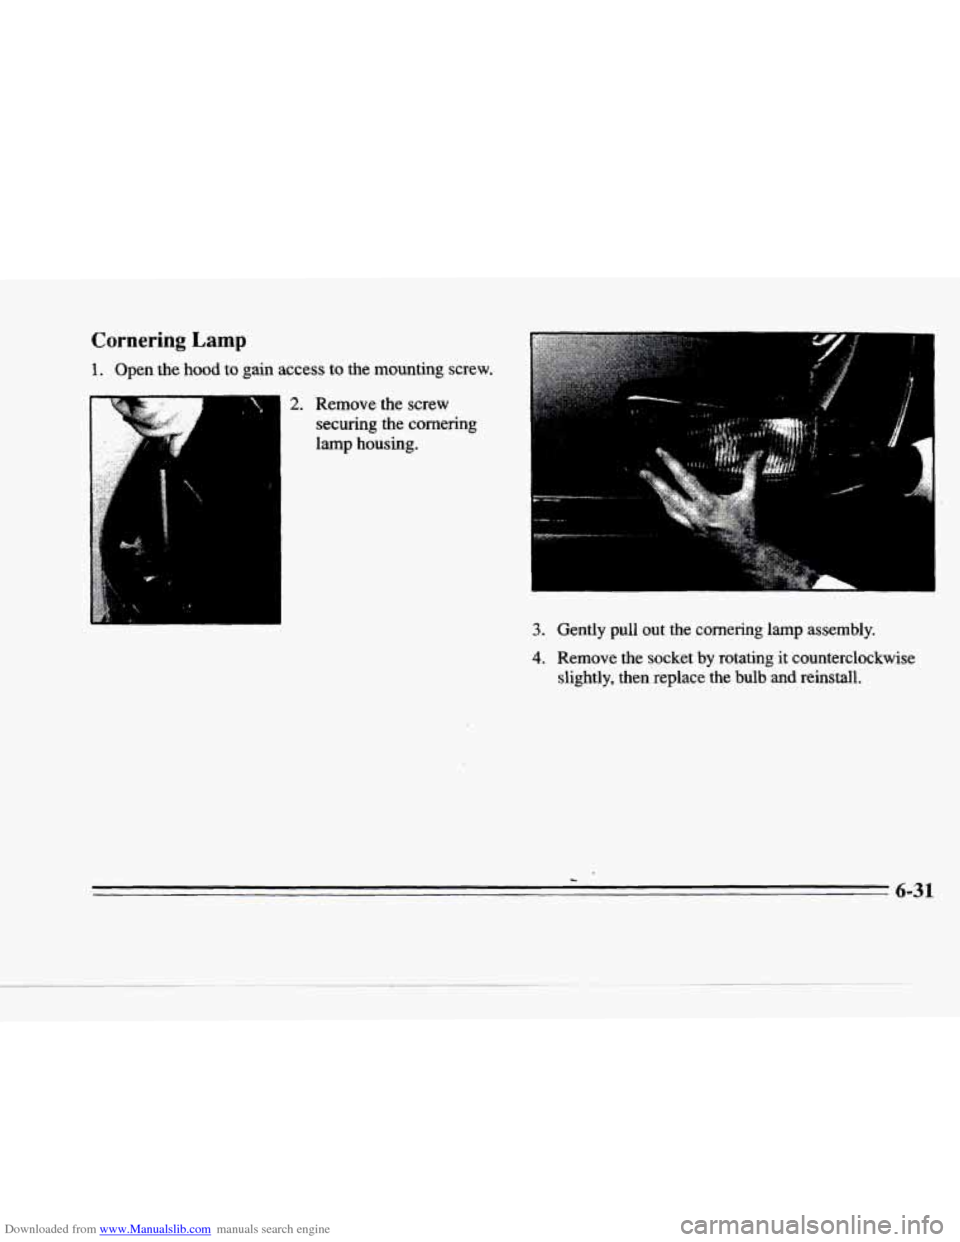
Cornering Lamp
1. Open the hood to gain access to the mounting screw.
2. Remove the screw
securing the cornering
lamp housing.
~-
,’ a
3. Gently pull out the cornering lamp assembly.
4. Remove the socket by rotating it counterclockwise
slightly, then replace the bulb mid reinstall.
-
6-31
Page 293 of 354
Downloaded from www.Manualslib.com manuals search engine Center High-Mounted Stoplamp
i
1
I,
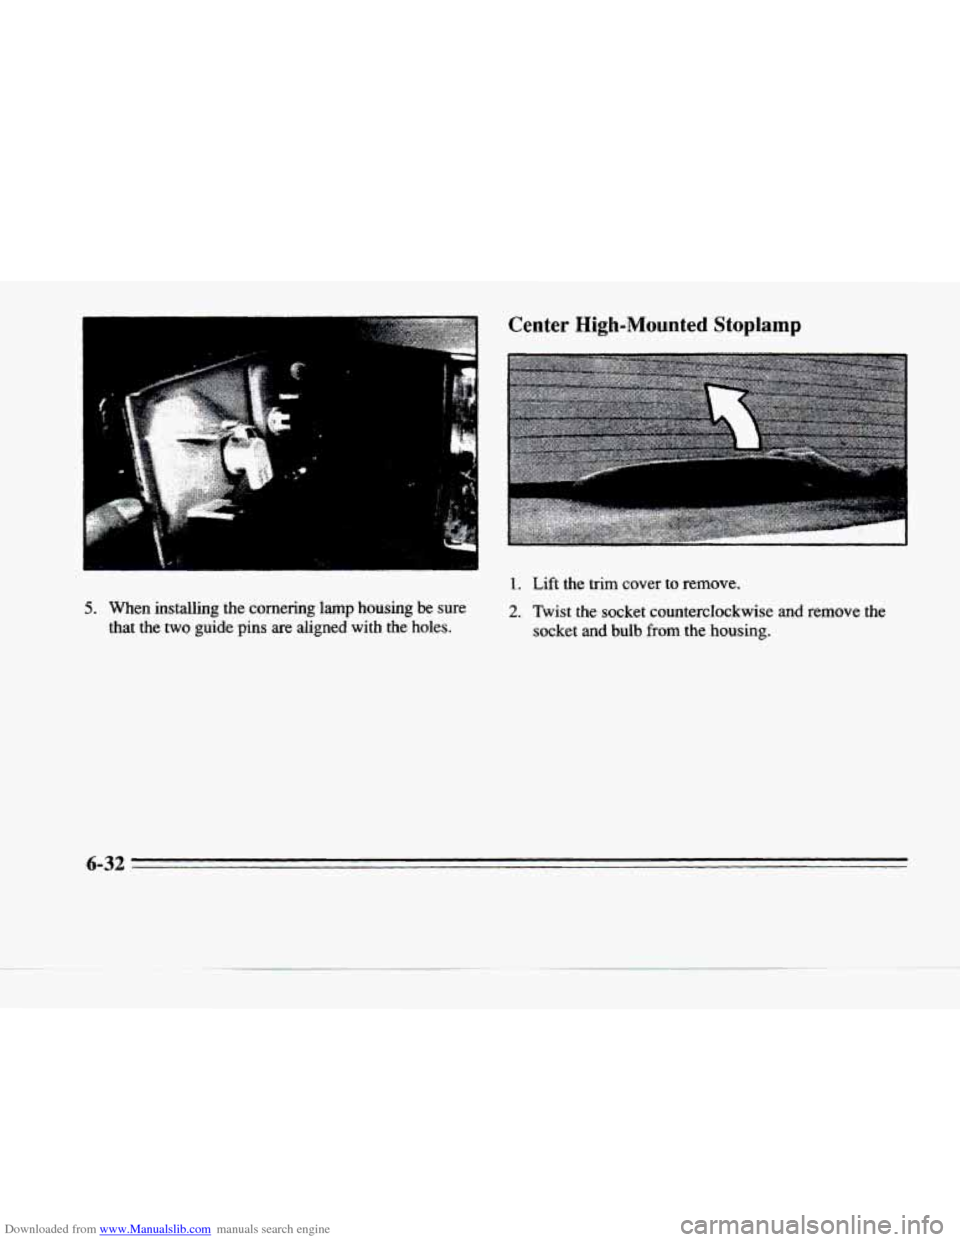
5. When installing the cornering lamp housing be sure
that the two guide pins are aligned with the holes.
1. Lift the trim cover to remove.
2. Twist the socket counterclockwise and remove the
socket
and bulb from the housing.
6-32
Page 295 of 354
Downloaded from www.Manualslib.com manuals search engine c
L
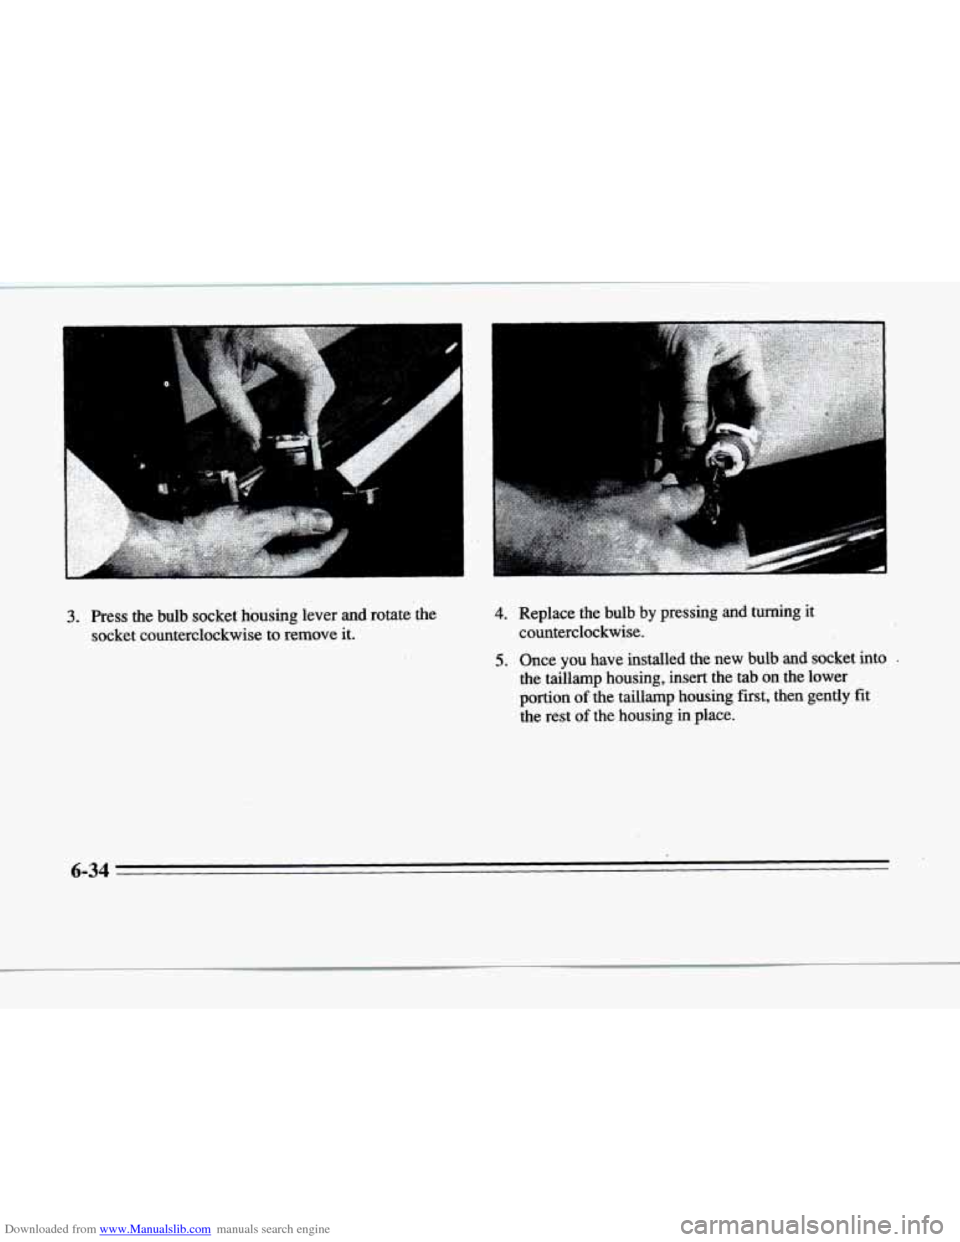
3. Press the bulb socket' housing lever and rotate the
socket counterclockwise to remove it.
r
4. Replace the bulb by pressing and turning it
counterclockwise.
5. Once you have installed the new bulb and socket into .
the taillamp housing, insert the tab on the lower
portion
of the taillamp housing first, then gently fit
the rest
of the housing in place.
6-34
Page 344 of 354
Downloaded from www.Manualslib.com manuals search engine P
c
c
IC
c-
c
.
Instrument Panel ............................. 6-47
Leather
..................................... 6-47
Outside of Your Cadillac
....................... 6-49
SpeakerCovers
.............................. 6-47
Special Problems
............................. 6-46
Stains
...................................... 6-46
Tires
....................................... 6-50
Vinyl
....................................... 6-46
Wheels
..................................... 6-50
Windshield and Wiper Blades
................... 6-48
Clock. Setting
the ............................... 3-10
Coinholder .................................... 2-52
Comfort Controls ................................ 3-1
Compact Disc Care ............................. 3-31
Compact Disc Player
....................... 3.18. 3.25
Compact Disc Player
Errors .................. 3.21. 3.28
Compact Spare Tire
............................. 5-35
Compass. Rearview Mirror with
................... 2-48
Control
of a Vehicle .............................. 4-5
Convenience Net
............................... 2-53
Convex Outside Mirror
.......................... 2-51
Coolant
....................................... 6-20
Heater. Engine ............................... 2- 17
Cooling System
................................ 5-1 8
Cornering Lamp Bulb Replacement ................ 6-31
Cornering Lamps
............................... 2-41
Courtesy Lamps
................................ 2-44
Courtesy Transportation
........................... 7-7
Cruise Control
................................. 2-36
Comfort Controls. Steering Wheel Touch Control
...... 3-9
SurgeTank ............................. 5.18. 5.20 Cruise Engaged Message
......................... 2-78
Cupholders .................................... 2-52
Customer Assistance
for Text Telephone Users ......... 7-3
Customer Assistance Information ................... 7-1
Customer Satisfaction Procedure .................... 7-1
Damage. Finish ............................... 6-51
Damage. Sheet Metal
............................ 6-50
Daytime Running Lamps ......................... 2-41
Dead Battery ................................... 5-3
Defects. Reporting Safety ................... 7.10. 7. 11
Defensive Driving ............................... 4-1
Defogger. Rear Window .......................... 3-9
Defogging ................................. 3-4.3-8 ... Defrosting ................................. 3.4, 3.8
DIC .......................................... 2-74
Dimensions. Vehicle
............................ 6-64
Dolby@ B Noise Reduction ............. 3- 13.3.18. 3.25
Door Central Unlocking System
....................... 2-3
Locks
....................................... 2-3
Storage Compartments
......................... 2-52
Door Open Message
............................. 2-78
Driver Door Open Message
....................... 2-78
Driver Information Center
........................ 2-74
Driver Information Center Messages
................ 2-76
DriverPosition
................................. 1-12
Driver’s Outside Auto-Dimming Rearview Mirror ..... 2-51
8-3
.