display CADILLAC DEVILLE 1997 7.G Workshop Manual
[x] Cancel search | Manufacturer: CADILLAC, Model Year: 1997, Model line: DEVILLE, Model: CADILLAC DEVILLE 1997 7.GPages: 386, PDF Size: 21.61 MB
Page 194 of 386

Downloaded from www.Manualslib.com manuals search engine To help avoid hearing loss or damage:
Adjust the volume control to the lowest setting.
Increase volume slowly until you hear comfortably
and clearly.
NOTICE:
Before you add any sound equipment to your
vehicle
-- like a tape player, CB radio, mobile
telephone or
two-way radio -- be sure you can add
what you want.
If you can, it’s very important to
do it properly. Added sound equipment may
interfere with the operation
of your vehicle’s
engine, Cadillac
radio or other systems, and even
damage them. Your vehicle’s
systems may interfere
with the operation
of sound equipment that has
been added improperly.
So, before adding sound equipment, check with
your dealer and be sure to check Federal rules
covering mobile radio and telephone units.
Care of Your Cassette Tape Player
A tape player that is not cleaned regularly can cause
reduced sound quality, ruined cassettes or a damaged mechanism. Cassette tapes should be stored in their
cases away from contaminants, direct sunlight and
extreme heat. If they aren’t, they may not operate
properly or may cause failure of the tape player.
Your tape player should be cleaned regularly after every
50 hours of use. Your radio may display CLN or CLEAN
TAPE to indicate that you have used your tape player for
50 hours without resetting the tape clean timer. Each time
the cassette is cleaned, the
50 hour cassette timer should
be reset.
This is done by holding down the eject button
for three seconds until the
TAPE CLEAN message is
displayed. If you notice a reduction in sound quality,
try a
known good cassette to see if
it is the tape or the tape
player at fault.
If this other cassette has no improvement
in sound quality, clean the tape player.
Cleaning may be done with a scrubbing action,
non-abrasive cleaning cassette with pads which scrub the
tape head as the hubs of the cleaner cassette turn. It is normal for the cassette to eject while cleaning.
Insert the
cassette at least six times to ensure thorough cleaning.
Page 210 of 386

Downloaded from www.Manualslib.com manuals search engine Remember: Anti-lock doesn’t change the time you need
to get your foot up to the brake pedal or always decrease
stopping distance.
If you get too close to the vehicle in
front of you, you won’t have time to apply your brakes
if that vehicle suddenly slows or stops. Always leave
enough room up ahead to stop,
even though you have
anti-lock brakes.
Using
Anti-Lock
Don’t pump the brakes. Just hold the brake pedal down
and let anti-lock work for you. You may hear the
anti-lock pump or motor operate, and feel
the brake
pedal pulsate, but this is normal.
Traction Control System
Your vehicle has a traction control system that limits wheel
spin.
This is especially useful in slippery road conditions.
The system operates only
if it senses that one or both of
the front wheels are spinning or beginning to lose traction.
When
this happens, the system works the front brakes and
reduces engine power to limit wheel spin.
The TRACTION ENGAGED message will display on
the Driver Information Center when the traction control
system is limiting wheel spin. See “Driver Information
Center Messages” in the Index. You may feel or hear the
system working, but this
is normal. If
your vehicle is in cruise control when the traction
control system begins to limit wheel spin, the cruise
control will automatically disengage. When road
conditions allow you to safely use it again, you may
reengage the cruise control. (See “Cruise Control” in the
Index.)
TRACTION CONTROL
This warning light will
come on to let you know if
there’s a problem with your
traction control system.
See “Traction Control System Warning Light”
in the
Index. When this warning light is on, the system will not
limit wheel spin. Adjust your driving accordingly.
The traction control system automatically comes on
whenever you start your vehicle. To limit wheel spin,
especially in slippery road conditions,
you should
always leave the system on. But you can turn the
traction control system off if
you ever need to. (You
should turn the system off
if your vehicle ever gets stuck
4-9
Page 211 of 386

Downloaded from www.Manualslib.com manuals search engine in sand, mud, ice or snow. See “Rocking Your Vehicle”
in the Index.)
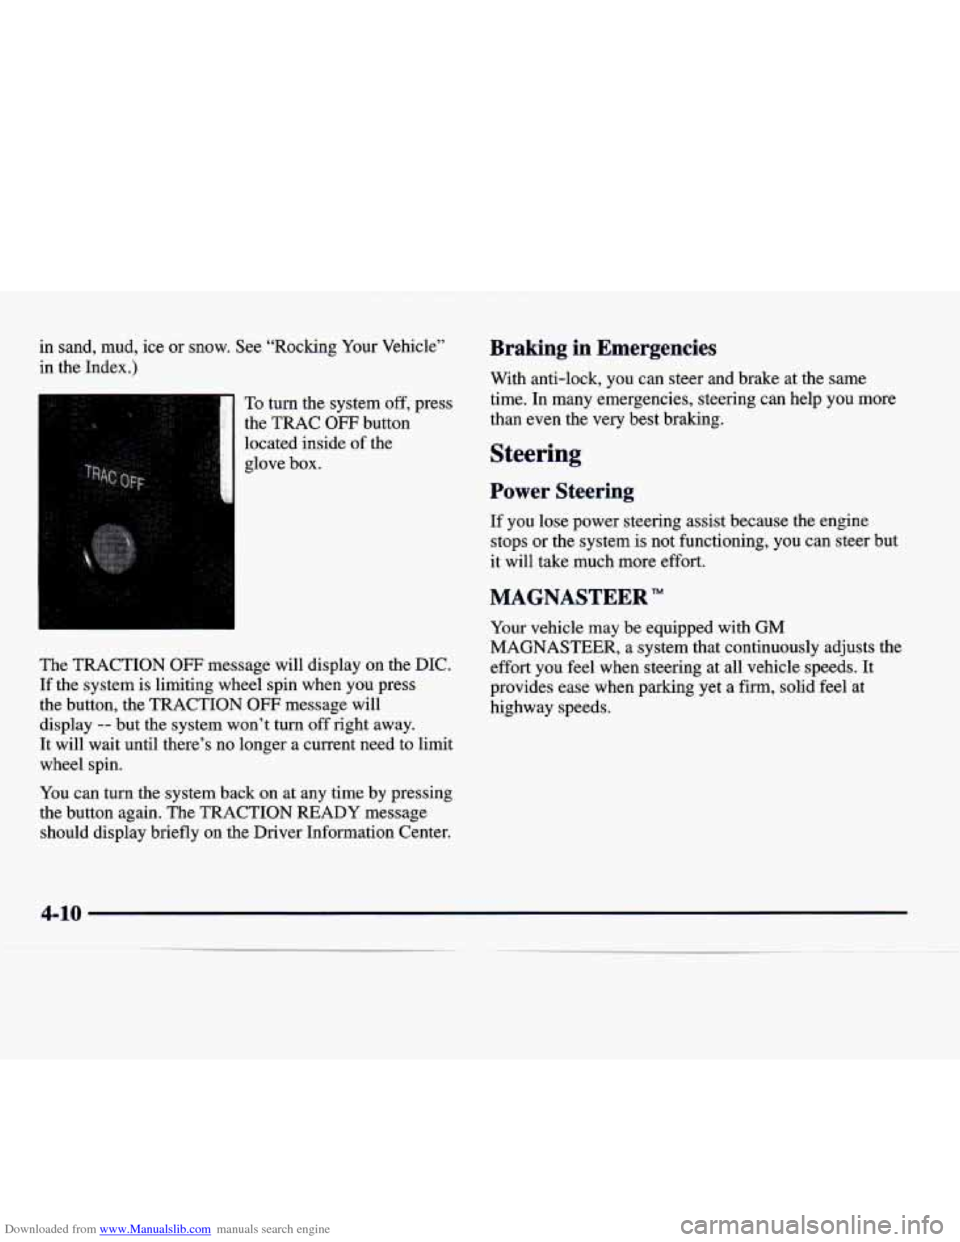
To turn the system off, press
the TRAC
OFF button
located inside
of the
glove box.
The TRACTION
OFF message will display on the DIC.
If the system is limiting wheel spin when you press
the button, the TRACTION
OFF message will
display
-- but the system won’t turn off right away.
It will wait until there’s no longer a current need to limit
wheel spin.
You can turn the system back on at any time by pressing
the button again. The TRACTION READY message
should display briefly on the Driver Information Center.
Braking in Emergencies
With anti-lock, you can steer and brake at the same
time. In many emergencies, steering can help you more
than even the very best braking.
Steering
Power Steering
If you lose power steering assist because the engine
stops
or the system is not functioning, you can steer but
it will take much more effort.
MAGNASTEER”
Your vehicle may be equipped with GM
MAGNASTEER, a system that continuously adjusts the
effort you feel when steering at all vehicle speeds. It
provides ease when parking yet a firm, solid feel at
highway speeds.
4-10
Page 258 of 386

Downloaded from www.Manualslib.com manuals search engine Attach a separate safety chain around the end of each
axle inboard
of the spring.
Engine Overheating
You will find an ENGINE COOLANT HOT-IDLE
ENGINE message or a STOP ENGINE ENGINE
OVERHEATED message on the Driver Information
Center (DIC). There is also an engine temperature
warning light and/or gage on the instrument panel. See
“Engine Coolant Temperature Warning Light” or
“Engine Coolant Temperature Gage” in the Index.
Overheated Engine Protection
Operating Mode
Should a low coolant condition exist and the message
STOP ENGINE ENGINE OVERHEATED is displayed,
an overheat protection mode which alternates firing
groups
of four cylinders helps prevent engine damage.
In this mode, you will notice a loss in power and engine
performance. This operating mode allows your vehicle
to be driven to a safe place in
an emergency; you may
drive up to
50 miles (80 km). Towing a trailer in the
overheat protection mode should be avoided.
NOTICE:
After driving in the overheated engine protection
operating mode, to
avoid engine damage, allow
the engine to cool before attempting any repair.
The engine oil will
be severely degraded. Repair
the cause
of coolant loss, change the oil and reset
the oil life indicator. See “Engine Oil, When to
Change” in the Index.
. 5-15
Page 293 of 386

Downloaded from www.Manualslib.com manuals search engine Underhood Lamp
Turn the parking lamps on to operate the underhood
lamp. The underhood lamp will come on when the
hood is opened.
Engine Oil
~MIUM UNLEADED W- -
-
FUEL ONLY DJ a ML
HHrnHHMH
.................... .... .............. ” : : :: - -- ..... ..... I.. ......... ::.a iiii .......... : : : ........... ..... ........... ...................................................
If you have the Driver Information Center (DIC), a
CHECK OIL LEVEL message will appear when the
engine oil is approximately
1 quart (1 L) low. If the
message is displayed, check the dipstick level and add
oil as needed. It’s
a good idea to check your
engine oil every time you
get fuel. In order to get an accurate reading, the oil must
be warm and the vehicle must be on level ground.
.. .......... The engine oil dipstick is
located behind the radiator on the driver’s side
of the
engine. The black handle
says ENGINE
OIL on it.
Turn
off the engine and give the oil a few minutes to
drain back into the oil pan.
If you don’t, the oil dipstick
might not show the actual level.
6-10
Page 297 of 386

Downloaded from www.Manualslib.com manuals search engine How to Reset the Oil Life Indicator
After the oil has been changed, display the OIL LIFE
LEFT message by pressing the INFORMATION (INFO)
button. Then press and hold the RESET (INFO RESET)
button until the display shows
“100.” This resets the
oil life index. The message will remain
off until the
next oil change
is needed. The percentage of oil life
remaining may be checked at any time by pressing
the
INFORMATION (INFO) button several times
until the
OIL LIFE LEFT message appears. For more
information on the Oil Life feature, see “Oil Life
Indicator” in the Index.
What to Do with Used Oil
Did you know that used engine oil contains certain
elements that may be unhealthy for your skin and could
even cause cancer? Don’t let used oil stay
on your skin
for very long. Clean your skin and nails with soap and
water, or a good hand cleaner. Wash or properly throw
away clothing or rags containing used engine oil. (See
the manufacturer’s warnings about the use and disposal
of oil products.)
Used oil can be a real threat to the environment. If you
change your own oil, be sure to drain all free-flowing oil
from the filter before disposal. Don’t ever dispose of oil
by putting it in the trash, pouring
it on the ground, into
sewers, or into streams or bodies of water. Instead,
recycle it by taking it to a place that collects used oil. If
you have a problem properly disposing
of your used oil,
ask your dealer,
a service station or a local recycling
center for help.
6-14
Page 304 of 386

Downloaded from www.Manualslib.com manuals search engine How to Reset Transaxle Fluid
Change Indicator
Your vehicle is equipped with a transaxle fluid change
indicator.
A CHANGE TRANS FLUID message will
display
on the Driver Information Center (DIC) when
the powertrain computer determines
that the transaxle
fluid needs to be changed or at each
100,000 miles
(160 000 km) interval, whichever occurs first. When
this message appears, change the transaxle fluid and
reset
the transaxle fluid life indicator as follows:
1. Turn the ignition on but do not start the engine.
2. Press and hold the OFF and rear defog buttons on the
climate control at the same time until the
TRANS
FLUID RESET message appears on the DIC.
Engine Coolant
The cooling s stem in your vehicle is filled with
DEX-COOL engine coolant. This coolant is designed
to remain
in your vehicle for 5 years or 150,000 miles
(240 000 km) whichever occurs first, if you add only
DEX-COOL’ extended life coolant.
The following explains your cooling system and how
to add coolant when it is low. If you have a problem
with engine overheating, see “Engine Overheating” in
the Index.
J
A 50/50 mixture of water and DEX-COOL@
coolant will:
Give freezing protection down to -34°F (-37°C).
Give boiling protection up to 265 “F (129°C).
Protect against rust and corrosion.
Help keep the proper engine temperature.
Let the warning lights and gages work as
they should.
NOTICE: ~ ~~ ~ -
When adding coolant, it is important that you
use only
DEX-COOL@ (silicate-free) coolant.
If coolant other than DEX-COOL@ is added to
the system, premature engine, heater core or
radiator corrosion may result. In addition, the
engine coolant will require change sooner
-- at
30,000 miles (50 000 km) or 24 months,
whichever occurs first. Damage caused by the use
of coolant other than DEX-COOL@ is not
covered by your new vehicle warranty.
Page 375 of 386

Downloaded from www.Manualslib.com manuals search engine Door Central Unlocking System
....................... 2-4
Locks
....................................... 2-4
Map Pockets
................................. 2-59
OpenMessage
............................... 2-91
Driver Door Open Message
....................... 2-91
Driver Information Center
........................ 2-85
Driver Information Center Messages
................ 2-89
Driver Position
................................. 1 - 13
Driver’s Outside Auto-Dimming Rearview Mirror
..... 2-59
Driving City
........................................ 4-21
Defensive
.................................... 4-2
Drunken
..................................... 4-3
InaBlizzard
................................. 4-28
In Foreign Countries ........................... 6-4
IntheRain
.................................. 4-18
Night
...................................... 4-16
OnCurves
.................................. 4-11
On Grades While Towing a Trailer
............... 4-38
On Hill and Mountain Roads
.................... 4-24
On Snow and Ice
............................. 4-27
Throughwater
............................... 4-20
Wet Roads
.................................. 4- 18
Winter ...................................... 4-26
With a Trailer
................................ 4-37
DRL ......................................... 2-46
Drunken Driving
................................ 4-3
Dual Temperature Control
..................... 3.3. 3-7
Freeway
.................................... 4-22
.
ECC ......................................... 3-2
Electrical Equipment. Adding
........... 2.23. 3.31. 6-59
Electrical Svstem
............................... 6-59 .... -J
Electrochromic Daymight Rearview Mirror ..... 2.54, 2.55
Electronic Climate Control ........................ 3-2
Electronic Level Control
......................... 4-32
Electronic Solar Sensor ........................... 3-6
Engine
........................................ 6-9
Compartment Fuse Block
....................... 6-62
Coolant
..................................... 6-21
Coolant Heater
............................... 2-23
Coolant Hot-Idle Engine Message
................ 2-91
Coolant Temperature Gage
..................... 2-79
Coolant Temperature Warning Light
.............. 2-79
Exhaust
..................................... 2-34
Identification
................................ 6-58
Misfire
.. Ease Off Gas Pedal Message ........... 2-91
Overheating
................................. 5-15
Running While Parked
......................... 2-34
StartingYour
................................ 2-22
EngineOil
.................................... 6-10
Adding
..................................... 6-11
Additives ................................... 6-13
Checking
................................... 6-11
Used
....................................... 6-14
What Kind
of Oil to Use ....................... 6-12
Whentochange
.............................. 6-13
Engine Speed Limiter
............................ 2-73
Englishhietric Display
.......................... 2-73
Specifications
................................ 6-69
8-4