ECU CADILLAC DEVILLE 1998 7.G User Guide
[x] Cancel search | Manufacturer: CADILLAC, Model Year: 1998, Model line: DEVILLE, Model: CADILLAC DEVILLE 1998 7.GPages: 386, PDF Size: 22.36 MB
Page 58 of 386
Downloaded from www.Manualslib.com manuals search engine If your child restraint has a top strap, your dealer can obtain a kit with anchor hardware and installation
instructions specifically designed for this vehicle. The
dealer can then install the anchor for you.
In Canada,
this work will be done for you free of charge. Or, you
may install the anchor yourself using the instructions
provided in.the
kit.
Securing a Child Restraint in a Rear
Outside Seat Position
U
You’ll be using the lap-shoulder belt. See the earlier part
about the top strap
if the child restraint has one. Be sure
to follow the instructions that came with the child
restraint. Secure the child in the child restraint when
and
as the instructions say.
1. Put the restraint on the seat.
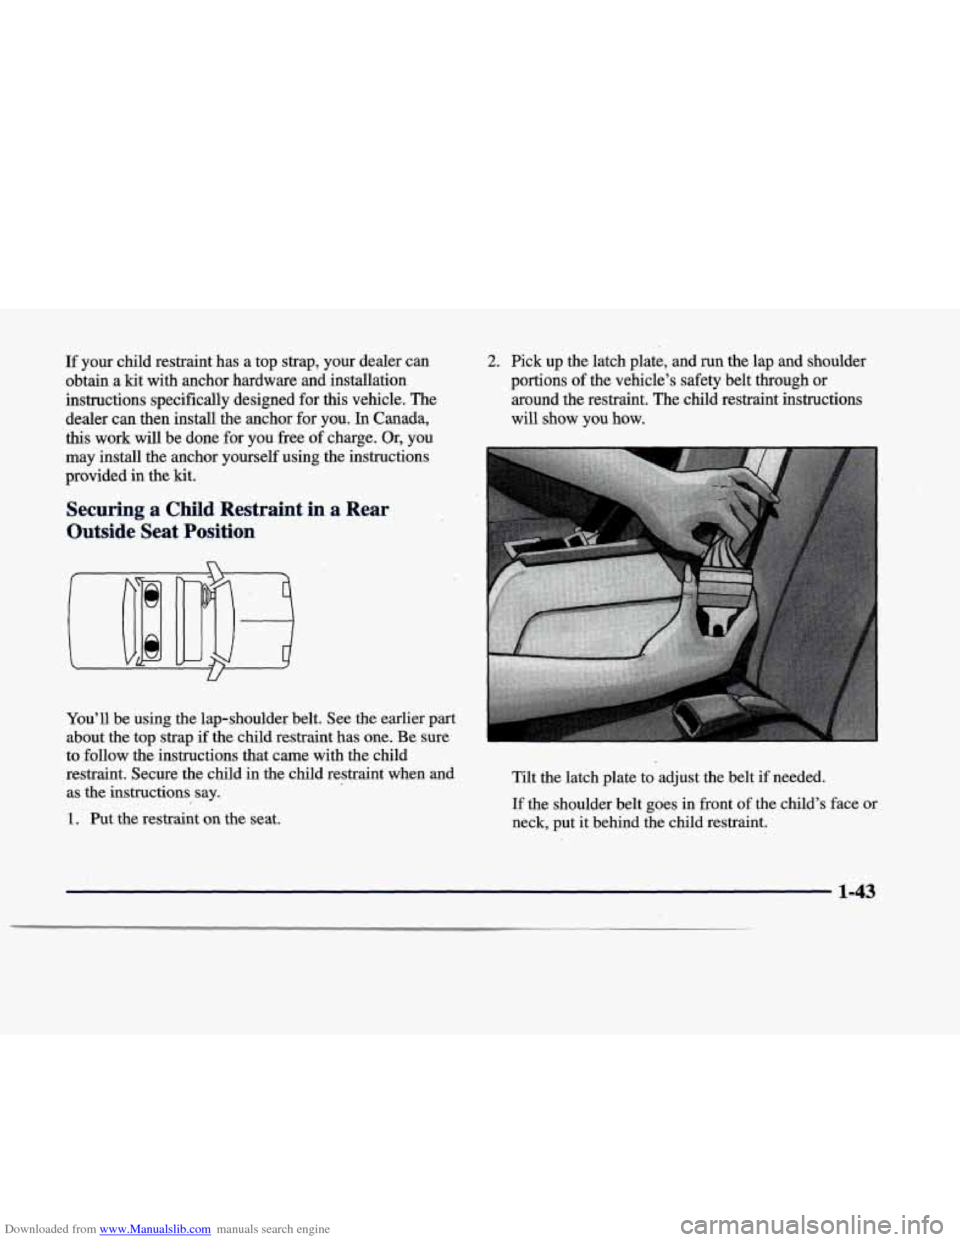
2. Pick up the latch plate, and run the lap and shoulder
portions of the vehicle’s safety belt through or
around the restraint. The child restraint instructions
will
show you how.
Tilt the latch plate to adjust the belt if needed.
If the shoulder belt goes in front of the child’s face or
neck, put
it behind the child restraint.
1-43
Page 59 of 386
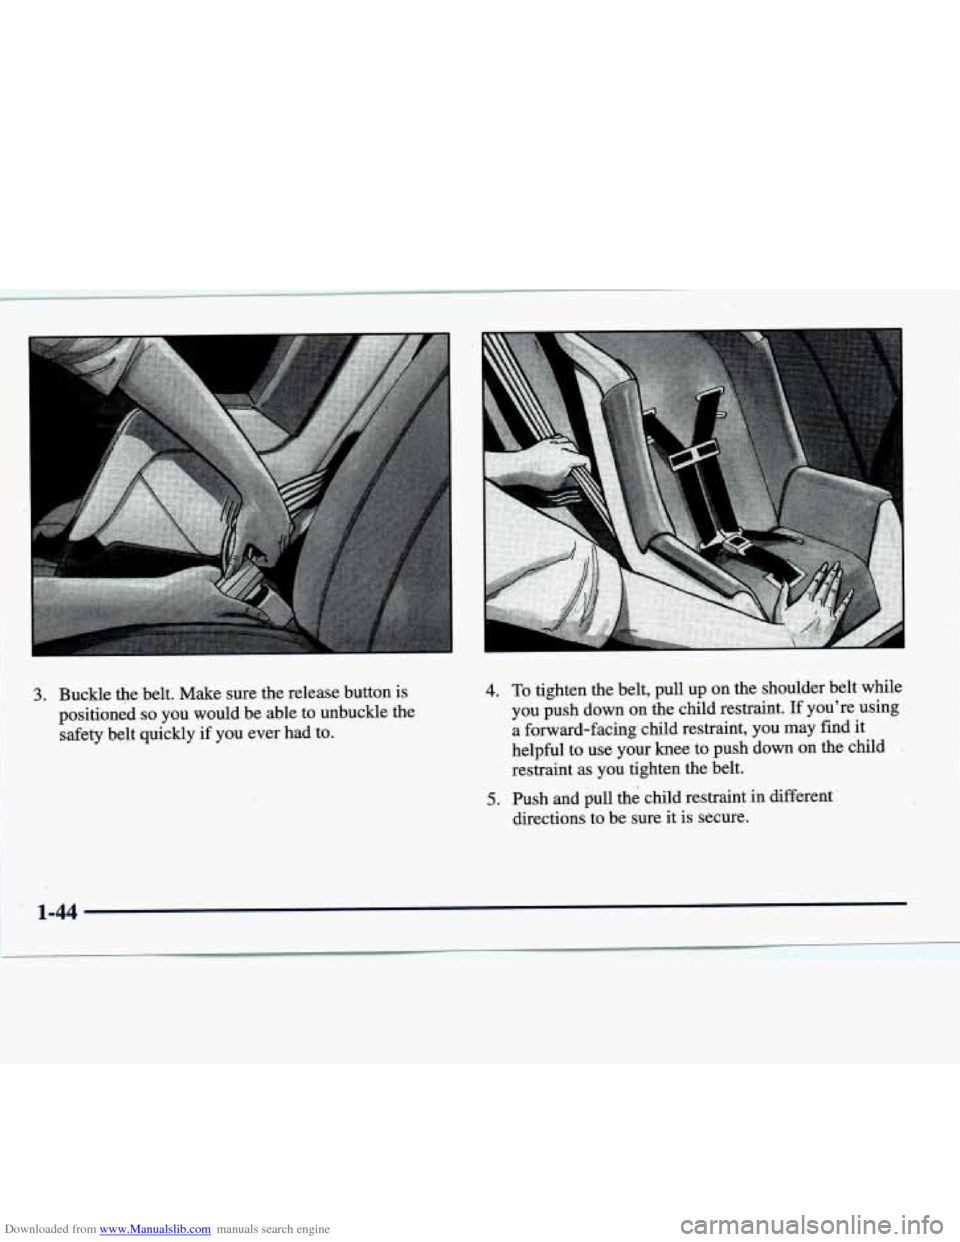
Downloaded from www.Manualslib.com manuals search engine 1 3. Buckle the belt. Make sure the release button is
1 safety belt quickly if you ever had to.
I I positioned so you would be able to unbuckle the
4.
5.
To tighten the belt, pull up on the shoulder belt while
you push down on the child restraint. If you're using a forward-facing child restraint, you may find it
helpful to use
your knee to push down on the child I
restraint as you tighten the belt.
Push and pull the child restraint in different
directions to be sure it is secure. -
1 ' 1-44
Page 60 of 386
Downloaded from www.Manualslib.com manuals search engine To remove the child restraint, just unbuckle the vehicle’s
safety belt and let it go back all the way. The safety belt
will move freely again and be ready
to work for an adult
or larger child passenger.
Securing a Child Restraint in the Center
Rear Seat Position
You’ll be using the lap belt. Be sure to follow the
instructions that came with the child restraint. Secure
the child in the child restraint when and as the
instructions say.
b!, CAUTION:
A child in a child restraint in the center front
seat can be badly injured or killed by the right
front passenger air bag if it inflates, even though
your vehicle has reduced-force frontal air bags.
Never secure a child restraint in the center
front seat. It’s always better to secure a child
restraint in the rear seat. You may secure a
forward-facing child restraint in the right
front passenger seat, but before you do, always
move the front passenger seat as far back as it
will
go. It’s better to secure the child restraint in
a rear seat.
See the earlier part about the top strap if the child
*estraint has one.
Page 62 of 386

Downloaded from www.Manualslib.com manuals search engine 6. Push and pull the child restraint in different directions to be sure it is secure.
To remove the child restraint, just unbuckle the vehicle’s
safety belt. It will be ready
to work for an adult or larger
child passenger.
Securing a Child Restraint in the Right
Front Seat Position
Your vehicle has a right front passenger air bag. Never
put a rear-facing child restraint in this seat. Here’s why:
1 /11 CAUTIOIA:
A child in a rearfacing child restraint can be
seriously injured or killed if the right front
passenger’s
air bag inflates, even though your
vehicle has reduced-force frontal air bags. This
is because the back
of a rearfacing child
restraint would be
very close to the inflating
air bag. Always secure a rear-facing child
restraint in the rear seat.
1-47
.
Page 63 of 386

Downloaded from www.Manualslib.com manuals search engine You’ll be using the lap-shoulder belt. See the earlier part
about the top strap
if the child restraint has one. Be sure
to follow the instructions that came with the child
restraint. Secure the child in the child restraint when and as the instructions say.
1. Because your vehicle has a right front passenger air
bag, always move the seat as
far back as it will go
before securing a forward-facing child restraint. (See
“Seats” in the Index.)
2. Put the restraint on the seat.
3. Pick up the latch plate, and run the lap and shoulder
portions of the vehicle’s safety belt through or
around the restraint. The child restraint instructions
will show you how.
If the shoulder belt goes in front of the child’s face or
neck, put it behind the child restraint.
4. Buckle the belt. Make sure the release button is
positioned
so you would be able to unbuckle the
safety belt quickly if you ever had to.
1-48
Page 64 of 386
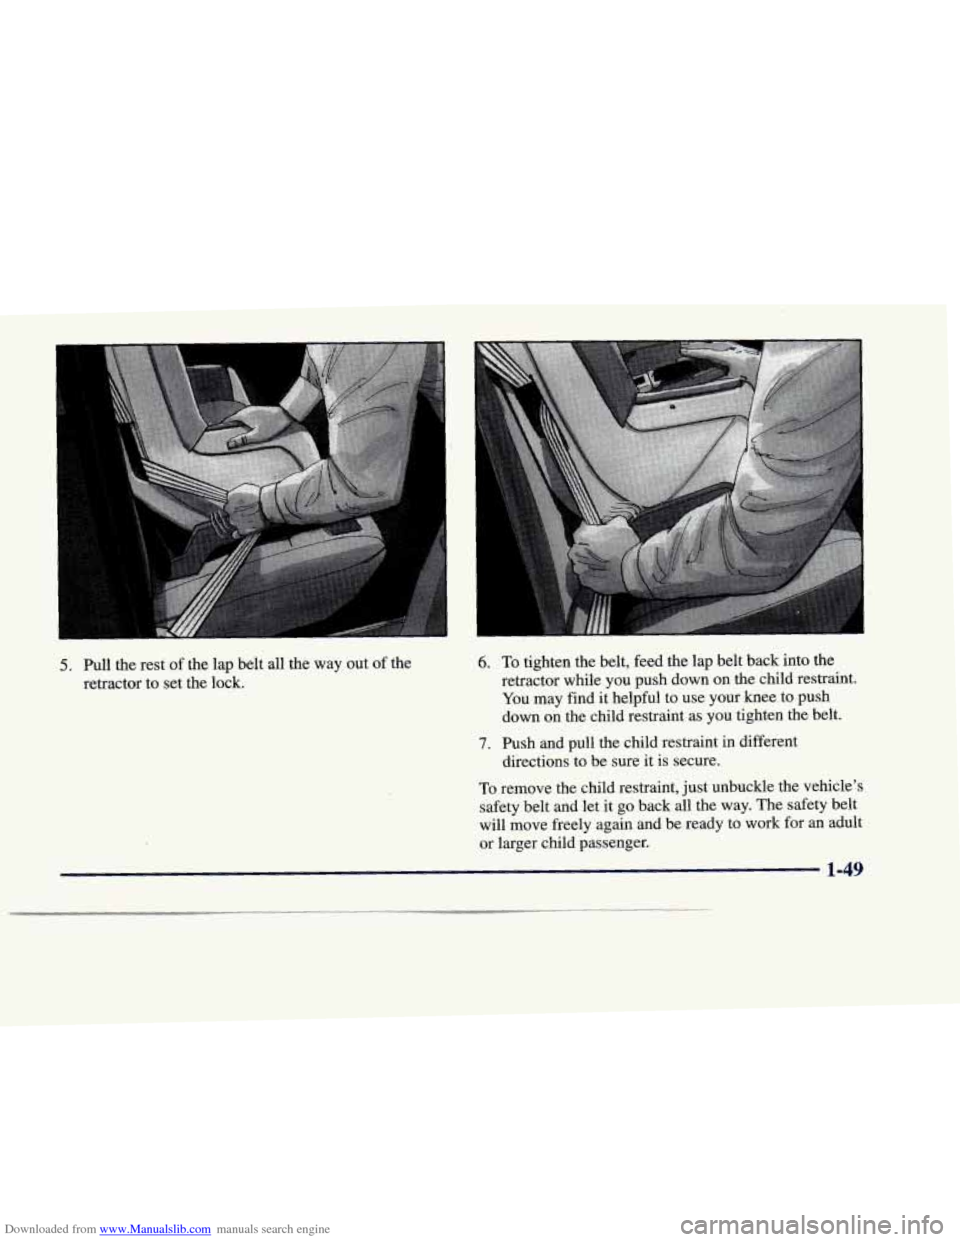
Downloaded from www.Manualslib.com manuals search engine 5. Pull the rest of the lap belt all the way out of the
retractor to set the lock. 6.
7.
To tighten the belt, feed the lap belt back into the
retractor while you push down
on the child restraint.
You may find it helpful to use your knee to push
down on the child restraint as you tighten the belt.
Push and pull the child restraint in different
directions to be sure it is secure.
To remove the child restraint, just unbuckle the vehicle’s
safety belt and let it
go back all the way. The safety belt
will move freely again and be ready to work
for an adult
or larger child passenger.
1-49
Page 77 of 386
Downloaded from www.Manualslib.com manuals search engine Rear Door Security Locks
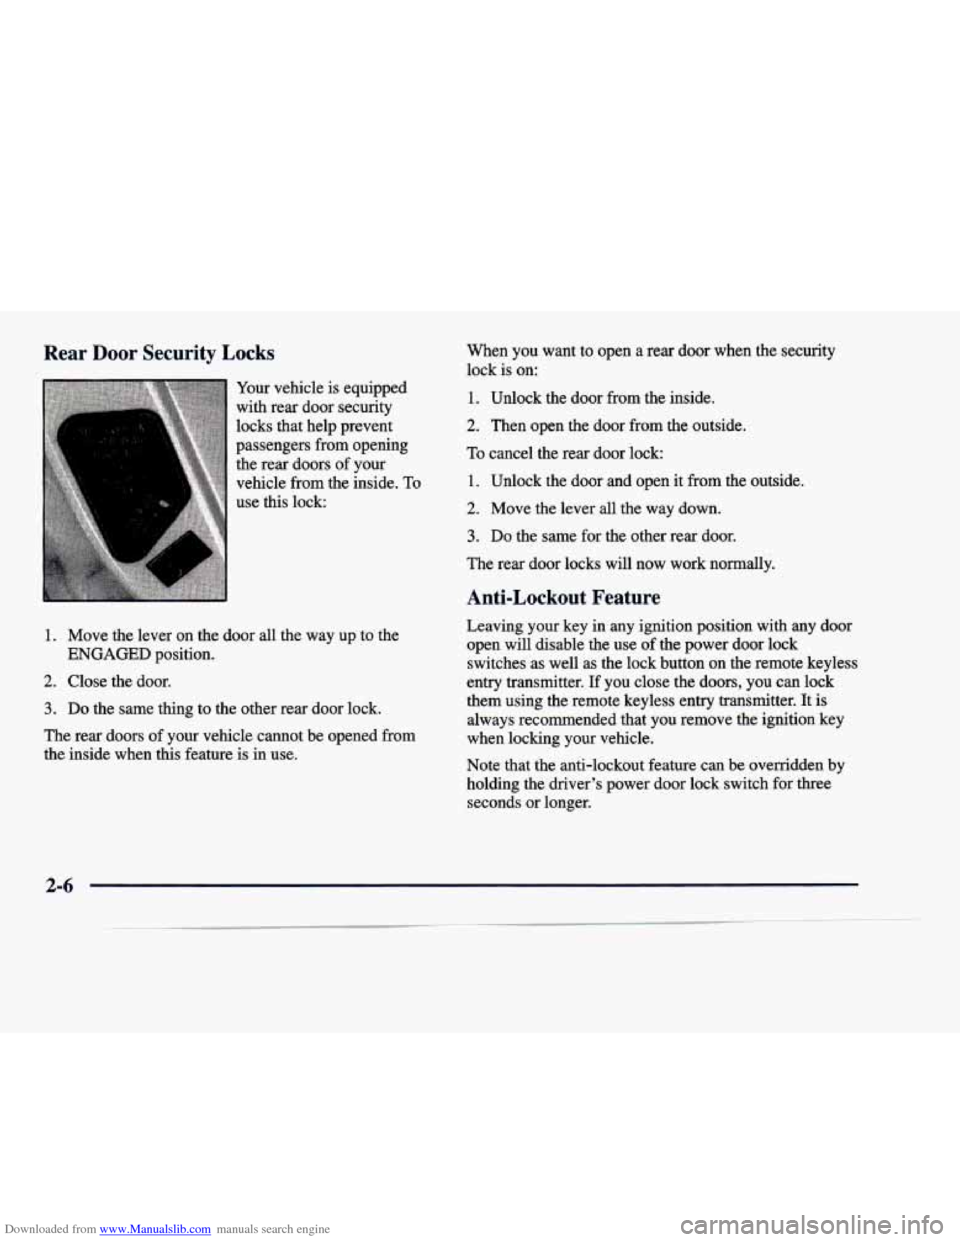
Your vehicle is equipped
with rear door security
locks that help prevent
passengers from opening
the rear doors of your
vehicle from the inside.
To
use this lock:
1. Move the lever on the door all the way up to the
2. Close the door.
ENGAGED position.
3. Do the same thing to the other rear door lock.
The rear doors
of your vehicle cannot be opened from
the inside when this feature is in use. When
you want to open a rear door when the security
lock is on:
1. Unlock the door from the inside.
2. Then open the door from the outside.
To cancel the rear door lock:
1. Unlock the door and open it from the outside.
2. Move the lever all the way down.
3. Do the same for the other rear door.
The rear door locks will now work normally.
Anti-Lockout Feature
Leaving your key in any ignition position with any door open will disable
the use of the power door lock
switches
as well as the lock button on the remote keyless
entry transmitter. If you close the doors, you can lock
them using the remote keyless entry transmitter. It
is
always recommended that you remove the ignition key
when locking your vehicle.
Note that the anti-lockout feature can be overridden
by
holding the driver's power door lock switch for three
seconds or longer.
2-6
Page 83 of 386
Downloaded from www.Manualslib.com manuals search engine To install the storage system:
1. Pull the carpeting from the floor of the trunk. Turn
the retainer (center dial) on the compact spare tire
cover to the left to remove it.
2. Place the trunk storage system on the center of the
trunk floor.(the cut out portion of the storage system
should be facing the rear of the vehicle).
3. Open the storage system by pulling up on the handle
located in the carpeted area. This allows the unit to
fold up into place. Fold the divider walls open and
move them into the retention slots.
4. Remove the rectangular access panel from the floor
of the storage system. The access panel should
unsnap'by hand.
5. Center the storage system access hole over the area
where the spare tire is secured by the retainer.
Position the storage system as needed and then
secure
it with the retainer.
6.; Replace the access panel.
7. Attach the removable net to the slots located on the
front of the divider walls and attach the hooks to the
holes on each side of the storage system. Once in place, the storage system can be moved
forward or rearward for convenience and easy access
of
stored items.
The following steps explain how to remove the
trunk
storage system for cleaning or in case you need to access
the spare tire. Follow
all of these steps if the storage
system is in the closed position. Begin with Step
2 if the
system is already open.
1.
2.
3.
4.
Open the storage system by pulling up on the handle
located in the carpeted area.
This allows the unit to
fold up into place. Fold the divider walls open and
move them into the retention slots.
Remove the rectangular access panel from the floor of the storage system. The access panel should
unsnap by hand.
Center the storage system access hole over the &ea
where the spare tire
is secured by the retainer.
Position the storage system as needed and then
remove the retainer
(turn the retainer to the left to
remove it).
Replace the access panel and remove the storage system.
2-12
Page 86 of 386
Downloaded from www.Manualslib.com manuals search engine Theft-Deterrent System (If Equipped) Remember, the theft-deterrent system won’t activate if
you lock the doors with a key or use the manual door
If the ignition
is off and lock.
It activates only if you use a power door lock
any door
is open, the switch or the remote keyless entry transmitter.
SECURITY
SECURITY
light will flash,
reminding you to activate
the system. To
0
The light will also flash if the battery has been
disconnected and reconnected. To arm the system, do
the following:
1. Open the door.
2. Lock the door using the power door lock or the
remote keyless entry transmitter. The SECURITY
light should come on and stay on.
3. Close all the doors. The SECURITY light should go
The horn will sound and the lamps will flash for about
30 seconds when the door or trunk is opened without the
key or the remote keyless entry transmitter. The horn
also sounds if the locks
are damaged.
off within about
30 seconds. avoid activating
the alarm by accident:
Always unlock a door with a key or use the remote
keyless entry transmitter. (Pressing the unlock button
on the remote keyless entry transmitter disables the
theft-deterrent system.) Unlocking a door any other
way will activate the alarm. Cycling the ignition
without disarming the theft-deterrent system will
also activate the alarm.
The vehicle should be locked with the door key
after
the doors are closed if you don’t want to activate the
theft-deterrent system.
If you activate the alarm by accident, unlock any door with your key. You can also
turn off the alarm by using
the unlock button of the remote keyless entry
transmitter. The alarm won’t stop if you try to unlock a
door any other way.
2-15
Page 87 of 386
Downloaded from www.Manualslib.com manuals search engine Testing the Alarm
1. From inside the vehicle, roll down the window, then get out of the vehicle, keeping the door open.
2. From outside of the vehicle, with the door open, lock
the vehicle using the power door lock or the remote
keyless entry transmitter and close the door. Wait
30
seconds until the SECURITY light goes off.
3. Reach in and unlock the door using the manual lock
and open the door. The horn
will sound and the
headlamps will flash.
If the alarm does not sound when it should, check to see
if the horn works. The horn fuse may be blown. To
replace the fuse, see “Fuses and Circuit Breakers” in the
Index.
If the fuse does not need to be replaced, you may
need to have your vehicle serviced.
To reduce the possibility of theft, always activate the
theft-deterrent system when leaving your vehicle.
Valet Lockout Button
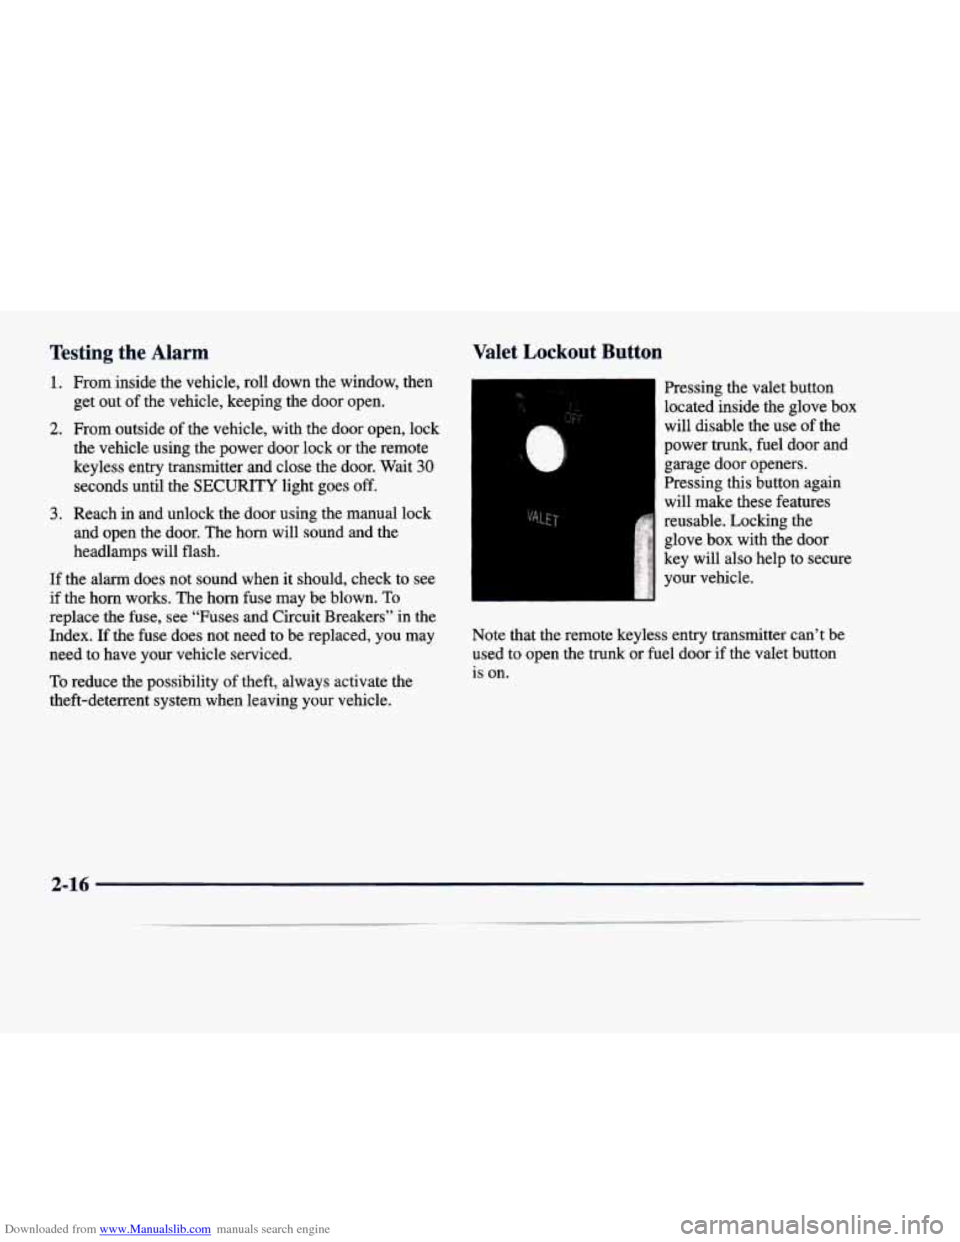
Pressing the valet button
located inside the glove box
will disable the use of the
power trunk, fuel door and
garage door openers.
Pressing this button again
will make these features
reusable. Locking the
glove box with the door
key will also help to secure
your vehicle.
Note that the remote keyless entry transmitter can’t be used to open the
trunk or fuel door if the valet button
is on.
2-16