ECU CADILLAC DEVILLE 1998 7.G Owner's Manual
[x] Cancel search | Manufacturer: CADILLAC, Model Year: 1998, Model line: DEVILLE, Model: CADILLAC DEVILLE 1998 7.GPages: 386, PDF Size: 22.36 MB
Page 125 of 386
Downloaded from www.Manualslib.com manuals search engine Storage Compartments
Glove Box
The glove box is located in front of the passenger’s seat.
To lock the glove box door, insert the oval key into
the
lock cylinder and turn it to the right. Turn the key to the
left
to unlock the door.
Map Pocket
The maphtorage pockets are located on each
front door as well as on the passenger’s and driver’s
front seatbacks.
Front Storage Armrest
(DeVille and DeVille d’Elegance Only)
The front storage area comes with a coinholder, a
storage compartment for CDs or tapes, an optional
phone and a dual cupholder that unfolds for use.
Center Console Storage Area
(DeVille Concours Only)
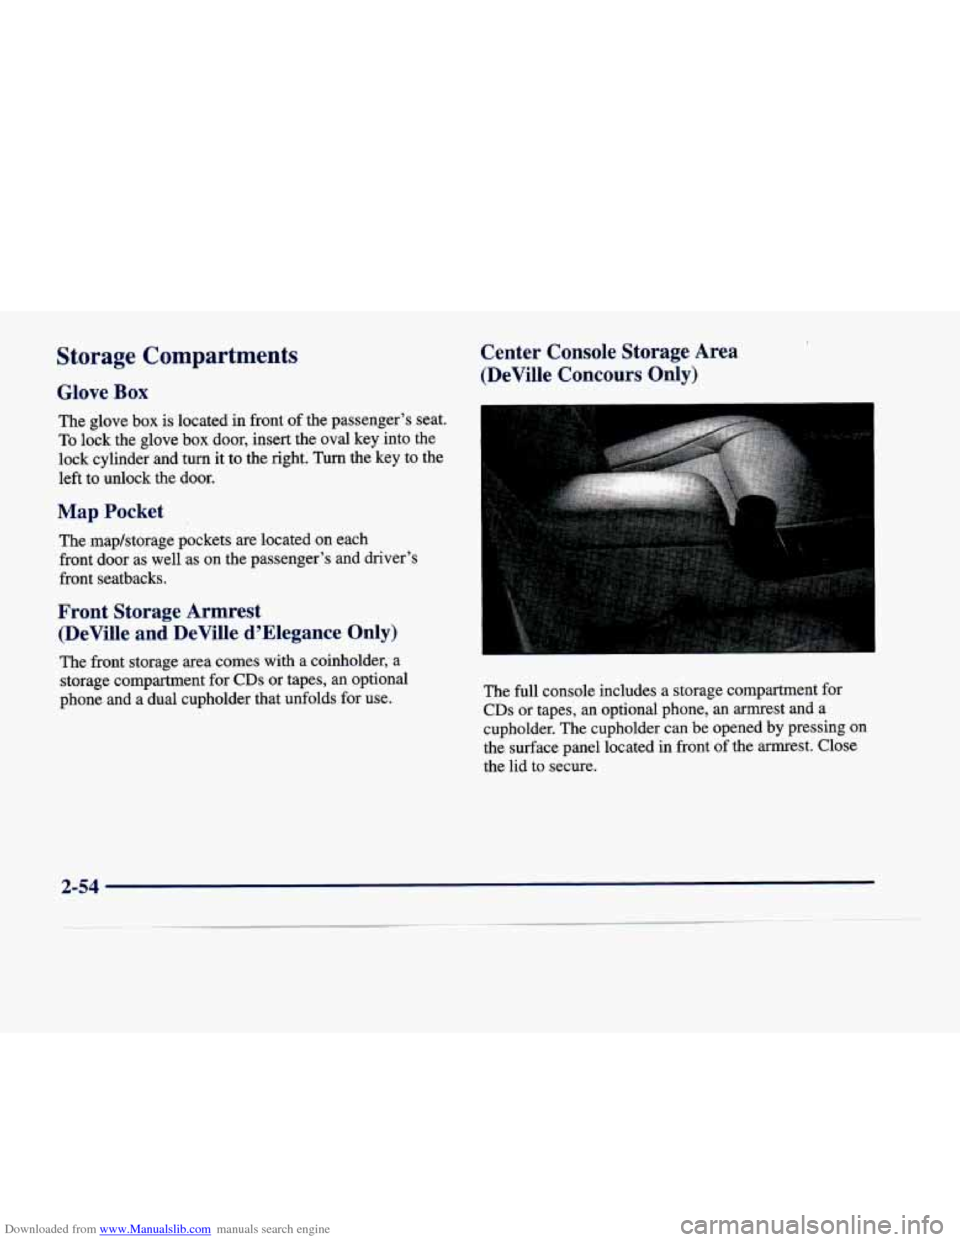
The full console includes a storage co,mpartment for
CDs or tapes, an optional phone, an armrest and a
cupholder. The cupholder can
be opened by pressing on
the surface panel located in front of the armrest. Close
the lid
to secure.
2-54
Page 126 of 386
Downloaded from www.Manualslib.com manuals search engine Rear Storage Armrest (If Equipped)
Your vehicle may be equipped with a rear seat armrest
which includes an open storage compartment and a dual
cupholder that unfolds for use.
To open, lift the front
edge.
(This feature is available on vehicles with leather
interiors only.)
Conver 0 I nce Net
The convenience net is located inside the back wall of
the trunk. Put small loads, like grocery bags, behind the
net. It can help keep them from falling over during sharp
turns or quick starts and stops.
The net is not for larger, heavier loads. Store them in the
trunk as far forward as you can. When not using the net,
hook the net to the tabs securing it to the sill plate.
Ashtrays and Cigarette Lighter
With the full center console (available on DeVille
Concours only), press
on the cover, which is located
below the climate control system, to reveal the front
ashtray. To clean this ashtray, lift it out by gripping the
sides. For vehicles without the center console, pull the tray
out to reveal the ashtray. The tray is located beneath
the radio.
To clean this ashtray, lift it out by pulling on
the snuffer.
To use the rear ashtray, lift the lid.
I NOTICE: I
Don’t put papers or other flammable items
into your ashtrays. Hot cigarettes or other
smoking materials could ignite them, causing a
damaging fire.
The cigarette lighter is located near the ashtray. Press it
all the way in and release. It will pop back by itself
when it’s ready to light. You may also have a lighter
located at the rear seat air outlet.
Note that power to the cigarette lighter will shut
off 10
minutes after the ignition is turned off. This helps to
prevent battery drainage. For more information, see “Inadvertent Battery Saver” earlier in this section.
2-55
Page 157 of 386
Downloaded from www.Manualslib.com manuals search engine LOW-REFRIG A/C OFF - 12: This message means
that the air conditioning system detects a refrigerant
level that is low enough to cause damage to the air
conditioning compressor.
To avoid damage, the air
conditioning compressor automatically
turns off and the
electronic climate control system will automatically switch from AUTO to
ECON and remain there.
Have the air conditioning system serviced if this
message appears.
MONITORED SYSTEMS OK - 1: This message only
appears in the “recall” mode by pressing the RESET
(INFO RESET) button. It lets you know that no other
messages are stored or currently active.
OIL PRESSURE LOW STOP ENGINE - 35: If this
message appears while the engine is running, stop the
engine and do not operate
it until the cause of low oil
pressure is corrected. Severe damage to the engine can
result.
A multiple chime will also sound when this
message is displayed.
OPTIONS NOT SET - 99: This message will display if
a fault has occurred in your vehicle’s memory. See your
dealership for service.
PROGRAM PASS KEY - 31: This warning message
displays when the PASS-Key I1 pellet information has
not been programmed into your vehicle. See your dealership for service.
PHONE NOT PRESENT - 126: This message will
appear when the steering wheel controls for the optional
phone system are activated but the phone is not plugged
into the vehicle. Make sure your phone is plugged in.
If
your phone appears to be connected, see your dealership
for service.
REMOVE KEY - 70: This message will appear when
the Personalized Automotive Security System
(PASS-Key
11) is unable to read the pellet on the
ignition key or an improper key pellet has been inserted.
This message typically appears following the display of
STARTING DISABLED,
REMOVE KEY. The
instrument panel cluster will then run a timer and
change the messages to WAIT
3 MINUTES, WAIT
2 MINUTES, WAIT 1 MINUTE and then START CAR.
When the REMOVE KEY message is displayed, remove
the ignition key. Check the ignition key for damage. If it
is damaged, it may need to be replaced. If you see no
damage, clean the pellet contacts with a soft cloth or
napkin before inserting the key back into the ignition.
Have your vehicle serviced if the message still appears.
SERVICE A/C SYSTEM - 14: This message appears
when the electronic sensors that control the air
conditioning and heating systems are no longer working.
Have the climate control system serviced if you notice a
drop in heating and air conditioning efficiency.
Page 159 of 386
Downloaded from www.Manualslib.com manuals search engine STABILITY ENGAGED - 55: You may see the
STABILITY ENGAGED message on the Driver
Information Center. It means that
an advanced,
computer-controlled system has come on to help your
vehicle continue to go in the direction in which you’re
steering. This stability enhancement system activates
when the computer senses that your vehicle is just
starting to spin, as it might if you hit a patch of ice or
other slippery spot on the road. When the system is on,
you may hear- a noise or feel a vibration
in the brake
pedal.
This is normal.
When the STABILITY
SYS ENGAGED message is on,
you should continue to steer in the direction you want to
go. The system is designed to help you in bad weather or
other difficult driving situations by making the most of
whatever road conditions will permit. If the STABILITY
SYS ENGAGED message comes on, you’ll know that
something has caused your vehicle to start to spin,
so
you should consider slowing down.
SERV STABILITY SYS - 54: If you ever see the
SERV STABILITY SYS message, it means there may
be a problem with your stability enhancement system. If
you see
this message, try to reset the system (stop; turn
off the engine; then start the engine again). If the SERV
STABILITY
SYS message still comes on, it means there
is a problem. You should see your dealer for service.
Reduce your speed and drive accordingly.
STARTING DISABLED, REMOVE KEY - 33: This
message will appear when the Personalized Automotive
Security System (PASS-Key
II) senses that an improper
ignition key
is being used to try to start the vehicle.
Check the ignition key for damage.
If it is damaged, it
may need to be replaced.
If you see no damage, clean
the pellet contacts with a soft cloth or napkin. Remove
the ignition key and wait for the Driver Information
Center (DIC) to display WAIT
3 MINUTES. The
instrument panel cluster will then run
a timer and
change the messages to WAIT
2 MINUTES, WAIT 1
MINUTE and then START CAR. When the START
CAR message is displayed,
try again to start the engine.
THEFT SYSTEM PROBLEM, CAR MAY NOT
RESTART
- 34: This message means there is a problem
in the Personalized Automotive Security System (PASS-Key
11). A fault has been detected in the system
which means that the PASS-Key
II system is disabled
and is not protecting the vehicle. The vehicle usually
restarts, however, you may want to take your vehicle to a proper service center before turning
off the engine.
TOP SPEED - FUEL OFF - 111: This message will
appear when the PCM senses that the maximum speed
for your vehicle has been reached. The speed
of your
vehiclebill decrease several mph as the fuel supply is
cutoff. This allows your vehicle
to stay in a stable
operating range.
2-88
Page 236 of 386
Downloaded from www.Manualslib.com manuals search engine Winter Driving
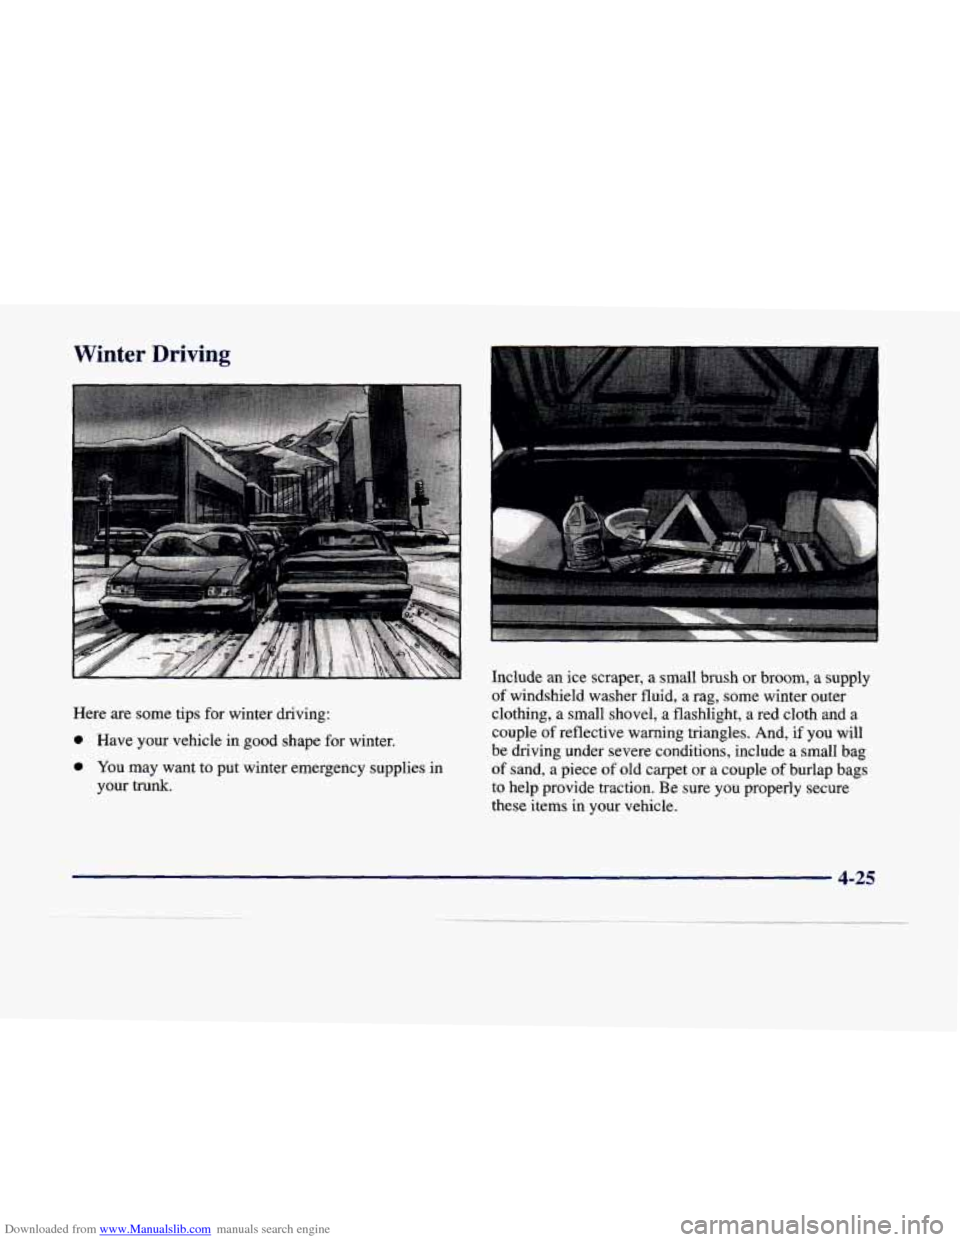
Here are some tips for winter driving:
0 Have your vehicle in good shape for winter.
0 You may want to put winter emergency supplies in
your trunk. Include an ice scraper,
a small brush or broom,
a supply
of windshield washer fluid, a rag, some winter outer
clothing, a small shovel, a flashlight,
a red cloth and a
couple
of reflective warning triangles. And, if you will
be driving under severe conditions, include a small bag
of sand, a piece
of old carpet or a couple of burlap bags
to help provide traction. Be sure you properly secure
these items in your vehicle.
4-25
Page 242 of 386
Downloaded from www.Manualslib.com manuals search engine A CAUTION:
Things you put inside your vehicle can strike
and injure people in a sudden stop or turn, or in
a crash.
Put things in the trunk of your vehicle. In a
trunk, put them
as far forward as you can.
Try to spread the weight evenly.
Never stack heavier things, like suitcases,
inside the vehicle
so that some of them are
above the tops of the seats.
Don’t leave an unsecured child restraint in
your vehicle.
When you carry something inside the
vehicle, secure it whenever you can.
Electronic Level Control
This feature keeps the rear of your vehicle level as the
load changes. It’s automatic
-- you don’t need to
adjust anything.
Towing a Trailer
If you don’t use the correct equipment and drive
properly,
you can lose control when you pull a
trailer. For example, if the trailer
is too heavy, the
brakes may not work well
-- or even at all. You
and your passengers could be seriously injured.
You may also damage your vehicle; the resulting
repairs would not be covered by your warranty.
Pull a trailer only if you have followed all the
steps in this section. Ask your dealer for advice
and information about towing a- trailer with
your vehicle.
Page 247 of 386
Downloaded from www.Manualslib.com manuals search engine Trailer Wiring Harness
If your vehicle is equipped with the 3,000-lb. (1 360 kg)
trailer towing package option, you will have
a wiring
harness located under the
trunk trim. The harness is a
five-wire harness, with connector.
These trailer-wiring harness color codes should be
followed when connecting it
to your trailer:
WHITE: Direct trailer ground for trailer lamps.
BROWN: Parking lamps.
0 YELLOW Left turn and stoplamps.
GREEN: Right turn and stoplamps.
0 BLUE: Auxiliary circuit.
Driving with a Trailer
Towing a trailer requires a certain amount of experience.
Before setting out for the open road, you’ll want to get
to know your
rig. Acquaint yourself with the feel of
handling and braking with the added weight of the
trailer. And always keep in mind that the vehicle you are driving is now a good deal longer and not nearly as
responsive as your vehicle
is by itself. Before
you start, check the trailer hitch and platform
(and attachments), safety chains, electrical connector,
lamps, tires and mirror adjustment. If the trailer has
electric brakes, start your vehicle
and trailer moving and
then apply the trailer brake controller by hand to be sure
the brakes are working.
This lets you check your
electrical connection at the same time.
During your trip, check occasionally to be sure that the load is secure, and that the lamps and any trailer brakes
are still working.
Following Distance
Stay at least twice as far behind the vehicle ahead as you
would when driving your vehicle without a tr$ler. This
can help you avoid situations that require heavy braking
and sudden turns.
Passing
You’ll need more passing distance up ahead when
you’re towing a trailer. And, because you’re a good deal \
longer, you’ll need to go much farther beyond the
passed vehicle before you can return to your lane.
4-36
Page 258 of 386

Downloaded from www.Manualslib.com manuals search engine Front Towing
Rear Towing
I-
To help avoid inJury to you or others:
0
0
Never let passengers ride in a vehicle that is
being towed. Never tow faster than safe or posted speeds.
Never tow with damaged parts not
fully secured. Never get under your vehicle after it has
been lifted by the tow truck.
Always secure the vehicle on each side with
separate safety chains when towing it.
Never use J-hooks. Use only T-hooks in the
front T-hook slots and only R-hooks in the
rear R-hook slots.
5-9
Page 259 of 386

Downloaded from www.Manualslib.com manuals search engine I I
A vehicle can fall from a car carrier if it isn’t
adequately secured. This can cause a collision,
serious personal injury and vehicle damage. The
vehicle should be tightly secured with chains
or
steel cables before it is transported.
Don’t use substitutes (ropes, leather straps,
canvas webbing, etc.) that can be cut by sharp
edges underneath the towed vehicle. Always use
T-hooks inserted in the front T-hook slots or
R-hooks inserted in the rear R-hook slots. Never
use J-hooks. They will damage drivetrain and
suspension components.
When your vehicle is being towed, have the ignition key
turned to
OFF. The steering wheel should be clamped in
a straight-ahead position, with a clamping device
designed for towing service. Do not use the vehicle’s steering column lock for this. The transaxle should be in
NEUTRAL (N) and the parking brake released.
Don’t have your vehicle towed on the drive wheels
unless you must.
If the vehicle must be towed on the
drive wheels, be sure to follow the speed and distance
restrictions later in this section or your transaxle will be
damaged.
If these limitations must be exceeded, then the
drive wheels have to be supported on a dolly.
5-10
Page 261 of 386

Downloaded from www.Manualslib.com manuals search engine Attach T-hook chains on both sides, in the slotted holes
in the bottom of the frame rails, behind the front wheels.
These slots are to be used when loading and securing to
car-carrier equipment. Attach a separate safety chain around the outboard end
of
each lower control
arm.
5-12