tow CADILLAC DEVILLE 1998 7.G User Guide
[x] Cancel search | Manufacturer: CADILLAC, Model Year: 1998, Model line: DEVILLE, Model: CADILLAC DEVILLE 1998 7.GPages: 386, PDF Size: 22.36 MB
Page 100 of 386

Downloaded from www.Manualslib.com manuals search engine 3.
4.
5.
0 Move the lever up as far as it will go.
With your right foot still holding the brake pedal
down, set the parking brake.
Twn the ignition key to LOCK.
Remove the key and take it with you. If you can
leave your vehicle with the ignition key in your
hand, your vehicle is in PARK
(P).
Console Shift Lever
1. Hold the brake pedal down with your right foot.
2. Move the shift lever into PARK (P) like this:
0 Hold in the button on the lever and push the lever
all the way toward the front
of your vehicle.
3. With your right foot still holding the brake pedal
down, set the parking brake.
4. Turn the ignition key to LOCK.
5. Remove the key and take it with you. If you can
leave your vehicle with
the ignition key in your
hand, your vehicle is in
PARK (P).
Page 101 of 386
Downloaded from www.Manualslib.com manuals search engine Leaving Your Vehicle With the
Engine Running
It can be dangerous to leave your vehicle with the
engine running. Your vehicle could move
suddenly if the shift lever
is not fully in PARK (P)
with the parking brake firmly set. And, if you
leave the vehicle with the engine running, it could overheat and even catch fire. You or others could
be injured. Don’t leave your vehicle with the
engine running unless you have
to.
If you have to leave your vehicle with the engine
running, be sure your vehicle is in PARK
(P) and your
parking brake is
firmly set before you leave it. After
you’ve moved the shift lever into
PARK (P), hold the
regular brake pedal down. Then, see if you can move the
shift lever away from
PARK (P) without first pulling it
toward you (or, if you have the console shift lever,
without first pressing the button).
If you can, it means
that the shift lever wasn’t fully locked into
PARK (P).
Torque Lock
If you are parking on a hill and you don’t shift your
transaxle into PARK (P) properly,
the weight of the
vehicle may put too much force on the parking pawl in
the transaxle. You may find it difficult to pull the shift
lever out of PARK (P). This is called “torque lock.”
To
prevent torque lock, set the parking brake and then shift
into PARK
(P) properly before you leave the driver’s
seat. To find out how, see “Shifting Into PARK (P)” in
the Index.
If torque
lock does occur, you may need to have another
vehicle push yours a little uphill to take some of the
pressure from the parking pawl in the transaxle,
so you
can pull the shift lever out of PARK (P).
2-30
Page 104 of 386
Downloaded from www.Manualslib.com manuals search engine It can be dangerous to get out of your vehicle if
the shift lever is not fully in
PARK (P) with the
parking brake firmly set. Your vehicle can roll.
Don’t leave your vehicle when the engine
is
running unless you have to. If you’ve left the
engine running, the vehicle can move suddenly.
You or others could be injured.
To be sure your
vehicle won’t move, even when you’re on fairly
level ground, always set your parking brake after
you move the shift lever to
PARK (P).
Follow the proper steps to be sure your vehicle won’t
move.
See “Shifting Into PARK (P)” in the Index.
If you are parking on a hill and if you’re pulling a
trailer, also see “Towing a Trailer” in the Index.
Windows
Power Windows
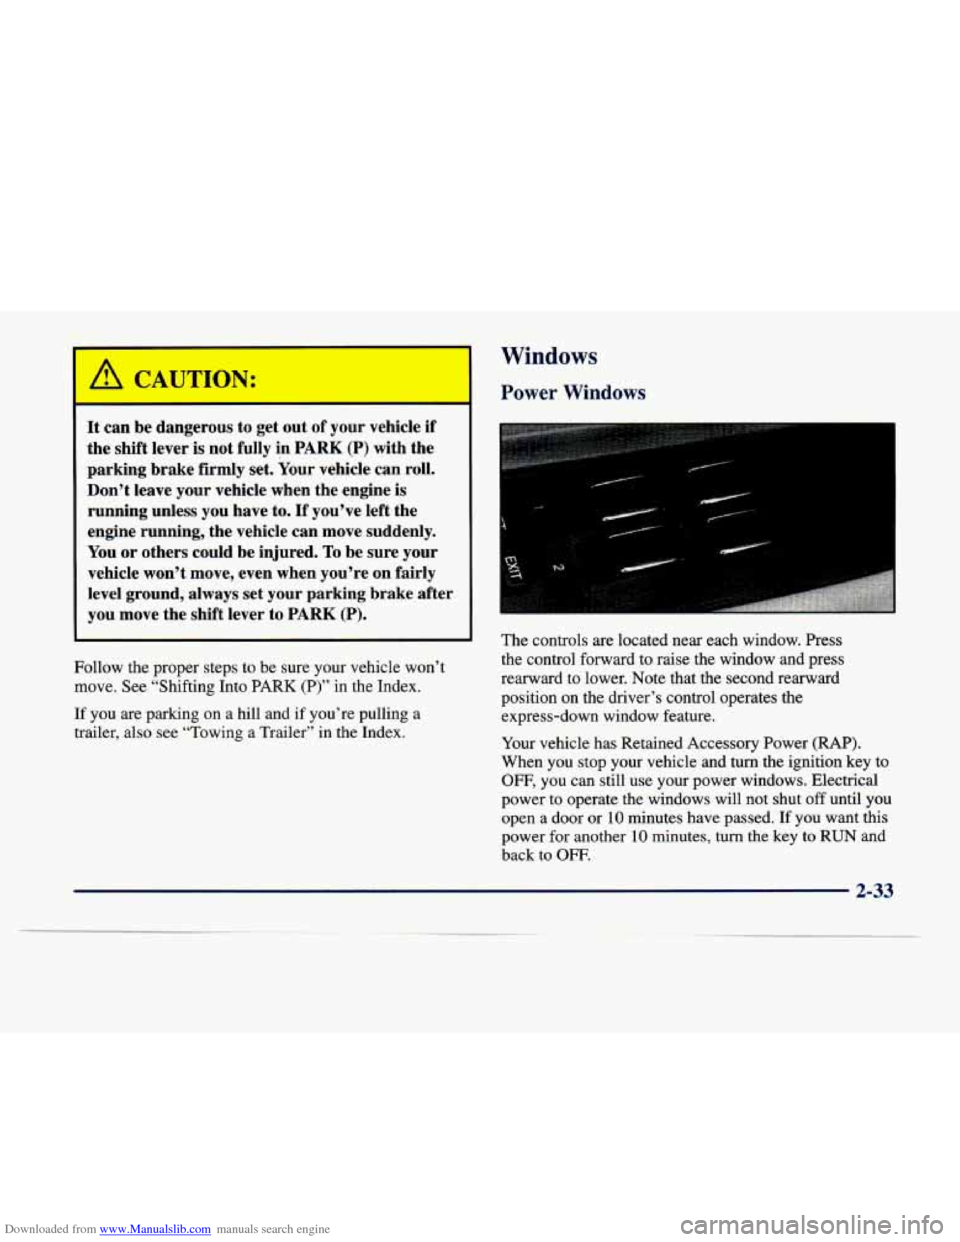
The controls are located near each window. Press
the control forward to raise the window and press
rearward to lower. Note that the second rearward
position on the driver’s control operates the
express-down window feature.
Your vehicle has Retained Accessory Power
(RAP).
When you stop your vehicle and turn the ignition key to
OFF, you can still use your power windows. Electrical
power to operate the windows will not shut
off until you
open a door or
10 minutes have passed. If you want this
power for another
10 minutes, turn the key to RUN and
back to
OFF.
2-33
Page 105 of 386
Downloaded from www.Manualslib.com manuals search engine Express-Down Window Tilt Wheel
This feature is present on the driver’s power window.
Pressing the control rearward into the second position
then releasing it will lower the window completely.
If
you want to stop the window as it is lowering, press
the control forward. Press the control forward to raise
the window.
Note that the first position on the control operates the driver’s power window
in the non-express mode.
Rear Window Lockout
Pressing the button down
will disable the rear window
controls. This is a useful
feature if you have children
. . -:
as passengers. Press the
button again to allow your
passengers to reuse their window controls.
Horn
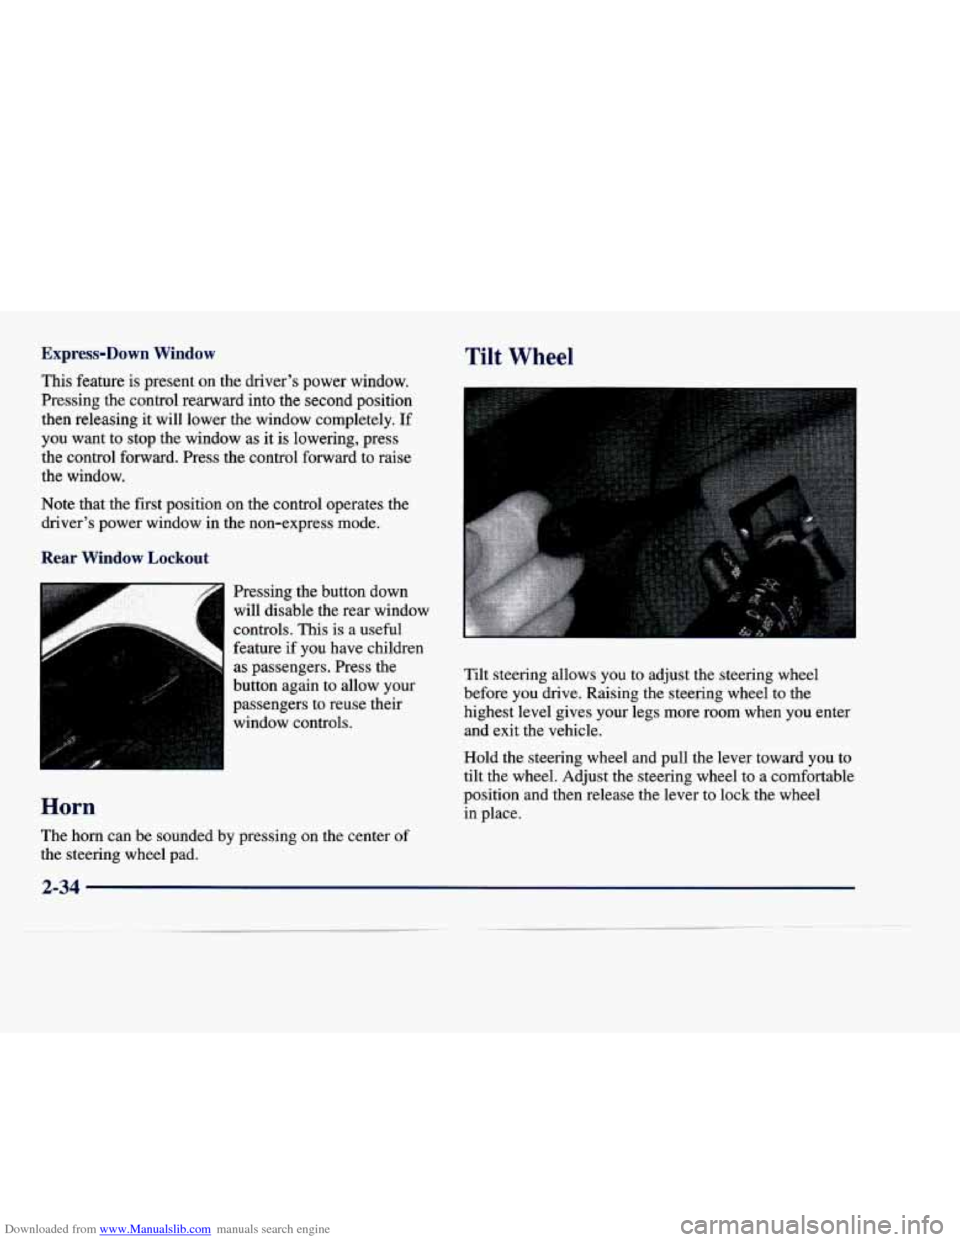
Tilt steering allows you to adjust the steering wheel
before you drive. Raising
the steering wheel to the
highest level gives your legs more room when you enter and exit the vehicle.
Hold the steering wheel and pull the lever toward you to
tilt the wheel. Adjust the steering wheel to a comfortablc
position and then release the lever to lock the wheel in place.
The horn can be sounded by pressing
on the center of
the steering wheel pad.
2-34
Page 106 of 386
Downloaded from www.Manualslib.com manuals search engine Turn SignaVMultifunction Lever
Tbrn and Lane Change Signals
To signal a turn, move the lever all the way up or down.
The lever returns automatically when the
turn is complete.
I A I An arrow on the instrument
panel will flash in the
direction of the turn or
lane change.
Raise or lower the lever until the arrow starts
to flash to
signal a lane change. Hold it there until the lane change
is complete. The lever returns when it’s released.
If the turn signal
is left on, a warning chime will sound
and the Driver Information Center (DIC) will display
TURN SIGNAL ON (after driving about a mile) to
remind you to turn it off. Arrows that
flash rapidly when signaling for a turn or
lane change may be caused by a burned out signal bulb.
Other drivers won’t see the turn signal.
Replace burned-out bulbs to help avoid possible accidents. Check the fuse (see “Fuses and Circuit
Breakers” in the Index) and for burned-out bulbs if the
arrow fails
to work when signaling a turn.
Headlamp High/Low Beam Changer
Pull the turn signal lever all
the way toward you and
then release it to change the
headlamps from low beam
to high or from high beam
to low.
This light on the instr..__lent panel will
be on, indicating
high beam usage.
Page 107 of 386
Downloaded from www.Manualslib.com manuals search engine Flash-To-Pass Windshield Wipers
This lets you use the high-beam headlamps to signal the
driver in front
of you that you want to pass.
Pull the turn signal lever toward you to use. When
you do:
If the headlamps are either off or in the DRL mode,
the high-beam headlamps will turn on. They'll stay
on as long as you hold the lever there. Release the
lever to turn them
off.
If the headlamps are on low beam, they will shift to
high beam and stay there. Pull the lever toward you
to return to low beam.
a If the headlamps are on high beam, they will switch
to low beam. To return to high beam, pull the lever
toward you.
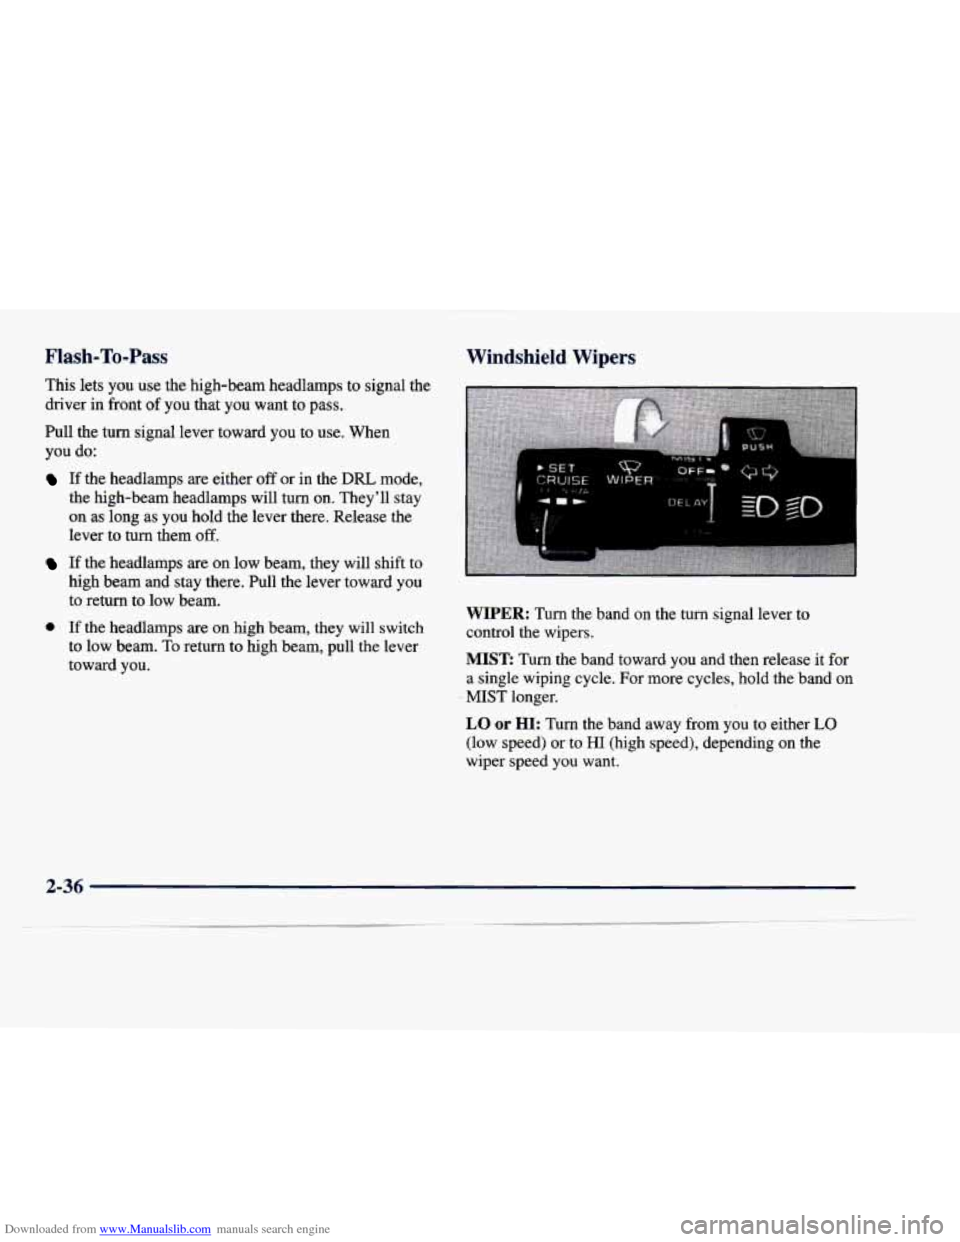
WIPER: Turn the band on the turn signal lever to
control
the wipers.
MIST: Turn the band toward you and then release it for
a single wiping cycle. For more cycles, hold the band
on
- MIST longer.
LO or HI: Turn the band away from you to either LO
(low speed) or to HI (high speed), depending on the
wiper speed you want.
Page 120 of 386
Downloaded from www.Manualslib.com manuals search engine Mirror Operation
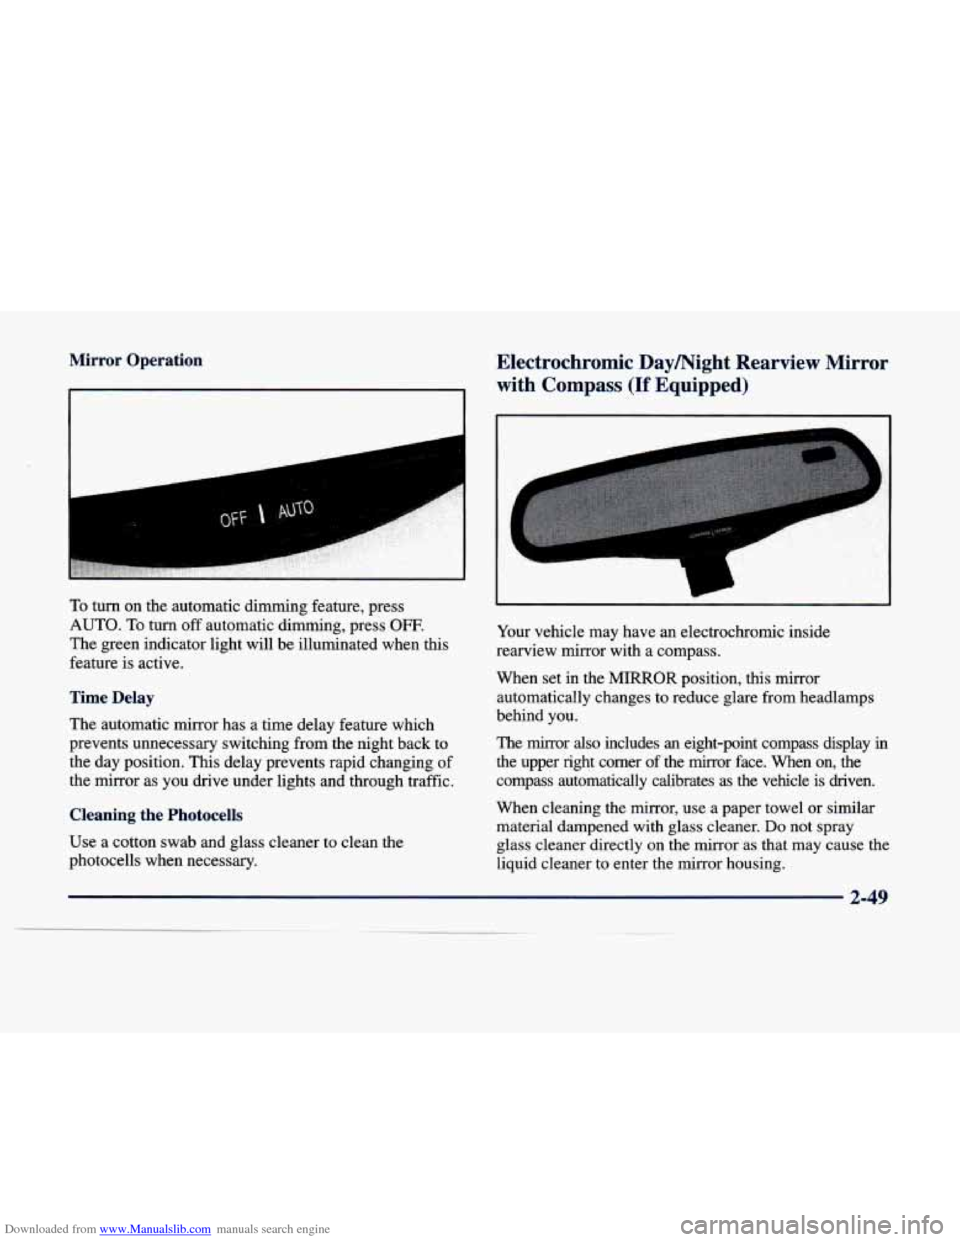
To turn on the automatic dimming feature, press
AUTO.
To turn off automatic dimming, press OW.
The green indicator light will be illuminated when this
feature is active.
Time Delay
The automatic mirror has a time delay feature which
prevents unnecessary switching from the night back to
the day position.
This delay prevents rapid changing of
the mirror as you drive under lights and through traffic.
Cleaning the Photocells
Use a cotton swab and glass cleaner to clean the
photocells when necessary.
Electrochromic Daymight Rearview Mirror
with Compass
(If Equipped)
L
Your vehicle may have an electrochromic inside
rearview mirror with a compass.
When set in the
MIRROR position, this mirror
automatically changes
to reduce glare from headlamps
behind you.
The
mirror also includes an eight-point compass display in
the upper right corner of the mirror face. When on, the compass automatically calibrates as the vehicle is driven.
When cleaning the mirror, use a paper towel or similar
material dampened with glass cleaner.
Do not spray
glass cleaner directly on the mirror as that may cause the
liquid cleaner to enter the mirror housing.
Page 140 of 386
Downloaded from www.Manualslib.com manuals search engine Charging System Indicator Light
~ -
-1 When you turn the
key to
RUN, this light will
come on briefly to show
that the generator and
battery charging systems are working.
Brake System Warning Light
Your vehicle’s hydraulic brake system is divided into
two parts.
If one part isn’t working, the other part can
still work and stop you. For good braking, though, you
need both parts working well.
If the warning light comes on, there is a brake problem.
Have your brake system inspected right away.
If
this light stays on, you need service and you should
take your vehicle to the dealer at once.
To save your
battery until you get there, turn off all accessories. This light should come
on briefly when you turn
the ignition key to RUN. If
it doesn’t come on then,
have it fixed
so it will be
ready to warn you if there’s
a problem.
If the light comes on while you are driving, pull off the
road and stop carefully.
You may notice that the pedal is
harder to push. Or, the pedal may go closer to the floor.
It may take longer to stop. If the light is still on, have the
vehicle towed for service. (See “Towing
Your Vehicle”
in the Index.)
2-69
Page 141 of 386
Downloaded from www.Manualslib.com manuals search engine 1
Your braKe system may not be working properly
if the brake system warning light
is on. Driving
with the brake
system warning light on can lead
to
an accident. If the light is still on after you’ve
pulled
off the road and stopped carefully, have
the vehicle towed for service.
When the ignition is on, the brake system warning light
will also come on when you set your parking brake. The
light will stay on if your parking brake doesn’t release
fully. If it stays on after your parking brake is fully
released, it means you have a brake problem.
Parking Brake Indicator Light
This light comes on when
the parking brake is set, and
it will stay on if the parking
brake does not fully release.
If you try to drive
off with
the parking brake set,
this
light will remain on.
This light should also come on briefly as
you start the
vehicle. If it doesn’t, have the light fixed
so it will be
ready to remind
you if the parking brake has not fully
released. For more information on how to release the
parking brake, see “Parking Brake” earlier in
this section.
2-70
Page 145 of 386
Downloaded from www.Manualslib.com manuals search engine NOTICE:
If you keep driving your vehicle with this light
on, after a while, your emission controls may not
work
as well, your fuel economy may not be as
good and your engine may not run as smoothly.
This could lead to costly repairs that may not be
covered by your warranty.
This light should come on, as a check to show you it is
working, when the ignition is on and the engine is not
running.
If the light doesn’t come on, have it repaired.
This light will also come on during a malfunction in one
of two ways:
0 Light Flashing -- A misfire condition has been
detected. A misfire increases vehicle emissions and
may damage the emission control system on your
vehicle. Dealer or qualified service center diagnosis and service may be required.
Light On Steady -- An emission control system
malfunction has been detected on your vehicle.
Dealer or qualified service center diagnosis and service may be required.
If the Light Is Flashing
The following may prevent more serious damage to
your vehicle:
Reducing vehicle speed.
Avoiding hard accelerations.
Avoiding steep uphill grades.
0 If you are towing a trailer, reduce the amount of
cargo being hauled
as soon as it is possible.
If the light stops flashing and remains on steady, see “If
the Light
Is On Steady’’ following.
If the light continues to flash, when it is safe to do
so,
stop the vehicle. Find a safe place to park your vehicle.
Turn the key off, wait at least
10 seconds and restart the
engine. If the light remains
on steady, see “If the Light
Is On Steady’’ following. If the light is still flashing,
follow the previous steps, and drive the vehicle to your
dealer or qualified service center for service.
2-74