change key battery CADILLAC ELDORADO 1997 10.G Owners Manual
[x] Cancel search | Manufacturer: CADILLAC, Model Year: 1997, Model line: ELDORADO, Model: CADILLAC ELDORADO 1997 10.GPages: 361, PDF Size: 22.85 MB
Page 70 of 361
Downloaded from www.Manualslib.com manuals search engine e
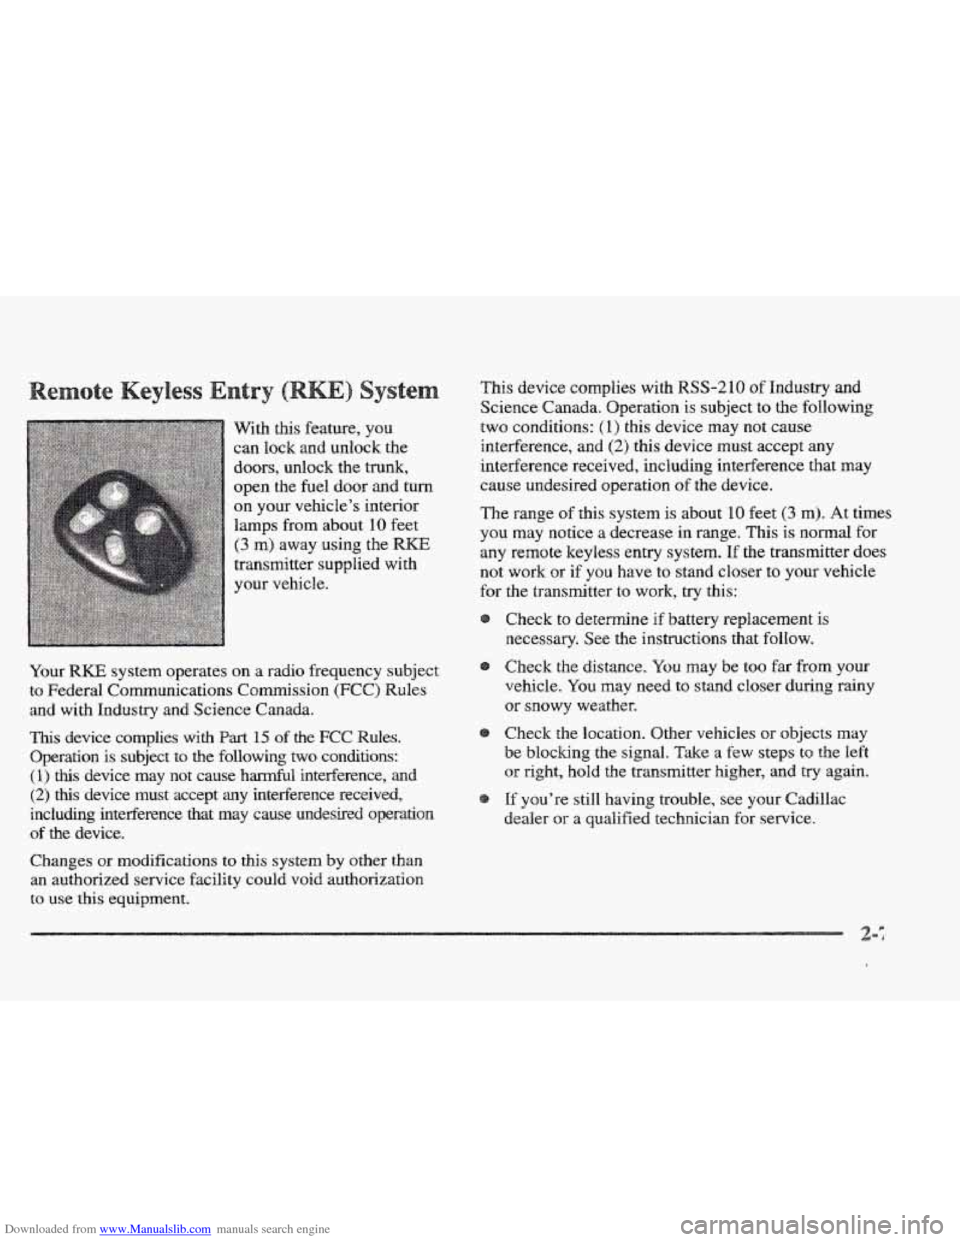
With this feature, you
can lock and unlock the
doors, un%ock the trunk,
open the fuel door and turn
on your vehicle’s interior
lamps from about
10 feet
(3 m) away using the RlKE
transmitter supplied with
your vehicle.
Your
RKE system operates on a radio frequency subject
to Federal Communications Commission (FCC) Rules
and with Industry and Science Canada.
This device complies with Part 15 of the FCC Rules.
Operation is subject
to the following two conditions:
(1) this device may not cause hml interference, and
(2) this device must accept any interference received,
including interference that
may cause undesired operation
of the device.
Changes or modifications
to this system by other than
an authorized service facility could void authorization
to use this equipment.
This device complies with RSS-210 of Industry and
Science Canada. Operation is subject to the following
two conditions: (1) this device rnay not cause
interference, and
(2) this device must accept any
interference received, including interference that may
cause undesired operation
of the device.
The range of this system is about 10 feet (3 rn). At times
you may notice a decrease in range. This is
norrnal for
any remote keyless entry system. If the transmitter does
not work 81- if you have to stand closer to your vehicle
for
the transmitter to work, try this:
Check to determine if battery replacement is
necessary. See the instructions that follow.
Check the distance. You may be too far from your
vehicle. YOU may need to stand closer during rainy
or
snowy weather.
Check the location. Other vehicles
81- objects rnay
be blocking the signal.
Fdke a few steps to the left
or right, hold the transmitter higher, and try again.
If you’re still having trouble, see your Cadillac
dealer
QP a qualified technician for service.
Page 73 of 361
Downloaded from www.Manualslib.com manuals search engine To begin programming, check the back of the RKE
transmitter to verify that the correct driver is selected.
Press the
INFORMATION (INFO) and RESET (INFO
RESET) buttons at the same time for about two seconds.
As mentioned, memory recall is the fourth feature to
appear. To “skip” past the first three personalization
features, press the
INFORMATION (INFO) button.
When
REMOTE RECALL MEMORY appears, the
driver is able to recall memory settings when
the unlock
button on the
RKE transmitter is pressed with the
ignition in
LOCK. Press the TRIP SET (TRIP RESET)
button to select or press the RESET (INFO RESET)
button to answer no and to continue on to the next
prompt.
(FEATURE ON displays when a yes response
is made and FEATURE OFF shows when a no response
is made.)
If a no response was made, the KEY IN RECALL
MEMORY prompt will show next. This choice recalls
memory settings when the key is placed
in your
vehicle’s ignition.
A yes or no response is required.
For a list
of the other personalization features available,
see “Memory and Personalization Features” later
in
this section. Each
RKE transmitter is coded
to prevent another
transmitter from unlocking your vehicle. If
a transmitter
is lost or stolen,
a replacement can be purchased through
your dealer. Once your dealer has coded the new
transmitter, the lost transmitter will
not unlock your
vehicle. Each vehicle can have only two transmitters
matched to it.
Under
normal use, the battery in your RKE transmitter
should Bast about four years.
You can tell the battery is weak if the transmitter won’t
work at the normal range in any location.
If you have to
get close
to your vehicle before the transmitter works,
it’s probably time to change the battery.
When replacing the battery, use care not to touch
any of the circuitry. Static from your body
transferred to these surfaces may damage
Page 84 of 361
Downloaded from www.Manualslib.com manuals search engine Move your shift lever to PARK (B) or NEUTRAL (N).
Your engine won’t start in any other position -- that’s a
safety feature. To restart when you’re already moving,
use NEUTRAL (N) only.
a e
Don9$ try t0 shift &O (P) if YOUr CadihC
is moving. If you do, you could damage the
transaxle. Shift to PARK (P) only when your
vehicle is stopped.
1. Without pushing the accelerator pedal, turn your
ignition key
to START. When the engine starts, let
go of the key. The idle speed will1 go down as your
engine gets warm.
2. If ,it doesn’t start right away, hold your key in
START for about three seconds at a time until your
engine starts.
Wait about 15 seconds between each
try to help avoid draining your battery.
3. If your engine still won’t start (or starts but then
stops),
it could be flooded with too much gasoline.
Try pushing your accelerator pedal all the way to thc
floor and holding it there as you hold the key in
START for about three seconds. If the vehicle starts
briefly but then stops again, do the same thing.
e 0
Your engine is designed 80 work with the
electronics
in your vehicle. Hf YOU add electrical
parts or accessories, you could change the way
the engine operates. Before adding electrical
equipment, check with your dealer. If YOU don’t,
your enginme might not perform properly.
the part of this manual that teh how t~ do it
Your Vehicle” in the Index.
IF you ever have to have your vehicle towed, see
without damaging your vehicle. See “Towing
Page 112 of 361
Downloaded from www.Manualslib.com manuals search engine FEATURE ON appears when a yes response is made
and
FEATURE OFF shows when a no response is made.
Since this
is the last personalization feature available, a
yes or no response
will end out of the DIC display.
Once the battery guard has been programmed, your
vehicle will enter the storage mode about
20 minutes
after the ignition key
has been turned off. The WKE will
also be disabled at this point. The RKE will reactivate
when a door
or the trunk is opened, however, if your
vehicle is left inactive for another
20 minutes, the RKE
will re-enter the storage mode.
Your vehicle will stay
in the storage mode until the
ignition key is turned out
of LOCK. The system will
“wake-up” when the door key is inserted
into the door,
however,
your vehicle will remain in the storage mode.
The ignition must be out of
LOCK before the battery
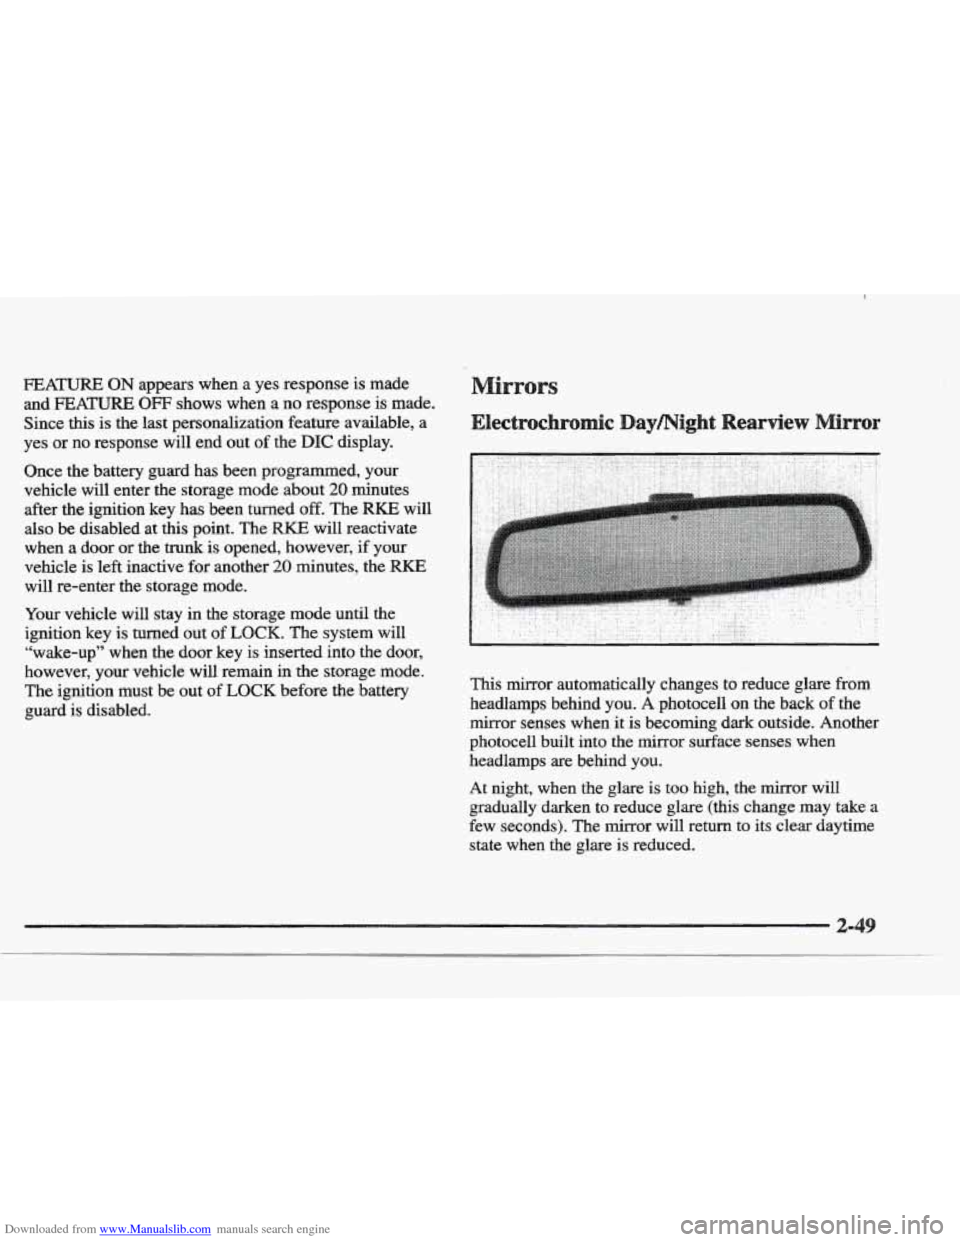
guard is disabled. This mirror automatically changes to reduce
glare from
headlamps behind you. A photocell on the back of the
mirror senses when it
is becoming dark outside. Another
photocell built into the mirror surface senses when
headlamps are behind you.
At night, when the glare is too high, the mirror will
gradually darken to reduce glare (this change
may take a
few seconds). The mirror will return
to its clear daytime
state
when the glare is reduced.
Page 144 of 361
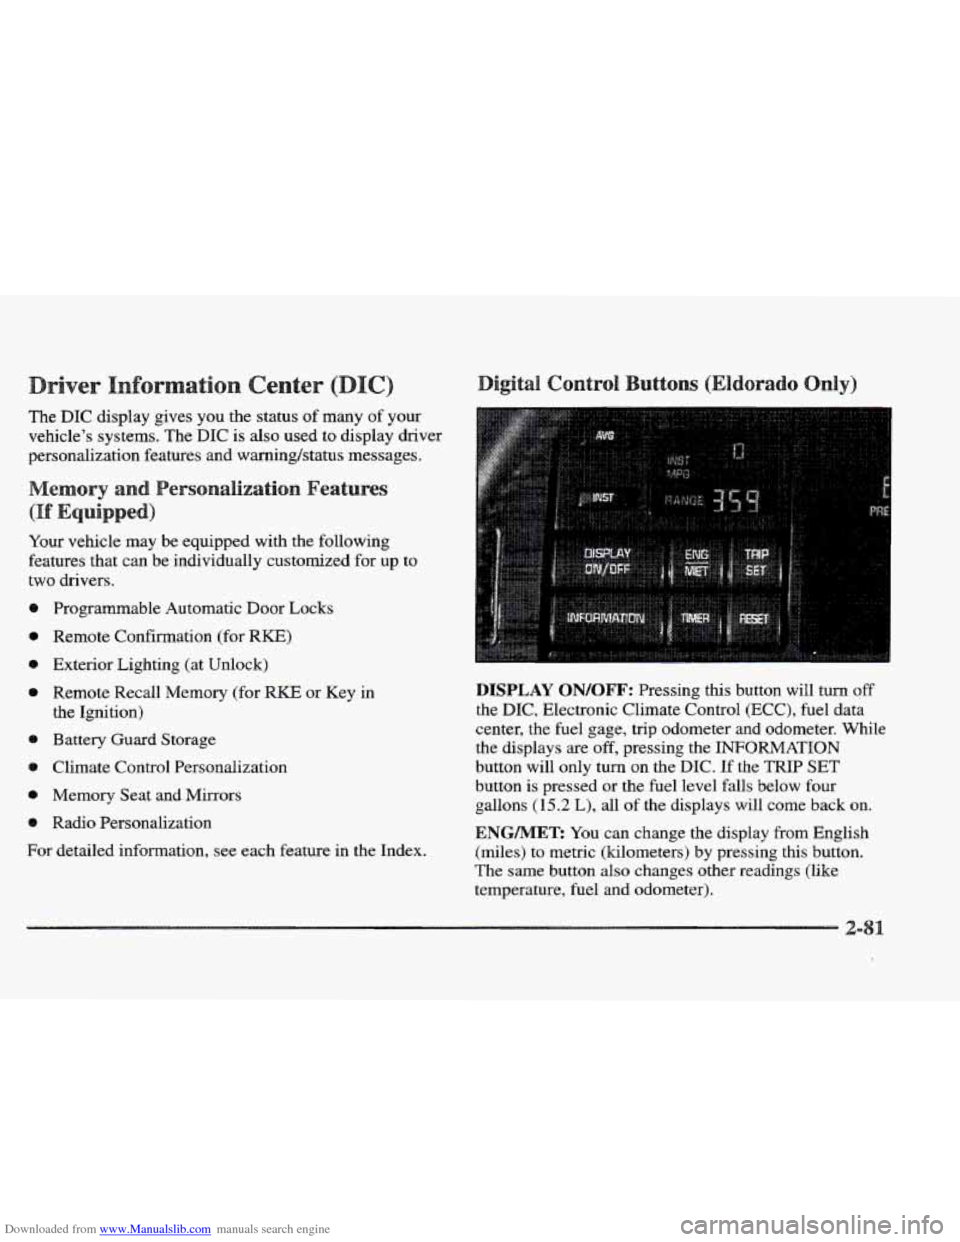
Downloaded from www.Manualslib.com manuals search engine river
The DIC display gives you the status of many of your
vehicle’s systems. The DIC is
also used to display driver
personalization features and warning/status messages.
Your vehicle may be equipped with the following
features that can be individually customized for up to
two drivers.
e Programmable Automatic Door Locks
e Remote Confirmation (for RKE)
e Exterior Lighting (at Unlock)
e Remote Recall Memory (for RKE or Key in
the Ignition)
e Battery Guard Storage
8 Climate Control Personalization
Memory Seat and Mirrors
Radio Personalization
For detailed information, see each feature in the Index.
DISPLAY QN/QFF: Pressing this button will turn off
the DIC, Electronic Climate Control (ECC), fuel data
center, the fuel gage, trip odometer and odometer. While
the displays
are off, pressing the INFORMATION
button will only turn
on the DIC. If the TRIP SET
button is pressed or the fuel level falls below four
gallons
(15.2 L), all of the displays will come back on.
ENGMET: You can change the display from English
(miles) to metric (kilometers) by pressing this button.
The same button also changes other readings (like
temperature, fuel and odometer).
Page 145 of 361
Downloaded from www.Manualslib.com manuals search engine TRIP SET By using this button, you can tell how far
you’ve gone since you last set the
TRIP SET back to
zero. To reset, press and hold the button
until zeros
appear. If your vehicle is domestic, the trip odometer
will return to zero after 999.9 miles
( 1 609 km). If your
vehicle is Canadian, the
trip odometer will return to zero
after
1 999.9 km (1,242 miles).
INFORMATION: Pressing this button repeatedly will
display the MPG
AVG, MPG INST, GAL FUEL USED,
AVG MPH, ENGINE
RPM, BATTERY VOLTS,
COOLANT TEMP and
OIL LIFE LEFT.
TIMER: This feature is like a stopwatch, in that
you can clock the time it takes to get from one point
to another.
To operate, press the TIMER button until
TIMER OFF
0O:OO:OO is displayed on the DIC. Each of the fields for
the hours, minutes and seconds are two numeric digits.
Once TIMER
OFF 0O:OO:OO is displayed, press the
TIMER button to start the timing feature. Press the
TIMER button again to stop
it. If you will be starting
and stopping your Cadillac, during
a trip for instance,
the
TIMER feature will automatically start timing where
it left
off when you last stopped. To reset it, press and
hold the
RESET button until the display reads TIMER
0O:OO:OO. Press the INFORMATION button to exit from
the TIMER function.
RESET Pressing this button will reset the MPG AVG,
MPG INST, GAL FUEL USED, AVG MPH and OIL
LIFE LEFT. Pressing RESET when a non-resettable
display appears
will cause a “recall” mode to occur.
When this happens, all DIC warning messages that have
been displayed since the ignition key was turned to
RUN will redisplay. If no messages were displayed, a
MONITORED SYSTEMS
OK message will appear.
MPG AVG (Reset): Press the INFORMATION button
to display the MPG
AVG (Average Fuel Economy), then
press and hold the
IRESET button until 0.0 MPG AVG
is displayed.
FUEL USED (Reset): Press the INFORMATION
button to display the
GAL FUEL USED on the DIC,
then press and hold the
RESET button until 0.0 GAL
FUEL USED is displayed.
AVG MPH (Reset): Press the INFORMATION button
to display the AVG
MPH (Average Speed), then press
and hold the RESET button until
0.0 AVG MPH
is displayed.
OIL LIFE LEFT (Reset): Press the INFORMATION
button to display the OIL LIFE LEFT, then press and
hold the
RESET button until 100% OIL LIFE LEFT is
displayed. (This only needs to be reset after you have
had the oil changed.)
Page 347 of 361
Downloaded from www.Manualslib.com manuals search engine attery ...................................... 6-30
Charging System Indicator Light
................. 2-7 1
Jump Starting
................................. 5-4
No Charge Message ........................... 2-85
Replacement, Remote Keyless Entry
.............. 2- 10
Volts High Message ........................... 2-85
Volts
Low Message ........................... 2-85
Battery Guard Storage
........................... 2-48
Battery Saver
.................................. 2-47
Exterior Lighting
............................. 2-47
Inadvertent Power
............................ 2-48
BBB Auto Line
................................ 7- 11
Better Business Bureau Mediation
.................. 7-1 1
Brake Adjustment
.................................. 6-29
Master Cylinder
.............................. 6-27
Replacing System
Parts ........................ 6-30
System Warning Light ......................... 2-72
Trailer
...................................... 4- 36
Transaxle Shift Interlock
....................... 2-3 1
Vacuum Problem Message ...................... 2-85
Wear
....................................... 6-2 9
Brakes, Anti-Lock ............................... 4-7
Braking ........................................ 4-6
Braking in Emergencies
.......................... 4- 10
Break-In, New Vehicle
.......................... 2-19
Brightness Control
.............................. 2-47
BTSI ......................................... 2-31
Bulb Replacement
.............................. 6-3 1
Warnings ................................ 5-4, 5-6
Fluid ....................................... 6-27
Parking
..................................... 2-26
Peddlravel ................................. 6-29
Capacities and Specifications .................... 6-45
Carbon Monoxide
.................... 2.32.4.29. 4.35
Cassette Tape Player
.................. 3.10.3.13. 3.17
Cassette Tape Player Care
........................ 3-26
Cellular Telephone
.............................. 2-58
Center Console Storage Area
...................... 2-56
Center Passenger Position
........................ 1-30
Central Door Unlocking System
.................... 2-4
Certitication Label
.............................. 4-31
Chains. Safety
................................. 4-36
Chains. Tire
................................... 6-45
Change Engine
Oil Message ...................... 2-85
Change Trans Fluid Message
...................... 2-85
Changing a Flat Tire ............................. 5-26
Charging System Indicator Light
................... 2-71
Check Brake Fluid Level Message
................. 2-86
Check Coolant Level Message ..................... 2-86
Check Fuel Gage Message
........................ 2-86
Check Oil Level Message ........................ 2-86
Check Washer Fluid Message ..................... 2-86
Checking Your Restraint Systems .................. 1-43
Chemical Paint Spotting
.......................... 6-52
Child Restraints
................................ 1-33
Securing in
a Rear Outside Seat Position ........... 1-34
Securing in the Center Rear Seat Position
.......... 1-36
Securing in
the Right Front Seat Position .......... 1-38
Wheretoput
................................ l-33
Center High-Mounted Stoplamp. Bulb Replacement ... 4-35
. TopStrap ................................... 1-34
Chrome Wheels. Cleaning
........................ 6-51
Cigarette Lighter
............................... 2-57
CHMSL ...................................... 6.35
Circuit Breakers
and Fuses ....................... 6-58
-2