stop start CADILLAC ESCALADE 2010 3.G Owners Manual
[x] Cancel search | Manufacturer: CADILLAC, Model Year: 2010, Model line: ESCALADE, Model: CADILLAC ESCALADE 2010 3.GPages: 616, PDF Size: 39.41 MB
Page 29 of 616
Note:The Tire Pressure Monitor can alert you aboutlow tire pressure, but it does not replace normal monthlytire maintenance. It is the driver’s responsibility tomaintain correct tire pressures.
SeeTire Pressure Monitor Systemon page 7!67andTire Pressure Monitor Operation on page 7!68.
Engine Oil Life System
The engine oil life system calculates engine oil lifebased on vehicle use and displays a DIC messagewhen it is necessary to change the engine oil and filter.The oil life system should be reset to 100% onlyfollowing an oil change.
Resetting the Oil Life System
1. Display the OIL LIFE REMAINING on the DIC.
2. Press and hold the SET/RESET button on the DICfor more than five seconds. The oil life will changeto 100%.
SeeEngine Oil Life System on page 7!20.
Fuel E85 (85% Ethanol)
This vehicle has a yellow fuel cap and can use eitherunleaded gasoline or ethanol fuel containing up to85% ethanol (E85). SeeGasoline Octaneo n p a g e 7!8andFuel E85 (85% Ethanol) on page 7!9.
Driving for Better Fuel Economy
Driving habits can affect fuel mileage. Here are somedriving tips to get the best fuel economy possible.
.Avoid fast starts and accelerate smoothly.
.Brake gradually and avoid abrupt stops.
.Avoid idling the engine for long periods of time.
.When road and weather conditions areappropriate, use cruise control, if equipped.
.Always follow posted speed limits or drive moreslowly when conditions require.
.Keep vehicle tires properly inflated.
.Combine several trips into a single trip.
.Replace the vehicle's tires with the same TPCSpec number molded into the tire's sidewall nearthe size.
.Follow recommended scheduled maintenance.
1-23
Page 72 of 616

If the shoulder portion of a passenger belt with afree!falling latch plate is pulled out all the way, thechild restraint locking feature may be engaged.If this happens, let the belt go back all the wayand start again.
Engaging the child restraint locking featurein the right front seating position may affect thepassenger sensing system, if equipped. SeePassenger Sensing Systemon page 2!84formore information.
If the belt stops before it reaches the buckle, forlap!shoulder belts with cinching latch plates, tilt thelatch plate and keep pulling the safety belt until itcan be buckled.
2-40
Page 132 of 616

If your vehicle has the remote start feature, theRKE transmitter functions will have an increased rangeof operation. However, the range may be less while thevehicle is running.
There are other conditions which can affect theperformance of the transmitter, seeRemote KeylessEntry (RKE) Systemo n p a g e 3!4for additionalinformation.
/(Remote Start) :This button will be on theRKE transmitter if you have remote start.
To start the vehicle using the remote start feature:
1. Aim the transmitter at the vehicle.
2. Press and release the transmitter's lock button.The vehicle's doors will lock. Immediately pressand hold the transmitter's remote start button untilthe turn signal lights flash. If you cannot see thevehicle's lights, press and hold the remote startbutton for two to four seconds. Pressing the remotestart button again after the vehicle has started willturn the engine off.
When the vehicle starts, the parking lamps will turnon and remain on while the vehicle is running.
If the vehicle is left running it will automatically shutoff after 10 minutes unless a time extension hasbeen done.
3. If it is the first remote start since the vehicle hasbeen driven, repeat these steps, while the engineis still running, to extend the engine running timeby 10 minutes. Remote start can be extendedone time.
After entering the vehicle during a remote start, insertand turn the key to ON/RUN to drive the vehicle.
To manually shut off a remote start, do any of thefollowing:
.Aim the RKE transmitter at the vehicle and pressthe remote start button until the parking lampsturn off.
.Turn on the hazard warning flashers.
.Turn the ignition switch on and then off.
The vehicle can be remote started two separate timesbetween driving sequences. The engine will run for10 minutes after each remote start.
Or, you can extend the engine run time by another10 minutes within the first 10 minute remote start timeframe, and before the engine stops.
3-8
Page 147 of 616
If a locked driver door is opened without using theRKE transmitter, a ten second pre-alarm will occur.The horn will chirp and the lights will flash. If the key isnot placed in the ignition and turned to START or thedoor is not unlocked by pressing the unlock button onthe RKE transmitter during the ten second pre-alarm,the alarm will go off. Your vehicle's headlamps will flashand the horn will sound for about 30 seconds, then willturn off to save the battery power.
The theft-deterrent system will not activate if the doorsare locked with the vehicle's key or the manual doorlock. It activates only if you use the power door lockswitch with the door open or the RKE transmitter.You should also remember that you can start yourvehicle with the correct ignition key if the alarm hasbeen set off.
To avoid setting off the alarm by accident:
.If you do not want to activate the theft-deterrentsystem, the vehicle should be locked with the doorkey after the doors are closed.
.Always unlock the doors with the RKE transmitter.Unlocking a door any other way will set off thealarm if it is armed.
If you set off the alarm by accident, press unlock on theRKE transmitter or place the key in the ignition and turnit to START to turn off the alarm. The alarm will not stopif you try to unlock a door any other way.
Testing the Alarm
To test the alarm:
1. From inside the vehicle, lower the driver's windowand open the driver's door.
2. Activate the system by locking the doors with thepower door lock switch while the door is open,or with the RKE transmitter.
3. Get out of the vehicle, close the door and wait forthe security light to go out.
4. Then reach in through the window, unlock thedoor with the manual door lock and open the door.This should set off the alarm.
While the alarm is set, the power door unlock switch willnot work.
If the alarm does not sound when it should but theheadlamps flash, check to see if the horn works.The horn fuse may be blown. To replace the fuse, seeFuses and Circuit Breakers on page 7!108.
If the alarm does not sound or the headlamps donot flash, the vehicle should be serviced by yourdealer/retailer.
3-23
Page 150 of 616
Starting and Operating Your
Vehicle
New Vehicle Break-In
Notice:The vehicle does not need an elaboratebreak-in. But it will perform better in the long runif you follow these guidelines:
.Keep your speed at 55 mph (88 km/h) or less
for the first 500 miles (805 km).
.Do not drive at any one constant speed, fast
or slow, for the first 500 miles (805 km).
Do not make full-throttle starts. Avoid
downshifting to brake or slow the vehicle.
.Avoid making hard stops for the first
200 miles (322 km) or so. During this time
the new brake linings are not yet broken in.
Hard stops with new linings can mean
premature wear and earlier replacement.
Follow this breaking-in guideline every time
you get new brake linings.
.Do not tow a trailer during break-in. See
Towing a Traileron page 6!42for the trailer
towing capabilities of the vehicle and more
information.
Following break!in, engine speed and load can begradually increased.
3-26
Page 153 of 616
Starting the Engine
If the vehicle is a Two-mode Hybrid, see the Two-modeHybrid manual for more information.
Move the shift lever to P (Park) or N (Neutral). Theengine will not start in any other position. To restart theengine when the vehicle is are already moving, useN (Neutral) only.
Notice:Do not try to shift to P (Park) if thevehicle is moving. If you do, you could damagethe transmission. Shift to P (Park) only when thevehicle is stopped.
Starting Procedure
1. With your foot off the accelerator pedal, turn theignition key to START. When the engine starts,let go of the key. The idle speed will go down asthe engine gets warm. Do not race the engineimmediately after starting it. Operate the engineand transmission gently to allow the oil to warm upand lubricate all moving parts.
The vehicle has a Computer-Controlled CrankingSystem. This feature assists in starting the engineand protects components. If the ignition key isturned to the START position, and then releasedwhen the engine begins cranking, the engine willcontinue cranking for a few seconds or until thevehicle starts. If the engine does not start and thekey is held in START for many seconds, crankingwill be stopped after 15 seconds to preventcranking motor damage. To prevent gear damage,this system also prevents cranking if the engineis already running. Engine cranking can bestopped by turning the ignition switch to theACC/ACCESSORY or LOCK/OFF position.
Notice:Cranking the engine for long periods oftime, by returning the key to the START positionimmediately after cranking has ended, can overheatand damage the cranking motor, and drain thebattery. Wait at least 15 seconds between each try,to let the cranking motor cool down.
3-29
Page 154 of 616
2. If the engine does not start after 5!10 seconds,especially in very cold weather (below 0°F or!18°C), it could be flooded with too much gasoline.Try pushing the accelerator pedal all the way to thefloor and holding it there as you hold the key inSTART for up to a maximum of 15 seconds. Wait atleast 15 seconds between each try, to allow thecranking motor to cool down. When the enginestarts, let go of the key and accelerator. If thevehicle starts briefly but then stops again, do thesame thing. This clears the extra gasoline from theengine. Do not race the engine immediately afterstarting it. Operate the engine and transmissiongently until the oil warms up and lubricates allmoving parts.
Notice:The engine is designed to work with theelectronics in the vehicle. If you add electricalparts or accessories, you could change the waythe engine operates. Before adding electricalequipment, check with your dealer/retailer. If youdo not, the engine might not perform properly.Any resulting damage would not be covered bythe vehicle warranty.
Adjustable Throttle and Brake Pedal
The vehicle has adjustable throttle and brake pedalsthat allow you change their positions.
The feature will not operate when the vehicle is inR (Reverse) or while using the cruise control.
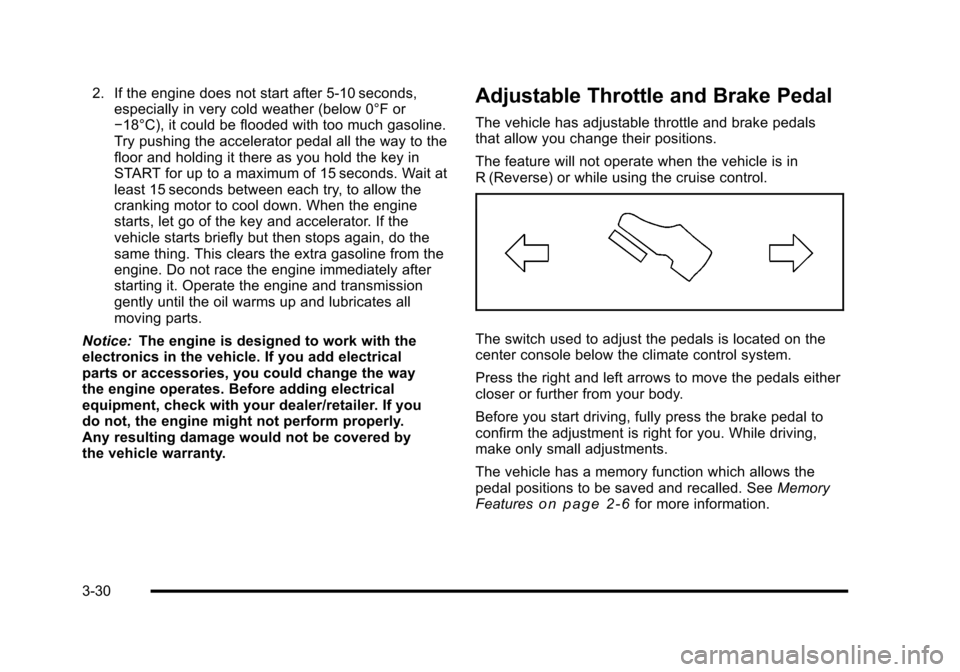
The switch used to adjust the pedals is located on thecenter console below the climate control system.
Press the right and left arrows to move the pedals eithercloser or further from your body.
Before you start driving, fully press the brake pedal toconfirm the adjustment is right for you. While driving,make only small adjustments.
The vehicle has a memory function which allows thepedal positions to be saved and recalled. SeeMemoryFeatureso n p a g e 2!6for more information.
3-30
Page 156 of 616
Active Fuel Management™
Vehicles with V8 engines may have Active FuelManagement™. This system allows the engine tooperate on either all or half of its cylinders, dependingon the driving conditions.
When less power is required, such as cruising at aconstant vehicle speed, the system will operate in thehalf cylinder mode, allowing the vehicle to achievebetter fuel economy. When greater power demands arerequired, such as accelerating from a stop, passing,or merging onto a freeway, the system will maintainfull-cylinder operation.
If the vehicle has an Active Fuel Management™indicator, seeDIC Operation and Displaysonpage 4!41for more information on using this display.
Automatic Transmission Operation
If the vehicle is a Two-mode Hybrid, see the Two-modeHybrid manual for more information.
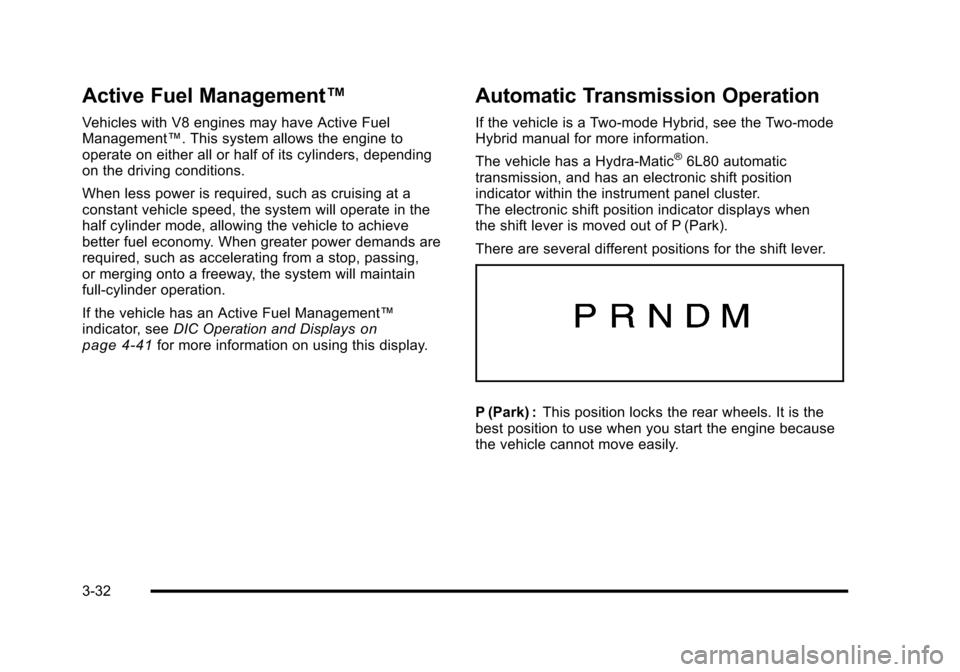
The vehicle has a Hydra-Matic®6L80 automatictransmission, and has an electronic shift positionindicator within the instrument panel cluster.The electronic shift position indicator displays whenthe shift lever is moved out of P (Park).
There are several different positions for the shift lever.
P (Park) :This position locks the rear wheels. It is thebest position to use when you start the engine becausethe vehicle cannot move easily.
3-32
Page 158 of 616
N (Neutral) :In this position, the engine does notconnect with the wheels. To restart when you arealready moving, use N (Neutral) only. Also, useN (Neutral) when the vehicle is being towed.
{WARNING:
Shifting into a drive gear while the engine is
running at high speed is dangerous. Unless your
foot is firmly on the brake pedal, the vehicle could
move very rapidly. You could lose control and hit
people or objects. Do not shift into a drive gear
while the engine is running at high speed.
Notice:Shifting out of P (Park) or N (Neutral) withthe engine running at high speed may damage thetransmission. The repairs would not be covered bythe vehicle warranty. Be sure the engine is notrunning at high speed when shifting the vehicle.
D (Drive) :This position is for normal driving. It providesthe best fuel economy. If you need more power forpassing, and you are:
.Going less than about 35 mph (55 km/h), push theaccelerator pedal about halfway down.
.Going about 35 mph (55 km/h) or more, push theaccelerator all the way down.
By doing this, the vehicle shifts down to the next gearand has more power.
D (Drive) can be used when towing a trailer, carrying aheavy load, driving on steep hills, or for off-road driving.You may want to shift the transmission to a lower gearselection if the transmission shifts too often.
Downshifting the transmission in slippery roadconditions could result in skidding, see Skidding underLoss of Control on page 6!12.
M (Manual Mode) :This position lets drivers selectthe range of gears appropriate for current drivingconditions. See Driver Shift Control (DSC) later inthis section.
Notice:Spinning the tires or holding the vehicle inone place on a hill using only the accelerator pedalmay damage the transmission. The repair will not becovered by the vehicle warranty. If you are stuck, donot spin the tires. When stopping on a hill, use thebrakes to hold the vehicle in place.
The vehicle has a shift stabilization feature thatadjusts the transmission shifting to the currentdriving conditions in order to reduce rapid upshiftsand downshifts. This shift stabilization feature isdesigned to determine, before making an upshift, ifthe engine will be able to maintain vehicle speed by
3-34
Page 180 of 616

Do not use this system with any garage door openerthat does not have the stop and reverse feature. Thisincludes any garage door opener model manufacturedbefore April 1, 1982.
Read the instructions completely before attempting toprogram the transmitter. Because of the steps involved,it may be helpful to have another person assist withprogramming the transmitter.
Be sure to keep the original remote control transmitterfor use in other vehicles, as well as, for futureprogramming. Only the original remote controltransmitter is needed for Fixed Code programming.The programmed buttons should be erased when thevehicle is sold or the lease ends. See“ErasingUniversal Home Remote Buttons”later in this section.
Park the vehicle outside of the garage whenprogramming a garage door. Be sure that people andobjects are clear of the garage door or gate that isbeing programmed.
Programming Universal Home
Remote—Rolling Code
For questions or help programming the Universal HomeRemote System, call 1-866-572-2728 or go tolearcar2u.com.
Most garage door openers sold after 1996 areRolling Code units.
Programming a garage door opener involvestime-sensitive actions, so read the entire procedurebefore starting. Otherwise, the device will time out andthe procedure will have to be repeated.
To program up to three devices:
1. From inside the vehicle, press the two outsidebuttons at the same time for one to two seconds,and immediately release them.
3-56