battery CADILLAC ESCALADE 2015 4.G Owner's Manual
[x] Cancel search | Manufacturer: CADILLAC, Model Year: 2015, Model line: ESCALADE, Model: CADILLAC ESCALADE 2015 4.GPages: 435, PDF Size: 4.59 MB
Page 185 of 435
Black plate (2,1)Cadillac Escalade Owner Manual (GMNA-Localizing-U.S./Canada/Mexico-
7063683) - 2015 - crc - 2/24/14
6-2 Lighting
For vehicles first sold in Canada,
the off position only works when the
vehicle is shifted into the P (Park)
position.
AUTO (Automatic):Automatically
turns the exterior lamps on and off,
depending on outside lighting.
;(Parking Lamps): Turns on the
parking lamps including all lamps,
except the headlamps.
2(Headlamps): Turns on the
headlamps together with the parking
lamps and instrument panel lights.
When the headlamps are turned on
while the vehicle is on, the
headlamps will turn off automatically
10 minutes after the ignition is
turned off. When the headlamps are
turned on while the vehicle is off,
the headlamps will stay on for
10 minutes before automatically
turning off to prevent the battery
from being drained. Turn the
headlamp control to off and then
back to the headlamp on position to
make the headlamps stay on for an
additional 10 minutes.
IntelliBeam®System
If equipped, this system turns the
vehicle's high-beam headlamps on
and off according to surrounding
traffic conditions.
The system turns the high-beam
headlamps on when it is dark
enough and there is no other traffic
present.
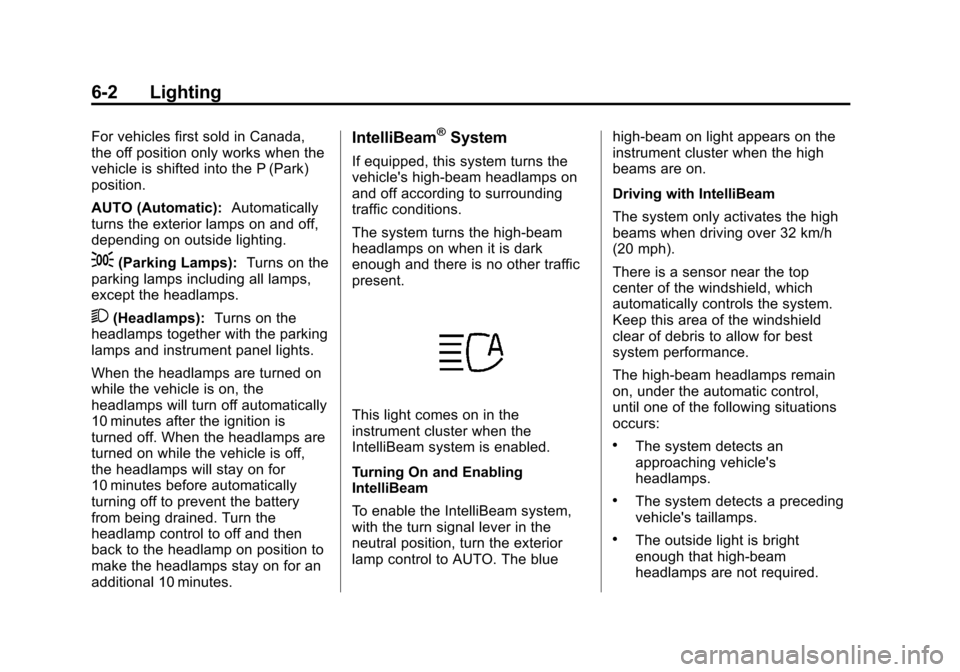
This light comes on in the
instrument cluster when the
IntelliBeam system is enabled.
Turning On and Enabling
IntelliBeam
To enable the IntelliBeam system,
with the turn signal lever in the
neutral position, turn the exterior
lamp control to AUTO. The blue high-beam on light appears on the
instrument cluster when the high
beams are on.
Driving with IntelliBeam
The system only activates the high
beams when driving over 32 km/h
(20 mph).
There is a sensor near the top
center of the windshield, which
automatically controls the system.
Keep this area of the windshield
clear of debris to allow for best
system performance.
The high-beam headlamps remain
on, under the automatic control,
until one of the following situations
occurs:
.The system detects an
approaching vehicle's
headlamps.
.The system detects a preceding
vehicle's taillamps.
.The outside light is bright
enough that high-beam
headlamps are not required.
Page 192 of 435
Black plate (9,1)Cadillac Escalade Owner Manual (GMNA-Localizing-U.S./Canada/Mexico-
7063683) - 2015 - crc - 2/24/14
Lighting 6-9
Exit Lighting
The headlamps, taillamps, parking
lamps, back-up lamps, license plate
lamps, and interior lamps come on
at night, or in areas with limited
lighting, when the driver door is
opened after the ignition is turned
off. The exterior lamps and interior
lamps remain on after the door is
closed for a set amount of time,
then automatically turn off.
The exterior lamps turn off
immediately by turning the exterior
lamp control off.
This feature can be changed. See
Vehicle Personalization on
page 5-45.
Battery Load
Management
The vehicle has Electric Power
Management (EPM), which
estimates the battery's temperature
and state of charge. It then adjusts
the voltage for best performance
and extended life of the battery.When the battery's state of charge
is low, the voltage is raised slightly
to quickly bring the charge back up.
When the state of charge is high,
the voltage is lowered slightly to
prevent overcharging. The voltmeter
gauge or the voltage display on the
Driver Information Center (DIC),
if equipped, may show the voltage
moving up or down. This is normal.
If there is a problem, an alert will be
displayed.
The battery can be discharged at
idle if the electrical loads are very
high. This is true for all vehicles.
This is because the generator
(alternator) may not be spinning fast
enough at idle to produce all the
power that is needed for very high
electrical loads.
A high electrical load occurs when
several of the following are on, such
as: headlamps, high beams, fog
lamps, rear window defogger,
climate control fan at high speed,
heated seats, engine cooling fans,
trailer loads, and loads plugged into
accessory power outlets.EPM works to prevent excessive
discharge of the battery. It does this
by balancing the generator's output
and the vehicle's electrical needs.
It can increase engine idle speed to
generate more power, whenever
needed. It can temporarily reduce
the power demands of some
accessories.
Normally, these actions occur in
steps or levels, without being
noticeable. In rare cases at the
highest levels of corrective action,
this action may be noticeable to the
driver. If so, a DIC message might
be displayed and it is recommended
that the driver reduce the electrical
loads as much as possible. See
Battery Voltage and Charging
Messages on page 5-34.Battery Power Protection
This feature shuts off the dome and
reading lamps if they are left on for
more than 10 minutes when the
ignition is off. This will keep the
battery from running down.
Page 218 of 435
Black plate (13,1)Cadillac Escalade Owner Manual (GMNA-Localizing-U.S./Canada/Mexico-
7063683) - 2015 - crc - 2/24/14
Driving and Operating 9-13
If it takes some time for help to
arrive, now and then when you run
the engine, push the accelerator
pedal slightly so the engine runs
faster than the idle speed. This
keeps the battery charged to restart
the vehicle and to signal for help
with the headlamps. Do this as little
as possible to save fuel.
If the Vehicle Is Stuck
Slowly and cautiously spin the
wheels to free the vehicle when
stuck in sand, mud, ice, or snow.
See“Rocking the Vehicle to Get It
Out” later in this section.
The Traction Control System (TCS)
can often help to free a stuck
vehicle. See Traction Control/
Electronic Stability Control on
page 9-38. If TCS cannot free the
vehicle, see “Rocking the Vehicle to
Get it Out” following.
{Warning
If the vehicle's tires spin at high
speed, they can explode, and you
or others could be injured. The
vehicle can overheat, causing an
engine compartment fire or other
damage. Spin the wheels as little
as possible and avoid going
above 56 km/h (35 mph).
For information about using tire
chains on the vehicle, see Tire
Chains on page 10-62.
Rocking the Vehicle to Get
It Out
Turn the steering wheel left and
right to clear the area around the
front wheels. For four-wheel-drive
vehicles, shift into Four-Wheel Drive
High. Turn the TCS off. Shift back
and forth between R (Reverse) and
a forward gear, spinning the wheels
as little as possible. To prevent
transmission wear, wait until the
wheels stop spinning before shifting gears. Slowly spinning the wheels in
the forward and reverse directions
causes a rocking motion that could
free the vehicle. If that does not get
the vehicle out after a few tries, it
might need to be towed out. See
Towing the Vehicle on page 10-76.
Vehicle Load Limits
It is very important to know how
much weight your vehicle can
carry. This weight is called the
vehicle capacity weight and
includes the weight of all
occupants, cargo, and all
nonfactory-installed options.
Two labels on your vehicle show
how much weight it was
designed to carry, the Tire and
Loading Information label and
the Certification/Tire label.
Page 226 of 435
Black plate (21,1)Cadillac Escalade Owner Manual (GMNA-Localizing-U.S./Canada/Mexico-
7063683) - 2015 - crc - 2/24/14
Driving and Operating 9-21
If the vehicle must be shut off in an
emergency:
1. Brake using a firm and steadypressure. Do not pump the
brakes repeatedly. This may
deplete power assist, requiring
increased brake pedal force.
2. Shift the vehicle to N (Neutral). This can be done while the
vehicle is moving. After shifting
to N (Neutral), firmly apply the
brakes and steer the vehicle to a
safe location.
3. Come to a complete stop, shift to P (Park), and turn the ignition
to OFF. On vehicles with an
automatic transmission, the shift
lever must be in P (Park) to turn
the ignition switch to the OFF
position.
4. Set the parking brake. See Parking Brake on page 9-35.{Warning
Turning off the vehicle while
moving may cause loss of power
assist in the brake and steering
systems and disable the airbags.
While driving, only shut the
vehicle off in an emergency.
If the vehicle cannot be pulled over,
and must be shut off while driving,
press and hold the ENGINE START/
STOP button for longer than
two seconds, or press twice in
five seconds.
ACC/ACCESSORY (Amber
Indicator Light): This mode allows
some electrical accessories to be
used when the engine is off.
With the ignition off, pressing the
button one time without the brake
pedal applied will place the ignition
system in ACC/ACCESSORY. The ignition will switch from ACC/
ACCESSORY to OFF after
five minutes to prevent battery
rundown.
ON/RUN/START (Green Indicator
Light):
This mode is for driving and
starting. With the ignition off, and
the brake pedal applied, pressing
the button once will place the
ignition system in ON/RUN/START.
Once engine cranking begins,
release the button. Engine cranking
will continue until the engine starts.
See Starting the Engine on
page 9-22. The ignition will then
remain in ON/RUN.
Service Only Mode
This power mode is available for
service and diagnostics, and to
verify the proper operation of the
malfunction indicator lamp as may
be required for emission inspection
purposes. With the vehicle off, and
the brake pedal not applied,
pressing and holding the button for
more than five seconds will place
the vehicle in Service Only Mode.
Page 227 of 435
Black plate (22,1)Cadillac Escalade Owner Manual (GMNA-Localizing-U.S./Canada/Mexico-
7063683) - 2015 - crc - 2/24/14
9-22 Driving and Operating
The instruments and audio systems
will operate as they do in ON/RUN,
but the vehicle will not be able to be
driven. The engine will not start in
Service Only Mode. Press the
button again to turn the vehicle off.
Starting the Engine
Move the shift lever to P (Park) or
N (Neutral). The engine will not start
in any other position. To restart the
engine when the vehicle is already
moving, use N (Neutral) only.
{Caution
Do not try to shift to P (Park) if the
vehicle is moving. If you do, you
could damage the transmission.
Shift to P (Park) only when the
vehicle is stopped.
{Caution
If you add electrical parts or
accessories, you could change
the way the engine operates. Any
resulting damage would not be
covered by the vehicle warranty.
SeeAdd-On Electrical Equipment
on page 9-80.
Starting Procedure (Keyless
Access)
1. With the Keyless Access system, the RKE transmitter
must be in the vehicle. Press the
ENGINE START/STOP button
with the brake pedal applied.
When the engine begins
cranking, let go of the button.
The idle speed will go down as
the engine gets warm. Do not
race the engine immediately
after starting it.
If the RKE transmitter is not in
the vehicle, if there is
interference, or the RKE battery is low, the Driver Information
Center (DIC) will display a
message. See
Key and Lock
Messages on page 5-37.
{Caution
Cranking the engine for long
periods of time, by returning the
ignition to the START position
immediately after cranking has
ended, can overheat and damage
the cranking motor, and drain the
battery. Wait at least 15 seconds
between each try, to let the
cranking motor cool down.
2. If the engine does not start after five to 10 seconds, especially in
very cold weather (below −18°C
or 0°F), it could be flooded with
too much gasoline. Try pushing
the accelerator pedal all the way
to the floor and holding it there
as you press the ENGINE
START/STOP button, for up to a
maximum of 15 seconds. Wait at
least 15 seconds between each
Page 230 of 435
Black plate (25,1)Cadillac Escalade Owner Manual (GMNA-Localizing-U.S./Canada/Mexico-
7063683) - 2015 - crc - 2/24/14
Driving and Operating 9-25
you. If you can, it means that the
shift lever was not fully locked into
P (Park).
Torque Lock
If you are parking on a hill and you
do not shift the transmission into
P (Park) properly, the weight of the
vehicle may put too much force on
the parking pawl in the
transmission. You may find it difficult
to pull the shift lever out of P (Park).
This is called torque lock. To
prevent torque lock, set the parking
brake and then shift into P (Park)
properly before you leave the driver
seat. To find out how, seeShifting
Into Park on page 9-24.
When you are ready to drive, move
the shift lever out of P (Park) before
you release the parking brake.
If torque lock does occur, you may
need to have another vehicle push
yours a little uphill to take some of
the pressure from the parking pawl
in the transmission. You will then be
able to pull the shift lever out of
P (Park).
Shifting out of Park
This vehicle is equipped with an
electronic shift lock release system.
The shift lock release is designed to
prevent movement of the shift lever
out of P (Park), unless the ignition is
in ON/RUN and the regular brake
pedal is applied.
The shift lock release is always
functional except in the case of an
uncharged or low voltage (less than
9 volt) battery.
If the vehicle has an uncharged
battery or a battery with low voltage,
try charging or jump starting the
battery. See Jump Starting on
page 10-73.
To shift out of P (Park):
1. Apply the brake pedal.
2. Move the shift lever to the desired position. If you still are unable to shift out of
P (Park):
1. Ease the pressure on the shift
lever.
2. While holding down the brake pedal, push the shift lever all the
way into P (Park).
3. Move the shift lever to the desired position.
If you are still having a problem
shifting, then have the vehicle
serviced soon.
Parking over Things
That Burn
{Warning
Things that can burn could touch
hot exhaust parts under the
vehicle and ignite. Do not park
over papers, leaves, dry grass,
or other things that can burn.
Page 241 of 435
Black plate (36,1)Cadillac Escalade Owner Manual (GMNA-Localizing-U.S./Canada/Mexico-
7063683) - 2015 - crc - 2/24/14
9-36 Driving and Operating
Electric Parking Brake
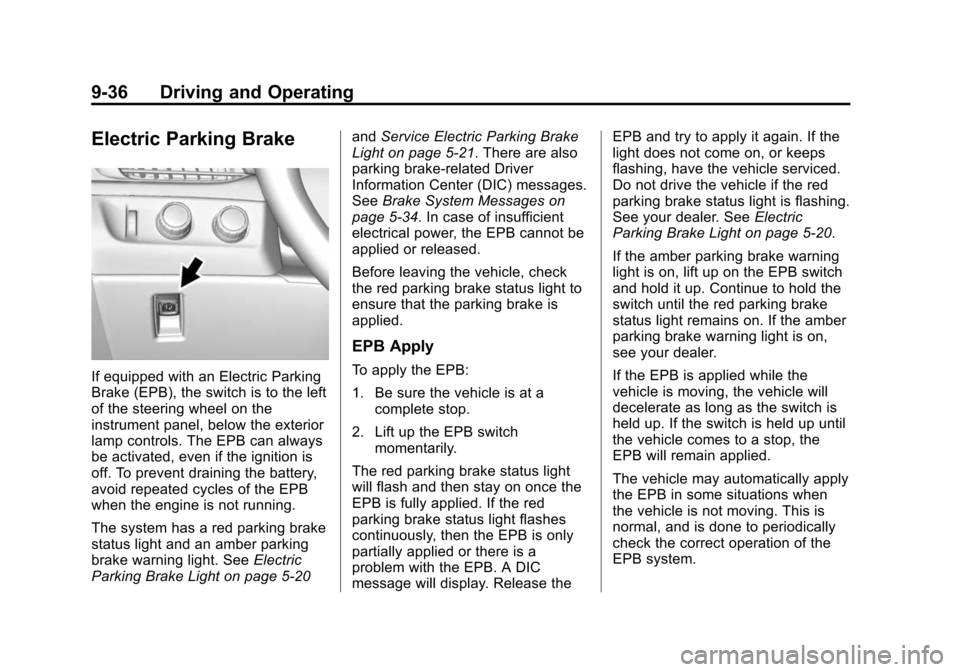
If equipped with an Electric Parking
Brake (EPB), the switch is to the left
of the steering wheel on the
instrument panel, below the exterior
lamp controls. The EPB can always
be activated, even if the ignition is
off. To prevent draining the battery,
avoid repeated cycles of the EPB
when the engine is not running.
The system has a red parking brake
status light and an amber parking
brake warning light. SeeElectric
Parking Brake Light on page 5-20 and
Service Electric Parking Brake
Light on page 5-21. There are also
parking brake-related Driver
Information Center (DIC) messages.
See Brake System Messages on
page 5-34. In case of insufficient
electrical power, the EPB cannot be
applied or released.
Before leaving the vehicle, check
the red parking brake status light to
ensure that the parking brake is
applied.
EPB Apply
To apply the EPB:
1. Be sure the vehicle is at a
complete stop.
2. Lift up the EPB switch momentarily.
The red parking brake status light
will flash and then stay on once the
EPB is fully applied. If the red
parking brake status light flashes
continuously, then the EPB is only
partially applied or there is a
problem with the EPB. A DIC
message will display. Release the EPB and try to apply it again. If the
light does not come on, or keeps
flashing, have the vehicle serviced.
Do not drive the vehicle if the red
parking brake status light is flashing.
See your dealer. See
Electric
Parking Brake Light on page 5-20.
If the amber parking brake warning
light is on, lift up on the EPB switch
and hold it up. Continue to hold the
switch until the red parking brake
status light remains on. If the amber
parking brake warning light is on,
see your dealer.
If the EPB is applied while the
vehicle is moving, the vehicle will
decelerate as long as the switch is
held up. If the switch is held up until
the vehicle comes to a stop, the
EPB will remain applied.
The vehicle may automatically apply
the EPB in some situations when
the vehicle is not moving. This is
normal, and is done to periodically
check the correct operation of the
EPB system.
Page 283 of 435
Black plate (78,1)Cadillac Escalade Owner Manual (GMNA-Localizing-U.S./Canada/Mexico-
7063683) - 2015 - crc - 2/24/14
9-78 Driving and Operating
the trailer to help prevent the tongue
from contacting the road if it
becomes separated from the hitch.
Instructions about safety chains
may be provided by the hitch
manufacturer or by the trailer
manufacturer. If the trailer being
towed weighs up to 2 271 kg
(5,000 lb) with a factory-installed
step bumper, safety chains may be
attached to the attaching points on
the bumper, otherwise, safety
chains should be attached to holes
on the trailer hitch platform. Always
leave just enough slack so the
combination can turn. Never allow
safety chains to drag on the ground.
Trailer Brakes
A loaded trailer that weighs more
than 900 kg (2,000 lb) needs to have
its own brake system that is
adequate for the weight of the
trailer. Be sure to read and follow
the instructions for the trailer brakes
so they are installed, adjusted, and
maintained properly.Since the vehicle is equipped with
StabiliTrak, the trailer brakes cannot
tap into the vehicle's hydraulic
system.
Trailer Wiring Harness
The seven-pin trailer connector is
mounted in the bumper. This
connector can be plugged into a
seven-pin universal heavy-duty
trailer connector available through
your dealer.
The seven-wire harness contains
the following trailer circuits:
.Yellow: Left Stop/Turn Signal
.Green/Violet: Right Stop/Turn
Signal
.Brown: Taillamps
.White: Ground
.Light Green: Back-up Lamps
.Red/Green: Battery Feed
.Dark Blue: Trailer Brake
If charging a remote (non-vehicle)
battery, press the Tow/Haul mode
button at the end of the shift lever. This will boost the vehicle system
voltage and properly charge the
battery. If the trailer is too light for
Tow/Haul mode, turn on the
headlamps as a second way to
boost the vehicle system and
charge the battery.
Electric Brake Control Wiring
Provisions
These wiring provisions are
included with the vehicle as part of
the trailer wiring package. These
provisions are for an electric brake
controller.
The harness should be installed by
your dealer or a qualified service
center.
Page 285 of 435
Black plate (80,1)Cadillac Escalade Owner Manual (GMNA-Localizing-U.S./Canada/Mexico-
7063683) - 2015 - crc - 2/24/14
9-80 Driving and Operating
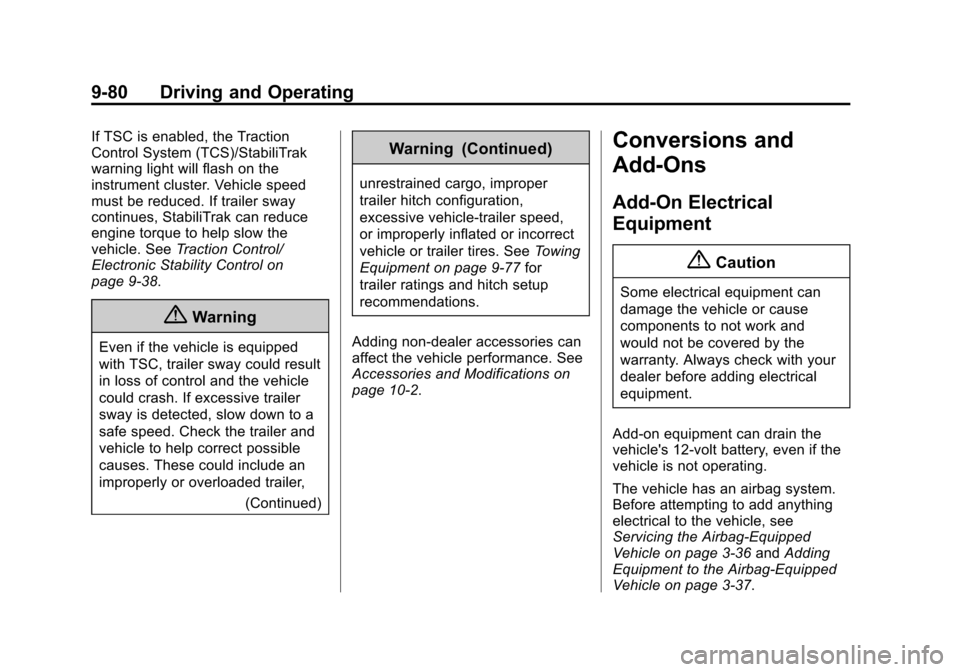
If TSC is enabled, the Traction
Control System (TCS)/StabiliTrak
warning light will flash on the
instrument cluster. Vehicle speed
must be reduced. If trailer sway
continues, StabiliTrak can reduce
engine torque to help slow the
vehicle. SeeTraction Control/
Electronic Stability Control on
page 9-38.
{Warning
Even if the vehicle is equipped
with TSC, trailer sway could result
in loss of control and the vehicle
could crash. If excessive trailer
sway is detected, slow down to a
safe speed. Check the trailer and
vehicle to help correct possible
causes. These could include an
improperly or overloaded trailer,
(Continued)
Warning (Continued)
unrestrained cargo, improper
trailer hitch configuration,
excessive vehicle-trailer speed,
or improperly inflated or incorrect
vehicle or trailer tires. See Towing
Equipment on page 9-77 for
trailer ratings and hitch setup
recommendations.
Adding non-dealer accessories can
affect the vehicle performance. See
Accessories and Modifications on
page 10-2.
Conversions and
Add-Ons
Add-On Electrical
Equipment
{Caution
Some electrical equipment can
damage the vehicle or cause
components to not work and
would not be covered by the
warranty. Always check with your
dealer before adding electrical
equipment.
Add-on equipment can drain the
vehicle's 12-volt battery, even if the
vehicle is not operating.
The vehicle has an airbag system.
Before attempting to add anything
electrical to the vehicle, see
Servicing the Airbag-Equipped
Vehicle on page 3-36 andAdding
Equipment to the Airbag-Equipped
Vehicle on page 3-37.
Page 286 of 435
Black plate (1,1)Cadillac Escalade Owner Manual (GMNA-Localizing-U.S./Canada/Mexico-
7063683) - 2015 - crc - 2/24/14
Vehicle Care 10-1
Vehicle Care
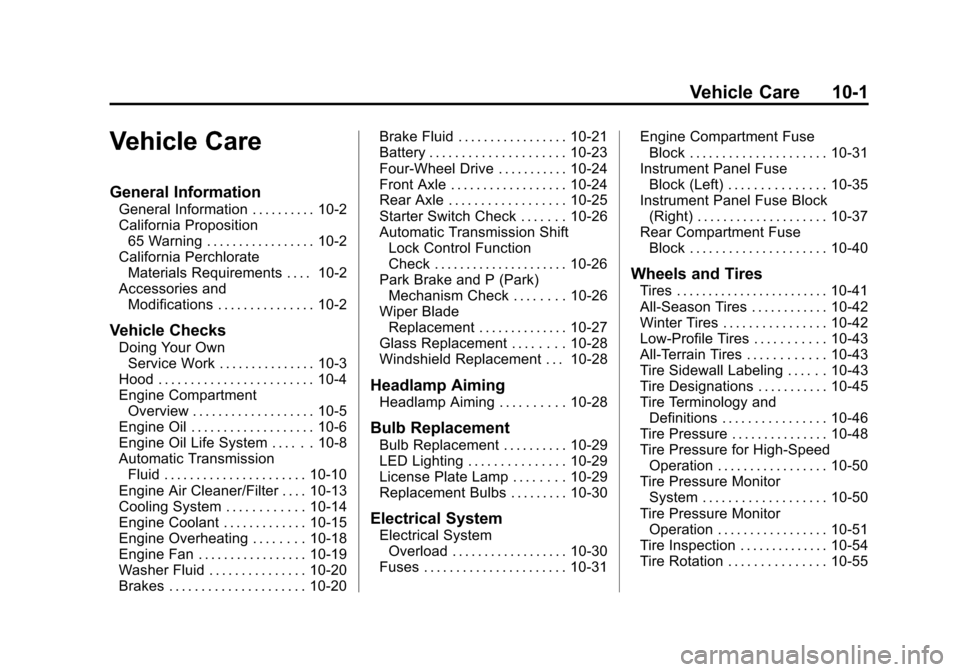
General Information
General Information . . . . . . . . . . 10-2
California Proposition65 Warning . . . . . . . . . . . . . . . . . 10-2
California Perchlorate Materials Requirements . . . . 10-2
Accessories and Modifications . . . . . . . . . . . . . . . 10-2
Vehicle Checks
Doing Your OwnService Work . . . . . . . . . . . . . . . 10-3
Hood . . . . . . . . . . . . . . . . . . . . . . . . 10-4
Engine Compartment Overview . . . . . . . . . . . . . . . . . . . 10-5
Engine Oil . . . . . . . . . . . . . . . . . . . 10-6
Engine Oil Life System . . . . . . 10-8
Automatic Transmission Fluid . . . . . . . . . . . . . . . . . . . . . . 10-10
Engine Air Cleaner/Filter . . . . 10-13
Cooling System . . . . . . . . . . . . 10-14
Engine Coolant . . . . . . . . . . . . . 10-15
Engine Overheating . . . . . . . . 10-18
Engine Fan . . . . . . . . . . . . . . . . . 10-19
Washer Fluid . . . . . . . . . . . . . . . 10-20
Brakes . . . . . . . . . . . . . . . . . . . . . 10-20 Brake Fluid . . . . . . . . . . . . . . . . . 10-21
Battery . . . . . . . . . . . . . . . . . . . . . 10-23
Four-Wheel Drive . . . . . . . . . . . 10-24
Front Axle . . . . . . . . . . . . . . . . . . 10-24
Rear Axle . . . . . . . . . . . . . . . . . . 10-25
Starter Switch Check . . . . . . . 10-26
Automatic Transmission Shift
Lock Control Function
Check . . . . . . . . . . . . . . . . . . . . . 10-26
Park Brake and P (Park) Mechanism Check . . . . . . . . 10-26
Wiper Blade Replacement . . . . . . . . . . . . . . 10-27
Glass Replacement . . . . . . . . 10-28
Windshield Replacement . . . 10-28
Headlamp Aiming
Headlamp Aiming . . . . . . . . . . 10-28
Bulb Replacement
Bulb Replacement . . . . . . . . . . 10-29
LED Lighting . . . . . . . . . . . . . . . 10-29
License Plate Lamp . . . . . . . . 10-29
Replacement Bulbs . . . . . . . . . 10-30
Electrical System
Electrical System Overload . . . . . . . . . . . . . . . . . . 10-30
Fuses . . . . . . . . . . . . . . . . . . . . . . 10-31 Engine Compartment Fuse
Block . . . . . . . . . . . . . . . . . . . . . 10-31
Instrument Panel Fuse Block (Left) . . . . . . . . . . . . . . . 10-35
Instrument Panel Fuse Block
(Right) . . . . . . . . . . . . . . . . . . . . 10-37
Rear Compartment Fuse Block . . . . . . . . . . . . . . . . . . . . . 10-40
Wheels and Tires
Tires . . . . . . . . . . . . . . . . . . . . . . . . 10-41
All-Season Tires . . . . . . . . . . . . 10-42
Winter Tires . . . . . . . . . . . . . . . . 10-42
Low-Profile Tires . . . . . . . . . . . 10-43
All-Terrain Tires . . . . . . . . . . . . 10-43
Tire Sidewall Labeling . . . . . . 10-43
Tire Designations . . . . . . . . . . . 10-45
Tire Terminology andDefinitions . . . . . . . . . . . . . . . . 10-46
Tire Pressure . . . . . . . . . . . . . . . 10-48
Tire Pressure for High-Speed Operation . . . . . . . . . . . . . . . . . 10-50
Tire Pressure Monitor System . . . . . . . . . . . . . . . . . . . 10-50
Tire Pressure Monitor Operation . . . . . . . . . . . . . . . . . 10-51
Tire Inspection . . . . . . . . . . . . . . 10-54
Tire Rotation . . . . . . . . . . . . . . . 10-55