start stop button CADILLAC ESCALADE ESV 2004 2.G Owners Manual
[x] Cancel search | Manufacturer: CADILLAC, Model Year: 2004, Model line: ESCALADE ESV, Model: CADILLAC ESCALADE ESV 2004 2.GPages: 504, PDF Size: 3.27 MB
Page 122 of 504
When starting your engine in very cold weather
(below 0°F or−18°C), do this:
1. With your foot off the accelerator pedal, turn the
ignition key to START and hold it there up to
15 seconds. When the engine starts, let go of
the key.
2. If your engine still will not start, or starts but then
stops, it could be �ooded with too much gasoline.
Try pushing your accelerator pedal all the way to the
�oor and holding it there as you hold the key in
START for about three seconds. When the engine
starts, let go of the key and accelerator. If the
vehicle starts brie�y but then stops again, do the
same thing, but this time keep the pedal down
for �ve or six seconds. This clears the extra
gasoline from the engine.
Notice:Your engine is designed to work with the
electronics in your vehicle. If you add electrical
parts or accessories, you could change the way the
engine operates. Before adding electrical equipment,
check with your dealer. If you do not, your engine
might not perform properly.Adjustable Throttle and Brake Pedal
If your vehicle has this feature, you can change the
position of the throttle and brake pedals. This feature is
designed for shorter drivers, since the pedals cannot
move farther away from the standard position, but can
move closer to you for better pedal reach. This feature
can be programmed to work with the memory function
(if equipped) on your vehicle. SeeMemory Seat on
page 2-48.
The vehicle must be in PARK (P) for this feature to
operate.
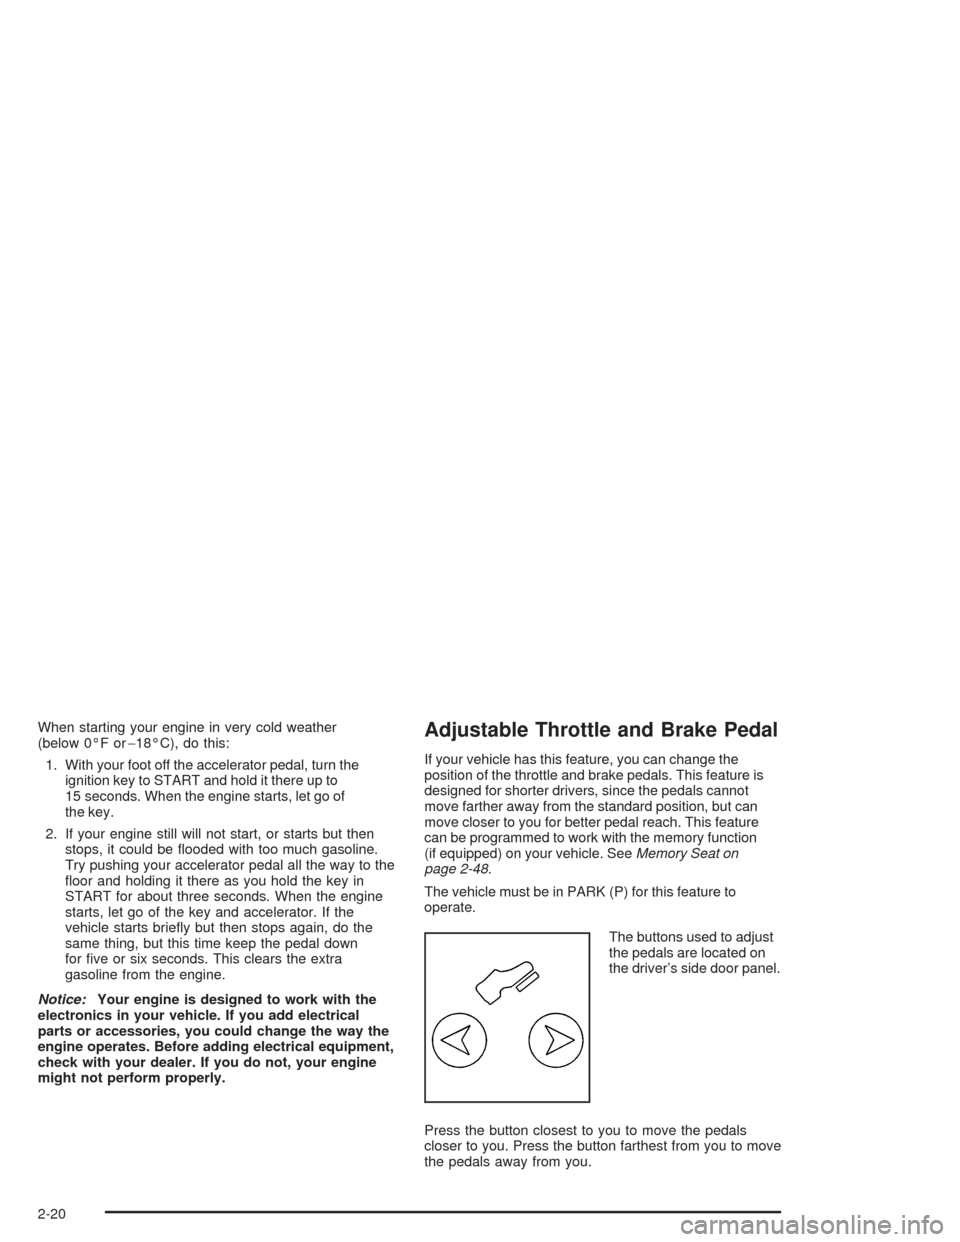
The buttons used to adjust
the pedals are located on
the driver’s side door panel.
Press the button closest to you to move the pedals
closer to you. Press the button farthest from you to move
the pedals away from you.
2-20
Page 147 of 504
Rear Storage Area
Your vehicle has a storage compartment located in the
rear cargo area of the vehicle in the driver’s side
trim panel.
To open the compartment on standard models, press
in on the release latch and swing the compartment
door open.
To open the compartment on extended models, pull the
latch to access the compartment.
Rear Seat Armrest
Your vehicle’s second row seat may have an
armrest/storage compartment.
Pull the loop at the top of the armrest out to lower the
armrest.
To open the compartment, if equipped, push the button
on the front of the armrest and pull the top open.
Convenience Net
The convenience net (if equipped) in the rear of your
vehicle helps to keep small loads in place during sharp
turns or quick stops and starts.
The net is not designed for larger, heavier items.
To install the net, attach the hooks to the raised cargo
tie downs. Then, attach the cord loops to the button
retainers in the side trim.
You can unhook the net so that it will lie �at when
you’re not using it.
2-45
Page 150 of 504
The sunroof is also equipped with a sunshade which
you can pull forward to block sun rays.
If a hand, arm, or other object is blocking the sunroof
glass panel as it is closing, the glass panel will stop
at the obstruction. After the obstruction is removed, the
glass panel can be closed or opened.
Use care not to leave the sunroof open for long periods
of time as debris may collect in the tracks.
If the battery has been recharged, disconnected or is
not working, you may need to reprogram the sunroof.
To do this, start the vehicle and press the forward
side of the sunroof button until the glass panel moves to
a fully closed position. Release, and press again to
move to the vent position which occurs when the sunroof
is fully tilted rearward. This will reset the memory and
enable the sunroof to function properly.Vehicle Personalization
Memory Seat
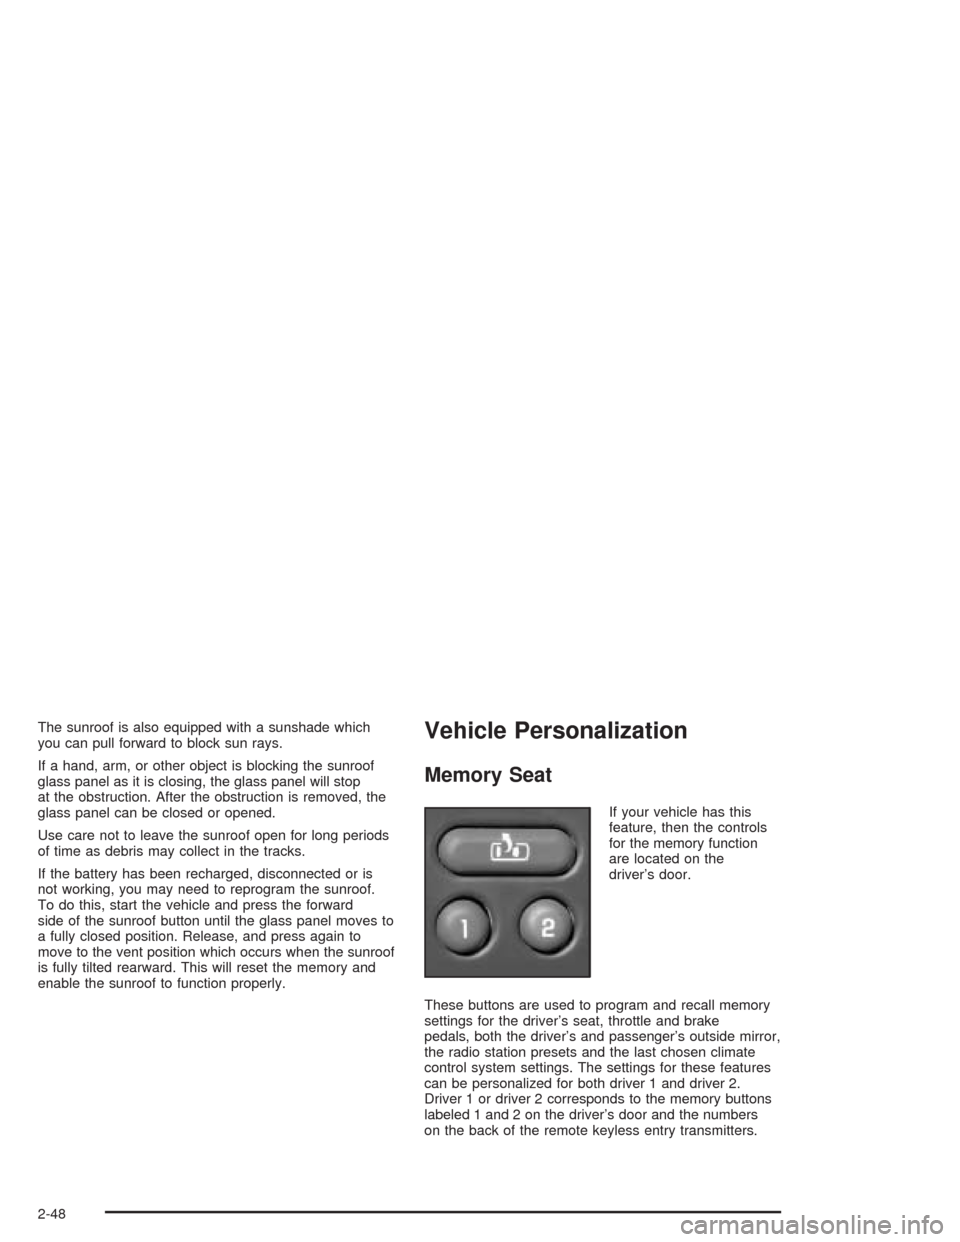
If your vehicle has this
feature, then the controls
for the memory function
are located on the
driver’s door.
These buttons are used to program and recall memory
settings for the driver’s seat, throttle and brake
pedals, both the driver’s and passenger’s outside mirror,
the radio station presets and the last chosen climate
control system settings. The settings for these features
can be personalized for both driver 1 and driver 2.
Driver 1 or driver 2 corresponds to the memory buttons
labeled 1 and 2 on the driver’s door and the numbers
on the back of the remote keyless entry transmitters.
2-48
Page 205 of 504
You can also reset the PERSONAL: XX MI, or
BUSINESS: XX MI while they are displayed by pressing
the reset stem on the cluster. If you press and hold
the reset stem or select button for four seconds,
the display will show the distance traveled since the last
ignition cycle for the personal or business trip.
Odometer
Press the trip information button until ODOMETER
appears on the display. This shows the total distance
the vehicle has been driven in either miles or kilometers.
Pressing the reset stem located on the instrument
cluster with the vehicle off will also display the odometer.
Hourmeter
Press the trip information button to scroll to the
hourmeter. The hourmeter shows the total number of
hours the engine has run. Pressing and holding the reset
stem for about four seconds on the instrument cluster
will also display the hourmeter after the odometer
is displayed when the vehicle is off.
Annual Log
Press the trip information button to scroll to the annual
log. The annual log shows the mileage accumulated
since it was last reset. To reset the annual log,
press and hold the select button for two seconds.
Timer
The DIC can be used as a timer. Press the select
button while TIMER is displayed to start the timer. The
display will show the amount of time that has passed
since the timer was last reset (not including time
the ignition is off). Time will continue to be counted as
long as the ignition is on, even if another display is being
shown on the DIC. The timer will record up to 99 hours,
59 minutes and 59 seconds (99:59:59) after which
the display will roll back to zero.
To stop the counting of time, press the select button
brie�y while TIMER is displayed.
To reset the timer to zero, press and hold the select
button while TIMER is displayed.
3-53
Page 216 of 504
SERVICE BRAKE SYSTEM
If a problem occurs with the brake system, this message
will appear on the DIC. If this message appears, stop
as soon as possible and turn off the vehicle. Restart the
vehicle and check for the message on the DIC display.
If the message is still displayed, or appears again when
you begin driving, the brake system needs service.
Pressing the select button will clear it from the
DIC display.
SERVICE 4WD
If you have all-wheel drive and a problem occurs with the
all–wheel drive system, this message will appear on the
DIC. If this message appears, stop as soon as possible
and turn off the vehicle. Restart the vehicle and check for
the message on the DIC display. If the message is still
displayed, or appears again when you begin driving, the
four wheel drive system needs service. Pressing the
select button will clear it from the DIC display.
SERVICE RIDE CONTROL
If a problem occurs with the suspension system, this
message will appear on the DIC. If this message
appears, stop and turn off the vehicle. Restart the
vehicle and check for the message on the DIC display.
If the message is still displayed, or appears again
when you begin driving, the suspension system needs
service. Pressing the select button will clear it from
the DIC display.
TURN SIGNAL ON
If a turn signal is left on for 3/4 of a mile (1.2 km), this
message will appear on the display and you will hear a
chime. Move the turn signal/multifunction lever to the
off position. Pressing the select button will clear it from
the DIC display.
FUEL LEVEL LOW
If the fuel level is low, this message will appear on the
DIC and you will hear a chime. Refuel as soon as
possible. Pressing the select button will acknowledge
this message immediately and clear it from the DIC
display. It will also clear itself after 10 seconds until the
next ignition cycle. The low fuel light near the fuel
gage will still remain on in either case.
3-64
Page 219 of 504
LEFT REAR DOOR AJAR
If the driver’s side rear door is not fully closed and the
vehicle is in a drive gear, this message will appear
on the display and you will hear a chime. Stop and turn
off the vehicle, check the door for obstacles, and
close the door again. Check to see if the message still
appears on the DIC. Pressing the select button will
clear it from the DIC display.
RIGHT REAR DOOR AJAR
If the passenger’s side rear door is not fully closed and
the vehicle is in a drive gear, this message will
appear on the display and you will hear a chime. Stop
and turn off the vehicle, check the door for obstacles,
and close the door again. Check to see if the message
still appears on the DIC. Pressing the select button
will clear it from the DIC display.
REAR ACCESS OPEN
If the liftgate is open while the ignition is in RUN, this
message will appear on the DIC and you will hear
a chime. Turn off the vehicle and check the liftgate.
Restart the vehicle and check for the message on the
DIC display. Pressing the select button will clear it
from the DIC display.
REPLACE LIFTGATE FUSE
This message will be displayed if the liftgate lock
malfunctions and/or the liftgate fuse blows. For more
information on fuses, seeFuses and Circuit Breakers on
page 5-115.
If the message returns after replacing the fuse, see your
dealer for service.
KEYFOB X BATTERY LOW
If a remote keyless entry transmitter battery is low, this
message will appear on the DIC. The battery needs
to be replaced in the transmitter. Pressing the select
button will clear it from the DIC display.
TRACTION ACTIVE
When the traction control system has detected that any
of the vehicle’s wheels are slipping, the traction
control system will activate and this message will appear
on the DIC. For more information on traction control
and the Stabilitrak
®system, seeStabilitrak®System on
page 4-10.
3-67
Page 220 of 504
TRACTION SYS LIMITED
If the brake traction-control system activates constantly
or if the brakes have heated up due to high-speed
braking, brake traction-control will be disabled and the
TRACTION SYS LIMITED message will be displayed.
For more information on the Stabilitrak
®system and
traction control, seeStabilitrak®System on page 4-10.
STABILITY SYS ACTIVE
You may see the STABILITY SYS ACTIVE message on
the DIC. It means that an advanced computer-controlled
system has come on to help your vehicle continue to
go in the direction in which you’re steering.
For more information on the Stabilitrak
®system, see
Stabilitrak®System on page 4-10.
SERVICE STABILITY
If you ever see the SERVICE STABILITY message, it
means there may be a problem with your
Stabilitrak
®system. If you see this message try to reset
the system (stop; turn off the engine; then start the
engine again). If the SERVICE STABILITY message still
comes on, it means there is a problem. You should
see your dealer for service. The vehicle is safe to drive,
however, you do not have the bene�t of Stabilitrak
®,
so reduce your speed and drive accordingly.
For more information on the Stabilitrak
®system, see
Stabilitrak®System on page 4-10.
STABILITY SYS DISABLED
The STABILITY SYS DISABLED message will turn on
when you press the Stabilitrak®button, or when the
stability control has been automatically disabled. There
are four conditions that can cause this message to
appear. One condition is overheating, which could occur
if Stabilitrak
®activates continuously for an extended
period of time. The message will also be displayed if the
brake system warning light is on. SeeBrake System
Warning Light on page 3-40Brake System Warning
Light. The message could be displayed if the stability
system takes longer than usual to complete its
diagnostic checks due to driving conditions. Also, if an
engine or vehicle related problem has been detected,
and the vehicle needs service, the message will appear.
3-68
Page 235 of 504
If you turn off the ignition or radio with the CD in the
player, it will stay in the player. When you turn on
the ignition or the radio, the CD will start playing, where
it stopped, if it was the last selected audio source.
As each new track starts to play, the track number will
appear on the display.
The CD player can play the smaller 8 cm single CDs
with an adapter ring. Full-size CDs and the smaller CDs
are loaded in the same manner.
If playing a CD-R the sound quality may be reduced
due to CD-R quality, the method of recording, the quality
of the music that has been recorded, and the way the
CD-R has been handled. You may experience an
increase in skipping, difficulty in �nding tracks, and/or
difficulty in loading and ejecting. If these problems occur
try a known good CD.
Do not add paper labels to CDs, they could get caught
in the CD player.
Do not play 3 inch CDs without a standard adapter CD.If an error appears on the display, see “CD Messages”
later in this section.
1 PREV (Previous):Press this pushbutton to go to the
current track if it has been playing for more than
eight seconds. TRACK and the track number will appear
on the display. If you hold this pushbutton or press it
more than once, the player will continue moving
backward through the CD.
2 NEXT:Press this pushbutton to go to the next track.
TRACK and the track number will appear on the
display. If you hold this pushbutton or press it more than
once, the player will continue moving forward through
the CD.
3 REV (Reverse):Press and hold this pushbutton to
reverse quickly within a track. Press and hold this
pushbutton for less than two seconds to reverse at six
times the normal playing speed. Press and hold it
for more than two seconds to reverse at 17 times the
normal playing speed. Release it to play the passage.
ET and the elapsed time of the track will appear on
the display.
3-83
Page 236 of 504
4 FWD (Forward):Press and hold this pushbutton to
advance quickly within a track. Press and hold this
pushbutton for less than two seconds to advance at six
times the normal playing speed. Press and hold it for
more than two seconds to advance at 17 times the
normal playing speed. Release it to play the passage.
ET and the elapsed time of the track will appear on
the display.
6 RDM (Random):Press this pushbutton to hear the
tracks in random, rather than sequential, order. RDM ON
will appear on the display. RDM T and the track
number will appear on the display when each track
starts to play. Press this pushbutton again to turn
off random play. RDM OFF will appear on the display.
qSEEKr:Press the left arrow to go to the start
of the current or to the previous track. Press the
right arrow to go to the start of the next track. If you
hold either arrow or press it more than once, the player
will continue moving backward or forward through
the CD.
qSCANr:To scan the CD, press and hold either
SCAN arrow for more than two seconds until SCAN
appears on the display and you hear a beep. Use this
feature to listen to 10 seconds of each track of the
CD. Press either SCAN arrow again, to stop scanning.DISPL (Display):Press this knob to see how long the
current track has been playing. ET and the elapsed
time of the track will appear on the display. To change
the default on the display (track or elapsed time),
press this knob until you see the display you want, then
hold the knob for two seconds. The radio will produce
one beep and the selected display will now be the
default.
BAND:Press this button to listen to the radio when a
cassette tape or CD is playing. The inactive tape or CD
will remain safely inside the radio for future listening
TAPE DISC:Press this button to play a cassette tape
or CD when listening to the radio. The inactive tape
or CD will remain safely inside the radio for future
listening.
Z(Eject):Press this button to stop a CD when it is
playing or to eject a CD when it is not playing. Eject
may be activated with either the ignition or radio off. CDs
may be loaded with the radio and ignition off if this
button is pressed �rst.
3-84
Page 242 of 504
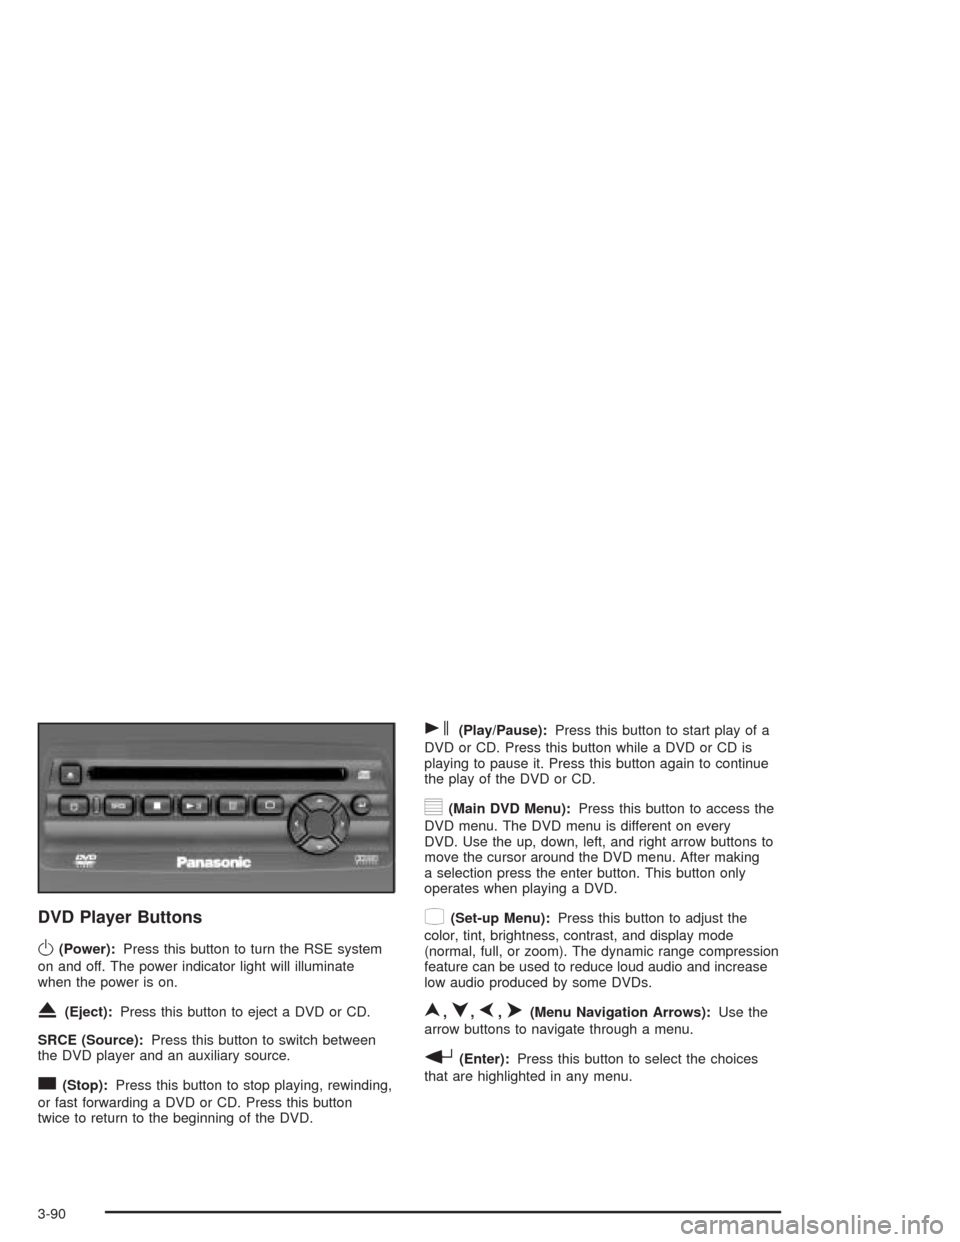
DVD Player Buttons
O(Power):Press this button to turn the RSE system
on and off. The power indicator light will illuminate
when the power is on.
X(Eject):Press this button to eject a DVD or CD.
SRCE (Source):Press this button to switch between
the DVD player and an auxiliary source.
c(Stop):Press this button to stop playing, rewinding,
or fast forwarding a DVD or CD. Press this button
twice to return to the beginning of the DVD.
s(Play/Pause):Press this button to start play of a
DVD or CD. Press this button while a DVD or CD is
playing to pause it. Press this button again to continue
the play of the DVD or CD.
y(Main DVD Menu):Press this button to access the
DVD menu. The DVD menu is different on every
DVD. Use the up, down, left, and right arrow buttons to
move the cursor around the DVD menu. After making
a selection press the enter button. This button only
operates when playing a DVD.
z(Set-up Menu):Press this button to adjust the
color, tint, brightness, contrast, and display mode
(normal, full, or zoom). The dynamic range compression
feature can be used to reduce loud audio and increase
low audio produced by some DVDs.
n,q,p,o(Menu Navigation Arrows):Use the
arrow buttons to navigate through a menu.
r(Enter):Press this button to select the choices
that are highlighted in any menu.
3-90