ESP CADILLAC ESCALADE ESV 2005 2.G Owners Manual
[x] Cancel search | Manufacturer: CADILLAC, Model Year: 2005, Model line: ESCALADE ESV, Model: CADILLAC ESCALADE ESV 2005 2.GPages: 470, PDF Size: 2.86 MB
Page 37 of 470
Questions and Answers About
Safety Belts
Q:Will I be trapped in the vehicle after an accident
if I am wearing a safety belt?
A:Youcouldbe — whether you are wearing a safety
belt or not. But you can unbuckle a safety belt,
even if you are upside down. And your chance of
being conscious during and after an accident,
so youcanunbuckle and get out, ismuchgreater if
you are belted.
Q:If my vehicle has airbags, why should I have to
wear safety belts?
A:Airbags are in many vehicles today and will be in
most of them in the future. But they are
supplemental systems only; so they workwith
safety belts — not instead of them. Every airbag
system ever offered for sale has required the use of
safety belts. Even if you are in a vehicle that has
airbags, you still have to buckle up to get the most
protection. That is true not only in frontal collisions,
but especially in side and other collisions.
Q:If I am a good driver, and I never drive far from
home, why should I wear safety belts?
A:You may be an excellent driver, but if you are in an
accident — even one that is not your fault — you
and your passengers can be hurt. Being a good
driver does not protect you from things beyond your
control, such as bad drivers.
Most accidents occur within 25 miles (40 km) of
home. And the greatest number of serious injuries
and deaths occur at speeds of less than 40 mph
(65 km/h).
Safety belts are for everyone.
1-31
Page 82 of 470

If the front of your vehicle goes straight into a wall
that does not move or deform, the threshold level for
the reduced deployment is about 10 to 16 mph
(16 to 25 km/h), and the threshold level for a full
deployment is about 20 to 30 mph (32 to 48 km/h).
(The threshold level can vary, however, with speci�c
vehicle design, so that it can be somewhat above
or below this range.)
Airbags may in�ate at different crash speeds.
For example:
If the vehicle hits a stationary object, the airbag
could in�ate at a different crash speed than if
the object were moving.
If the object deforms, the airbag could in�ate at
a different crash speed than if the object does
not deform.
If the vehicle hits a narrow object (like a pole) the
airbag could in�ate at a different crash speed
than if the vehicle hits a wide object (like a wall).
If the vehicle goes into an object at an angle the
airbag could in�ate at a different crash speed
than if the vehicle goes straight into the object.
The frontal airbags (driver and right front passenger)
are not intended to in�ate during vehicle rollovers, rear
impacts, or in many side impacts because in�ation
would not likely help the occupants.Side impact airbags are designed to in�ate in moderate
to severe side crashes. A side impact airbag will
in�ate if the crash severity is above the system’s
designed “threshold level.” The threshold level can vary
with speci�c vehicle design. Side impact airbags are
not designed to in�ate in frontal or near-frontal impacts,
rollovers or rear impacts, because in�ation would not
likely help the occupant. A side impact airbag will
only deploy on the side of the vehicle that is struck.
Vehicle’s with dual stage airbags are also equipped with
special sensors which enable the sensing system to
monitor the position of both the driver and passenger
front seats. The seat position sensor provides
information which is used to determine if the airbags
should deploy at a reduced level or at full deployment.
In any particular crash, no one can say whether an
airbag should have in�ated simply because of the
damage to a vehicle or because of what the repair costs
were. For frontal airbags, in�ation is determined by
the angle of the impact and how quickly the vehicle
slows down in frontal and near-frontal impacts. For side
impact airbags, in�ation is determined by the location
and severity of the impact.
The airbag system is designed to work properly under a
wide range of conditions, including off-road usage.
Observe safe driving speeds, especially on rough
terrain. As always, wear your safety belt. SeeOperating
Your All-Wheel-Drive Vehicle Off Paved Roads on
page 4-16for tips on off-road driving.
1-76
Page 99 of 470

To replace the battery in the keyless entry transmitter,
do the following:
1. Insert a thin object, such as a coin, in the slot
between the covers of the transmitter housing
near the key ring hole. Remove the bottom
by twisting the coin.
2. Remove and replace the battery with a
three-volt CR2032 or equivalent battery, positive (+)
side up.
3. Align the covers and snap them together.
4. Resynchronize the transmitter. See
“Resynchronization” following this information.
5. Check the operation of the transmitter.Resynchronization
Resynchronization may be necessary due to the
security method used by this system. The transmitter
does not send the same signal twice to the receiver. The
receiver will not respond to a signal that has been
sent previously. This prevents anyone from recording
and playing back the signal from the transmitter.
To resynchronize your transmitter, stand close to your
vehicle and press and hold the lock and unlock
buttons on the transmitter at the same time for
15 seconds. The door locks should cycle to con�rm
synchronization. If the locks do not cycle, see your
dealer for service.
2-7
Page 100 of 470

Doors and Locks
Door Locks
{CAUTION:
Unlocked doors can be dangerous.
Passengers — especially children — can
easily open the doors and fall out of a
moving vehicle. When a door is locked, the
handle will not open it. You increase the
chance of being thrown out of the vehicle
in a crash if the doors are not locked. So,
wear safety belts properly and lock the
doors whenever you drive.
Young children who get into unlocked
vehicles may be unable to get out. A child
can be overcome by extreme heat and can
suffer permanent injuries or even death
from heat stroke. Always lock your vehicle
whenever you leave it.
Outsiders can easily enter through an
unlocked door when you slow down or
stop your vehicle. Locking your doors can
help prevent this from happening.There are several ways to lock and unlock your vehicle.
To unlock the door from the outside, use the keyless
entry system or the key.
To unlock or lock the door
from the inside, slide the
manual lever forward
or rearward.
2-8
Page 106 of 470
Windows
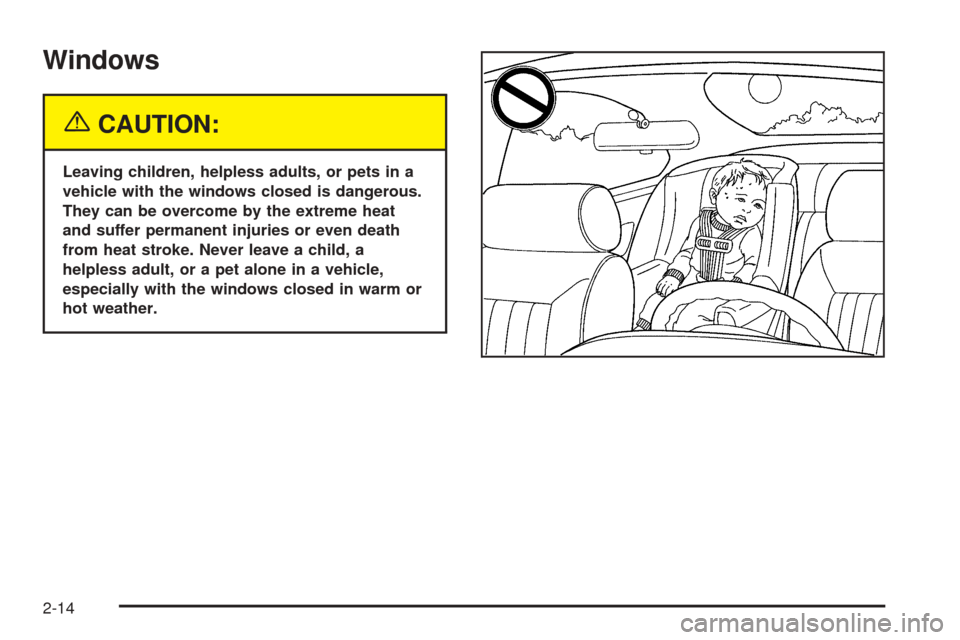
{CAUTION:
Leaving children, helpless adults, or pets in a
vehicle with the windows closed is dangerous.
They can be overcome by the extreme heat
and suffer permanent injuries or even death
from heat stroke. Never leave a child, a
helpless adult, or a pet alone in a vehicle,
especially with the windows closed in warm or
hot weather.
2-14
Page 108 of 470
Theft-Deterrent Systems
Vehicle theft is big business, especially in some cities.
Although your vehicle has a number of theft-deterrent
features, we know that nothing we put on it can make it
impossible to steal.
Content Theft-Deterrent
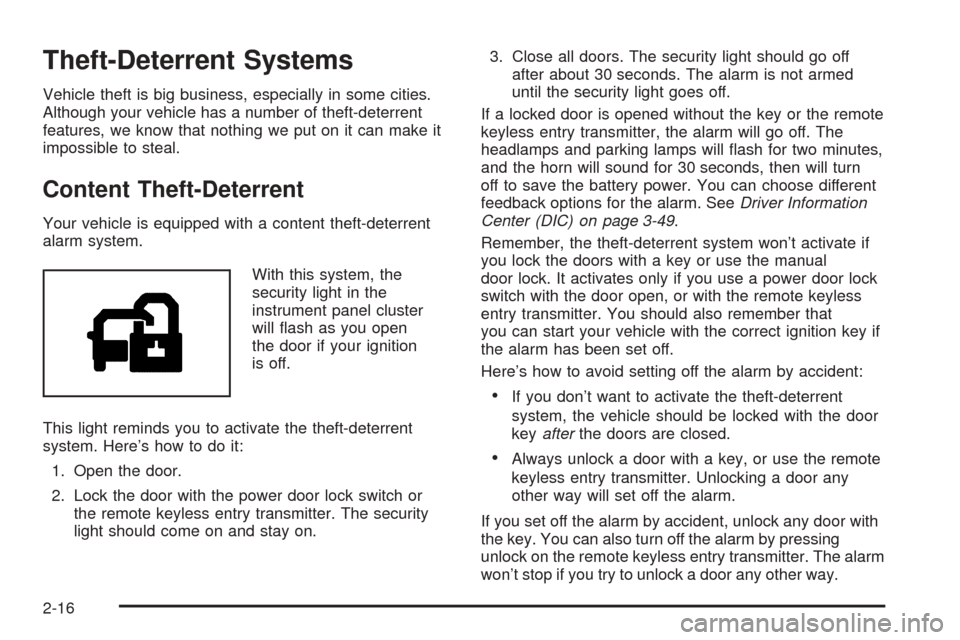
Your vehicle is equipped with a content theft-deterrent
alarm system.
With this system, the
security light in the
instrument panel cluster
will �ash as you open
the door if your ignition
is off.
This light reminds you to activate the theft-deterrent
system. Here’s how to do it:
1. Open the door.
2. Lock the door with the power door lock switch or
the remote keyless entry transmitter. The security
light should come on and stay on.3. Close all doors. The security light should go off
after about 30 seconds. The alarm is not armed
until the security light goes off.
If a locked door is opened without the key or the remote
keyless entry transmitter, the alarm will go off. The
headlamps and parking lamps will �ash for two minutes,
and the horn will sound for 30 seconds, then will turn
off to save the battery power. You can choose different
feedback options for the alarm. SeeDriver Information
Center (DIC) on page 3-49.
Remember, the theft-deterrent system won’t activate if
you lock the doors with a key or use the manual
door lock. It activates only if you use a power door lock
switch with the door open, or with the remote keyless
entry transmitter. You should also remember that
you can start your vehicle with the correct ignition key if
the alarm has been set off.
Here’s how to avoid setting off the alarm by accident:
If you don’t want to activate the theft-deterrent
system, the vehicle should be locked with the door
keyafterthe doors are closed.
Always unlock a door with a key, or use the remote
keyless entry transmitter. Unlocking a door any
other way will set off the alarm.
If you set off the alarm by accident, unlock any door with
the key. You can also turn off the alarm by pressing
unlock on the remote keyless entry transmitter. The alarm
won’t stop if you try to unlock a door any other way.
2-16
Page 153 of 470

Headlamps on Reminder
If a door is open, a reminder chime will sound when your
headlamps or parking lamps are manually turned on and
your key is out of the ignition. To turn off the chime, turn
the headlamp switch to off or AUTO and then back on. In
the AUTO mode, the headlamps turn off once the ignition
is in LOCK or may remain on until the headlamp delay
ends (if enabled in the DIC).
Daytime Running Lamps (DRL)
Daytime Running Lamps (DRL) can make it easier for
others to see the front of your vehicle during the
day. DRL can be helpful in many different driving
conditions, but they can be especially helpful in the short
periods after dawn and before sunset. Fully functional
daytime running lamps are required on all vehicles
�rst sold in Canada.
The DRL system will come on when the following
conditions are met:
The ignition is on,
the exterior lamps control is in AUTO,
the transmission is not in PARK (P), and
the light sensor determines it is daytime.
When the DRL are on, only your DRL lamps will be on.The taillamps, sidemarker and other lamps won’t be on.
The instrument panel won’t be lit up either.
When it begins to get dark, the automatic headlamp
system will switch from DRL to the headlamps.
As with any vehicle, you should turn on the regular
headlamp system when you need it.
Automatic Headlamp System
When it is dark enough outside and the headlamp
switch is in AUTO, your automatic headlamp system will
turn on your headlamps at the normal brightness
along with other lamps such as the taillamps,
sidemarker, parking lamps, roof marker lamps and the
instrument panel lights. The radio lights will also be dim.
To turn off the automatic headlamp system, turn the
exterior lamps switch to the off position and then
release. Turning off the automatic headlamp system
with the headlamp switch is not available for vehicles
�rst sold in Canada. For vehicles �rst sold in Canada,
you can turn off the automatic headlamp system
when parked at night by applying the parking brake
before starting your vehicle. The headlamps will remain
off once the vehicle is started for as long as you are
parked. If you release the parking brake, the lights will
turn on. If the parking brake is not released before
you begin to drive, the exterior lamps will turn on above
2 mph (3.2 km/h).
3-15
Page 187 of 470

Here are some situations you may experience with your
fuel gage. None of these indicate a problem with the
fuel gage.
At the gas station, the fuel pump shuts off before
the gage reads full.
It takes a little more or less fuel to �ll up than the
fuel gage indicated. For example, the gage may
have indicated the tank was half full, but it actually
took a little more or less than half the tank’s
capacity to �ll the tank.
The gage goes back to empty when you turn off the
ignition.
Low Fuel Warning Light
The light next to the fuel gage will come on brie�y when
you are starting the engine.
This light comes on when the fuel tank is low on fuel.
To turn it off, add fuel to the fuel tank. SeeFuel on
page 5-5.
Driver Information Center (DIC)
The Driver Information Center (DIC) display is located
on the instrument panel cluster, below the speedometer.
The DIC buttons, if equipped, are located on the
steering wheel. The DIC can display information such
as the trip odometer, fuel economy, customization
features and warning/status messages.
If your vehicle is not equipped with the DIC steering
wheel buttons, you will not have all of the features listed.
You will scroll through the odometer, trip odometer
and engine hours by pressing the trip odometer reset
stem located on the instrument panel cluster. You
will also turn off, or acknowledge, DIC messages by
pressing the trip odometer reset stem. SeeSpeedometer
and Odometer on page 3-33for information on
features for vehicles without DIC buttons.
3-49
Page 206 of 470
CURB VIEW: BOTH:The driver’s and passenger’s
outside mirrors will be tilted down when the vehicle is
shifted into REVERSE (R).
Choose one of the available options and press the
customization button while it is displayed on the DIC to
select it and move on to the next feature. For more
information on tilt mirror in reverse, seeOutside
Automatic Dimming Mirror with Curb View Assist on
page 2-34.
Alarm Warning
Press the customization button until ALARM WARNING
appears in the display. To select your preference for
alarm warning, press the select button while ALARM
WARNING is displayed on the DIC. Pressing the select
button will scroll through the following choices:
ALARM WARNING: BOTH (default):The headlamps
will �ash and the horn will chirp when the alarm is
active.
ALARM WARNING: OFF:There will be no alarm
warning on activation.
ALARM WARNING: HORN:The horn will chirp when
the alarm is active.
ALARM WARNING: LAMPS:The headlamps will �ash
when the alarm is active.Choose one of the available options and press the
customization button while your choice is displayed on
the DIC to select it and move on to the next feature.
For more information on alarm warning type, see
Content Theft-Deterrent on page 2-16.
Language
To select your preference for display language, press
the select button while LANGUAGE is displayed on the
DIC. Pressing the select button will scroll through the
following languages:
ENGLISH
FRANCAIS (French)
ESPANOL (Spanish)
Choose one of the available options and press the
customization button while it is displayed on the DIC to
select it.
If you accidentally choose a language that you do not
want or understand, press and hold the customization
button and the trip information button at the same
time. The DIC will begin scrolling through the languages
in their particular language. English will be in English,
Francais will be in French and Espanol will be in
Spanish. When you see the language that you would
like, release both buttons. The DIC will then display the
information in the language you chose.
3-68
Page 236 of 470
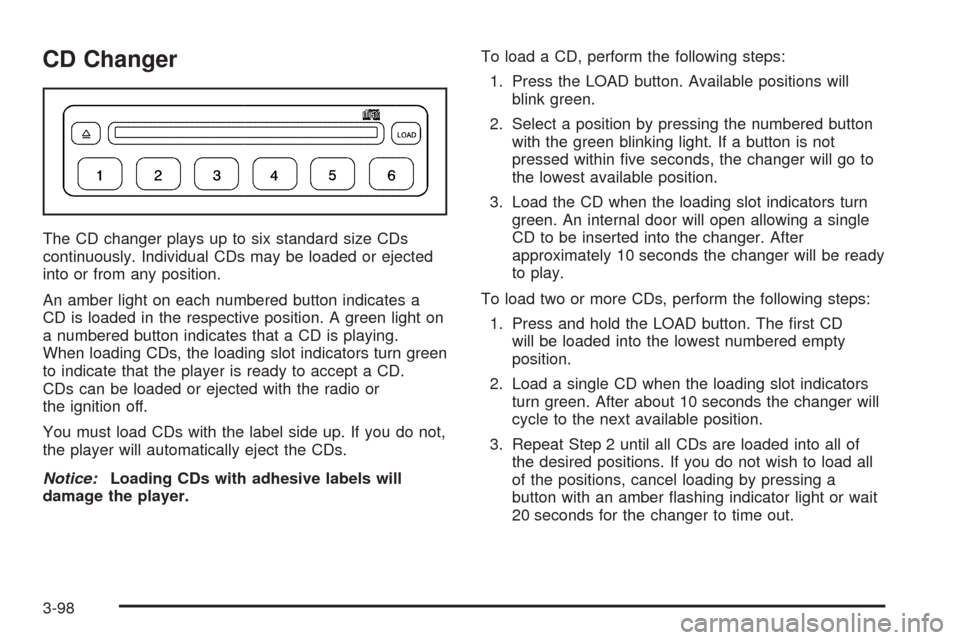
CD Changer
The CD changer plays up to six standard size CDs
continuously. Individual CDs may be loaded or ejected
into or from any position.
An amber light on each numbered button indicates a
CD is loaded in the respective position. A green light on
a numbered button indicates that a CD is playing.
When loading CDs, the loading slot indicators turn green
to indicate that the player is ready to accept a CD.
CDs can be loaded or ejected with the radio or
the ignition off.
You must load CDs with the label side up. If you do not,
the player will automatically eject the CDs.
Notice:Loading CDs with adhesive labels will
damage the player.To load a CD, perform the following steps:
1. Press the LOAD button. Available positions will
blink green.
2. Select a position by pressing the numbered button
with the green blinking light. If a button is not
pressed within �ve seconds, the changer will go to
the lowest available position.
3. Load the CD when the loading slot indicators turn
green. An internal door will open allowing a single
CD to be inserted into the changer. After
approximately 10 seconds the changer will be ready
to play.
To load two or more CDs, perform the following steps:
1. Press and hold the LOAD button. The �rst CD
will be loaded into the lowest numbered empty
position.
2. Load a single CD when the loading slot indicators
turn green. After about 10 seconds the changer will
cycle to the next available position.
3. Repeat Step 2 until all CDs are loaded into all of
the desired positions. If you do not wish to load all
of the positions, cancel loading by pressing a
button with an amber �ashing indicator light or wait
20 seconds for the changer to time out.
3-98