turn signal CADILLAC ESCALADE ESV 2007 2.G Owner's Manual
[x] Cancel search | Manufacturer: CADILLAC, Model Year: 2007, Model line: ESCALADE ESV, Model: CADILLAC ESCALADE ESV 2007 2.GPages: 574, PDF Size: 2.89 MB
Page 305 of 574

Push the power button to turn on the headphones.
An indicator light located on the headphones
will come on. If the light does not come on, the
batteries may need to be replaced. See “Battery
Replacement” later in this section for more
information. Switch the headphones to Off when
not in use. Channel 1 is dedicated to the video
screen, while Channel 2 is dedicated to RSA
selections.
The infrared transmitters are located at the rear of
the RSE overhead console. The headphones
will shut off automatically to save the battery power
if the RSE system and the RSA are shut off
or if the headphones are out of range of the
transmitters for more than 3 minutes. If you move
too far forward or step out of the vehicle, the
headphones will lose the audio signal.
The headphones will automatically turn off after
four hours of continuous use.
To adjust the volume on the headphones, use the
volume control located on the right side.For optimal audio performance, the headphones
must be worn correctly. The symbol L (Left)
will appear on the upper left side, above the ear
pad and should be positioned on the left ear.
The symbol R (Right) will appear on the upper
right side, above the ear pad and should be
positioned on the right ear.
Notice:Do not store the headphones in heat
or direct sunlight. This could damage the
headphones and repairs will not be covered by
your warranty. Keep the headphones stored
in a cool, dry place.
The foam ear pads attached to the headphones
may become worn or damaged if they are
not handled or stored properly. If the foam ear
pads do become damaged or worn out, the pads
can be replaced separately from the headphone
set. It is not necessary to replace the complete
headphone set. The headphone replacement foam
ear pads can be ordered in pairs. See your
dealer for more information.
305
Page 306 of 574

Battery Replacement
To change the batteries, do the following:
1. Turn the screw with a coin or screw driver to
loosen, then slide open the battery door
located on the left side of the headphones.
2. Replace the two AAA batteries in the
compartment. Make sure that they are
installed correctly, using the diagram on the
inside of the battery compartment.
3. Replace the battery door and tighten the
door screw.
If the headphones are to be stored for a long
period of time, remove the batteries and keep them
in a cool, dry place.
Audio/Video (A/V) Jacks
The A/V jacks are located on the rear of the oor
console. The A/V jacks allow audio or video
signals to be connected from an auxiliary device
such as a camcorder or a video game unit to
the RSE system. Adapter connectors or cables
may be required to connect the auxiliary device
to the A/V jacks. Refer to the manufacturer’s
instructions for proper usage.
306
Page 308 of 574
The RSE system will always transmit the audio
signal to the wireless headphones, if there is audio
available. See “Headphones” earlier in this
section for more information.
The DVD player is capable of outputting audio to
the wired headphone jacks on the RSA system,
if your vehicle has this feature. The DVD
player may be selected as an audio source on the
RSA system. SeeRear Seat Audio (RSA) on
page 314for more information.
When a device is connected to the radio’s auxiliary
input jack, if your vehicle has this feature, or A/V
jacks, the rear seat passengers will be able to hear
audio from the auxiliary device through the wireless
or wired headphones. The front seat passengers
will be able to listen to playback from this device
through the vehicle speakers by selecting AUX as
the source on the radio.Video Screen
The video screen is located in the RSE overhead
console.
To use the video screen, do the following:
1. Push the release button located on the RSE
overhead console.
2. Rotate the screen to the desired position.
When the video screen is not in use, push it up
into its locked position.
If a DVD is playing and the screen is raised to its
locked position, the screen will remain on, this
is normal, and the DVD will continue to play
through the previous audio source. Use the remote
control power button or eject the disc to turn off
the screen.
The RSE overhead console contains the IR
transmitters for the wireless headphones and the
IR receivers for the remote control. They are
located at the rear of the console.
Notice:Avoid directly touching the video
screen, as damage may occur. See “Cleaning
the Video Screen” later in this section for
more information.
308
Page 309 of 574

Remote Control
To use the remote control, aim it at the transmitter
window at the rear of the RSE overhead console
and press the desired button. Direct sunlight
or very bright light may affect the ability of the RSE
transmitter to receive signals from the remote
control. If the remote control does not seem to be
working, the batteries may need to be replaced.
See “Battery Replacement” later in this section.
Objects blocking the line of sight may also affect
the function of the remote control.
If a CD or DVD is in the Radio DVD slot, the
remote control power button can be used to turn
on the video screen display and start the disc. The
radio can also turn on the video screen display.
SeeRadio with CD and DVD on page 273
for more information.
If the remote control becomes lost or damaged, a
new universal remote control can be purchased.
If this happens, make sure the universal
remote control uses a code set of Toshiba
®.
Notice:Storing the remote control in a hot
area or in direct sunlight may damage it,
and the repairs will not be covered by your
warranty. Keep the remote control stored in a
cool, dry place.
Remote Control Buttons
O(Power):Press this button to turn the video
screen on and off.
P(Illumination):Press this button to turn the
remote control backlight on. The backlight will
automatically time out after 7 to 10 seconds if no
other button is pressed while the backlight is on.
v(Title):Press this button to return the DVD to
the main menu of the DVD. This function may
vary for each disc.
309
Page 336 of 574

So here are some tips for passing:
Drive ahead. Look down the road, to the sides
and to crossroads for situations that might
affect your passing patterns. If you have any
doubt whatsoever about making a successful
pass, wait for a better time.
Watch for traffic signs, pavement markings
and lines. If you can see a sign up ahead
that might indicate a turn or an intersection,
delay your pass. A broken center line
usually indicates it is all right to pass, providing
the road ahead is clear. Never cross a solid
line on your side of the lane or a double solid
line, even if the road seems empty of
approaching traffic.
Do not get too close to the vehicle you want
to pass while you are awaiting an opportunity.
For one thing, following too closely reduces
your area of vision, especially if you are
following a larger vehicle. Also, you will not
have adequate space if the vehicle ahead
suddenly slows or stops. Keep back a
reasonable distance.
When it looks like a chance to pass is
coming up, start to accelerate but stay in
the right lane and do not get too close.Time your move so you will be increasing
speed as the time comes to move into
the other lane. If the way is clear to pass,
you will have a running start that more than
makes up for the distance you would lose
by dropping back. And if something happens
to cause you to cancel your pass, you
need only slow down and drop back again
and wait for another opportunity.
If other vehicles are lined up to pass a slow
vehicle, wait your turn. But take care that
someone is not trying to pass you as you
pull out to pass the slow vehicle. Remember
to glance over your shoulder and check
the blind spot.
Check your mirrors, glance over your shoulder,
and start your left lane change signal before
moving out of the right lane to pass. When you
are far enough ahead of the passed vehicle
to see its front in your inside mirror, activate
your right lane change signal and move
back into the right lane. Remember that if your
passenger side outside mirror is convex, the
vehicle you just passed may seem to be
farther away from you than it really is.
336
Page 343 of 574

Surface Obstacles:Unseen or hidden obstacles
can be hazardous. A rock, log, hole, rut, or
bump can startle you if you are not prepared for
them. Often these obstacles are hidden by
grass, bushes, snow, or even the rise and fall of
the terrain itself. Here are some things to consider:
Is the path ahead clear?
Will the surface texture change abruptly
up ahead?
Does the travel take you uphill or downhill?
There is more discussion of these subjects
later.
Will you have to stop suddenly or change
direction quickly?
When you drive over obstacles or rough
terrain, keep a rm grip on the steering wheel.
Ruts, troughs, or other surface features can
jerk the wheel out of your hands if you are
not prepared.When you drive over bumps, rocks, or other
obstacles, the wheels can leave the ground.
If this happens, even with one or two wheels,
you cannot control the vehicle as well or at all.
Because you will be on an unpaved surface, it is
especially important to avoid sudden acceleration,
sudden turns, or sudden braking.
In a way, off-road driving requires a different kind
of alertness from driving on paved roads and
highways. There are no road signs, posted speed
limits, or signal lights. You have to use your
own good judgment about what is safe and what
is not.
Drinking and driving can be very dangerous on
any road. And this is certainly true for off-road
driving. At the very time you need special alertness
and driving skills, your reexes, perceptions,
and judgment can be affected by even a small
amount of alcohol. You could have a serious — or
even fatal — accident if you drink and drive or
ride with a driver who has been drinking.
SeeDrunken Driving on page 323.
343
Page 358 of 574
City Driving
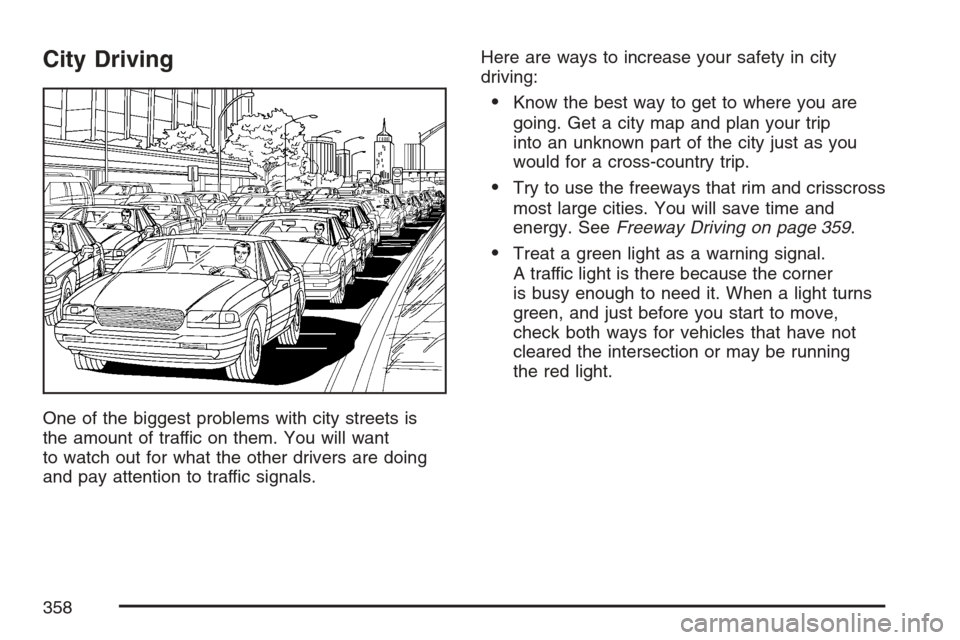
One of the biggest problems with city streets is
the amount of traffic on them. You will want
to watch out for what the other drivers are doing
and pay attention to traffic signals.Here are ways to increase your safety in city
driving:
Know the best way to get to where you are
going. Get a city map and plan your trip
into an unknown part of the city just as you
would for a cross-country trip.
Try to use the freeways that rim and crisscross
most large cities. You will save time and
energy. SeeFreeway Driving on page 359.
Treat a green light as a warning signal.
A traffic light is there because the corner
is busy enough to need it. When a light turns
green, and just before you start to move,
check both ways for vehicles that have not
cleared the intersection or may be running
the red light.
358
Page 359 of 574
Freeway Driving
Mile for mile, freeways — also called thruways,
parkways, expressways, turnpikes, or
superhighways — are the safest of all roads.
But they have their own special rules.
The most important advice on freeway driving
is: Keep up with traffic and keep to the right.
Drive at the same speed most of the other
drivers are driving.Too-fast or too-slow driving breaks a smooth
traffic ow. Treat the left lane on a freeway as
a passing lane.
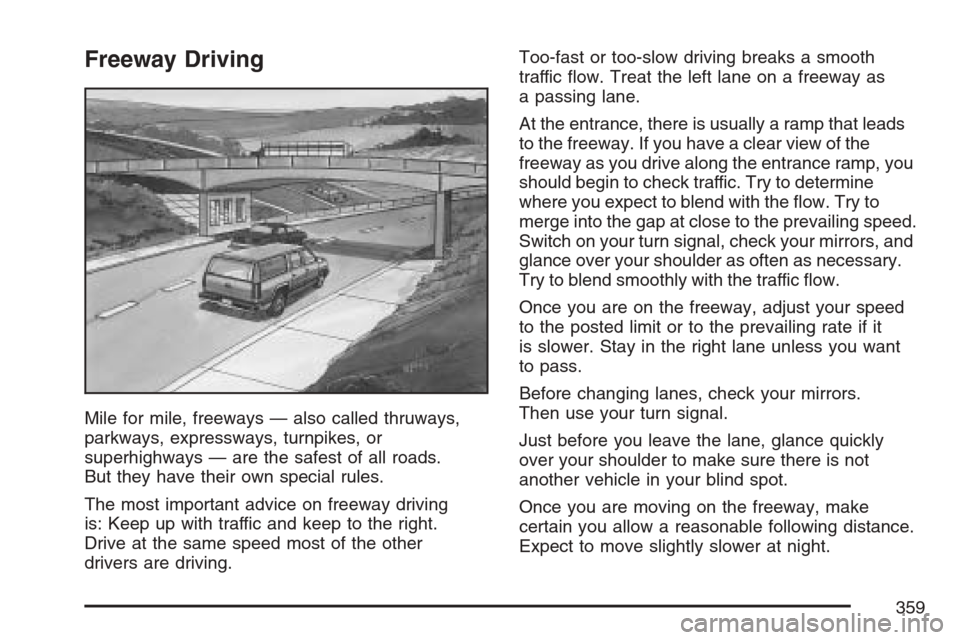
At the entrance, there is usually a ramp that leads
to the freeway. If you have a clear view of the
freeway as you drive along the entrance ramp, you
should begin to check traffic. Try to determine
where you expect to blend with the ow. Try to
merge into the gap at close to the prevailing speed.
Switch on your turn signal, check your mirrors, and
glance over your shoulder as often as necessary.
Try to blend smoothly with the traffic ow.
Once you are on the freeway, adjust your speed
to the posted limit or to the prevailing rate if it
is slower. Stay in the right lane unless you want
to pass.
Before changing lanes, check your mirrors.
Then use your turn signal.
Just before you leave the lane, glance quickly
over your shoulder to make sure there is not
another vehicle in your blind spot.
Once you are moving on the freeway, make
certain you allow a reasonable following distance.
Expect to move slightly slower at night.
359
Page 378 of 574
Dolly Towing
Two-Wheel-Drive Vehicles (Rear Wheels
Off the Ground)
Notice:If you tow a two-wheel-drive vehicle
with the rear wheels on the ground, the
transmission could be damaged. The repairs
would not be covered by your warranty. Never
tow your vehicle with the rear wheels on the
ground.
Two-wheel-drive vehicles should not be towed
with the rear wheels on the ground.
Two-wheel-drive transmissions have no provisions
for internal lubrication while being towed.
Two-wheel-drive vehicles can be towed on a dolly
with the front wheels on the ground provided
that the wheels are straight.
Use the following procedure to dolly tow your
vehicle:
1. Drive the vehicle up onto the tow dolly.
2. Shift the transmission to PARK (P).
3. Turn the engine off, but leave the ignition on.
4. Firmly set the parking brake.5. Securely attach the vehicle being towed to the
tow dolly.
6. Release the parking brake only after the
vehicle being towed is rmly attached to
the towing vehicle.
Autoride®
The Autoride®feature provides improved vehicle
ride and handling under a variety of passenger and
loading conditions.
The system is fully automatic and uses a computer
controller to continuously monitor vehicle speed,
wheel to body position, lift/dive and steering
position of the vehicle. The controller then sends
signals to each shock absorber to independently
adjust the damping level to provide the optimum
vehicle ride.
Autoride
®also interacts with the tow/haul mode
that, when activated, will provide additional control
of the shock absorbers. This additional control
results in better ride and handling characteristics
when the vehicle is loaded or towing a trailer.
See “Tow/Haul Mode” underTowing a Trailer
on page 379for more information.
378
Page 388 of 574

Acquaint yourself with the feel of handling and
braking with the added weight of the trailer. And
always keep in mind that the vehicle you are
driving is now a good deal longer and not nearly
as responsive as your vehicle is by itself.
Before you start, check all trailer hitch parts and
attachments, safety chains, electrical connector,
lamps, tires and mirror adjustment. If the trailer
has electric brakes, start your vehicle and
trailer moving and then apply the trailer brake
controller by hand to be sure the brakes are
working. This lets you check your electrical
connection at the same time.
During your trip, check occasionally to be sure
that the load is secure, and that the lamps and
any trailer brakes are still working.
Following Distance
Stay at least twice as far behind the vehicle ahead
as you would when driving your vehicle without
a trailer. This can help you avoid situations
that require heavy braking and sudden turns.
Passing
You’ll need more passing distance up ahead when
you’re towing a trailer. And, because you’re a
good deal longer, you’ll need to go much farther
beyond the passed vehicle before you can
return to your lane.
Backing Up
Hold the bottom of the steering wheel with
one hand. Then, to move the trailer to the left, just
move that hand to the left. To move the trailer to the
right, move your hand to the right. Always back up
slowly and, if possible, have someone guide you.
Making Turns
Notice:Making very sharp turns while
trailering could cause the trailer to come in
contact with the vehicle. Your vehicle could
be damaged. Avoid making very sharp
turns while trailering.
When you’re turning with a trailer, make wider
turns than normal. Do this so your trailer
won’t strike soft shoulders, curbs, road signs,
trees or other objects. Avoid jerky or sudden
maneuvers. Signal well in advance.
388