garage door opener CADILLAC ESCALADE ESV 2011 Owners Manual
[x] Cancel search | Manufacturer: CADILLAC, Model Year: 2011, Model line: ESCALADE ESV, Model: CADILLAC ESCALADE ESV 2011Pages: 548, PDF Size: 8.45 MB
Page 27 of 548
Black plate (21,1)Cadillac Escalade/Escalade ESV Owner Manual - 2011
In Brief 1-21
Power Outlets The accessory power outlets can be
used to plug in electrical equipment,
such as a cell phone or MP3 player.
The vehicle has three accessory
power outlets located: .
Inside the floor console
storage bin. .
On the rear of the floor console. .
In the rear cargo area on the
passenger side.
The accessory power outlets are
powered, even when the ignition is
in LOCK/OFF. Continuing to use
power outlets while the ignition is in
LOCK/OFF may cause the vehicle's
battery to run down.
See Power Outlets on page 5 ‑ 9 .Universal Remote System
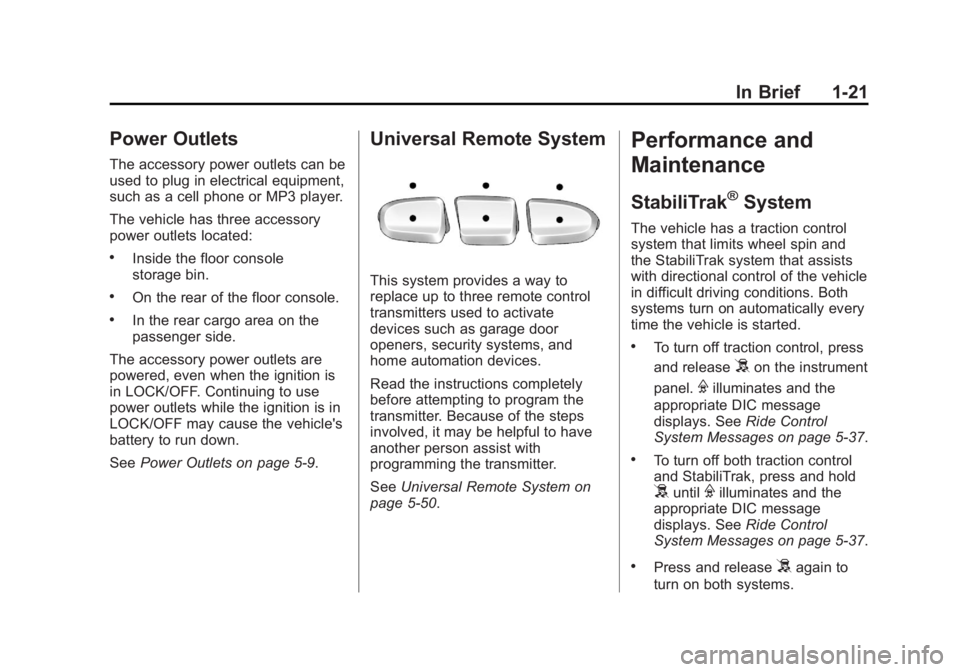
This system provides a way to
replace up to three remote control
transmitters used to activate
devices such as garage door
openers, security systems, and
home automation devices.
Read the instructions completely
before attempting to program the
transmitter. Because of the steps
involved, it may be helpful to have
another person assist with
programming the transmitter.
See Universal Remote System on
page 5 ‑ 50 .Performance and
Maintenance StabiliTrak ®
System The vehicle has a traction control
system that limits wheel spin and
the StabiliTrak system that assists
with directional control of the vehicle
in difficult driving conditions. Both
systems turn on automatically every
time the vehicle is started. .
To turn off traction control, press
and release
5 on the instrument
panel.
F illuminates and the
appropriate DIC message
displays. See Ride Control
System Messages on page 5 ‑ 37 . .
To turn off both traction control
and StabiliTrak, press and hold
5 until
F illuminates and the
appropriate DIC message
displays. See Ride Control
System Messages on page 5 ‑ 37 . .
Press and release
5 again to
turn on both systems.
Page 184 of 548
Black plate (50,1)Cadillac Escalade/Escalade ESV Owner Manual - 2011
5-50 Instruments and Controls Exiting the Feature
Settings Menu The feature settings menu will be
exited when any of the following
occurs: .
The vehicle is no longer in
ON/RUN. .
The trip/fuel or vehicle
information DIC buttons are
pressed. .
The end of the feature settings
menu is reached and exited. .
A 40 second time period has
elapsed with no selection made. Universal Remote
System See Radio Frequency Statement on
page 13 ‑ 19 for information
regarding Part 15 of the Federal
Communications Commission (FCC)
rules and Industry Canada
Standards RSS-210/220/310.
Universal Remote System
Programming
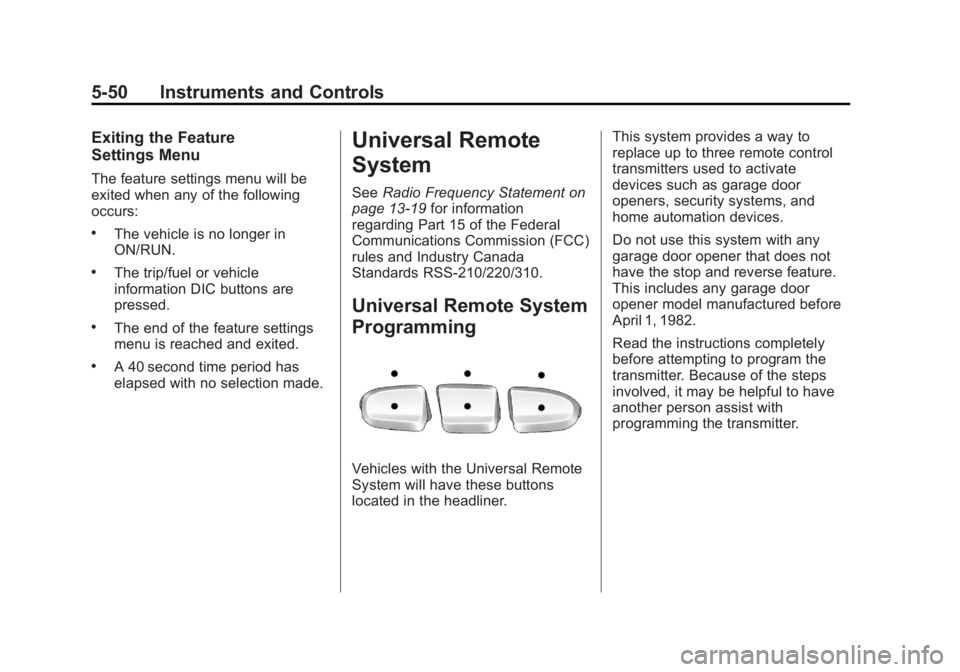
Vehicles with the Universal Remote
System will have these buttons
located in the headliner. This system provides a way to
replace up to three remote control
transmitters used to activate
devices such as garage door
openers, security systems, and
home automation devices.
Do not use this system with any
garage door opener that does not
have the stop and reverse feature.
This includes any garage door
opener model manufactured before
April 1, 1982.
Read the instructions completely
before attempting to program the
transmitter. Because of the steps
involved, it may be helpful to have
another person assist with
programming the transmitter.
Page 185 of 548

Black plate (51,1)Cadillac Escalade/Escalade ESV Owner Manual - 2011
Instruments and Controls 5-51Be sure to keep the original remote
control transmitter for use in other
vehicles, as well as for future
programming. Only the original
remote control transmitter is needed
for Fixed Code programming. The
programmed buttons should be
erased when the vehicle is sold or
the lease ends. See “ Erasing
Universal Home Remote Buttons ”
in this section.
Park the vehicle outside of the
garage when programming a garage
door. Be sure that people and
objects are clear of the garage door
or gate that is being programmed.
Programming Universal Home
Remote — Rolling CodeFor questions or help programming
the Universal Home Remote
System, call 1-866-572-2728
or go to www.learcar2u.com.
Most garage door openers sold
after 1996 are Rolling Code units. Programming a garage door opener
involves time-sensitive actions, so
read the entire procedure before
starting. Otherwise, the device will
time out and the procedure will have
to be repeated.
To program up to three devices:
1. From inside the vehicle,
press the two outside buttons
at the same time for one to
two seconds, and immediately
release them. 2. In the garage, locate the
garage door opener receiver
(motor-head unit). Find the
“ Learn ” or “ Smart ” button. It can
usually be found where the
hanging antenna wire is
attached to the motor-head unit
and may be a colored button.
Press this button. After pressing
this button, complete the
following steps in less than
30 seconds.
Page 186 of 548

Black plate (52,1)Cadillac Escalade/Escalade ESV Owner Manual - 2011
5-52 Instruments and Controls 3. Immediately return to the
vehicle. Press and hold the
Universal Home Remote button
that will be used to control the
garage door until the garage
door moves. The indicator light,
above the selected button,
should slowly blink. This button
may need to be held for up to
20 seconds.
4. Immediately, within one second,
release the button when the
garage door moves. The
indicator light will blink rapidly
until programming is complete.
5. Press and release the same
button again. The garage door
should move, confirming that
programming is successful and
complete.
To program another Rolling Code
device such as an additional garage
door opener, a security device,
or home automation device, repeat
Steps 1 through 5, choosing a different function button in Step 3
than what was used for the garage
door opener.
If these instructions do not work,
the garage door opener is probably
a Fixed Code unit. Follow the
programming instructions that
follow for a Fixed Code garage
door opener.
Programming Universal Home
Remote — Fixed CodeFor questions or help programming
the Universal Home Remote
System, call 1-866-572-2728 or
go to www.learcar2u.com.
Most garage door openers sold
before 1996 are Fixed Code units.
Programming a garage door opener
involves time-sensitive actions, so
read the entire procedure before
starting. Otherwise, the device will
time out and the procedure will have
to be repeated. To program up to three devices:
1. To verify that the garage door
opener is a Fixed Code unit,
remove the battery cover on the
hand-held transmitter supplied
by the manufacturer of the
garage door opener motor.
If there is a row of dip switches
similar to the graphic above, the
garage door opener is a Fixed
Code unit. If you do not see a
row of dip switches, return
to the previous section for
Programming Universal Home
Remote — Rolling Code.
Page 187 of 548
Black plate (53,1)Cadillac Escalade/Escalade ESV Owner Manual - 2011
Instruments and Controls 5-53Your hand-held transmitter can
have between 8 to 12 dip
switches depending on the
brand of transmitter.
The garage door opener receiver
(motor head unit) could also
have a row of dip switches that
can be used when programming
the Universal Home Remote.
If the total number of switches
on the motor head and
hand-held transmitter are
different, or if the dip switch
settings are different, use the
dip switch settings on the motor
head unit to program the
Universal Home Remote. The
motor head dip switch settings
can also be used when the
original hand-held transmitter
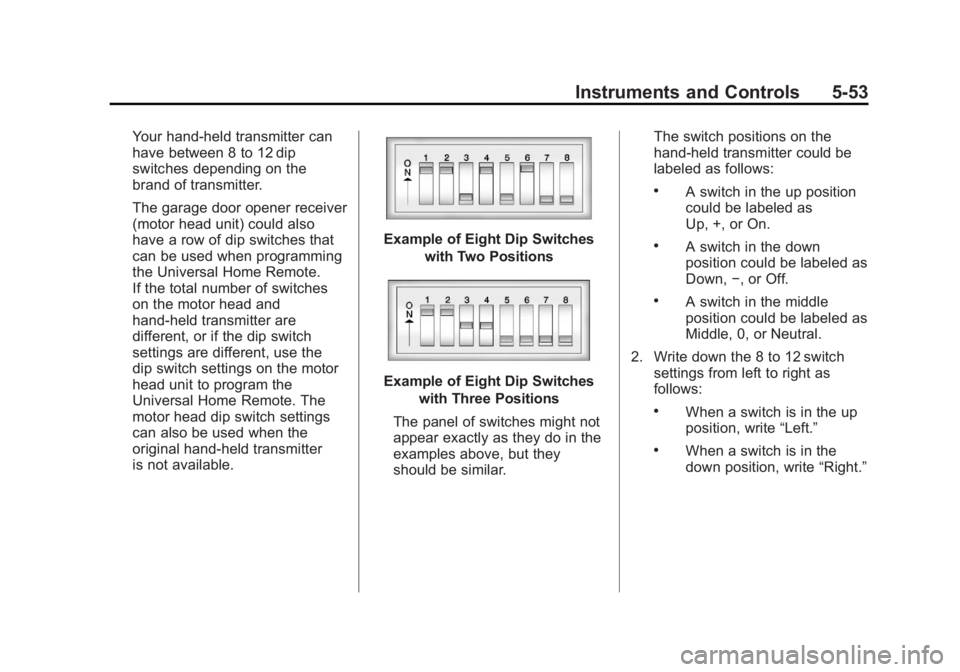
is not available. Example of Eight Dip Switches
with Two Positions
Example of Eight Dip Switches
with Three Positions
The panel of switches might not
appear exactly as they do in the
examples above, but they
should be similar. The switch positions on the
hand-held transmitter could be
labeled as follows: .
A switch in the up position
could be labeled as
Up, +, or On. .
A switch in the down
position could be labeled as
Down, − , or Off. .
A switch in the middle
position could be labeled as
Middle, 0, or Neutral.
2. Write down the 8 to 12 switch
settings from left to right as
follows: .
When a switch is in the up
position, write “ Left. ” .
When a switch is in the
down position, write “ Right. ”
Page 189 of 548
Black plate (55,1)Cadillac Escalade/Escalade ESV Owner Manual - 2011
Instruments and Controls 5-556. Press and hold the button
that will be used to control the
garage door until the garage
door moves. The indicator
light above the selected button
should slowly blink. This button
may need to be held for up to
55 seconds.
7. Immediately release the button
when the garage door moves.
The indicator light will blink
rapidly until programming is
complete.
8. Press and release the same
button again. The garage door
should move, confirming that
programming is successful and
complete.
To program another Fixed Code
device such as an additional garage
door opener, a security device,
or home automation device, repeat
Steps 1-8, choosing a different
button in Step 6 than what was
used for the garage door opener. Universal Remote System
Operation Press and hold the appropriate
button for at least half of a second.
The indicator light will come on
while the signal is being transmitted.
Reprogramming Universal
Home Remote Buttons Any of the three buttons can be
reprogrammed by repeating the
instructions.
Erasing Universal Home
Remote Buttons The programmed buttons should be
erased when the vehicle is sold or
the lease ends. To erase either Rolling Code or
Fixed Code settings on the
Universal Home Remote device:
1. Press and hold the two outside
buttons at the same time for
approximately 20 seconds, until
the indicator lights, located
directly above the buttons, begin
to blink rapidly.
2. Once the indicator lights begin to
blink, release both buttons. The
codes from all buttons will be
erased.
For help or information on the
Universal Home Remote System,
call the customer assistance phone
number under Customer Assistance
Offices (U.S. and Canada) on
page 13 ‑ 5 or Customer Assistance
Offices (Mexico) on page 13 ‑ 5 .
Page 535 of 548
Black plate (19,1)Cadillac Escalade/Escalade ESV Owner Manual - 2011
Customer Information 13-19
OnStar ®
If the vehicle is equipped with an
active OnStar system, that system
may also record data in crash or
near crash ‐ like situations. The
OnStar Terms and Conditions
provides information on data
collection and use and is available
in the OnStar glove box kit, at
www.onstar.com (U.S.) or
www.onstar.ca (Canada), or by
pressing the
Q button and
speaking to an advisor.
Navigation System If the vehicle has a navigation
system, use of the system may
result in the storage of destinations,
addresses, telephone numbers, and
other trip information. See Using the
Navigation System on page 7 ‑ 60 for
information on stored data and for
deletion instructions. Radio Frequency
Identification (RFID) RFID technology is used in some
vehicles for functions such as tire
pressure monitoring and ignition
system security, as well as in
connection with conveniences
such as key fobs for remote door
locking/unlocking and starting, and
in-vehicle transmitters for garage
door openers. RFID technology in
GM vehicles does not use or record
personal information or link with
any other GM system containing
personal information. Radio Frequency
Statement This vehicle has systems that
operate on a radio frequency that
comply with Part 15 of the Federal
Communications Commission (FCC)
rules and with Industry Canada
Standards RSS ‐ 210/220/310.
Operation is subject to the following
two conditions:
1. The device may not cause
interference.
2. The device must accept any
interference received, including
interference that may cause
undesired operation of the
device.
Changes or modifications to any of
these systems by other than an
authorized service facility could void
authorization to use this equipment.
Page 541 of 548

Black plate (5,1)Cadillac Escalade/Escalade ESV Owner Manual - 2011
INDEX i-5Fuel (cont.)
Gasoline Specifications . . . . . . . 9-64
Gauge . . . . . . . . . . . . . . . . . . . . . . . . 5-13
Management, Active . . . . . . . . . . 9-38
Recommended . . . . . . . . . . . . . . . 9-64
Requirements, California . . . . . 9-64
System Messages . . . . . . . . . . . . 5-35
Fuel Economy
Driving . . . . . . . . . . . . . . . . . . . . . . . . 1-23
Full-Size Spare Tire . . . . . . . . . . 10-81
Fuses
Engine Compartment
Fuse Block . . . . . . . . . . . . . . . . 10-39
Fuses and Circuit
Breakers . . . . . . . . . . . . . . . . . . 10-39
Instrument Panel Fuse
Block . . . . . . . . . . . . . . . . . . . . . . 10-44
GGarage Door Opener . . . . . . . . . . 5-50
Programming . . . . . . . . . . . . . . . . . 5-50
Gasoline
Specifications . . . . . . . . . . . . . . . . . 9-64 Gauges
Engine Coolant
Temperature . . . . . . . . . . . . . . . . 5-14
Fuel . . . . . . . . . . . . . . . . . . . . . . . . . . 5-13
Odometer . . . . . . . . . . . . . . . . . . . . . 5-13
Speedometer . . . . . . . . . . . . . . . . . 5-13
Tachometer . . . . . . . . . . . . . . . . . . . 5-13
Trip Odometer . . . . . . . . . . . . . . . . 5-13
Warning Lights and
Indicators . . . . . . . . . . . . . . . . . . . 5-11
General Information
Service and Maintenance . . . . . 11-1
Towing . . . . . . . . . . . . . . . . . . . . . . . . 9-70
Vehicle Care . . . . . . . . . . . . . . . . . . 10-2
Glass Replacement . . . . . . . . . . . 10-33
Global Positioning
System (GPS) . . . . . . . . . . . . . . . . 7-96
Glove Box . . . . . . . . . . . . . . . . . . . . . . 4-1
GM Mobility Reimbursement
Program . . . . . . . . . . . . . . . . . . . . . . 13-7 H Hazard Warning Flashers . . . . . . . 6-8
Head Restraints . . . . . . . . . . . . . . . . 3-2
Headlamps
Aiming . . . . . . . . . . . . . . . . . . . . . . 10-34
Automatic . . . . . . . . . . . . . . . . . . . . . . 6-7
Bulb Replacement . . . . . . . . . . 10-36
Daytime Running
Lamps (DRL) . . . . . . . . . . . . . . . . . 6-6
Flash-to-Pass . . . . . . . . . . . . . . . . . . 6-6
High Intensity Discharge
(HID) Lighting . . . . . . . . . . . . . 10-36
High-Beam On Light . . . . . . . . . . 5-25
High/Low Beam Changer . . . . . . 6-6
Lamps On Reminder . . . . . . . . . 5-25
Heated
Rear Seats . . . . . . . . . . . . . . . . . . . . 3-9
Steering Wheel . . . . . . . . . . . . . . . . 5-5
Heated and Ventilated Front
Seats . . . . . . . . . . . . . . . . . . . . . . . . . 3-8
Heated Mirrors . . . . . . . . . . . . . . . . . 2-17
Heater
Engine . . . . . . . . . . . . . . . . . . . . . . . . 9-35