instrument panel CADILLAC ESCALADE EXT 2008 3.G User Guide
[x] Cancel search | Manufacturer: CADILLAC, Model Year: 2008, Model line: ESCALADE EXT, Model: CADILLAC ESCALADE EXT 2008 3.GPages: 496, PDF Size: 7.02 MB
Page 107 of 496

PASS-Key®III+ Operation
Your vehicle has PASS-Key®III+ (Personalized
Automotive Security System) theft-deterrent system.
PASS-Key
®III+ is a passive theft-deterrent system.
The system is automatically armed when the key
is removed from the ignition.
The system is automatically disarmed when the key
is turned to ON/RUN, ACC/ACCESSORY or START
from the LOCK/OFF position.
You do not have to manually arm or disarm the system.
The security light will come on if there is a problem
with arming or disarming the theft-deterrent system.
When the PASS-Key
®III+ system senses that someone
is using the wrong key, it prevents the vehicle from
starting. Anyone using a trial-and-error method to start
the vehicle will be discouraged because of the high
number of electrical key codes.
If the engine does not start and the security light on
the instrument panel cluster comes on when trying to
start the vehicle, there may be a problem with your
theft-deterrent system. Turn the ignition off and try again.If the engine still does not start, and the key appears
to be undamaged, try another ignition key. At this time,
you may also want to check the fuse, seeFuses
and Circuit Breakers on page 5-107. If the engine still
does not start with the other key, your vehicle needs
service. If your vehicle does start, the rst key may
be faulty. See your dealer/retailer who can service
the PASS-Key
®III+ to have a new key made.
In an emergency, contact Roadside Assistance.
It is possible for the PASS-Key
®III+ decoder to learn
the transponder value of a new or replacement key.
Up to 10 keys may be programmed for the vehicle.
The following procedure is for programming additional
keys only. If all the currently programmed keys are
lost or do not operate, you must see your dealer/retailer
or a locksmith who can service PASS-Key
®III+ to
have keys made and programmed to the system.
See your dealer/retailer or a locksmith who can service
PASS-Key
®III+ to get a new key blank that is cut
exactly as the ignition key that operates the system.
2-29
Page 114 of 496
Automatic Transmission Operation
Your vehicle has a Hydra-Matic®6L80 automatic
transmission, and has an electronic shift position
indicator within the instrument panel cluster. The
electronic shift position indicator displays when the
shift lever is moved out of PARK (P).
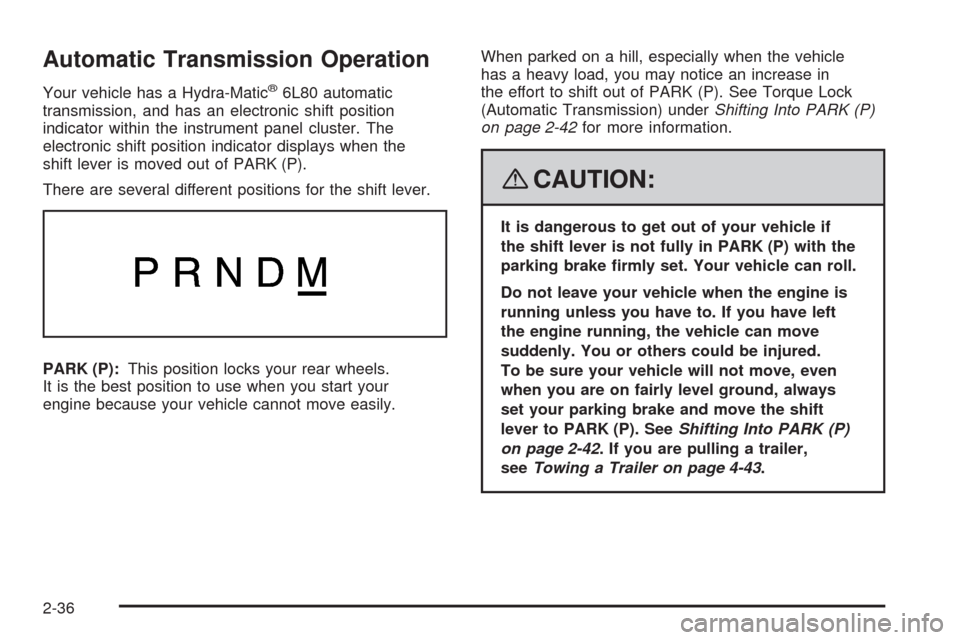
There are several different positions for the shift lever.
PARK (P):This position locks your rear wheels.
It is the best position to use when you start your
engine because your vehicle cannot move easily.When parked on a hill, especially when the vehicle
has a heavy load, you may notice an increase in
the effort to shift out of PARK (P). See Torque Lock
(Automatic Transmission) underShifting Into PARK (P)
on page 2-42for more information.
{CAUTION:
It is dangerous to get out of your vehicle if
the shift lever is not fully in PARK (P) with the
parking brake rmly set. Your vehicle can roll.
Do not leave your vehicle when the engine is
running unless you have to. If you have left
the engine running, the vehicle can move
suddenly. You or others could be injured.
To be sure your vehicle will not move, even
when you are on fairly level ground, always
set your parking brake and move the shift
lever to PARK (P). SeeShifting Into PARK (P)
on page 2-42. If you are pulling a trailer,
seeTowing a Trailer on page 4-43.
2-36
Page 118 of 496

Tow/Haul Mode
Your vehicle has a tow/haul mode. The tow/haul mode
adjusts the transmission shift pattern to reduce shift
cycling, providing increased performance, vehicle
control, and transmission cooling when towing or
hauling heavy loads.
Press the button located on the end of the shift lever
to turn the tow/haul on or off. When the tow/haul is on,
a light on the instrument panel cluster will come on.SeeTow/Haul Mode Light on page 3-44for more
information.
Also see “Tow Haul Mode” underTowing a Trailer
on page 4-43for more information.
The tow/haul mode works with the Autoride
®feature,
if the vehicle has this, to enhance the ride when trailering
or with a loaded vehicle. SeeAutoride
®on page 4-42.
Grade Braking
Grade Braking assists when driving on a downhill
grade. It maintains the vehicle’s speed by automatically
implementing a shift schedule that uses the engine
and the transmission to slow the vehicle. This reduces
wear on the brakes system and increases control of
the vehicle. The system constantly monitors the vehicle’s
speed, acceleration, throttle position, and whether the
brake pedal is being pressed, and determines when
to keep the current vehicle speed or to slow down.
The system will then automatically command downshifts
that reduces the vehicles speed, until the brake pedal
is no longer being pressed. This indicates the desired
vehicle speed has been reached.
2-40
Page 145 of 496
Storage Areas
Glove Box
To open the glove box, lift up on the lever.
Cupholder(s)
Your vehicle has cupholders for the front and rear
passengers.
The cupholders are located in the center console for the
front passengers and on the rear of the center console
for the rear passengers.
To use the front cupholders, press down on the access
door and release. The door will then open. Push the
door back down to close it.
To use the rear cupholders, pull down on the door
located on the back of the console.
The front cupholder may be removed for cleaning
by pushing down and then back on the cupholder.
Instrument Panel Storage
Your vehicle may have a closed storage area on the
instrument panel above the compact disc changer.
You can open the storage area by pressing in the
bottom of the lid and the lid will automatically raise up.
Press down on the lid to close the storage area.
Center Console Storage
Your vehicle has a console compartment between
the bucket seats. The console has both an upper and
lower storage bin that can be opened by lifting up on
the latches located at the front of the console lids.
The console may have an accessory power outlet
inside, seeAccessory Power Outlet(s) on page 3-22.
The rear of the console also has a cupholder that
swings down for the rear seat passengers to use.
2-67
Page 167 of 496
Instrument Panel Overview...............................3-4
Hazard Warning Flashers................................3-6
Other Warning Devices...................................3-6
Horn.............................................................3-6
Tilt Wheel.....................................................3-6
Heated Steering Wheel...................................3-7
Turn Signal/Multifunction Lever.........................3-7
Turn and Lane-Change Signals........................3-8
Headlamp High/Low-Beam Changer..................3-9
Flash-to-Pass.................................................3-9
Windshield Wipers..........................................3-9
Rainsense™ II Wipers...................................3-10
Windshield Washer.......................................3-10
Cruise Control..............................................3-11
Exterior Lamps.............................................3-14
Headlamps on Reminder................................3-17
Daytime Running Lamps (DRL).......................3-18
Automatic Headlamp System..........................3-18
Fog Lamps..................................................3-19
Exterior Cargo Lamps....................................3-19
Instrument Panel Brightness...........................3-20
Dome Lamps...............................................3-20
Dome Lamp Override....................................3-20
Entry/Exit Lighting.........................................3-20Reading Lamps............................................3-20
Electric Power Management...........................3-21
Battery Run-Down Protection..........................3-21
Accessory Power Outlet(s).............................3-22
Ashtray(s) and Cigarette Lighter......................3-23
Analog Clock...............................................3-23
Climate Controls............................................3-24
Dual Automatic Climate Control System...........3-24
Outlet Adjustment.........................................3-28
Warning Lights, Gages, and Indicators...........
.3-29
Instrument Panel Cluster................................3-30
Speedometer and Odometer...........................3-31
Trip Odometer..............................................3-31
Tachometer.................................................3-31
Safety Belt Reminders...................................3-31
Airbag Readiness Light..................................3-32
Passenger Airbag Status Indicator...................3-33
Charging System Light..................................3-35
Brake System Warning Light..........................3-36
Antilock Brake System Warning Light...............3-37
StabiliTrak
®Indicator Light..............................3-38
Engine Coolant Temperature Gage..................3-39
Tire Pressure Light.......................................3-39
Section 3 Instrument Panel
3-1
Page 168 of 496
Malfunction Indicator Lamp.............................3-40
Oil Pressure Light.........................................3-42
Security Light...............................................3-43
Fog Lamp Light............................................3-43
Lights On Reminder......................................3-43
Cruise Control Light......................................3-44
Highbeam On Light.......................................3-44
Tow/Haul Mode Light....................................3-44
Fuel Gage...................................................3-44
Driver Information Center (DIC).......................3-45
DIC Operation and Displays...........................3-45
DIC Warnings and Messages.........................3-50
DIC Vehicle Customization.............................3-57Audio System(s).............................................3-66
Setting the Clock..........................................3-67
Radio(s)......................................................3-68
Using an MP3..............................................3-86
XM Radio Messages.....................................3-90
Navigation/Radio System...............................3-91
Rear Seat Entertainment (RSE) System...........3-91
Rear Seat Audio (RSA)................................3-101
Theft-Deterrent Feature................................3-102
Audio Steering Wheel Controls......................3-103
Radio Reception.........................................3-104
Fixed Mast Antenna....................................3-105
XM™ Satellite Radio Antenna System............3-105
Section 3 Instrument Panel
3-2
Page 170 of 496

Instrument Panel Overview
3-4
Page 171 of 496
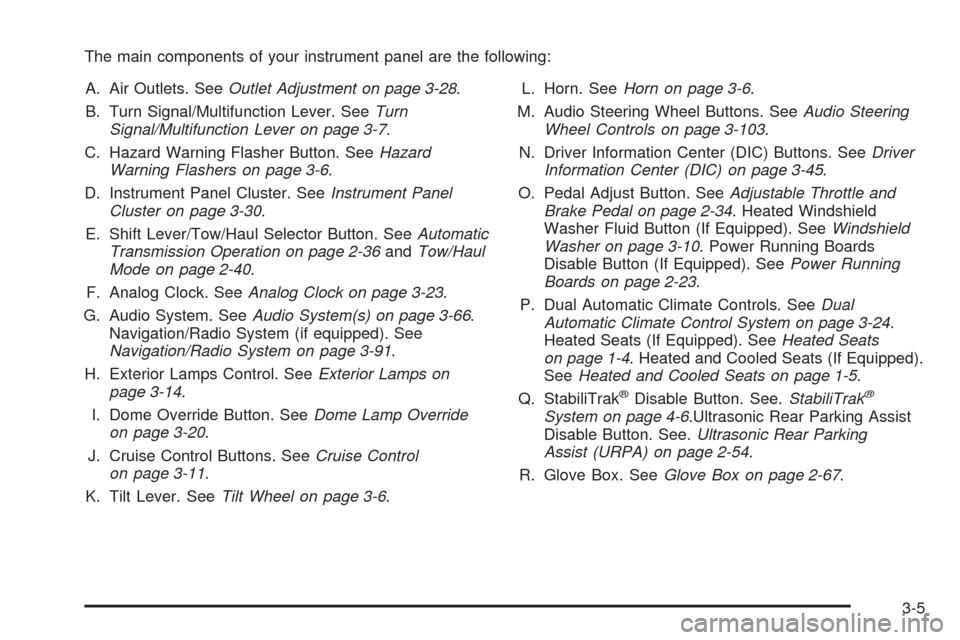
The main components of your instrument panel are the following:
A. Air Outlets. SeeOutlet Adjustment on page 3-28.
B. Turn Signal/Multifunction Lever. SeeTurn
Signal/Multifunction Lever on page 3-7.
C. Hazard Warning Flasher Button. SeeHazard
Warning Flashers on page 3-6.
D. Instrument Panel Cluster. SeeInstrument Panel
Cluster on page 3-30.
E. Shift Lever/Tow/Haul Selector Button. SeeAutomatic
Transmission Operation on page 2-36andTow/Haul
Mode on page 2-40.
F. Analog Clock. SeeAnalog Clock on page 3-23.
G. Audio System. SeeAudio System(s) on page 3-66.
Navigation/Radio System (if equipped). See
Navigation/Radio System on page 3-91.
H. Exterior Lamps Control. SeeExterior Lamps on
page 3-14.
I. Dome Override Button. SeeDome Lamp Override
on page 3-20.
J. Cruise Control Buttons. SeeCruise Control
on page 3-11.
K. Tilt Lever. SeeTilt Wheel on page 3-6.L. Horn. SeeHorn on page 3-6.
M. Audio Steering Wheel Buttons. SeeAudio Steering
Wheel Controls on page 3-103.
N. Driver Information Center (DIC) Buttons. SeeDriver
Information Center (DIC) on page 3-45.
O. Pedal Adjust Button. SeeAdjustable Throttle and
Brake Pedal on page 2-34. Heated Windshield
Washer Fluid Button (If Equipped). SeeWindshield
Washer on page 3-10. Power Running Boards
Disable Button (If Equipped). SeePower Running
Boards on page 2-23.
P. Dual Automatic Climate Controls. SeeDual
Automatic Climate Control System on page 3-24.
Heated Seats (If Equipped). SeeHeated Seats
on page 1-4. Heated and Cooled Seats (If Equipped).
SeeHeated and Cooled Seats on page 1-5.
Q. StabiliTrak
®Disable Button. See.StabiliTrak®
System on page 4-6.Ultrasonic Rear Parking Assist
Disable Button. See.Ultrasonic Rear Parking
Assist (URPA) on page 2-54.
R. Glove Box. SeeGlove Box on page 2-67.
3-5
Page 174 of 496
Turn and Lane-Change Signals
The turn signal has two upward (for right) and
two downward (for left) positions. These positions
allow you to signal a turn or a lane change.
To signal a turn, move the lever all the way up or
down. When the turn is nished, the lever will return
automatically.
To signal a lane change, raise or lower the lever for
less than one second until the arrow starts to ash.
This will cause the turn signals to automatically
ash three times. It will ash six times if the tow-haul
mode is active. Holding the turn signal lever for
more than one second will cause the turn signals to
ash until you release the lever. The lever will return
by itself when it is released.
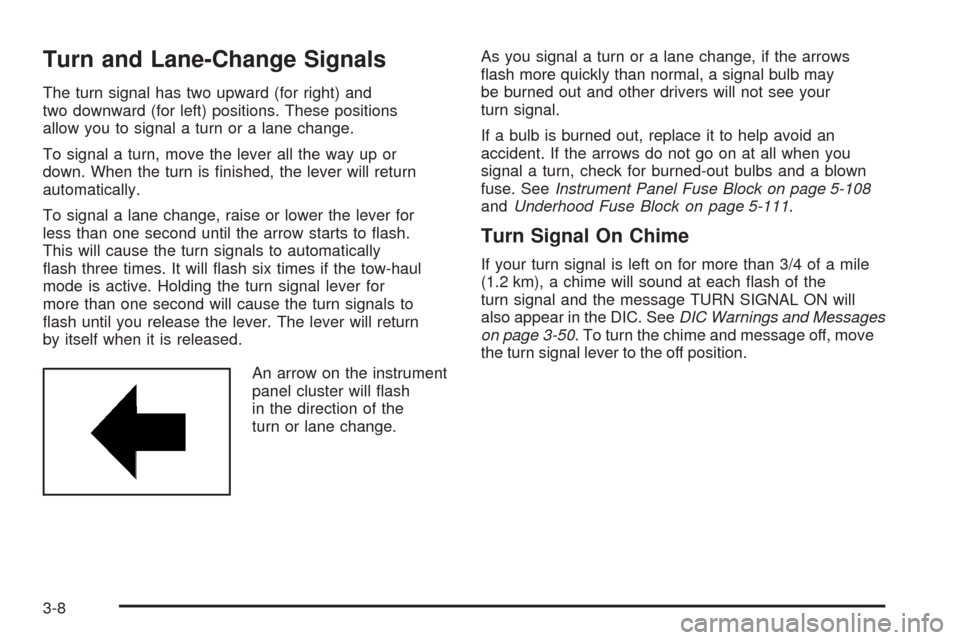
An arrow on the instrument
panel cluster will ash
in the direction of the
turn or lane change.As you signal a turn or a lane change, if the arrows
ash more quickly than normal, a signal bulb may
be burned out and other drivers will not see your
turn signal.
If a bulb is burned out, replace it to help avoid an
accident. If the arrows do not go on at all when you
signal a turn, check for burned-out bulbs and a blown
fuse. SeeInstrument Panel Fuse Block on page 5-108
andUnderhood Fuse Block on page 5-111.
Turn Signal On Chime
If your turn signal is left on for more than 3/4 of a mile
(1.2 km), a chime will sound at each ash of the
turn signal and the message TURN SIGNAL ON will
also appear in the DIC. SeeDIC Warnings and Messages
on page 3-50. To turn the chime and message off, move
the turn signal lever to the off position.
3-8
Page 175 of 496
Headlamp High/Low-Beam Changer
53(Headlamp High/Low Beam Changer):
To change the headlamps from low to high beam, push
the lever toward the instrument panel. To return to
low-beam headlamps, pull the multifunction lever toward
you. Then release it.
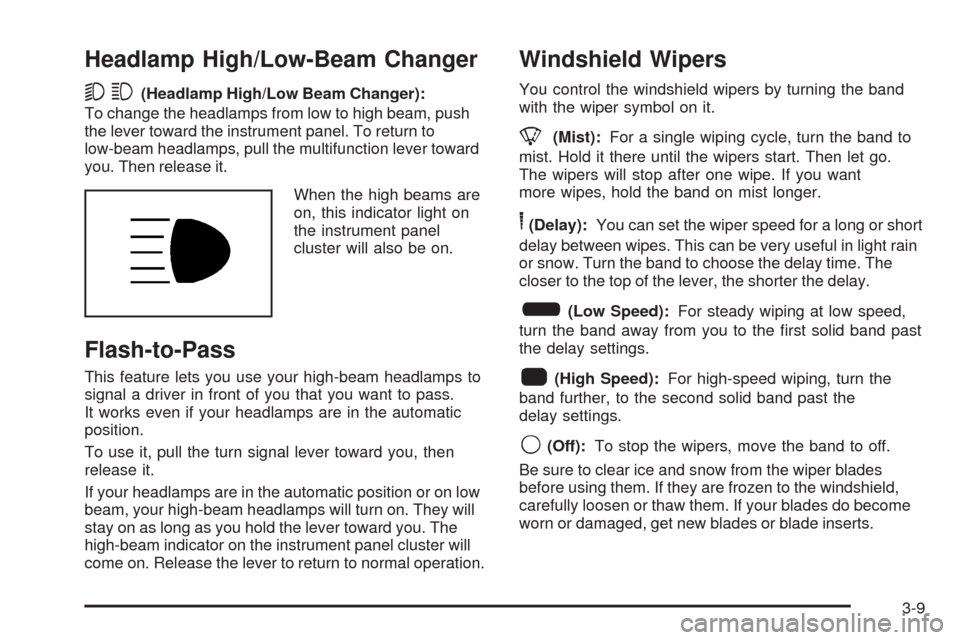
When the high beams are
on, this indicator light on
the instrument panel
cluster will also be on.
Flash-to-Pass
This feature lets you use your high-beam headlamps to
signal a driver in front of you that you want to pass.
It works even if your headlamps are in the automatic
position.
To use it, pull the turn signal lever toward you, then
release it.
If your headlamps are in the automatic position or on low
beam, your high-beam headlamps will turn on. They will
stay on as long as you hold the lever toward you. The
high-beam indicator on the instrument panel cluster will
come on. Release the lever to return to normal operation.
Windshield Wipers
You control the windshield wipers by turning the band
with the wiper symbol on it.
8(Mist):For a single wiping cycle, turn the band to
mist. Hold it there until the wipers start. Then let go.
The wipers will stop after one wipe. If you want
more wipes, hold the band on mist longer.
6(Delay):You can set the wiper speed for a long or short
delay between wipes. This can be very useful in light rain
or snow. Turn the band to choose the delay time. The
closer to the top of the lever, the shorter the delay.
6(Low Speed):For steady wiping at low speed,
turn the band away from you to the rst solid band past
the delay settings.
1(High Speed):For high-speed wiping, turn the
band further, to the second solid band past the
delay settings.
9(Off):To stop the wipers, move the band to off.
Be sure to clear ice and snow from the wiper blades
before using them. If they are frozen to the windshield,
carefully loosen or thaw them. If your blades do become
worn or damaged, get new blades or blade inserts.
3-9