stop start CADILLAC FLEETWOOD 1993 2.G Owners Manual
[x] Cancel search | Manufacturer: CADILLAC, Model Year: 1993, Model line: FLEETWOOD, Model: CADILLAC FLEETWOOD 1993 2.GPages: 386, PDF Size: 19.17 MB
Page 22 of 386
Downloaded from www.Manualslib.com manuals search engine Memory Seat
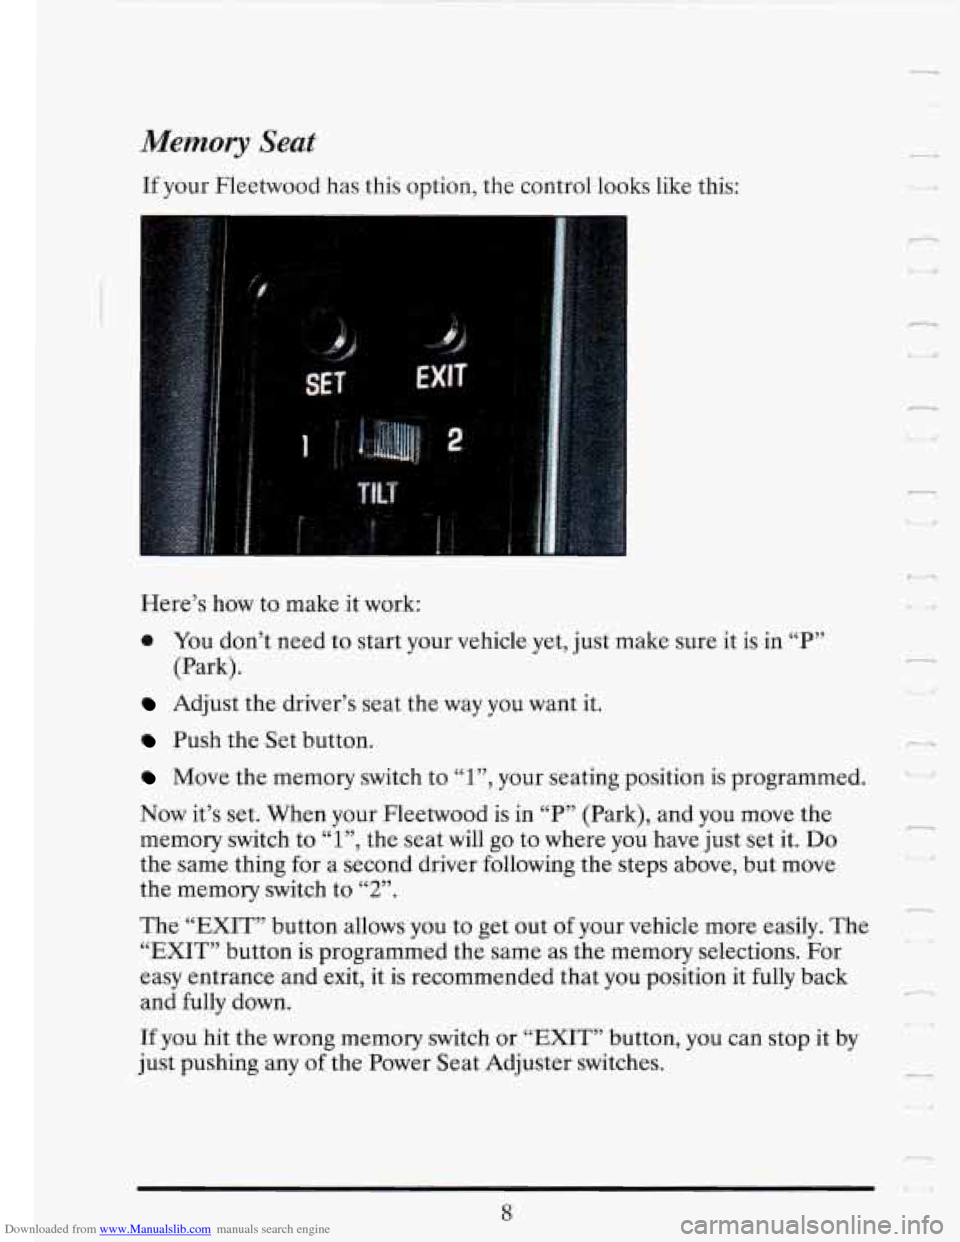
If your Fleetwood has this option, the control looks like this:
Here’s how to make it work:
0 You don’t need to start your vehicle yet, just make sure it is in “P”
(Park).
Adjust the driver’s seat the way you want it.
Push the Set button.
Move the memory switch to 1 , your seating position is programmed.
Now it’s set. When your Fleetwood is in “P” (Park), and you move the
memory switch to
“l”, the seat will go to where you have just set it. Do
the same thing for a second driver following the steps above, but move
the memory switch to
2 .
The “EXIT” button allows you to get out of your vehicle more easily. The
“EXIT” button is programmed the same as the memory selections. For
easy entrance and exit, it is recommended that you position it fully back
and fully down.
LC 9,
66 7,
If you hit the wrong memory switch or “EXIT” button, you can stop it by
just pushing any of the Power Seat Adjuster switches.
n
d
cl
5
8
Page 51 of 386
Downloaded from www.Manualslib.com manuals search engine CENTER REAR PASSENGER POSITION
I
!
u
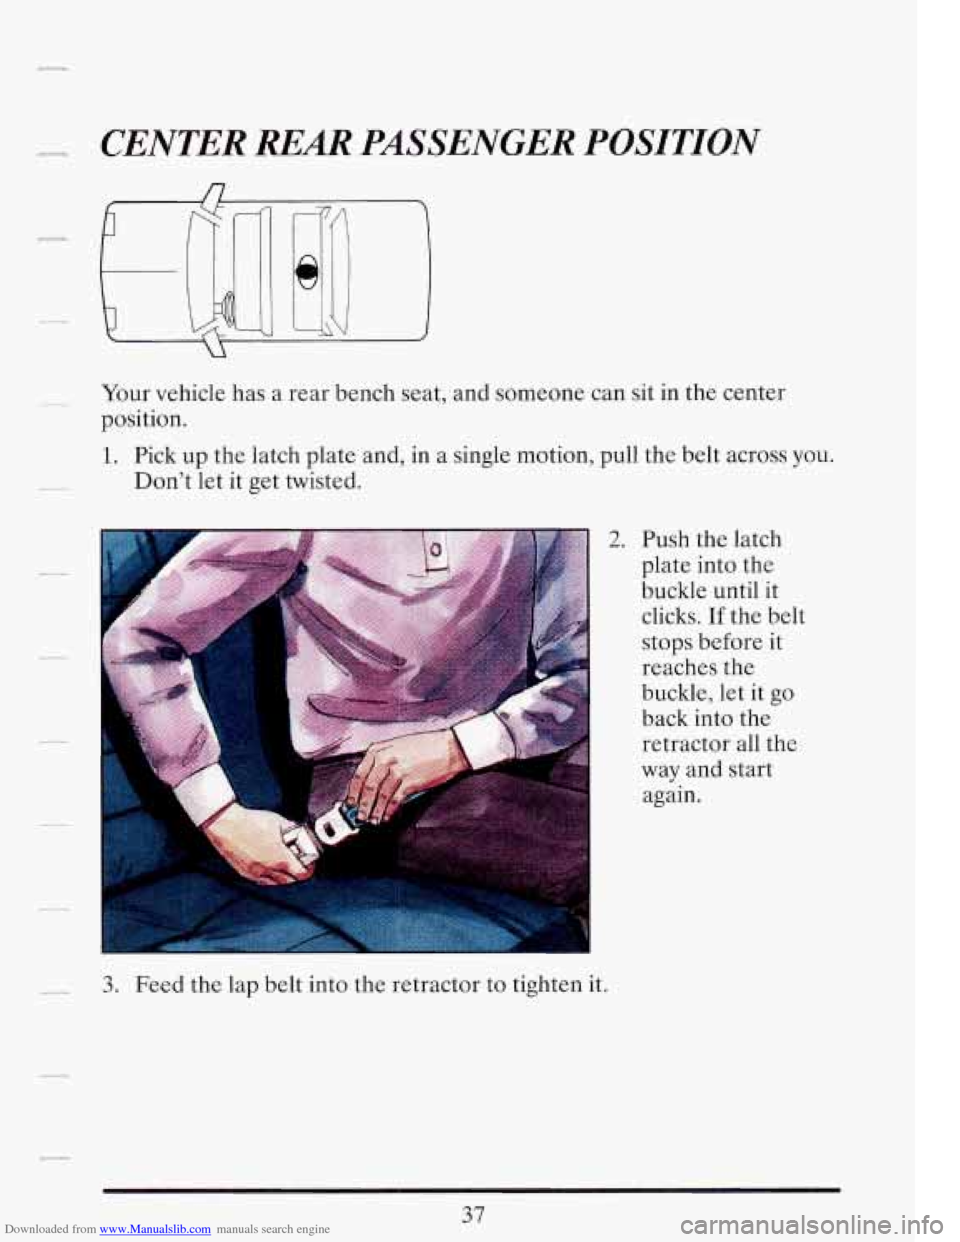
Your vehicle has a rear bench seat, and someone can sit in the center
position.
1. Pick up the latch plate and, in a single motion, pull the belt across you.
Don’t let it get twisted.
R
2. Push the latch
plate into the
buckle until it
clicks.
If the belt
stops before it
reaches the
buckle, let it go
back into the
retractor all the
way and start
again.
3. Feed the lap belt into the retractor to tighten it.
37
Page 81 of 386
Downloaded from www.Manualslib.com manuals search engine _m_ Power Door Locks
r
-1
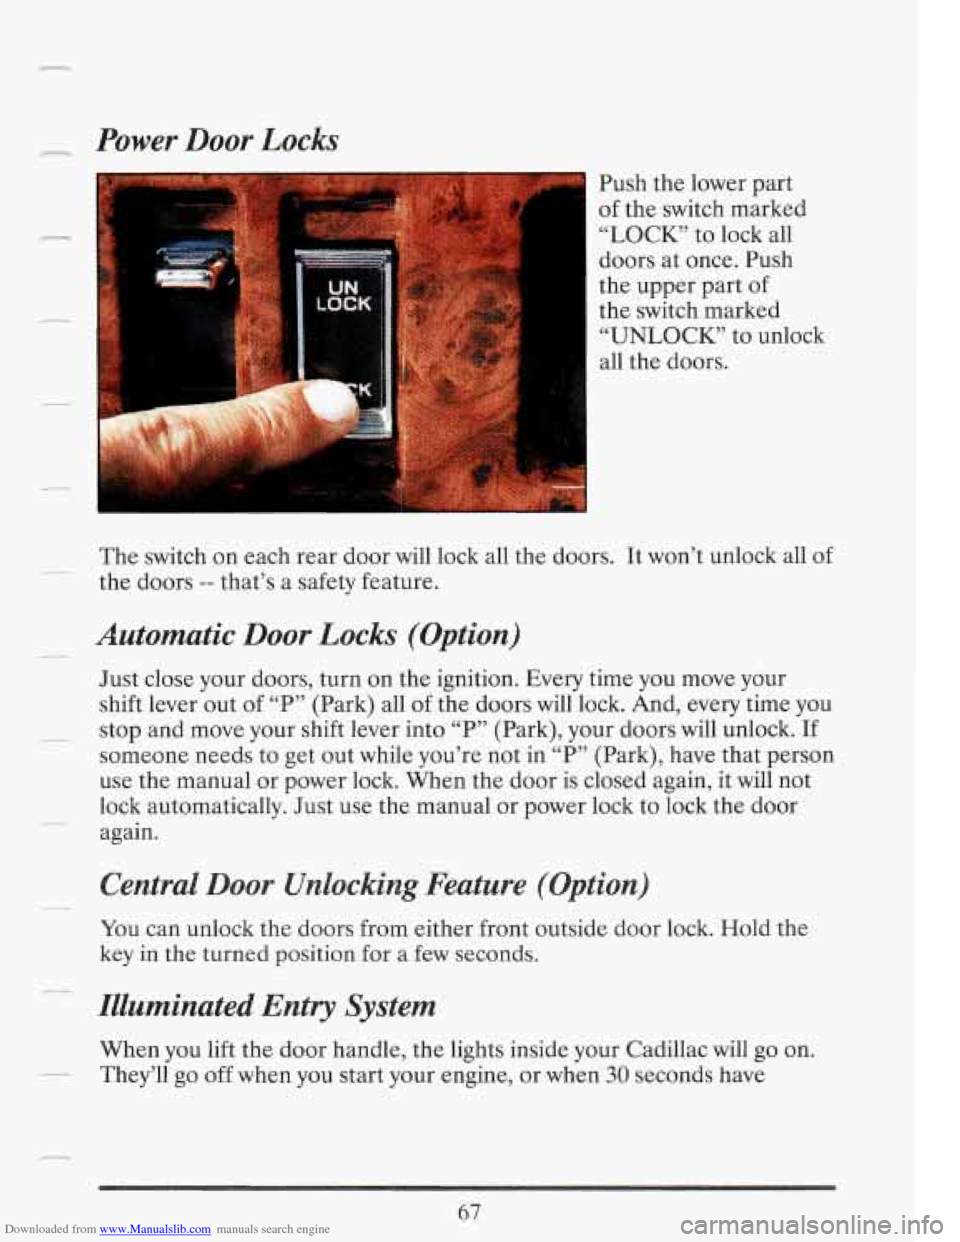
Push the lower part
of the switch marked
“LOCK’ to lock all
doors at once. Push
the upper part of
the switch marked
“UNLOCK’ to unlock
all the doors.
The switch on each rear door
will lock all the doors. It won’t unlock all of
the doors
-- that’s a safety feature.
Automatic Door Locks (Option)
Just close your doors, turn on the ignition. Every time you move your
shift lever out of “P” (Park) all of the doors
will lock. And, every time you
_- stop and move your shift lever into “P” (Park), your doors will unlock. If
someone needs to get out while you’re not in “P” (Park), have that person
use the manual
or power lock. When the door is closed again, it will not
lock automatically. Just use the manual or power lock to lock the door
again.
~-
Central Door Unlocking Feature (Option)
You can unlock the doors from either front outside door lock. Hold the
key
in the turned position for a few seconds.
I__ .-
Illuminated Entry System
When you lift the door handle, the lights inside your Cadillac will go on.
.- They’ll go off when you start your engine, or when 30 seconds have
67
Page 91 of 386
Downloaded from www.Manualslib.com manuals search engine r The alarm won’t stop if you try to unlock a door any other way.
How to Test The Alarm
Roll down your window and lock your vehicle using the power door
Reach in and unlock the door using the manual lock, and open the
lock.
door. The horn will sound and your headlights will flash.
If the alarm does not sound when it should, check to see
if the horn
- works. The horn fuse may be blown. To replace the fuse, see “Fuses and
Circuit Breakers” in the Index.
To reduce the possibility of theft, always arm the theft deterrent system
- when leaving your vehicle.
PASS-KEY IIm
- Your vehicle is equipped with the PASS-Key I1 TM (Personalized
- different to arm or disarm the system. It works when you insert or remove
Automotive Security System)
theft deterrent system. PASS-Key
I1 is a
passive theft deterrent system. This means you don’t have to do anything
the
key from the ignition. PASS-Key TM uses a resistor pellet in the
ignition key that matches a decoder in your vehicle.
key, it shuts down the vehicle’s starter and fuel systems. For about three
minutes, the starter won’t work and fuel won’t go to the engine. If
__ someone tries to start your vehicle again or uses another key during this
time, the vehicle will not start. This discourages someone from randomly
trying different keys with different resistor pellets in an attempt to make
a
match.
The ignition key must be clean and dry before it’s inserted in the ignition
or the engine may not start.
If the engine does not start and and the
the ignition off.
Clean and dry the key. Wait about three minutes and try again. The
work, and the key appears to be clean and dry, wait about three minutes
and try the other ignition key. At this time, you may also want to check
- When the PASS-Key I1 TM system senses that someone is using the wrong
I_
- “PASS KEY FAULT” light comes on, the key may be dirty or wet. Turn
__ security light will remain on during this time. If the starter still won’t
77
Page 95 of 386
Downloaded from www.Manualslib.com manuals search engine r
pedal. Wait about 15 seconds between each try to help avoid draining
your battery.
When starting your engine
in very cold weather (below 0 F or -18 C), do
this:
1. With your foot off the accelerator pedal, turn the ignition key to
“Start” and hold it there. After
two seconds, push the accelerator
pedal about one-third
of the way down. When the engine starts, let go
of the key. Use the accelerator pedal to maintain engine speed,
if you
have to, until your engine has run for a while.
2.
If your engine still won’t start (or starts but then stops), it could be
flooded with too much gasoline.
Try pushing your accelerator pedal all
the way to the floor and holding it there as you hold the key
in “Start”
for about three seconds. If the vehicle starts briefly but then stops
again, do the same thing, but this time keep the pedal down for five or
six seconds. This clears the extra gasoline from the engine.
81
.
Page 139 of 386
Downloaded from www.Manualslib.com manuals search engine r WmING AND INDICATOR LIGHTS
This section describes the warning lights that are on your vehicle. The
pictures will help you locate them.
Warning lights can signal that something is wrong before it becomes
serious enough to cause an expensive repair or replacement. Paying
attention to your warning lights could also save you or others from injury.
Warning lights go on when there may be or is a problem with one of your
vehicle’s functions.
As you will see in the details on the next few pages,
some warning lights come on briefly when you turn the ignition key just
to
let you know they’re working. If you are familiar with this section, you
should not
be alarmed when this happens.
When one
of the warning lights comes on and stays on when you are
driving, check the section that tells you what to do about it. Please follow
the manual’s advice. Waiting to do repairs can be costly
-- and even
dangerous.
So please get to know your warning lights. They’re a big help.
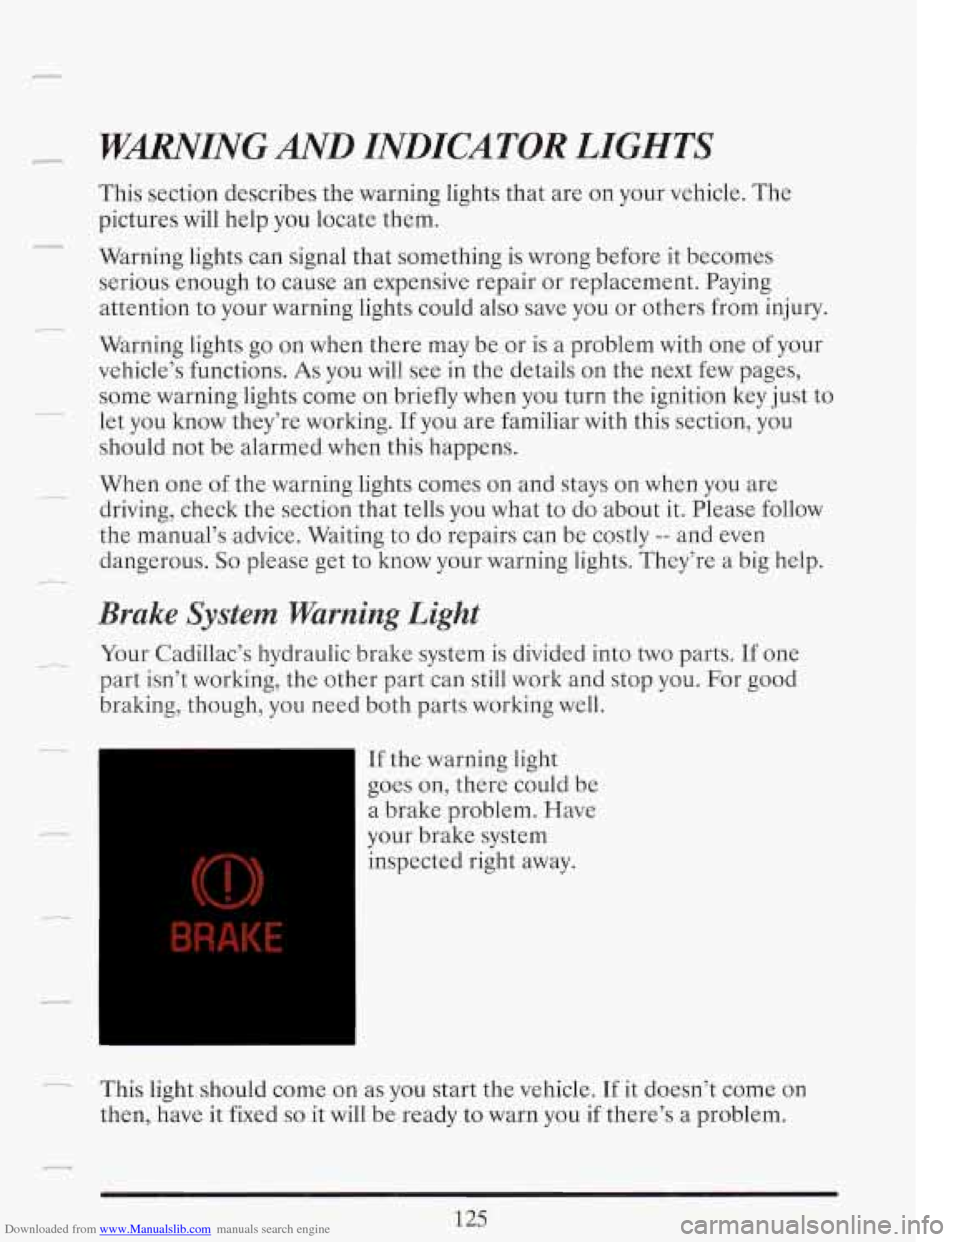
Brake System Warning Light
Your Cadillac’s hydraulic brake system is divided into two parts. If one
part isn’t working, the other part can still work and stop you. For good
braking, though, you need both parts working well.
If the warning light
goes on, there could be
a brake problem. Have
your brake system
inspected right away.
125
I_ This light should come on as you start the vehicle. If it doesn’t come on
then, have it fixed
so it will be ready to warn you if there’s a problem.
Page 150 of 386
Downloaded from www.Manualslib.com manuals search engine i
FUEL GAGE
fI
I
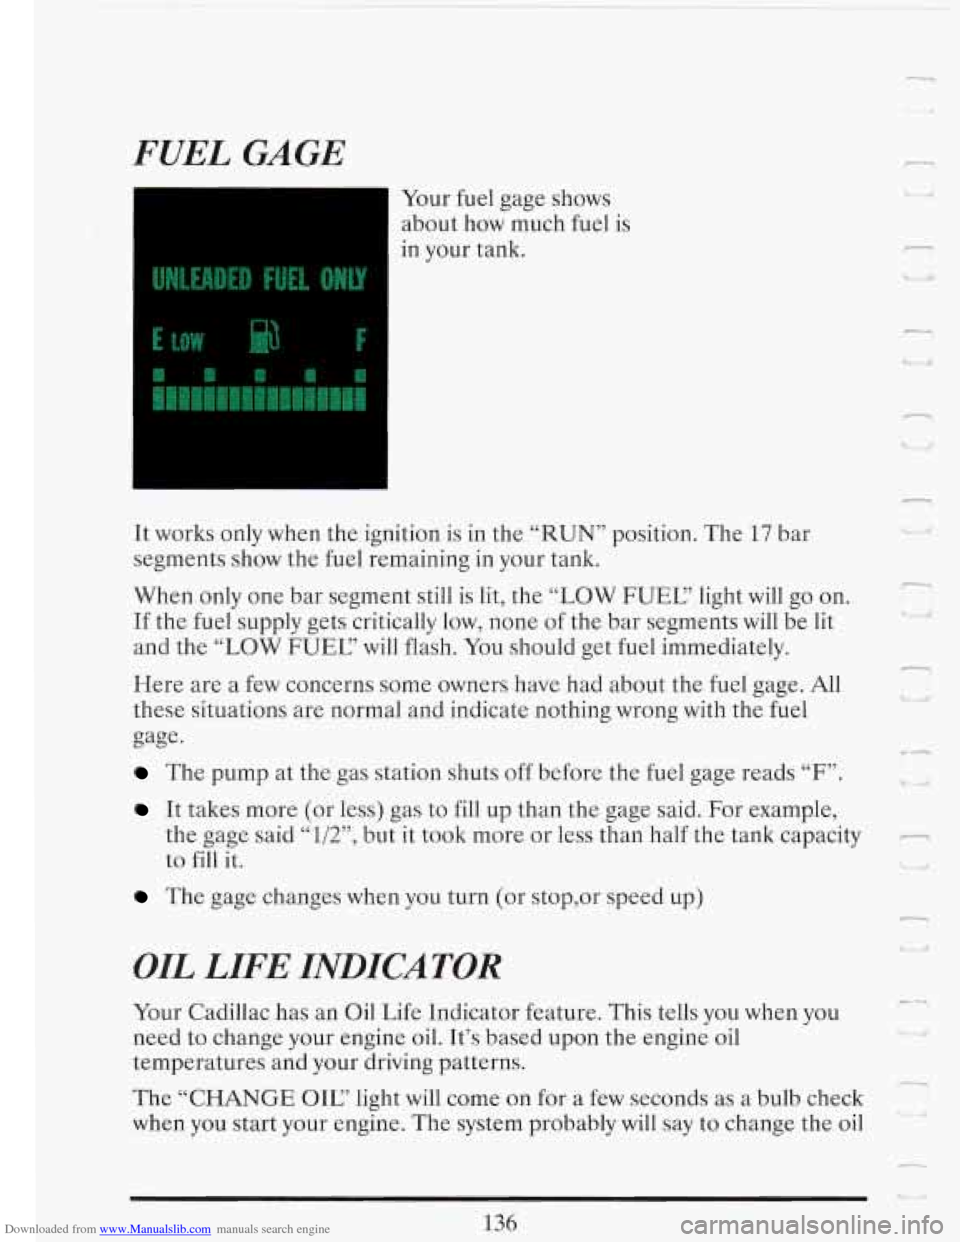
Your fuel gage shows
about how much fuel is
in your tank.
It works only when the ignition is in the “RUN” position. The
17 bar
segments show the fuel remaining in your tank.
When only one bar segment still is lit, the
“LOW FUEC’ light will go on.
If the fuel supply gets critically low, none of the bar segments will be lit
and the
“LOW FUEC’ will flash. You should get fuel immediately.
Here are
a few concerns some owners have had about the fuel gage. All
these situations are normal and indicate nothing wrong with the fuel
gage.
The pump at the gas station shuts off before the fuel gage reads “F”.
I.
3, I
It takes more (or less) gas to fill up than the gage said. For example,
the gage said
“l/Y, but it took more or less than half the tank capacity -
to fill it. I
The gage changes when you turn (or stop,or speed up)
OIL LIFE INDICATOR
Your Cadillac has an Oil Life Indicator feature. This tells you when you
need to change your engine
oil. It’s based upon the engine oil
temperatures and your driving patterns.
-1
-1
The “CHANGE OIE’ light will come on for a few seconds as a bulb check
when
you start your engine. The system probably will say to change the oil
-.
n
- I
136
Page 167 of 386
Downloaded from www.Manualslib.com manuals search engine r
e Within 5 seconds press it a second time to see how long the disc has
e Press it a third time to see the time of day.
been
playing.
To Program ’Ikacks
You can program up to 10 tracks for your listening pleasure.
1. Press the RCL/PROG knob. “CD” and “TRACK” will light in the
2. Within 5 seconds, turn the lower TUNE knob to the track you want to
display.
This also allows you to program disc track playback.
hear first. The track number will flash.
3. Press the SET button and the track number will stop flashing. This
indicates that the track is programmed.
4. Repeat steps 2 and 3 to program up to 9 more tracks.
5. Press the RCL/PROG knob a second time to begin playing the first
To cancel the programming mode press RCL/PROG and press SET If
~ “ALE is showing on the display, allow 10 seconds to pass. You can also
cancel the programming mode by ejecting the disc.
programmed
track.
Push this switch up or down
to go to the beginning of the next or previous
track. At least
8 seconds must have played for the SEEK function to find
~ the start of the current track.
SCAN
Push this switch up or down to sample about 15 seconds of the beginning
of each track. Press it again or the upper knob to stop the SCAN
function.
Note:
If you are in the Program mode, it is possible to modify the
playback order by using the TUNE knob.
If you need to review the
playback order use either the SEEK or SCAN switch. This review can be
stopped by pushing the SCAN switch.
~
7
-
153
Page 168 of 386
Downloaded from www.Manualslib.com manuals search engine - t
REV (Reverse)
Push and hold REV to return rapidly to a favorite passage. Release it to
play the passage. The elapsed time will be displayed to show the reverse
progress of the
CD.
FWD (Fast Forward)
Press and hold FWD to advance quickly within a track. Release it to
resume playing. Elapsed time will be displayed to show the forward
progress
of the CD.
ST-EJECT (Stop-Eject)
Press ST-EJECT The disc or tape will stop without ejecting it and the
radio will start to play. Press it again and the disc
or tape will eject.
PLAY
Press PLAY to restart the disc or tape. It will begin playing at the point
where it had stopped. If the CD and cassette tape are inserted at the
same time, pressing the play button will switch between CD and the Tape.
COMP (Compression)
r-) U
1 I. L
Pressing COMP makes soft and loud passages more nearly equal in
volume. For example, playing classical or jazz music with very quiet and
very loud passages in the same tune. The COMP display will light as long
as COMP
is on. E
Setting The Clock
Turn the ignition and radio on. Then:
To Set the Hour:
Press SET, and within 5 seconds,
"I Lr/ 'i
Press and hold SEEK up or down. When the clock gets to the correct
hour, let go. -
Page 180 of 386
Downloaded from www.Manualslib.com manuals search engine TRAFFIC OFFICER 7 .. I: The traffic police officer is also a source of important information. The
officer’s signals govern, no matter what the traffic lights or other signs
say.
The next section discusses some of the road conditions you may
encounter.
DEFENSIVE DlUVTNG
The best advice anyone can give about driving is: Drive defensively.
Please start with a very important safety device
in your Cadillac: Buckle
up. (See “Safety Belts” in the Index.)
Defensive driving really means “be ready for anything.’’ On city streets,
rural roads, or freeways, it means “always expect the unexpected.”
Assume that pedestrians or other drivers are going to be careless and
make mistakes. Anticipate what they might do. Be ready for their
mistakes.
Expect children to dash out from behind parked cars, often followed by
other children. Expect occupants in parked cars to open doors into traffic.
Watch for movement
in parked cars -- someone may be about to open a
door.
Expect other drivers to run stop signs when you are on a through street.
Be ready to brake if necessary as you
go through intersections. You may
not have to use the brake, but
if you do, you will be ready.
If you’re driving through a shopping center parking lot where there are
well-marked lanes, directional arrows, and designated parking areas,
expect some drivers
to ignore all these markings and dash straight toward
one part of the lot.
Pedestrians can be careless. Watch for them. In general, you must give
way to pedestrians even if you know you have the right of way.
Rear-end collisions are about the most preventable of accidents. Yet they
are common. Allow enough following distance.
It’s the best defensive
driving maneuver,
in both city and rural driving. You never know when
the vehicle in front of you is going to brake or turn suddenly.
166
n
U i I‘
n
u
! I,
r
r
d
-
1