CD changer CADILLAC SEVILLE 1996 4.G Owners Manual
[x] Cancel search | Manufacturer: CADILLAC, Model Year: 1996, Model line: SEVILLE, Model: CADILLAC SEVILLE 1996 4.GPages: 354, PDF Size: 20.21 MB
Page 169 of 354
Downloaded from www.Manualslib.com manuals search engine SCAN: Press this button. SCAN will appear on the
display until the next selection is found and then
PLAY
will appear on the display. Use SCAN to listen to
selections for a few seconds. The tape will
go to a
selection, stop for a few seconds, then go on to the next
station. Press this button again to stop scanning.
A (EJECT): Press the upward triangle button to
remove
a tape. The radio will play. Eject may be
activated with the radio off if the ignition is on. Cassette
tapes may be loaded with the radio off but they
will not
start playing until the
PWR button is turned on. Press
PWR or turn the ignition key OFF to stop the cassette
tape player. The tape will stay in the player and resume
play at the point where it stopped.
CLN: This message may appear on the display. If it
does, your cassette tape player needs to be cleaned. It
will still play tapes, but you should clean
it as soon as
possible to prevent damage to your tapes and player.
See “Care of Your Cassette Tape Player” in the Index.
After you clean the player, press and hold EJECT for
five seconds to reset the CLN indicator. The radio
will
display --- to show the indicator was reset.
Dolby@ Noise Reduction is manufactured under a
license from Dolby Laboratories Licensing Corporation.
Dolby and the double-D symbol are trademarks
of
Dolby Laboratories Licensing Corporation.
Trunk Mounted CD Changer (Option)
With the optional compact disc changer, you can play up
to 12 discs continuously. Normal size discs may be
played using the trays supplied in the magazine.’The
small discs
(8 cm) can be played only with specially
designed trays.
NOTICE:
Objects in the trunk which may shift or slide
during driving could damage your
CD changer.
Protect your
CD changer by using the convenience
net whenever possible. Place large objects
in the
trunk appropriately
so that they will not come
into contact with the CD changer.
.-
3-22
Page 170 of 354
Downloaded from www.Manualslib.com manuals search engine ! r
r
r
I t
r
I
L
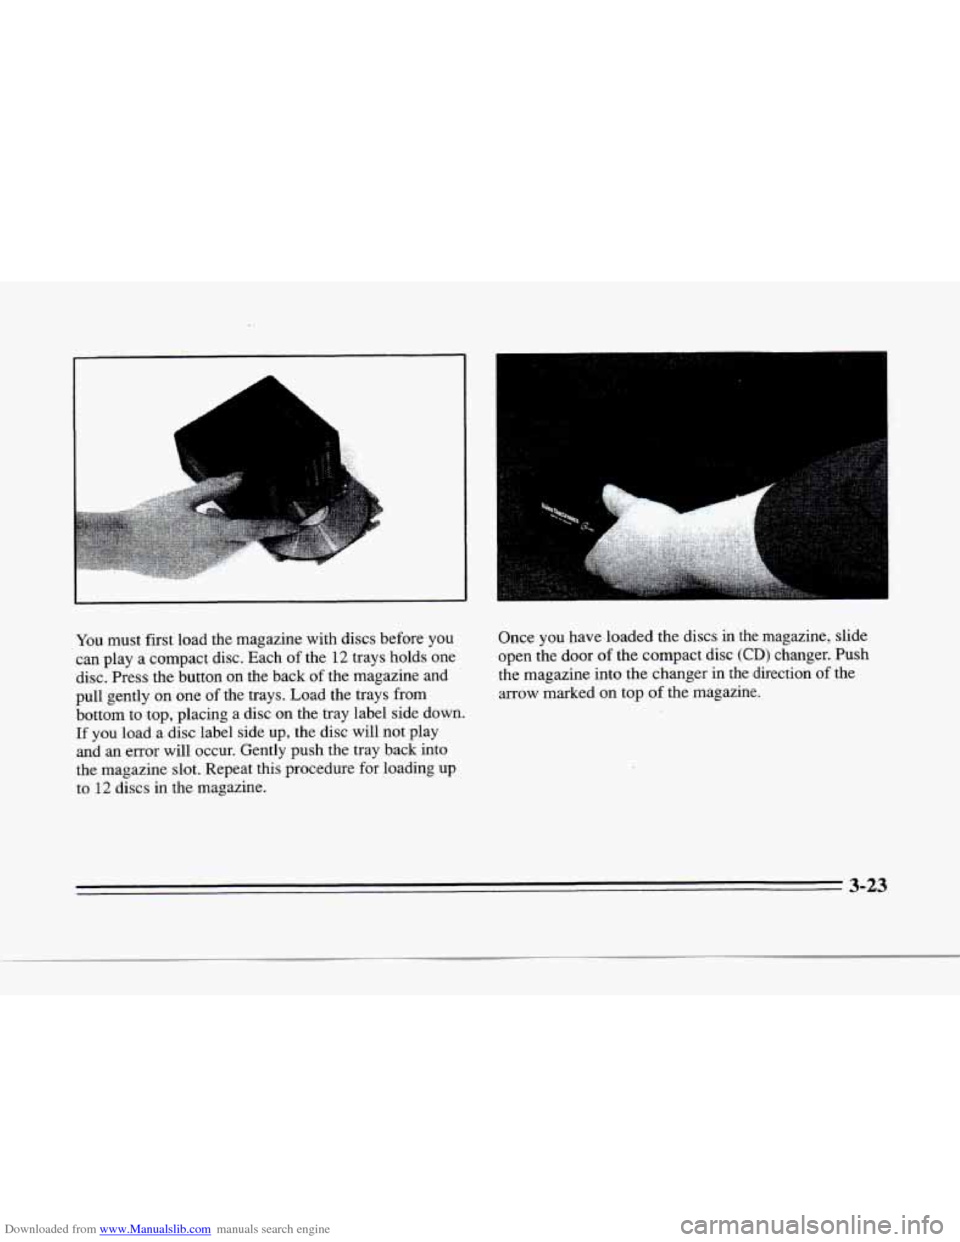
You must first load the magazine with discs before you
can play a compact disc. Each of the
12 trays holds one
disc. Press the button on the back
of the magazine and
pull gently on one
of the trays. Load the trays from
bottom to top, placing a disc on the tray label side down.
If you load a disc label side up, the disc will not play
and an error will occur. Gently push the tray back into
the magazine slot. Repeat this procedure for loading
up
to 12 discs in the magazine. Once
you have loaded the discs in the magazine, slide
open the door of the compact disc
(CD) changer. Push
the magazine into the changer in the direction of the
arrow marked on top of the magazine.
3-23
Page 171 of 354
Downloaded from www.Manualslib.com manuals search engine . ..
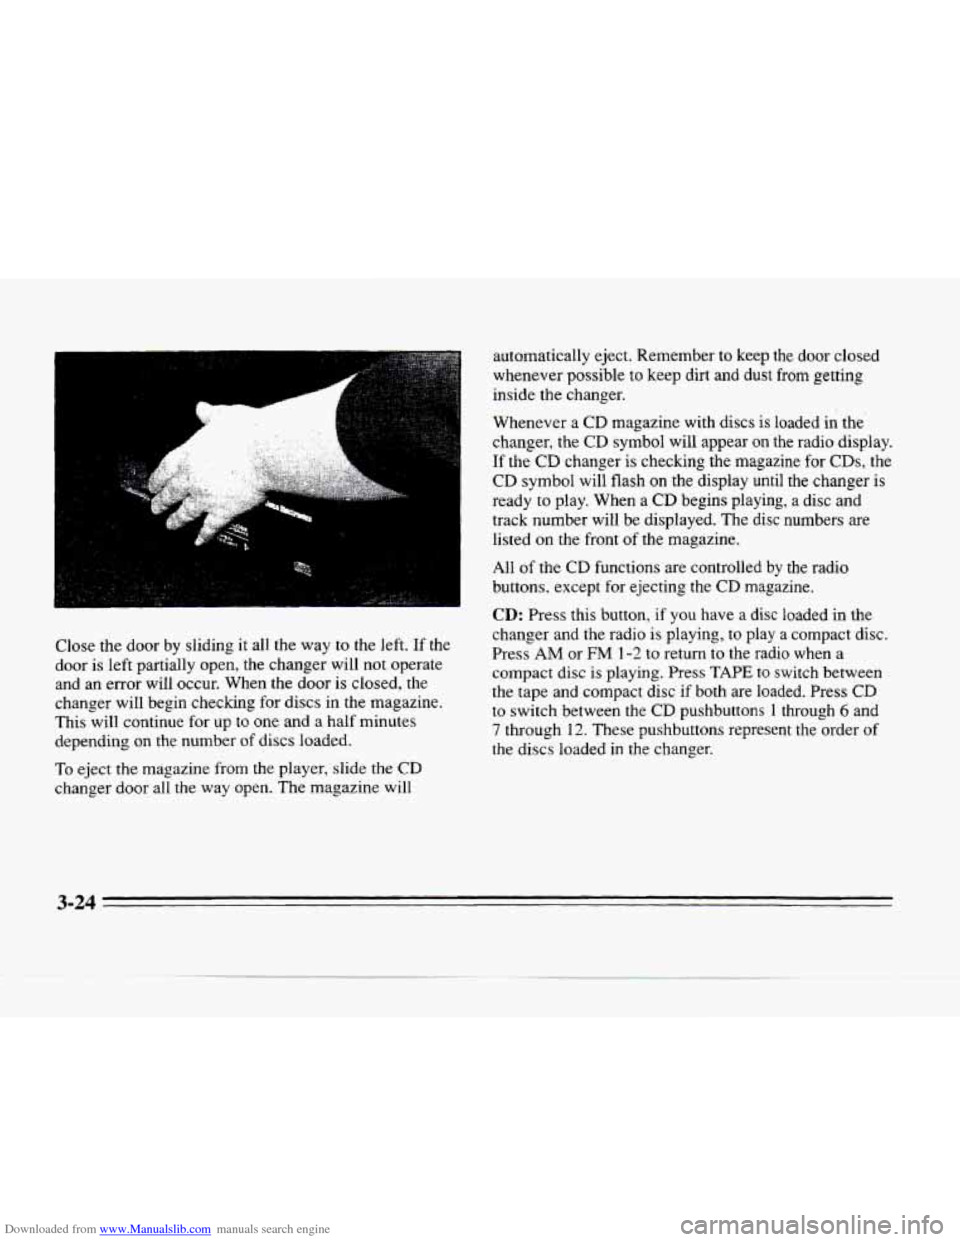
Close the door by sliding it all the way to the left. If the
door is left partially open, the changer will not operate
and an error will occur. When the door is closed, the
changer will begin checking for discs in the magazine.
This will continue
for up to one and a half minutes
depending on the number
of discs loaded.
To eject the magazine from the player, slide the CD
changer door all the way open. The magazine will automatically eject. Remember
to keep the
door closed
whenever possible to keep
dirt and dust from getting
inside the changer.
Whenever a
CD magazine with discs is loaded in the
changer, the
CD symbol will appear on the radio display.
If the
CD changer is checking the magazine for CDs, the
CD symbol will flash on the display until the changer is
ready
to play. When a CD begins playing, a disc and
track number will be displayed. The disc numbers are
listed
on the front of the magazine.
All
of the CD functions are controlled by the radio
buttons, except for ejecting the
CD magazine.
CD: Press this button, if you have a disc loaded in the
changer and the radio is playing, to play a compact disc.
Press
AM or FM 1-2 to return to the radio when a
compact
disc is playing. Press TAPE to switch between
the tape and compact disc if both are loaded. Press CD
to switch between the CD pushbuttons 1 through 6 and
7 through 12. These pushbuttons represent the order of
the discs loaded in the changer.
Page 172 of 354
Downloaded from www.Manualslib.com manuals search engine DSPL: Press this button to display the time of day. Press
this button again within five seconds to see the element
time. Press DSPL again within five seconds to see how
many compact discs are loaded
in the changer and
where they are loaded. Press DSPL again to review the
active preset buttons
(1 through 6 or 7 through 12).
PUSHBUTTONS: Press buttons one through six to go
from one compact disc to another that is loaded in the
changer.
SIDE: Press this button to select the next disc in the
changer. Each time you press
this button, DISC
LOADING will appear on the display and the disc
number on the radio display will move to the next
available
CD.
REV: Press this button to reverse quickly through a
track selection.
FF: Press this button to advance quickly through a track
selection.
RDM: Press this button to enter random play mode,
RDM will appear on the display. The loaded discs will
be played in random rather than sequential
(1,2, 3. . .)
order. Press SEEK while RDM is on the display to
randomly seek through discs and tracks. Press
RDM
again to return to sequential order.
SEEK: Press the left arrow while playing a compact
disc to
go back to the start of a current track, if more
than eight seconds have played. Press the left arrow
again and the changer will
go to previous tracks. Press
the right arrow to
go to the next higher track on the disc.
SCAN: When you press SCAN while playing a CD, you
will hear the first few seconds
of each disc. Press SCAN
again to stop on a CD. The CD will be muted while
scanning and
SCAN will appear on the display.
EJECT Slide the CD changer door all the way open
and the disc will automatically eject.
3-25
Page 173 of 354
Downloaded from www.Manualslib.com manuals search engine Compact Disc Changer Errors
If ERROR appears on the display, an error has occurred
and the compact disc temporarily cannot play.
CD CHANGER ERROR could be displayed for the
following:
0 The road is too rough. The disc should play when the
road
is smoother.
0 The disc is dirty, scratched, wet or loaded label side
UP.
0 The air is very humid. If so, wait about an hour and
CD CHANGER DOOR OPEN is displayed when the
CD changer door is left open. Completely close the
changer door to restore normal operation.
try
again.
CD CHANGER NO DISCS is displayed when an empty
magazine is inserted in the
CD changer. Try the
magazine again with
a disc loaded an one of the trays.
If any error occurs repeatedly or if an error cannot be
corrected, please contact your dealer.
If your radio
displays an error number, write
it down and provide it to
your dealer when reporting the problem.
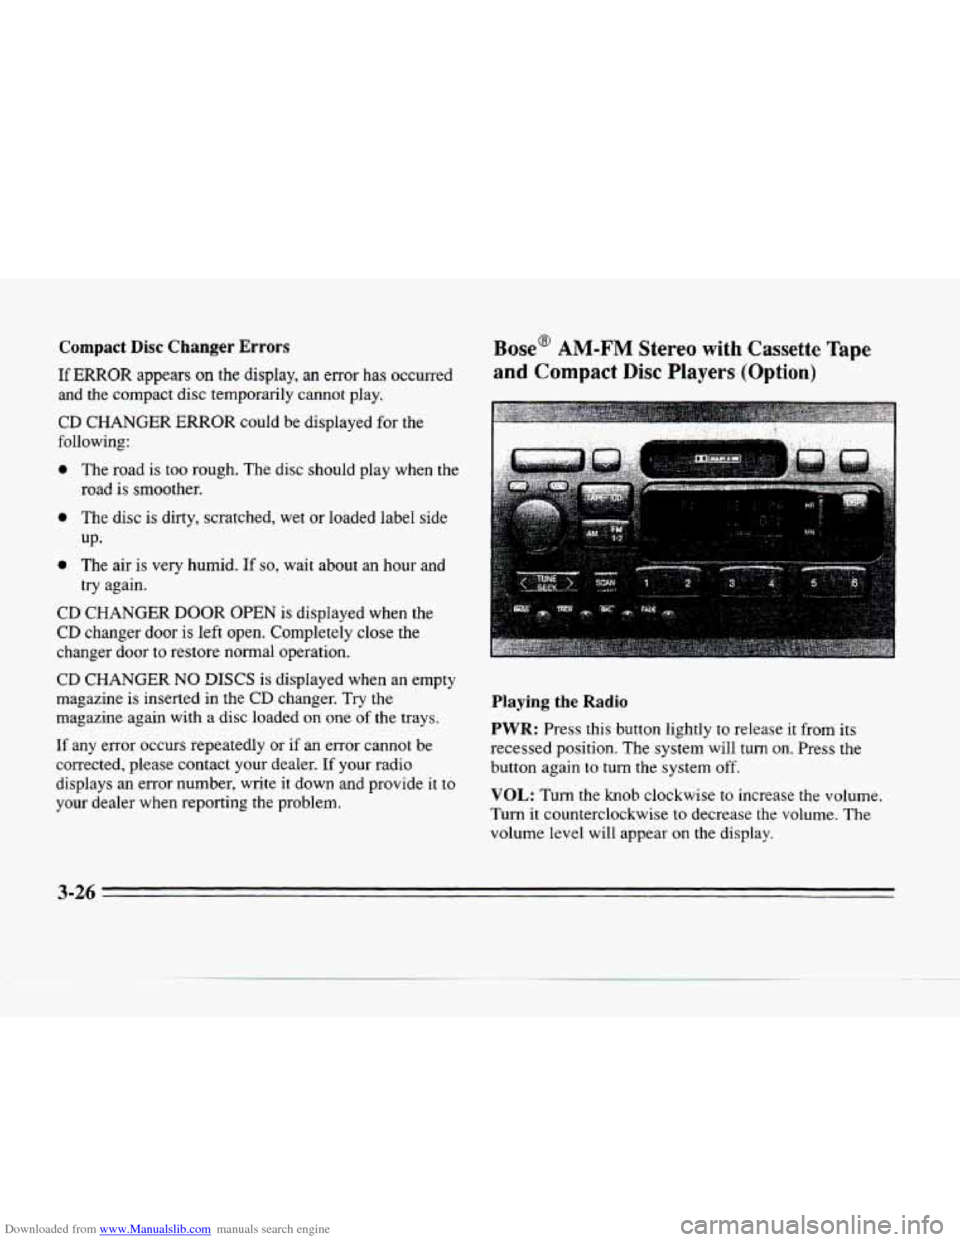
Base@ AM-FM Stereo with Cassette Tape
and Compact Disc Players (Option)
Playing the Radio
PWR: Press this button lightly to release it from its
recessed position. The system will turn
on. Press the
button again to
turn the system off.
VOL: Turn the knob clockwise to increase the volume.
Turn it counterclockwise to decrease the volume. The
volume level will appear
on the display.
3-26
Page 177 of 354
Downloaded from www.Manualslib.com manuals search engine Trunk Mounted CD Changer
With the compact disc changer, you can play up to
12 discs continuously. Normal size discs may be played
using the trays supplied in the magazine. The small discs
(8 cm) can be played only with specially designed trays.
-
~ NOTICE:
Objects in the trunk which may shift or slide
during driving could damage your CD changer.
Protect your CD changer by using the convenience
net whenever possible. Place large objects in the
trunk appropriately
so that they will not come
into contact with the CD changer.
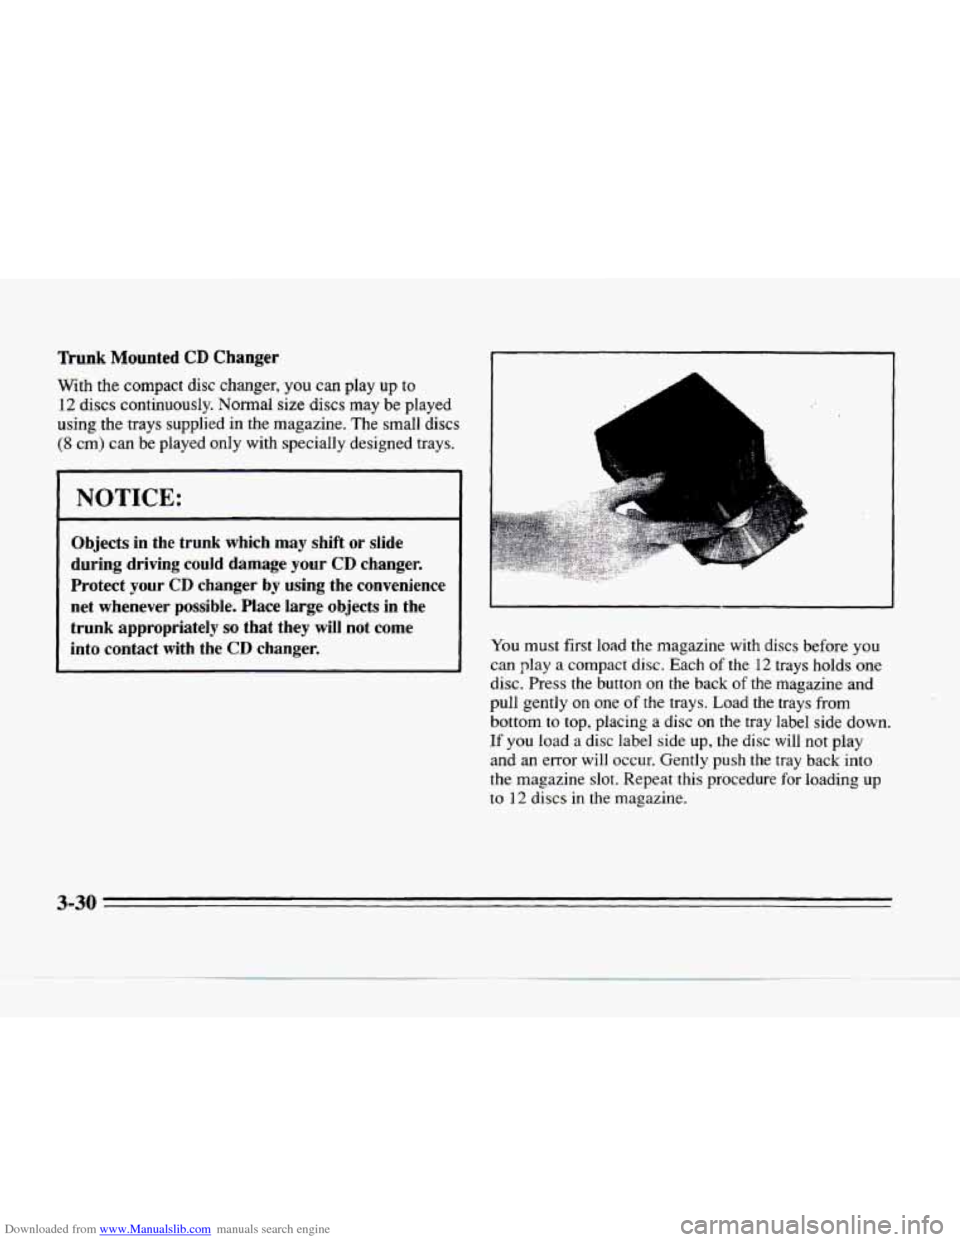
You must first load the magazine with discs before you
can play
a compact disc. Each of the 12 trays holds one
disc. Press
the button on the back of the magazine and
pull gently on one of the trays. Load the trays from
bottom to top, placing a disc on the tray label side down.
If you load a disc label side up, the disc will not play
and an error will occur. Gently push the tray back into
the magazine slot. Repeat this procedure for loading up
to 12 discs in the magazine.
3-30
-.T -_
Page 178 of 354
Downloaded from www.Manualslib.com manuals search engine r: .. .
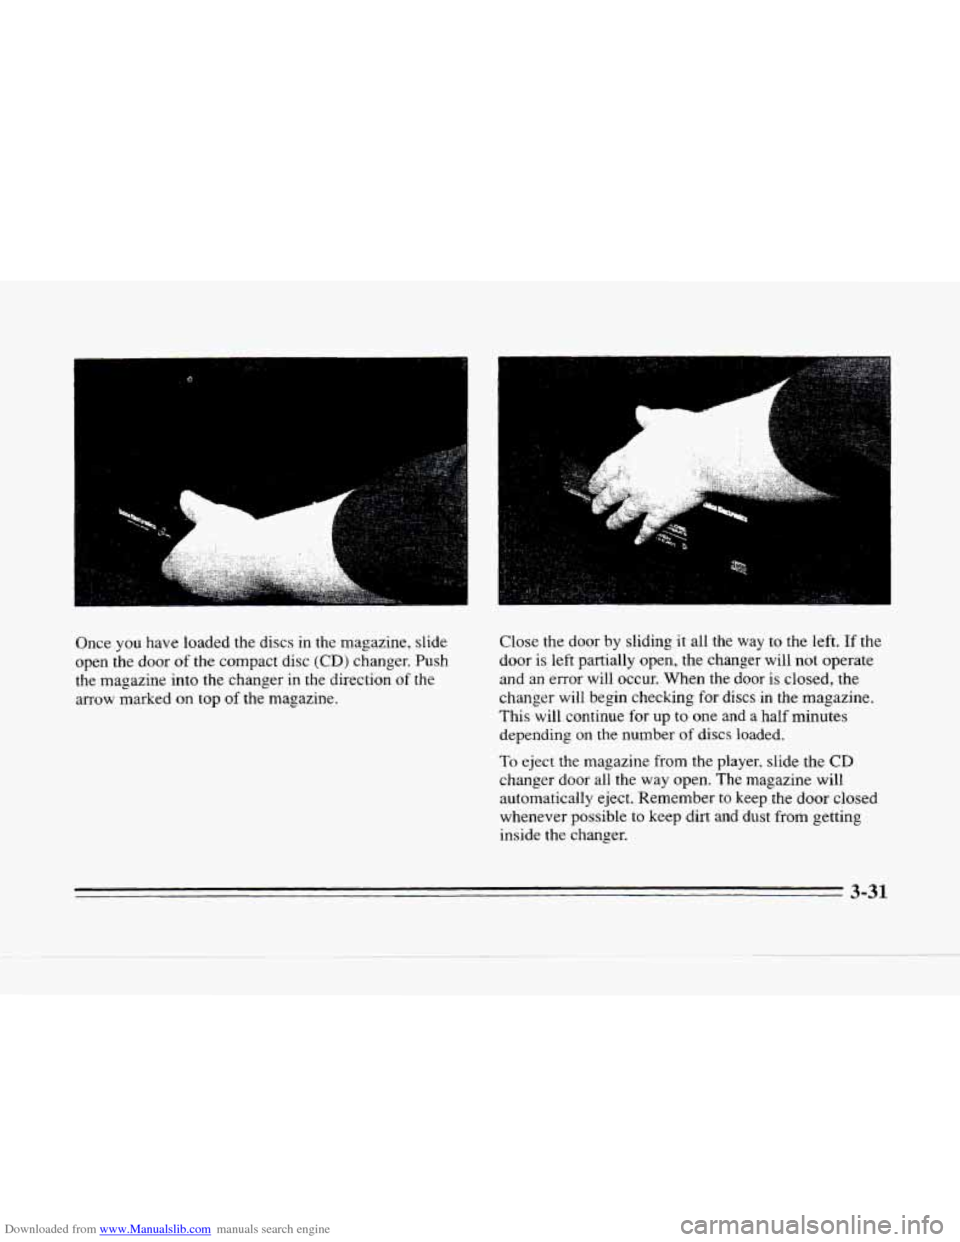
Once you have loaded the discs in the magazine, slide
open the door
of the compact disc (CD) changer. Push
the magazine into the changer in the direction
of the
arrow marked on top
of the magazine. Close
the door by sliding it all the
way to the left. If the
door is left partially open, the changer will not operate
and an error will occur. When the
door is closed, the
changer
will begin checking for discs in the magazine.
This will continue for up
to one and a half minutes
depending on
the number of discs loaded.
To eject the magazine from the player, slide the CD
changer door all the way open. The magazine will
automatically eject. Remember to keep the
door closed
whenever possible to keep dirt and dust from getting
inside the changer.
I
3-31
Page 179 of 354
Downloaded from www.Manualslib.com manuals search engine All of the CD functions are controlled by the radio buttons
except for ejecting the magazine. Whenever
a CD magazine
with discs is loaded
in the changer, the CD symbol will
appear on the radio display.
If the CD changer is checking the
magazine for
CDs, the CD symbol will flash on the display
until the changer is ready to play. When a
CD begins playing,
a disc and track number will be displayed. The disc numbers
are listed on the front of the magazine.
All
of the CD functions are controlled by the radio
buttons, except for ejecting the CD magazine.
CD: Press this button, if you have a disc loaded in the
changer and the radio is playing, to play a compact disc.
Press AM or
FM 1-2 to return to the radio when a
compact disc is playing. Press TAPE to switch between
the tape and compact disc
if both are loaded. Press CD
to switch between the CD pushbuttons 1 through 6 and
7 through 12. These pushbuttons represent the order of
the discs loaded in the changer.
DSPL: Press this button to display the time of day. Press
this button again within five seconds to see the element
time. Press DSPL again within five seconds to see how
many compact discs
are loaded in the changer and
where they are loaded. Press
DSPL again to review the
active preset buttons
(1 through 6 or 7 through 12).
PUSHBUTTONS: Press buttons one through six to go from
one compact disc to another that is loaded
in the changer.
SIDE: Press this button to select the next disc in
the changer. Each time you press this button, DISC
LOADING will appear on the display and the disc number
on the radio display will move to the next available-CD.
REV: Press this button to reverse quickly through a
track selection.
FF: Press this button to advance quickly through a track
selection.
RDM: Press this button to enter random play mode.
RDM will appear on the display. The loaded discs will
be played
in random rather than sequential (1,2,3. . .)
order. Press SEEK while RDM is on the display to
randomly seek through discs and tracks. Press RDM
again
to return to sequential order.
SEEK: Press the left arrow while playing a compact
disc to go back to the start
of a current track, if more
than eight seconds have played. Press the
left arrow
again and the changer
will go to previous tracks. Press
the right arrow to
go to the next higher track on the disc.
SCAN: When you press SCAN while playing a CD, you
will hear the first few seconds
of each disc. Press SCAN
again to stop on a CD. The CD will be muted while
scanning and
SCAN will appear on the display.
EJECT Slide the CD changer door all the way open
and the disc will automatically eject.
3-32
Page 180 of 354
Downloaded from www.Manualslib.com manuals search engine c
L
II
c-
Compact Disc Changer Errors
If ERROR appears on the display, an error has occurred
and the compact disc temporarily cannot play.
CD CHANGER
ERROR could be displayed for
the following:
0 The road is too rough. The disc should play when the
road is smoother.
0 The disc is dirty, scratched, wet or loaded label side up.
0 The air is very humid. If so, wait about an hour and
CD CHANGER
DOOR OPEN is displayed when the
CD changer door is left open. Completely close the
changer door
to restore normal operation.
CD CHANGER
NO DISCS is displayed when an empty
magazine is inserted in the CD changer.
Try the
magazine again with
a disc loaded on one of the trays.
If any error occurs repeatedly
or if an error cannot be
corrected, please contact your dealer. If your radio
displays an error number, write it down and provide it to
your dealer when reporting the problem.
Theft-Deterrent Feature
Your Cadillac has a “built-in” theft-deterrent feature on
each radio that
is automatic -- there is no programming
try
again. required.
The radio
in your Cadillac cannot be used in
any other vehicle besides another Cadillac if it were to
be removed.
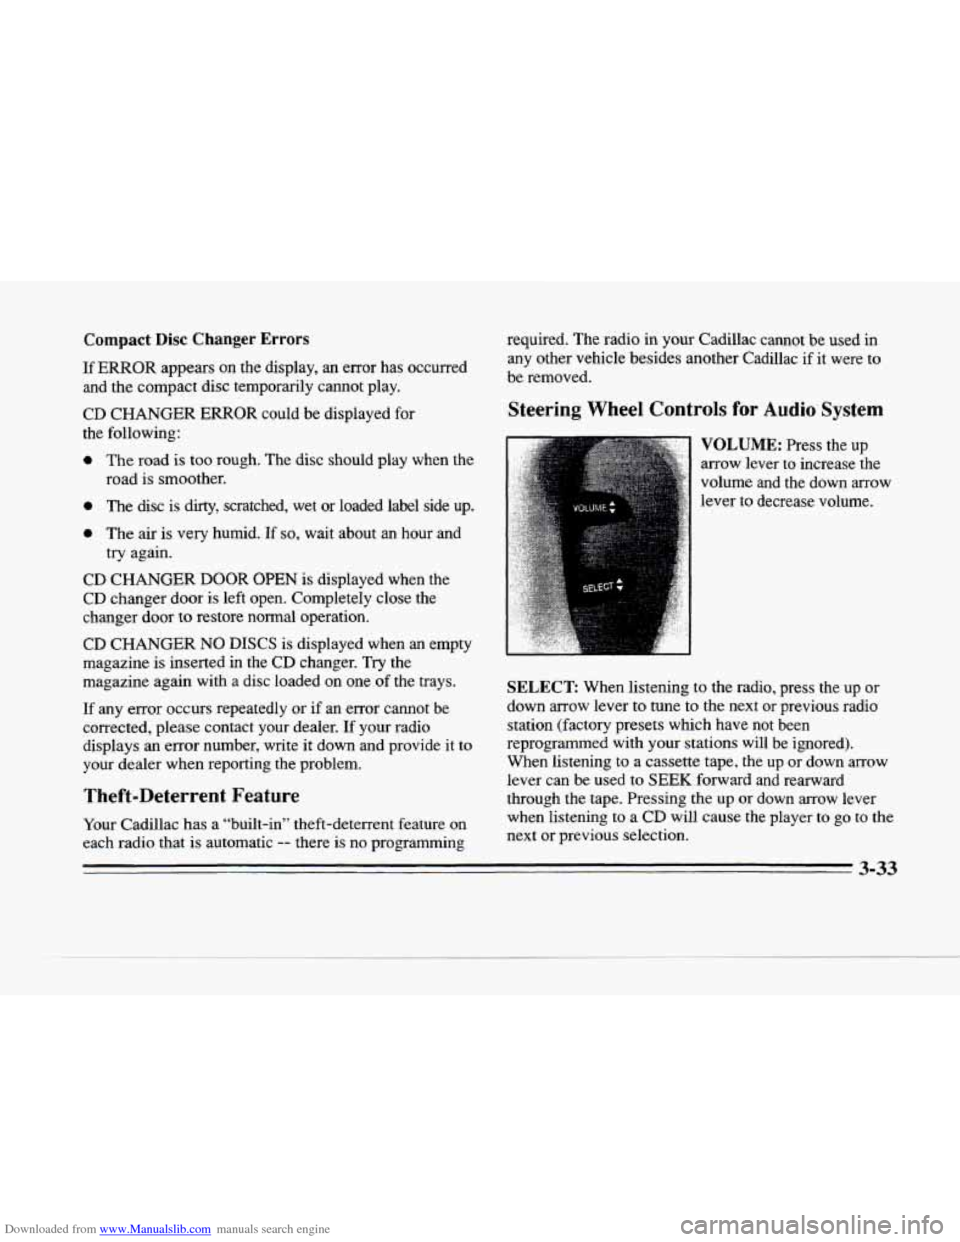
Steering Wheel Controls for Audio’ System
VOLUME: Press the up
arrow lever to increase the
volume and the down arrow
lever
to decrease volume.
SELECT When listening to the radio, press the up or
down arrow lever to tune to the next or previous radio
station (factory presets which have not been
reprogrammed with your stations will be ignored).
When listening to a cassette tape, the up
or down arrow
lever can be used to SEEK forward and rearward
through the tape. Pressing the up or down arrow lever
when listening to a
CD will cause the player to go to the
next or previous selection.
3-33
Page 346 of 354
Downloaded from www.Manualslib.com manuals search engine I
c
. .
Flat Tire. Changing ............................. 5-25
Floor Mats
.................................... 2-55
Fluid Capacities
................................ 6-64
Foreign Countries. Fuel
........................... 6-3
French Language Manual
11
FrontTowing .............................. 5-8. 5-11
Fuel
.......................................... 6-2
DataPanel
.................................. 2-76
DoorRelease
................................. 6-4
FillingYourTank
.............................. 6-4
Gage
....................................... 2-75
In Foreign Countries ........................... 6-3
Fuel Level Very
Low Message ..................... 2-83
Fuses and Circuit Breakers
....................... 6-55
FOgLamps
.................................... 2-42
.. ...........................
Gages
Fuel
....................................... 2-75
Tachometer
.................................. 2-64
GAWR ....................................... 4-30
Gear Positions. Automatic Transaxle
................ 2-20
GloveBox .................................... 2-52
Gross Axle Weight Rating ........................ 4-30
Gross Vehicle Weight Rating
...................... 4-30
Guide en FranGais
11
GVWR ....................................... 4-30
.. .................................
Halogen Bulbs ................................. 6-29
Hazard Warning Flashers
.......................... 5-1
Head Restraints
................................. 1-6
Headlamps .................................... 2-41
Bulb Replacement
............................ 6-30
Highbow Beam Changer ...................... 2-33
Wiring
..................................... 6-54
Hearing Impaired, Customer Assistance
........ 1 ..... 7-3
Heatedseats .................................... 1-4
Heated Windshield
.............................. 3-12
Heating
....................................... 3-10
High-Beam Headlamps .......................... 2-33
Highway Hypnosis
.............................. 4-23
Hill and Mountain Roads
......................... 4-23
Hitches. Trailer
................................. 4-34
Hood Checking
Things Under ......................... 6-6
Release ...................................... 6-7
Horn ......................................... 2-32
Hydroplaning
.................................. 4-19
Hydraulic Brake Warning Lights
................... 2-67
Ignition Positions
.............................. 2-15
Illuminated
Entry ............................... 2-44
Illuminated Visor Vanity Mirrors
................... 2-55
Inflation. Tire
.................................. 6-36
Instrument Panel ............................... 2-60
Brightness Control
............................ 2-44
Cleaning
.................................... 6-47
Cluster
................................ 2-62, 2-63
Interior Lamps
................................. 2-44
Inadvertent Power Battery Saver
................... 2-45
.................................... J ack. Tire
5-28
Jump Starting ................................... 5-3
8-5