lights CADILLAC SEVILLE 1996 4.G Owners Manual
[x] Cancel search | Manufacturer: CADILLAC, Model Year: 1996, Model line: SEVILLE, Model: CADILLAC SEVILLE 1996 4.GPages: 354, PDF Size: 20.21 MB
Page 14 of 354
Downloaded from www.Manualslib.com manuals search engine e
e
c
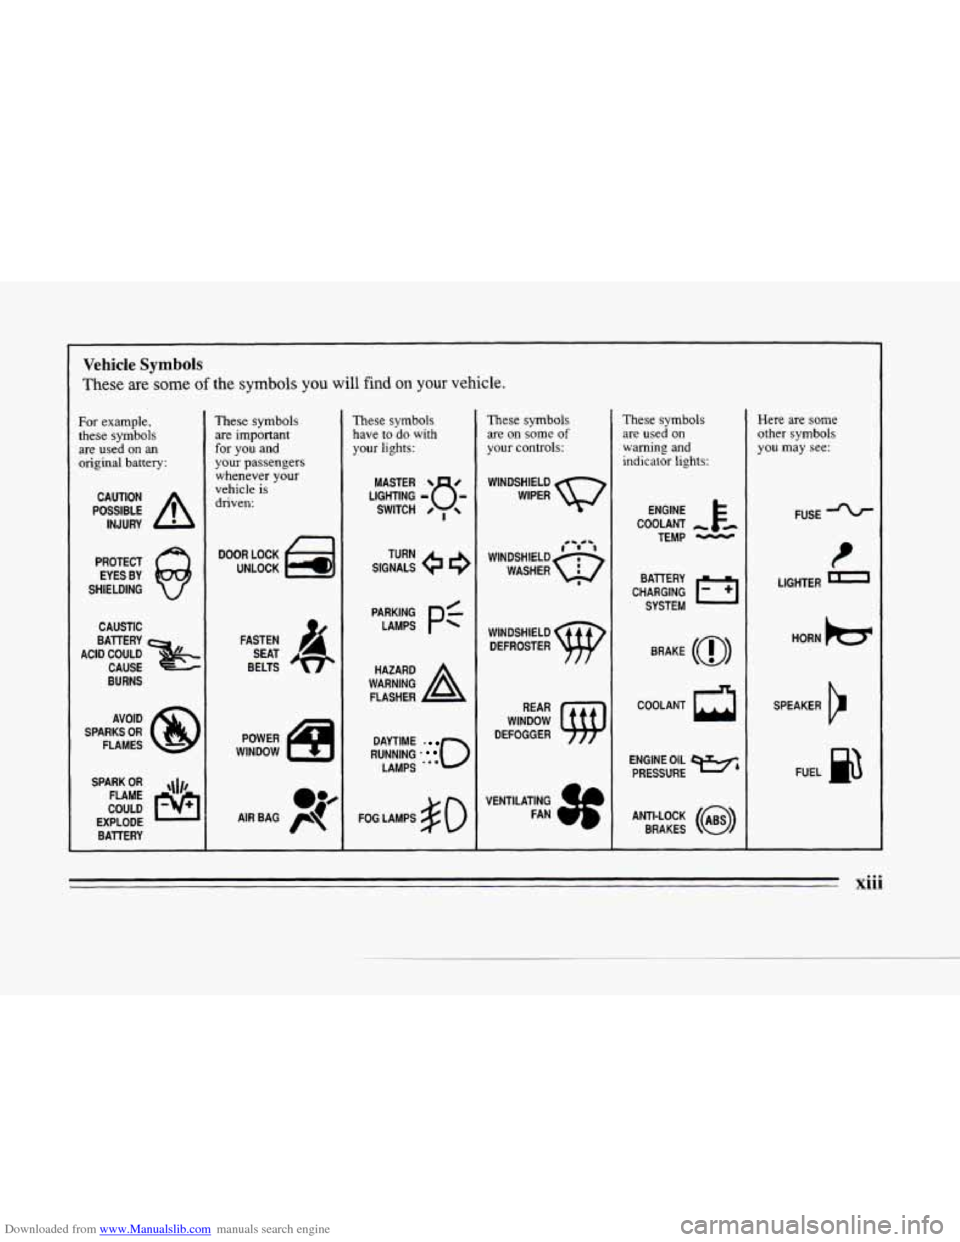
Vehicle Symbols
These are some of the symbols you will find on your vehicle.
For example,
these symbols
are used
on an
original battery:
POSSIBLE A
CAUTION
INJURY
PROTECT
EYES BY
SHIELDING
CAUSTIC
BURNS AVOID
SPARKS
OR
FLAMES
SPARK
OR ,111,
COULD FLAME
EXPLODE BAllERY
These symbols
are important
for you and
your passengers
whenever your
vehicle
is
driven:
DOOR LOCK
UNLOCK
FASTEN SEAT
BELTS
POWER
WINDOW
These symbols have
to do with
your lights:
SIGNALS e
TURN
RUNNING
0
DAYTIME -
LAMPS -**
FOG LAMPS # 0
These symbols are on
some of
your controls:
WINDSHIELD
WIPER
WINDSHIELD DEFROSTER
WINDOW
DEFOGGER
VENTILATING FAN
These symbols
are used on
warning and
indicator lights:
COOLANT -
TEMP -
CHARGING I-1
BATTERY
SYSTEM
BRAKE
(a)
COOLANT a
ENGINE OIL w,
PRESSURE
ANTI-LOCK
(,)
BRAKES
Here are some
other symbols
you may see:
FUSE
LlGl ITER D
HORN k3
SPEAKER
k
FUEL B
xiii
Page 99 of 354
Downloaded from www.Manualslib.com manuals search engine Using Cruise Control on Hills
How well your cruise control will work on hills depends
upon your speed, load and the steepness
of the hills.
When going up steep hills, you may have to step
on the
accelerator pedal
to maintain your speed. When going
downhill, you may have to brake
or shift to a lower gear
to keep your speed down.
Of course, applying the brake
takes you
out of cruise control. Many drivers find this to
be too much trouble and don’t use cruise control on
steep hills.
Ending Cruise Control
There are two ways to end cruise control:
0 Step lightly on the brake pedal.
0 Move the CRUISE switch to OFF.
Erasing Speed Memory
The cruise control set speed memory is erased when you
turn off the cruise control or the ignition.
Lamps
OFF,
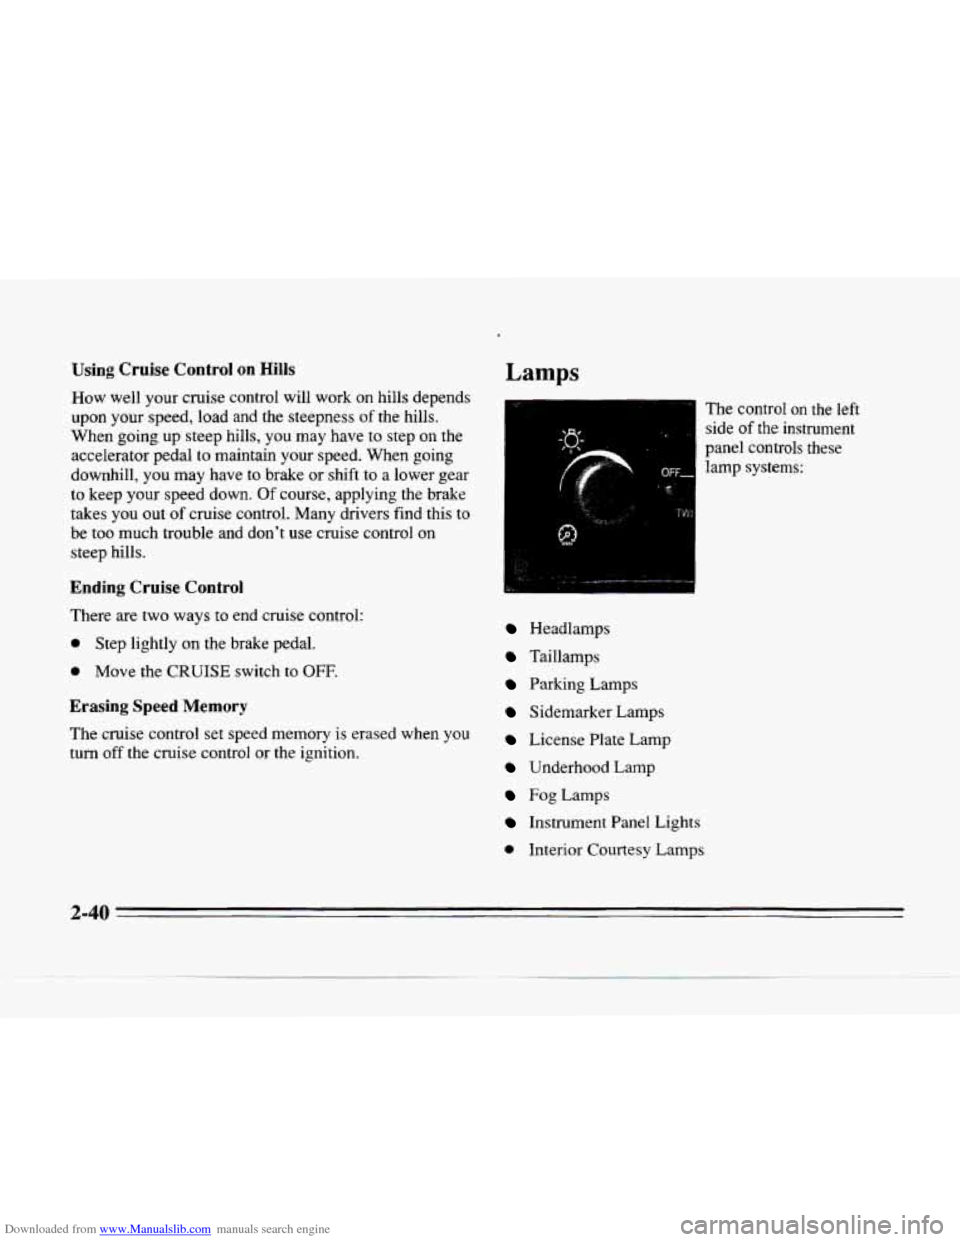
The control on the left
side
of the instrument
panel controls these lamp systems:
Headlamps
Taillamps
Parking Lamps
Sidemarker Lamps
License Plate Lamp
Underhood Lamp
Fog Lamps
Instrument Panel Lights
0 Interior Courtesy Lamps
4
2-40
Page 100 of 354
Downloaded from www.Manualslib.com manuals search engine c
c
Pull the knob out to the first stop to turn on the parking
and taillamps, sidemarker lamps and instrument panel
lights. Pull the knob out all the way to turn
on the
headlamps.
You can brighten or dim the instrument
cluster by rotating the headlamp
knob. Press the knob
all the way in to turn them off. The exterior lamps
will automatically turn
on after several seconds of
wiper activation.
Headlamps
Wiper Activated Headlamps
This feature activates the headlamps and parking lamps
after the windshield wipers have been in use for
approximately
20 seconds.
In order to operate the wiper activated headlamps, the
twilight sentinel must be in the
on position. This feature
lights the way in poor weather and
it also makes your
vehicle more visible to other drivers.
If the wiper
activated headlamps are on, and the ignition switch
is
turned off, the wiper activated headlamps will
immediately turn
off.
The wiper activated headlamps will deactivate if you
turn off the twilight sentinel or if the windshield wipers
have been turned
off for a period of one or two seconds.
Lamps On Reminder
You will hear a warning chime if you pull the key from
the ignition while leaving the lamps on, if the manual
headlamp control is activated. An exception to this is
when you're using twilight sentinel.
Daytime Running Lamps
Daytime Running Lamps (DRL) can make it easier
for-others
to see the front of your vehicle during the
day, DRL can be helpful in many different driving
conditions, but they can be especially helpful in the
short periods after dawn and before sunset.
A light sensor on top of the instrument panel makes the
DRL work,
so be sure it isn't covered.
The
DRL system will make the high-beam headlamps
come on at reduced brightness when:
the ignition is on,
0 the headlamp switch is oft' and
the transaxle is not in PARK (P).
- 2-41
Page 103 of 354
Downloaded from www.Manualslib.com manuals search engine Light Sensor
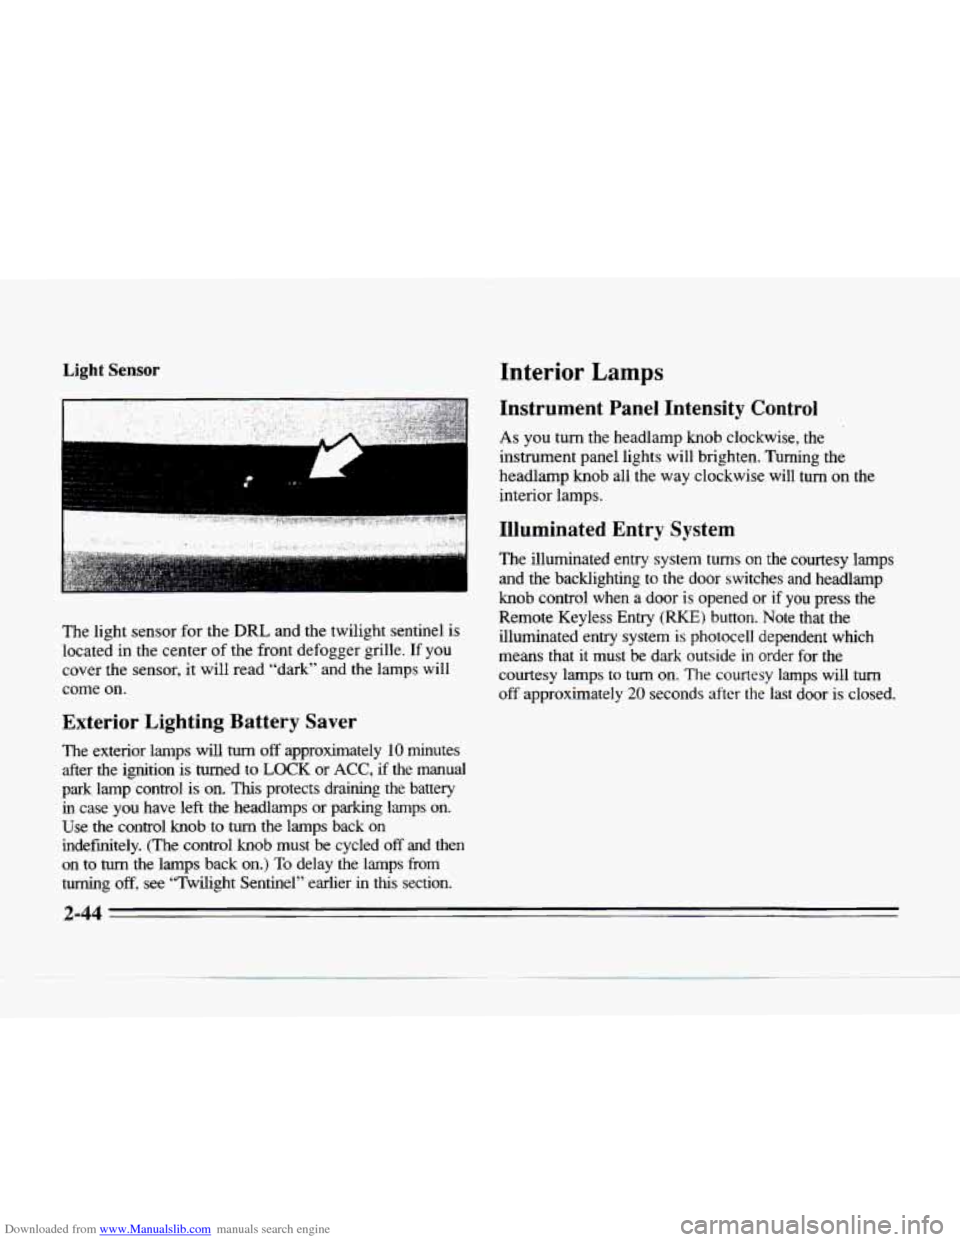
The light sensor for the DRL and the twilight sentinel is
located
in the center of the front defogger grille. If you
cover the sensor, it will read "dark" and the lamps will
come on.
Exterior Lighting Battery Saver
The exterior lamps will turn off approximately 10 minutes
after the ignition
is turned to LOCK or ACC, if the manual
park lamp control
is on. This protects draining the battery
in case you have left the headlamps or parking
lamps on.
Use the control
knob to turn the lamps back on
indefmitely. (The control
knob must be cycled off and then
on
to turn the lamps back on.) To delay the lamps from
turning off, see "Twilight Sentinel" earlier in this section.
Interior Lamps
Instrument Panel Intensity Control
As you turn the headlamp knob clockwise, the
instrument panel lights will brighten. Turning the
headlamp
knob all the way clockwise will turn on the
interior lamps.
Illuminated Entry System
The illuminated entry system turns on the courtesy lamps
and the backlighting to the door switches and headlamp
knob control when a door
is opened or if you press the
Remote Keyless Entry
(RKE) button. Note that the
illuminated entry system
is photocell dependent which
means that it must be dark outside
in order for the
courtesy lamps
to turn on. The courtesy lamps will turn
off approximately 20 seconds after the last door is closed.
2-44
Page 106 of 354
Downloaded from www.Manualslib.com manuals search engine c
On/Off Switch
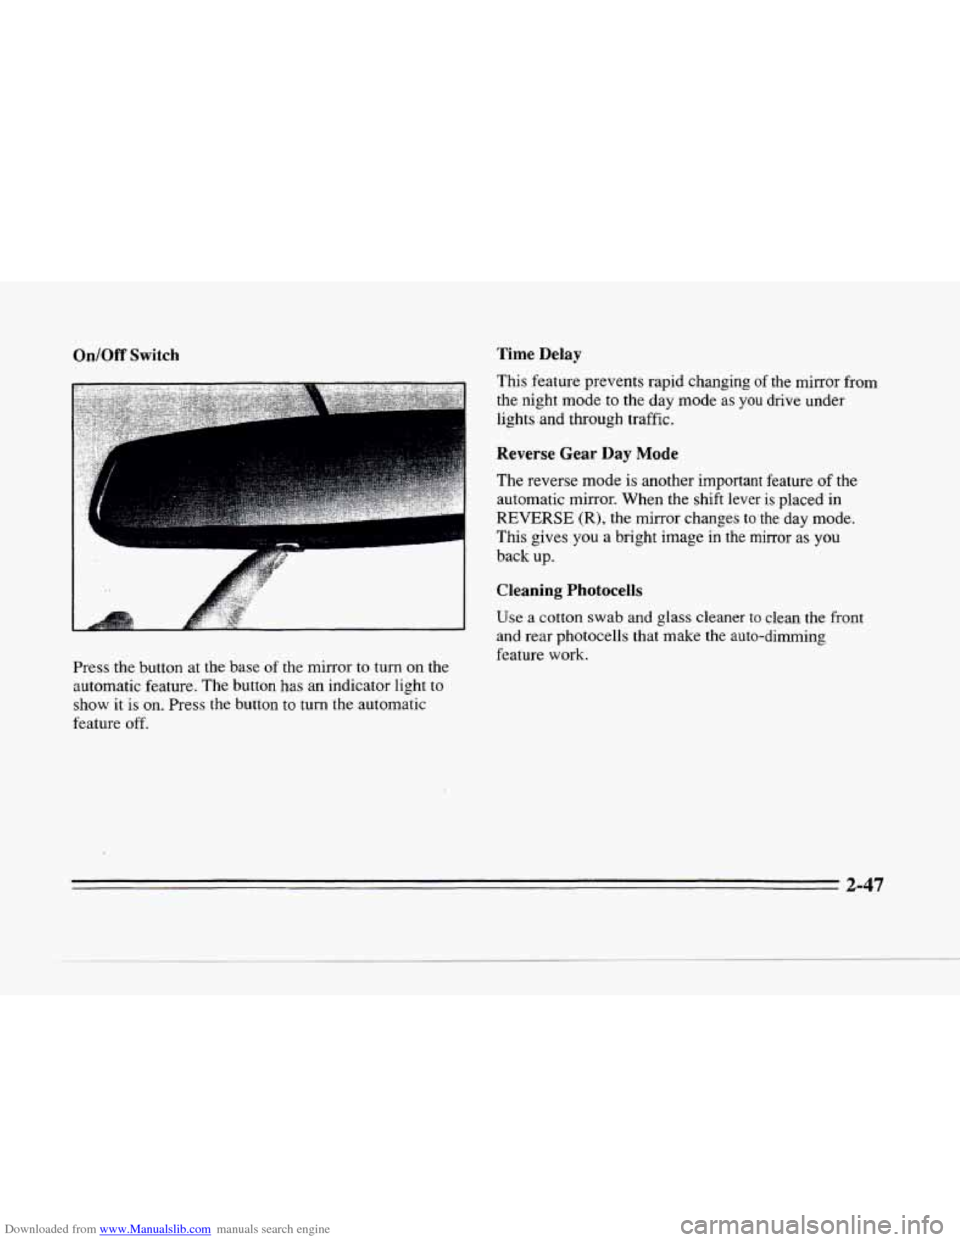
Press the button at the base of the mirror to turn on the
automatic feature. The button has an indicator light
to
show it is on. Press the button to turn the automatic
feature
off.
Time Delay
This feature prevents rapid changing of the mirror from
the night mode to the day mode
as you drive under
lights and through traffic.
Reverse Gear Day Mode
The reverse mode is another important feature of the
automatic mirror. When the shift lever is placed in
REVERSE (R), the mirror changes to the day mode.
This gives
you a bright image in the mirror as you
back up.
Cleaning Photocells
Use a cotton swab and glass cleaner to clean the front
and rear photocells
that make the auto-dimming
feature work.
2-47
Page 108 of 354
Downloaded from www.Manualslib.com manuals search engine c
Time Delay Compass Calibration
c
L
c
c
This feature prevents rapid changing of the mirror from
the night mode to the day mode as you drive under
lights and through traffic.
Reverse Gear Day Mode
The reverse mode is another important feature of the
automatic mirror. When the shift lever is placed in
REVERSE (R), the mirror changes to the day mode.
This gives you a bright image in the mirror as you
back up.
Cleaning Photocells
Use a cotton swab and glass cleaner to clean the front
and rear photocells that make the auto-dimming
feature work. Once
the compass is
calibrated, it does not need to be
recalibrated.
To calibrate the compass:
1.
2.
3.
Set the switch on the mirror control to C/M.
Turn the vehicle ignition switch on. The letter C
should be displayed in the mirror compass window.
If not, hold the CAL switch (on the bottom of the
mirror)
for more than 10 seconds, and the letter C
will appear. To hold in the CAL switch, insert a
paper clip into the small hole
on the bottom of the
mirror housing. The display
will show a number
first, but keep holding until the letter
C appears.
For quick calibration, drive the vehicle in
a
360-degree circle at less than 5 mph (8 km/h) until
the display reads
a compass direction. For normal
calibration, drive
the vehicle on your everyday
routine, and the compass wilI eventually calibrate.
2-49
Page 124 of 354
Downloaded from www.Manualslib.com manuals search engine c
L
Engine Speed Limiter
This feature prevents the engine from operating at too
many revolutions per minute (rpm). When the engine
rpm’s are critically high, the fuel supply to the engine
is shut off. When the engine speed slows, the fuel
supply will come on again. This helps prevent damage
to the engine.
Vehicle Speed Limiter (270 hp)
This feature prevents your vehicle from exceeding
speeds that the tires are not rated for. When this
happens, the engine’s fuel supply is shut
off. When the
vehicle speed slows, the fuel supply will come on again.
Warning Lights, Gages and
Indicators
This part describes the warning lights and gages that
may be on your vehicle. The pictures will help you
locate them.
Warning lights
and gages can signal that something is
wrong before it becomes serious enough to cause
an
expensive repair or replacement. Paying attention to
your warning lights and gages could also save you
or
others from injury. Warning
lights come on when there may be or is a
problem with one
of your vehicle’s functions. As you
will see
in the details on the next few pages, some
warning lights come on briefly when you start the
engine just to let you know they’re working. If you
are
familiar with this section, you should not be alarmed
when this happens.
crages can indicate when there may be or is a problem
with one of your vehicle’s functions. Often gages and
warning lights work together to let you know when
there’s a problem with your vehicle.
When one of the warning lights comes on and stays on
when you are driving, or when one of the gages shows
there may be a problem, check the section that tells you
what to do about
it. Please follow this manual’s advice.
Waiting to do repairs can be costly
-- and even
dangerous.
So please get to know your warning lights
and gages. They’re a big help.
Your vehicle may
also have a driver information system
that works along with the warning lights and gages. See
“Driver Information Center” in the Index.
2-65
Page 128 of 354
Downloaded from www.Manualslib.com manuals search engine Anti-Lock Brake System Warning Light
t-
LOCK
ANT’- (e)
ANTI -
LOCK
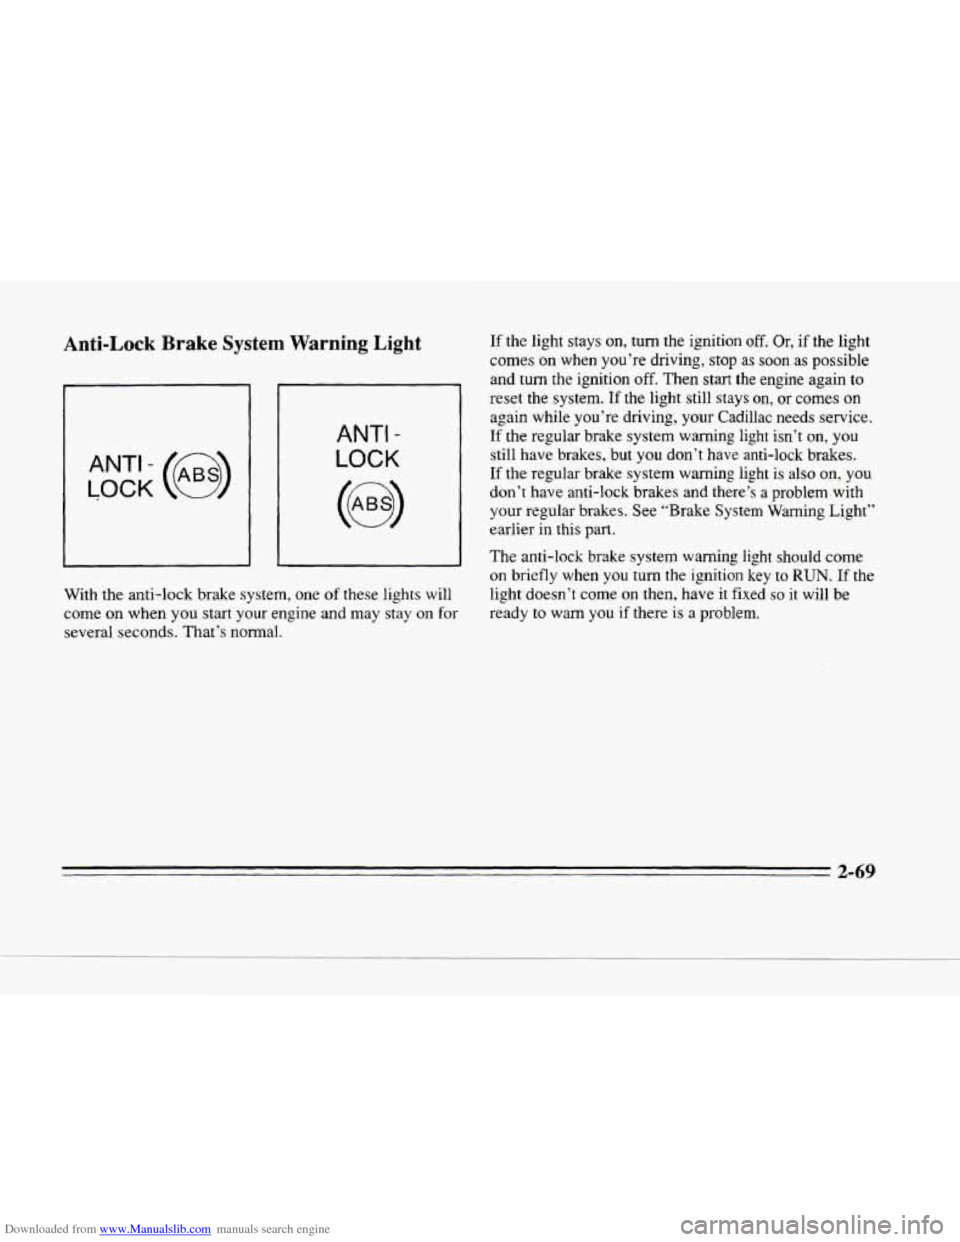
With the anti-lock brake system, one of these lights will
come
on when you start your engine and may stay on for
several seconds. That’s normal. If
the light stays
on, turn the ignition off. Or, if the light
comes
on when you’re driving, stop as soon as possible
and
turn the ignition off. Then start the engine again to
reset the system. If the light still stays on,
or comes on
again while you’re driving, your Cadillac needs service.
If the regular brake system warning light isn’t on, you
still have brakes, but you don’t have anti-lock brakes.
If the regular brake system warning light is also
on, you
don’t have anti-lock brakes and there’s
a problem-with
your regular brakes. See “Brake System Warning Light”
earlier in this part.
The anti-lock brake system warning light should come
on briefly when
you turn the ignition key to RUN. If the
light doesn’t come on then, have it fixed
so it will be
ready
to warn you if there is a problem.
2-69
Page 199 of 354
Downloaded from www.Manualslib.com manuals search engine Here are some tips on night driving.
0 Drive defensively.
0 Don’t drink and drive.
Since you can’t see as well, you may need to slow
down and keep more space between you and other
vehicles.
Slow down, especially on higher speed roads. Your
headlamps can light up only
so much road ahead.
In remote areas, watch for animals.
0 If you’re tired, pull off the road in a safe place and
rest.
You can be temporarily blinded by approaching
headlamps. It can
take a second or two, or even several
seconds, for your eyes to readjust to the dark. When
you are faced with severe glare (as
from a driver who
doesn’t lower the high beams, or a vehicle with
misaimed headlamps), slow down a little. Avoid staring
directly into the approaching headlamps.
Keep your windshield and all the glass
on your vehicle
clean
-- inside and out. Glare at night is made much
worse by dirt
on the glass. Even the inside of the glass
can build up
a film caused by dust. Dirty glass makes
lights dazzle and flash more than clean glass would,
making the pupils of your eyes contract repeatedly.
Night Vision
No one can see as well at night as in the daytime. But as
we get older these differences increase.
A 50-year-old
driver may require at least twice as much light to see the
same thing at night as a 20-year-old.
What you
do in the daytime can also affect your night
vision. For example,
if you spend the day in bright
sunshine you
are wise to wear sunglasses. Your eyes will
have less trouble adjusting to night.
But if you’re
driving, don’t wear sunglasses at night. They may cut
down on glare
from headlamps, but they also make a lot
of things invisible. Remember
that your headlamps light
up far less of a
roadway when
you are in a turn or curve. Keep your
eyes moving; that way, it’s easier
to pick out dimly
lighted objects. Just as your headlamps should be
checked regularly for proper aim,
so should your eyes
be examined regularly. Some drivers suffer
from night
blindness
-- the inability to see in dim light -- and
aren’t even aware of it.
4-16
Page 279 of 354
Downloaded from www.Manualslib.com manuals search engine Engine Coolant
The cooling system in your vehicle is filled with new
DEX-COOL rm (orange-colored, silicate-free) engine
coolant. This coolant is designed to remain
in your
vehicle
for 5 years or 100,000 miles (1 66 000 km),
whichever occurs first.
The following explains your cooling system and how to
add coolant when it is low.
If you have a problem with
engine overheating, see “Engine Overheating” in
the Index.
A 50/50 mixture of water and the proper coolant for
your Cadillac will:
0 Give freezing protection aown to -34°F (-37°C).
0 Give boiling protection up to 265 “F (129 O C).
0 Protect against rust and corrosion.
0 Help keep the proper engine temperature.
0 Let the warning lights and gages work as they should.
NOTICE:
When adding coolant it is important that you use
DEX-COOL (orange-colored, silicate-free)
coolant meeting
GM Specification 6277M.
If dicated coolant is added to the system,
premature engine, heater core or radiator
corrosion may result. In addition, the engine
coolant
will require change sooner -- at
30,000 miles (50 000 km) or 24 months,
whichever occurs first.
What to Use
Use a mixture of one-half clean water (preferably
distilled)
and one-half DEX-COOL (orange-colored,
silicate-free) antifreeze that meets
GM Specification
6277M, which won’t damage aluminum
parts. Use
GM Engine Coolant Supplement (sealer)
(GM Part
No. 3634621) with any complete coolant change. If you
use this mixture, you don’t need to add anything else.
A special procedure is required for adding sealer; see the
Cadillac service manual.
(To order a service manual, see
“Service and Owner Publications”
in the Index.)
6-20