reset CADILLAC SEVILLE 1997 4.G Owner's Guide
[x] Cancel search | Manufacturer: CADILLAC, Model Year: 1997, Model line: SEVILLE, Model: CADILLAC SEVILLE 1997 4.GPages: 370, PDF Size: 20.52 MB
Page 184 of 370
Downloaded from www.Manualslib.com manuals search engine c
c1
c
P
With this feature, your vehicle will recall the latest radio
settings as adjusted the last time your vehicle was
operated. This feature allows two different drivers
to
store and recall their own radio settings. The settings
recalled by the radio are determined by which
RKE
transmitter (“1” or “2’’) was used to enter the vehicle.
The number on the back
of the RKE transmitter
corresponds
to driver 1 or to driver 2. After the unlock
button is pressed
on the RKE transmitter or the ignition
key
is placed in the ignition, the radio settings will
automatically adjust to where they were last
set. The
settings can also be changed
by briefly pressing the
memory seat buttons 1 or
2 located on the driver’s door.
Your Cadillac has
a “built-in“ theft-deterrent feature on
each radio that is automatic -- there is no programming
required. The radio in your Cadillac cannot be used in
any other vehicle besides another Cadillac if it were to
be removed.
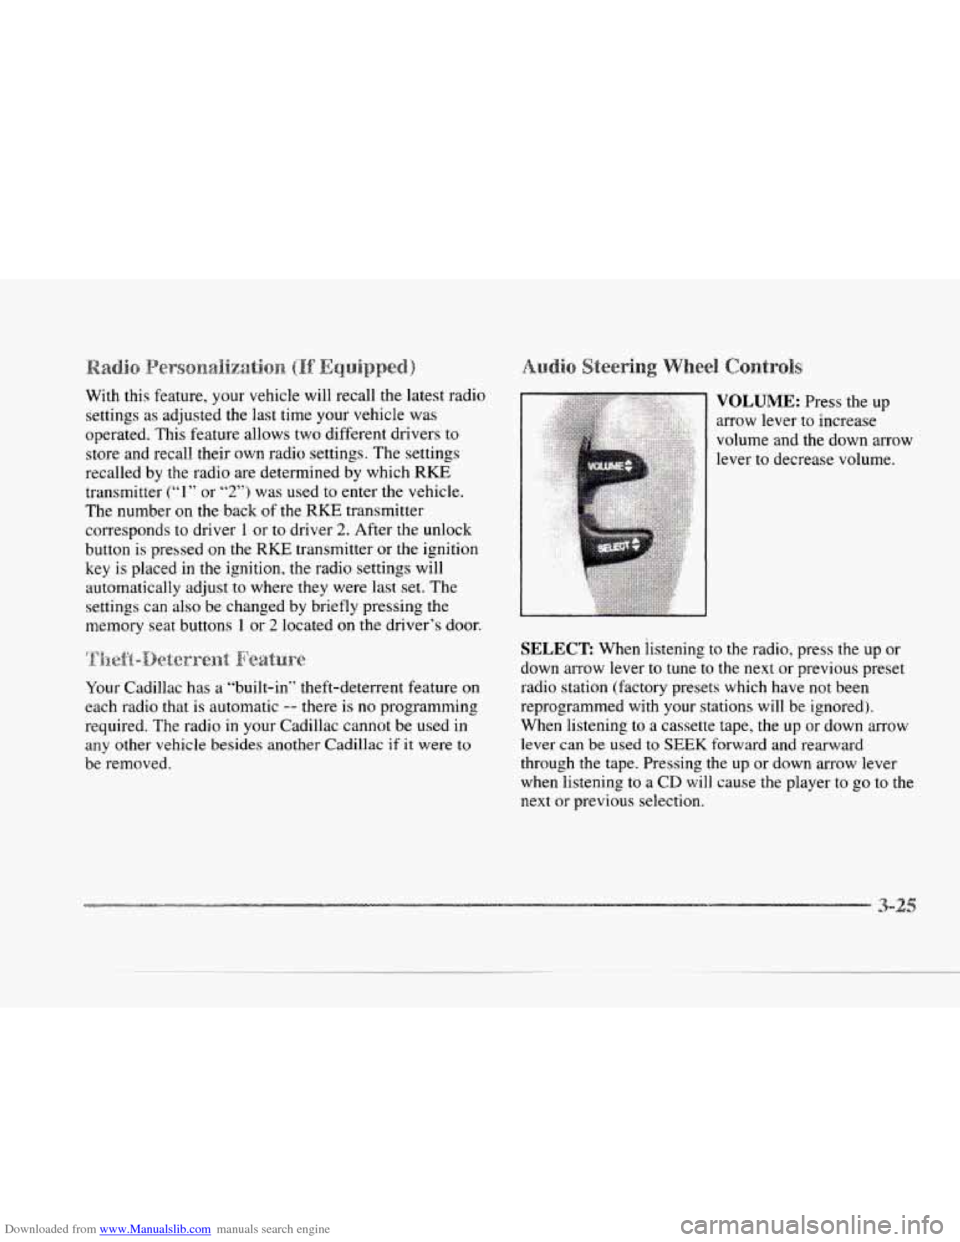
VOLUME: Press the up
arrow lever to increase
volume and the down arrow
lever to decrease volume.
SELECT: When listening to the radio, press the up or
down arrow lever
to tune to the next or previous preset
radio station (factory presets which have not been
reprogrammed with your stations will be ignored).
When listening to a cassette tape, the up
or clown arrow
lever
can be used to SEEK forward and rearward
through the tape. Pressing the up or down arrow lever
when listening to a
CD will cause the player to go to the
next or previous selection.
3-2
Page 186 of 370
Downloaded from www.Manualslib.com manuals search engine P
II
c
L
c
c
A tape player that is not cleaned regularly can cause
reduced sound quality, ruined cassettes
or a damaged
mechanism. Cassette tapes should be stored in their
cases away from contaminants. direct sunlight and
extreme heat. If they aren't, they may not operate
properly
or may cause failure of the tape player.
Your tape player should be cleaned regularly after every
50 hours of use. Your radio may display CLN or CLEAN
TAPE to indicate that you have used your tape player for
50 hours without resetting the tape clean timer. Each time
the cassette is cleaned, the
50 hour cassette timer should be
reset.
This is done by holding down the eject button for
three seconds until the
TME CLEAN message is
displayed. If you notice a reduction in sound quality, tly a
known good cassette to see
if it is the tape or the tape
player at fault.
If this other cassette has no improvement in
sound quality, clean the tape player.
Cleaning may be done
with a scrubbing action,
non-abrasive cleaning cassette with pads which scrub
the
tape head as the hubs of the cleaner cassette turn. It is
normal for the cassette to eject while cleaning. Insert the
cassette at least six times to ensure thorough cleaning. Some cleaning cassettes or
CD adapter
kits may appear
as a broken tape.
If the cleaning cassette is ejected
immediately from the tape player.
follow these steps for
the TAPE CLEAN
OVERRIDE teatur-e:
1. Turn the ignition to RUN or ACC
2. Turn the radio off.
3. Press and hold the SOL!KCE button l'or three
seconds. After three
scconds. thc tapc icon will flash
indicating the
cut tape feature is 1.10n. turned off.
4. Turn the radio on and insert the clcming cassette (or
the CD adapter kit ).
5. Eject the tape after the tape player has been cleaned.
When the cleaning cassetIe has been ejected, the broken
tape detection feature is active again.
You may also choose
a non-scrubbing action. wet-type
cleaner which uses
a cassette with a fabric belt to clean
the tape head. This type
of cleaning cassette will not
eject and, it may not clean as thoroughly
as the
scrubbing type cleaner.
Cassettes are subject
to wear and the sound quality
may degrade over time. Always make sure
the cassette
tape is
in good condition before you have your tape
player serviced.
Page 247 of 370
Downloaded from www.Manualslib.com manuals search engine You will find an ENGINE COOLANT HOT-IDLE
ENGINE message or a STOP ENGINE ENGINE
OVERHEATED message
on the Driver Information
Center
(DIC). There is also an engine temperature
warning light and/or gage on the instrument panel.
See “Engine Coolant Temperature Warning Light”
or “Engine Coolant Temperature Gage” in the Index
Should a low coolant condition exist and the message
STOP ENGINE ENGINE OVERI-IEATED is displayed,
an overheat protection mode which alternates firing
groups of four cylinders helps prevent engine damage.
In this mode,
you will notice a loss in power and engine
performance. This operating mode allows your vehicle
to be driven
to a safe place in an emergency; you may
drive up
to 50 miles (80 km). Towing a trailer in the
overheat protection mode should be avoided.
NOTICE:
After driving in the overheated engine protection
operating mode, to avoid engine damage.
allow
the engine to cool before attempting any repair.
The engine
oil will be severely degraded. Kcpair
the cause
of coolant loss, change the oil and reset
the
oil life indicator. See “Engine Oil, lli’hcn to
Change” in the Index.
Page 284 of 370
Downloaded from www.Manualslib.com manuals search engine c
c
As showr?, in the chart, SAE 1OW-30 is best for your
vehicle. However. you can use
SAE 5W-30 if it’s
going
to be colder than 60°F (16°C) before your
nest
oii change. When it‘s very cold, you should use Don’t add
anything to your
oil. Your Cadillac dealer is
ready to advise if you think something should be added.
SAE 5W-30. These numbers on an oil container show
its viscosity. or thickness. Do not use other viscosity
oils. such 3s S*AE ?OW-so. Your Cadillac has an Oil Life Indicator. This
feature will let you
know when to change your oil
and filter
-- usually between 3,000 miles (5 000 km)
and 7,500 miles (1 2 500 km) since your last oil change.
Under severe conditions, the indicator may come on
more than 7,500
miles (1 2 500 km) or 12 months
(whichever occurs first) without an
oil change.
Use only engine oil with the American Petroleum before 3,000 miles (5 000 km). Never drive your vehicle
Institute Certified For Gasoline Engines
“Starburst”
symbol. Failure to use the
recommended
oil can result in engine damage not The system won’t detect dust in the oil. So, if you
covered by pour warranty. drive in a dusty area. be sure to change your oil
GM Goodwrench”‘ oil meets all the requirements for
Remember to reset the Oil Life Indicator when the
your vehicle. oil has
been changed. For more information, see
If you are in
an area where the temperature falls ”Oil Life Indicator” in the index.
below -20°F (-39OC), consider using either an SAE
5W-30 synthetic oil or an SAE OW-30 oil. Both will
provide easier cold starting and better protection
for
your engine at extremely low temperatures. every
3,000 miles (5 000 km) or
sooner if the
CHANGE ENGINE OIL message comes on.
Page 285 of 370
Downloaded from www.Manualslib.com manuals search engine ow to Reset t
After the oil has been changed. display the OIL LIF’E
LEFT message by pressing the INFORMATION (INFO)
button. Then press and hold the RESET (INFO RESET)
button until the display shows
”100.” This resets the
oil life index. The message will remain
off until the
next
oil change is needed. The percentage of oil life
remaining may be checked at any time by pressing
the INFORMATION
(INFO) button several times
until the
OIL LIFE LEFT message appears. For more
information
on the Oil Life feature, see “Oil Life
Indicator” in the Index.
Did you know that used engine oil contains certain
elements that may be unhealthy for your skin and could
even cause cancer? Don’t let used oil stay on your skin
for very long. Clean your skin and nails with soap and
water,
or a good hand cleaner. Wash or properly throw
away clothing or rags containing used engine oil. (See
the manufacturer’s warnings about the
use and disposal
of oil products.)
Used oil can be a real threat
to the environment. If you
change your own oil, be sure
to drain all free-flowing oil
from the filter before disposal. Don’t ever dispose of oil
by putting it in the trash, pouring
it on the ground, into sewers,
or into
streams or bodies of water. Instead,
recycle it by taking it to
a place that collects used oil. If
you have
a problem properly disposing of your used oil,
ask your dealer, a service station 01 a local recycling
center for help.
ir
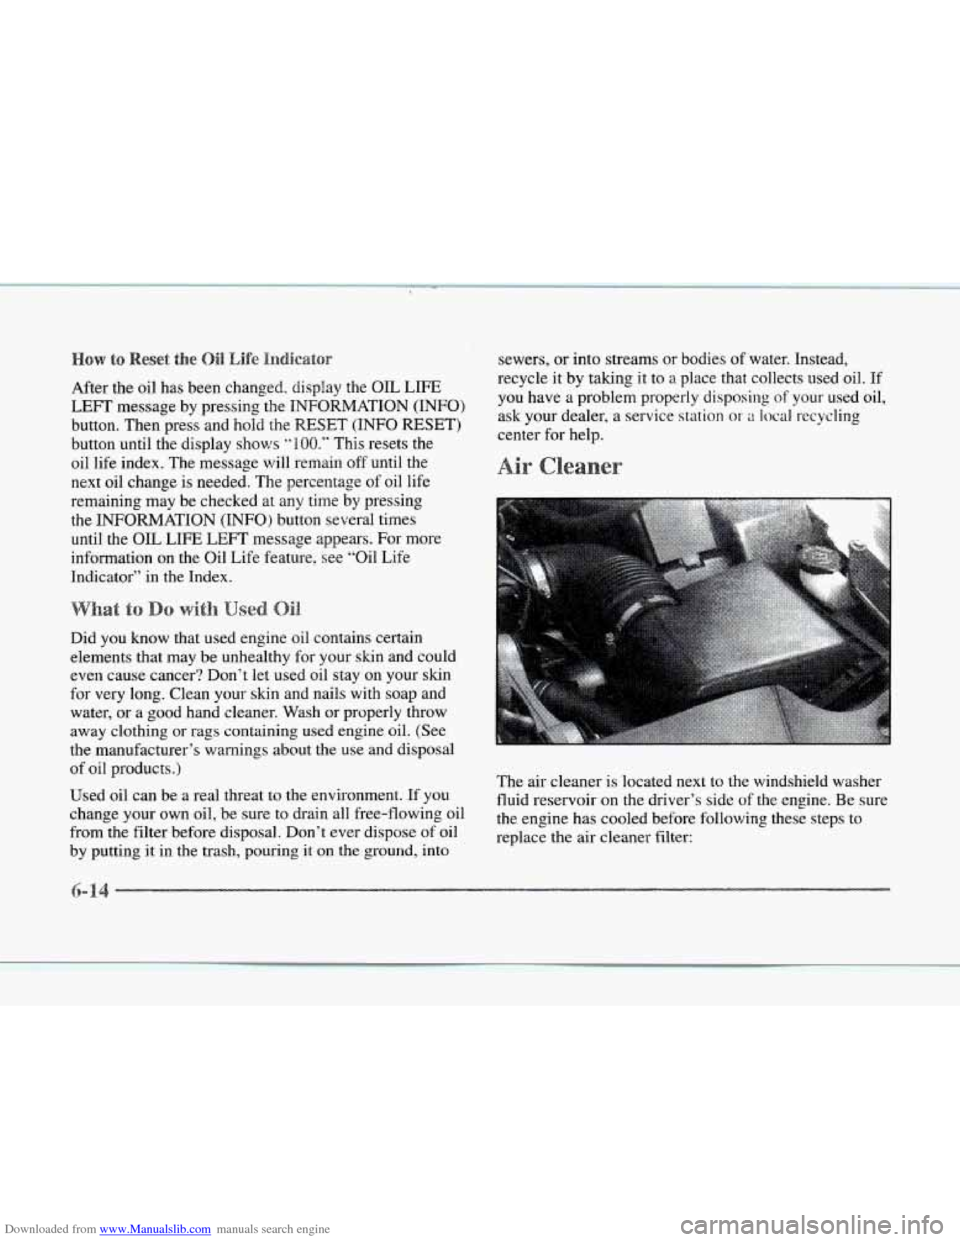
The air cleaner is located next to the windshield washer
fluid reservoir on the driver’s side of the engine. Be sure
the engine has cooled before following these steps
to
replace the air cleaner filter:
Page 291 of 370
Downloaded from www.Manualslib.com manuals search engine Refer to the Maintenance Schedule to determine what
kind of transaxle fluid to use. See “Recommended Fluids
and Lubricants” in the Maintenance Schedule booklet.
If the fluid level is low, add only enough of the proper
fluid
to bring the level into the cross-hatched area on
the dipstick.
1. Pull out the dipstick.
2. Using a long-neck funnel, add enough fluid at the
dipstick hole to bring
it to the proper level.
it doesn’t take much fluid, generally less than one
pint
(0.5 L). DOH ’r ow@/!.
I NOTICE:
We recommend you use only fluid labeled
DEXRON‘%I, because fluid with that label
is made especially for your automatic
transmission. Damage caused by fluid other
than DEXRON-111 i.s not covered
by your
new vehicle warranty.
3. After adding fluid, recheck the fluid level as
described under ‘(HOW to Check.“
4. When the correct fluid level is obtained. push the
dipstick back in all the way.
Your vehicle is equipped with a transaxle fluid change
indicator-
A CHANGE TRANS FLUID message will
display
on the Driver Information Center (DIC) when
the powertrain computer determines that the transaxle
fluid needs
to be changed or at each 100,000 miles
(160 000 km) interval, whichever occurs first. See your
Maintenance Schedule booklet for more information.
When this message appears, change the transaxle fluid
and reset the
transaxle fluid life indicator as follows:
1. Turn the ignition on but do not start the engine.
2. Press and hold the OFF and rear defog buttons on the
climate control at the
same time until the TRANS
FLUID RESET message appears on the DIC.
--
-2
Page 295 of 370
Downloaded from www.Manualslib.com manuals search engine ~~~~~~ Cgaolanmt
If you need
more coolant, add the proper DEX-COOL@
coolant mixture at the surge tank, but only when the
engine .is cool.
I A CAUTION:
You can be burned if you spill coolant on hot
engine parts. Coolant contains ethylene glycol,
and it will burn if the engine parts
are hot
enough. Don’t spill coolant
on a hot engine.
When replacing the pressure cap, make sure it is tight.
I NOTICE:
~~~~~~~~~~ ~
The surge tank cap is a 15 psi (105 kPa)
pressure-type cap and must be tightly installed
to
prevent coolant loss and possible engine damage
from overheating. Be sure the arrows
on the cap
line up.
If the surge tank pressure cap needs to be replaced, a
General Motors cap is recommended.
Engine coolant temperature
is controlled by a thermostat
in
the engine coolant system. The thermostat stops the
flow of coolant through the radiator until the coolant
reaches a preset temperature.
If your thermostat needs to be replaced, a General
Motors thermostat
is recommended.
-4
Page 314 of 370
Downloaded from www.Manualslib.com manuals search engine c
~~~~~~~~~~.~~ A,
The temperature grades are A (the highest). B and C,
representing the tire's resistance to the generation of
heat and its ability to dissipate heat when tested under
controlled conditions on
a specified indoor laboratory
test wheel. Sustained
high temperature can cause the
material of the tire to degenerate and reduce tire life. and
excessive temperature can lead to sudden tire failure.
The grade C corresponds to a level of performance
which
all passenger car tires must meet under the
Federal Motor Vehicle Safety Standard
No. 109. Grades
A and B represent higher levels of performance on the
laboratory test wheel than the minimum required
by law.
Warning: The temperature grade for this tire is
established
for a tire that is properly inflated and not
overloaded.
Excessive speed, underinflation or
excessive loading, either separately or in combination,
can cause heat buildup and possible tire failure. The wheels
01.1 your vehicle were aligned and balanced
carefully at the factory to give
you the longest tire life
and best overall performance.
Scheduled
wheel alignment and wheel balancing ars not
needed. However, if you notice unusnal fire wear or
your vehicle pulling one way or the other, the alignment
may need to
be reset. If you notice your vehicle
vibrating when driving on a smooth road, your wheels
may need LO be ~-ebalanced.
'heel ~~~~~~~~~~~~~.~
Replace any wheel that is bent. cracked or badly rusted
or corroded. If wheel nuts keep conling loose, the wheel,
wheel bolts and wheel nuts should be replaced. If the
wheel leaks air, ~seplace it (except some aluminum
wheels, which can sometirnes be repaired). See your
Cadillac dealer
if any of these conditions exist.
Your dealer will how the kind of wheel you need.
Page 362 of 370
Downloaded from www.Manualslib.com manuals search engine c
.
.
.
c
.
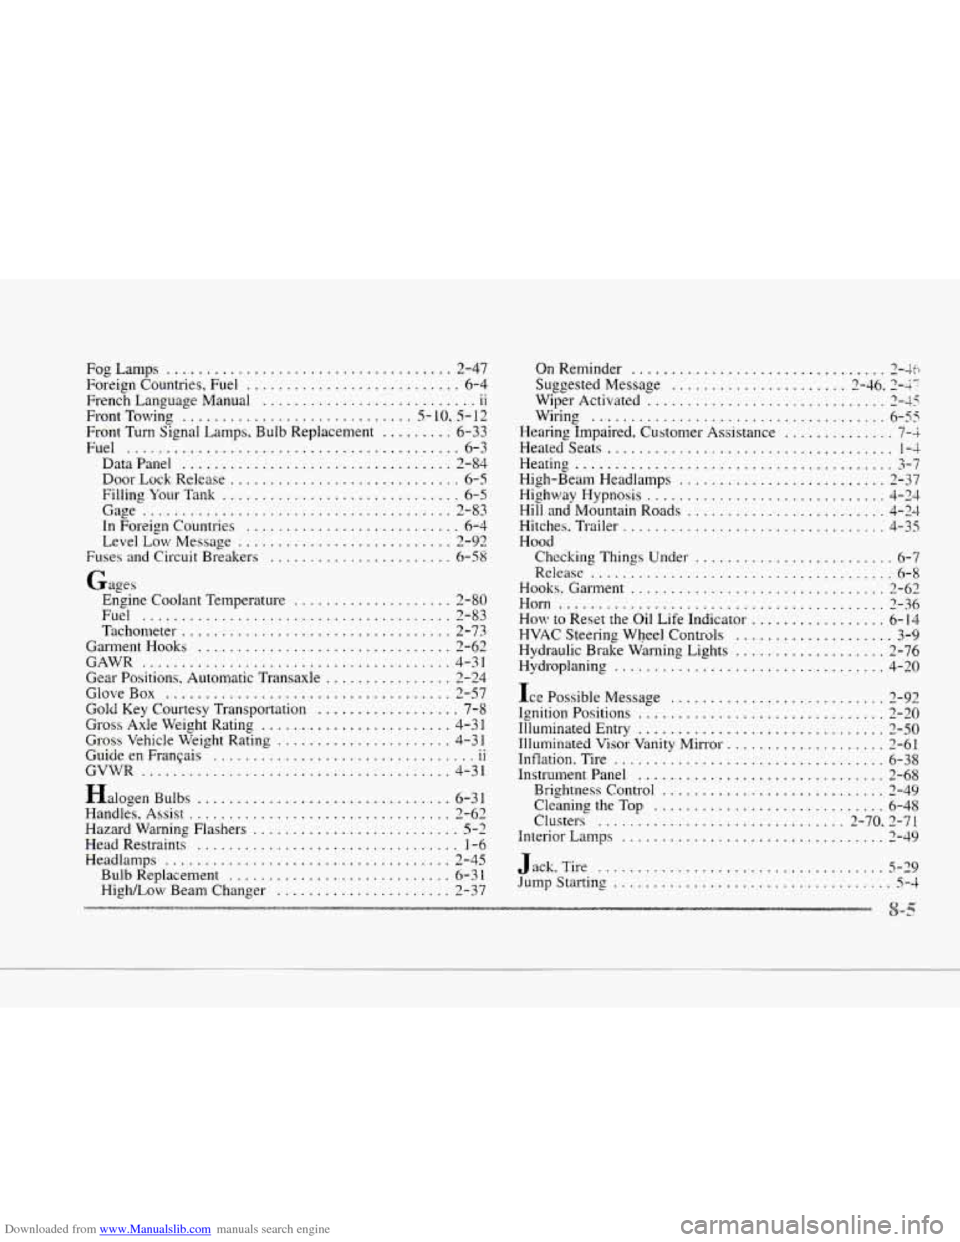
FogLamps .................................... 2-47
Foreign Countries . Fuel ........................... 6-4
French Language Manual
11
FrontTowing ............................. 5-10. 512
Fuel .......................................... 6-3
DataPanel .................................. 2-84
Door Lock Release
............................. 6-5
Filling Your Tank .............................. 6-5
Gage
....................................... 2-83
In Foreign Countries
........................... 6-4
Level
Low Message ........................... 2-92
Fuses and Circuit Breakers ....................... 6-58
.. ...........................
Front Turn Signal Lamps . Bulb Replacement ......... 6-33
Gages
Engine Coolant Temperature .................... 2-80
Tachometer
.................................. 2-73
GarmentHooks
................................ 2-62
Gear Positions
. Automatic Transaxle ................ 2-24
GloveBox
.................................... 2-57
Gold Key Courtesy Transportation .................. 7-8
Gross Axle Weight Rating ........................ 4-31
Gross Vehicle Weight Rating ...................... 4-31
Guide en FranGais 11
Halogen Bulbs ................................ 6-31
Handles, Assist ................................. 3-62
Hazard Warning Flashers
.......................... 5-2
Head Restraints ................................. 1-6
Headlamps
.................................... 2-45
Bulb Replacement
............................ 6-3 1
HigNLow Beam Changer ...................... 2-37
Fuel ....................................... 2-83
CAWR ....................................... 4-31
.. .................................
GVWR ....................................... 4-31
On Reminder ................................ 2-45
Suggested Message ...................... 2-46.3-;+ <- :
Wiper Activated ................................ 7-4<
Wiring 6-33
Hearing Impaired. Customer Assistance .............. 7-4
Heatedseats .................................... 1-4
Heating ........................................ J-/ 9-
High-Beam Headlamps .......................... 2-37
Highway Hypnosis
.............................. 4-34
Hill and Mountain Roads
......................... 4-24
Hitches . Trailer ................................. 4-35
Hood
Checking Things Under ......................... 6-7
Release ...................................... 6-8
Hooks, Garment
................................ 2-62
Horn ......................................... 2-36
How to Reset the Oil Life Indicator ................. 6-14
HVAC Steering Wheel Controls
.................... 3-9
Hydraulic Brake Warning Lights ................... 2-76
.. .....................................
Hydroplaning .................................. 4-20
Ice Possible Message
........................... 2-92
Ignition Positions ............................... 2-20
Illuminated Entry
............................... 2-50
Illuminated Visor Vanity Mirror
.................... 2-61
Inflation
. Tire .................................. 6-38
Instrument Panel ............................... 2-68
Brightness Control ............................ 1 3-45
Cleaning the Top ............................. 6-48
Clusters
............................... 2-70.2-71,
Interior
Lamps ................................. 2-49
Jack . Tire .................................... 5-29
Jump Starting ................................... 5-4
Page 364 of 370
Downloaded from www.Manualslib.com manuals search engine r
f
r
r
r
r
r
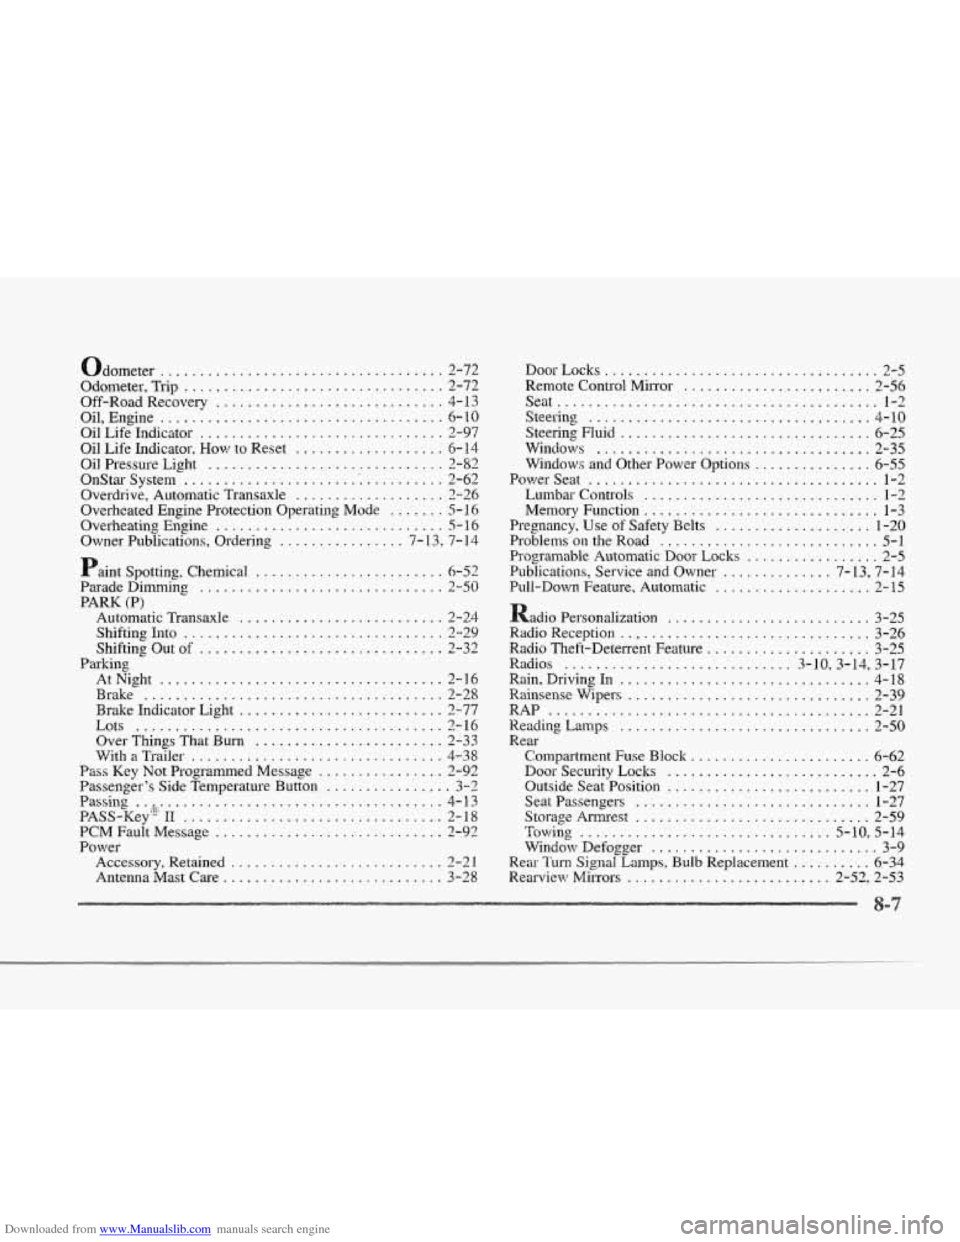
odometer .................................... 2-72
Odometer. Trip
................................. 2-72
Off-Road Recovery
............................. 4- 13
Oil. Engine
.................................... 6-10
Oil Life Indicator
............................... 2-97
Oil Life Indicator.
How to Reset ................... 6- 14
Oil Pressure Light
.............................. 2-82
OnStar System
...................... '. .......... 2-62
Overdrive. Automatic Transaxle ................... 2-26
Overheated Engine Protection Operating Mode
....... 5-16
Owner Publications. Ordering
................ 7'- 13. 7-14
Overheating Engine
............................. 5- 16
Paint Spotting
. Chemical ........................ 6-52
ParadeDimming ............................... 2-50
PARK (P)
Automatic Transaxle
.......................... 2-24
Shifting Into ................................. 2-29
Shifting Out
of ............................... 2-32
AtNight
.................................... 2-16
Brake
...................................... 2-28
Brake Indicator Light
.......................... 2-77
Lots
....................................... 2-16
Over Things That Burn
........................ 2-33
With a Trailer ................................ 4-38
Pass Key Not Programmed Message ................ 2-92
Passenger's Side Temperature Button
................ 3-2
Passing
.. .+. .................................... 4- 13
PASS-Key- I1
................................. 2-18
PCM Fault Message
............................. 2-92
Power
Accessory. Retained ........................... 2-2 1
Antenna Mast Care ............................ 3-28
Parking DoorLocks
................................... 2-5
Remote Control
Mirror ........................ 2-56
Seat
......................................... 1-2
Steering
.................................... 4-10
Steering Fluid
................................ 6-25
Windows
................................... 2-35
PowerSeat
..................................... 1-2
Lumbar Controls
.............................. 1-2
Memory Function
.............................. 1-3
Pregnancy. Use
of Safety Belts .................... 1-20
Problems
on the Road ............................ 5-1
Publications. Service and Owner
.............. 7-13. 7-14
Pull-Down Feature. Automatic
.................... 2-15
adio Personalization
.......................... 3-25
Radio Reception
................................ 3-26
Radio Theft-Deterrent Feature
..................... 3-25
Radios
............................. 3.10.3.14. 3.17
Rain. Driving
In ................................ 4-18
Rainsense Wipers
............................... 2-39
RAP
......................................... 2-21
Reading Lamps
................................ 2-50
Rear
Compartment Fuse Block
....................... 6-62
DoorSecurityLocks
........................... 2-6
Outside Seat Position .......................... 1-27
Seat Passengers
.............................. 1-27
Storage Armrest
.............................. 2-59
Towing ................................ 5.10. 5.14
Window Defogger
............................. 3-9
Rearview Mirrors
.......................... 2-52.12-53
Windows
and Other Power Options
............... 6-55
Programable Automatic Door Locks
................. 2-5
Rear
Turn Signal Lamps. Bulb Replacement .......... 6-33