instrument panel CADILLAC SEVILLE 1997 4.G Owners Manual
[x] Cancel search | Manufacturer: CADILLAC, Model Year: 1997, Model line: SEVILLE, Model: CADILLAC SEVILLE 1997 4.GPages: 370, PDF Size: 20.52 MB
Page 25 of 370
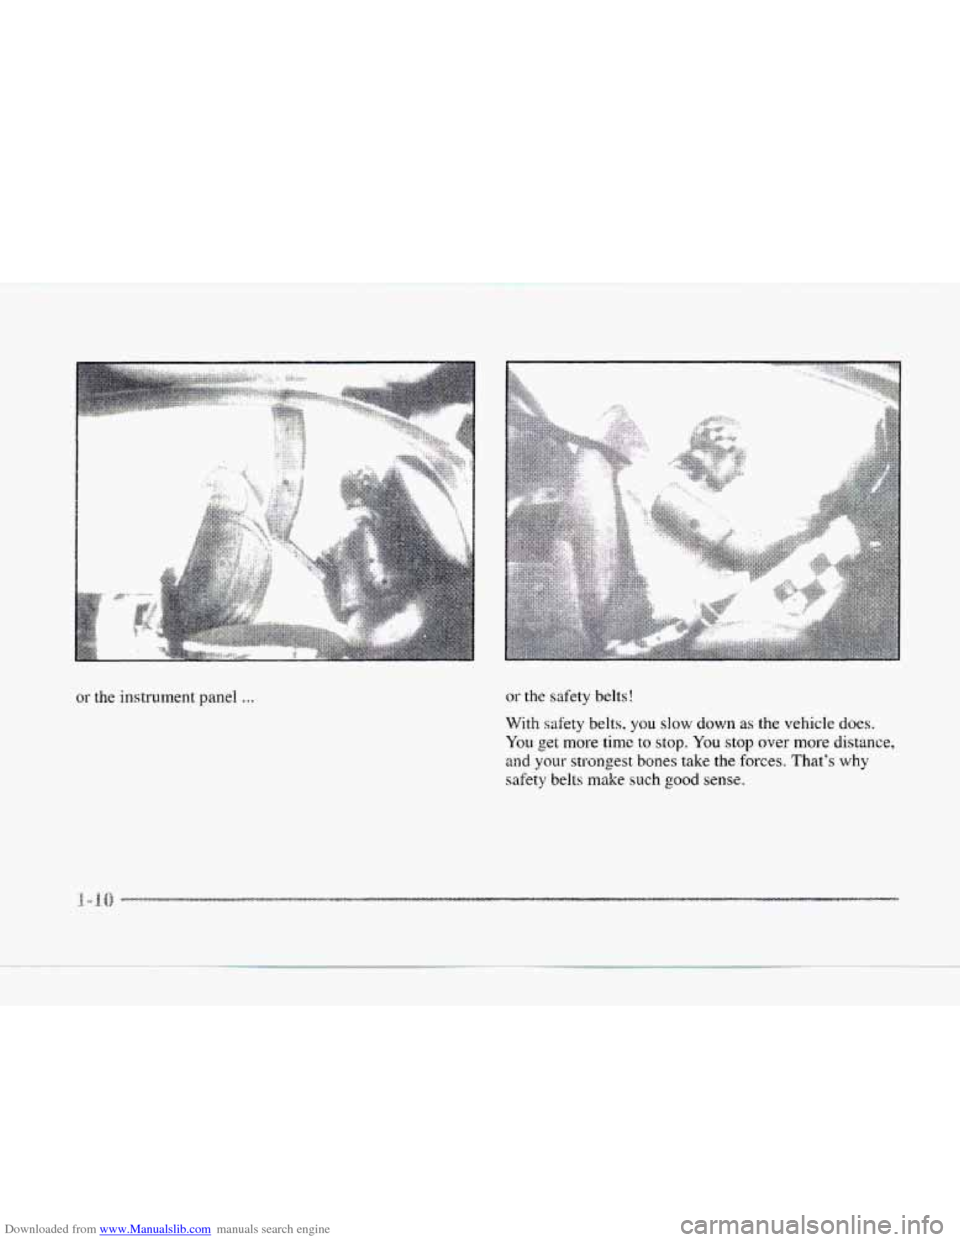
Downloaded from www.Manualslib.com manuals search engine or the instrument panel ... or the safety belts!
With safety belts,
you slow down as the vehicle does.
You get more time to stop. You stop over more distance,
and your strongest bones take the forces. That’s why
safety belts make such good sense.
Page 37 of 370
Downloaded from www.Manualslib.com manuals search engine A CAUTION:
Air bags inflate with great force, faster than the
blink
of an eye. If you’re too close to an inflating
air bag,
it could seriously injure you. Safety belts
help keep you in position before and during a
crash. Always wear your safety belt., even with air
bags. The driver should sit as far back as possible
while still maintaining control
of the vehicle.
A CAUTION:
An inflating air bag can seriously injure small
children. Always secure children properly in your
vehicle.
To read how, see the part of this manual
called “Children”
and the caution label on the
right front passenger’s safety belt.
AIR BAG
There is an air bag readiness
light
on the instrument panel,
which shows
AIR BAG.
The system checks the air bag electrical system for
malfunctions.
The light tells you if there is an electrical
problem. See “Air
Bag Readiness Light” in the Index
for more information.
-22
Page 38 of 370
Downloaded from www.Manualslib.com manuals search engine r s
r
r
i
0 r
r
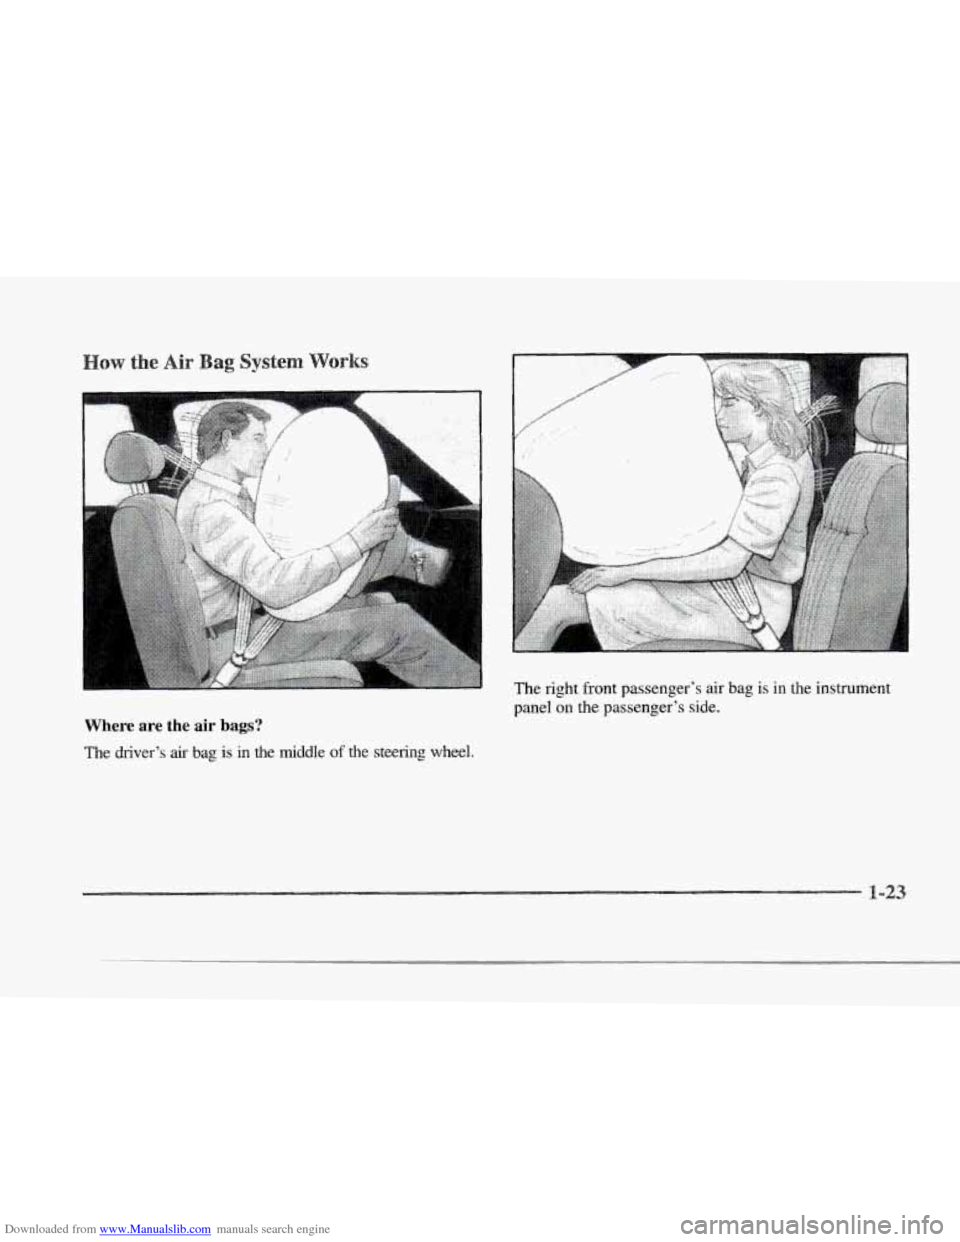
Where are the air bags?
The driver’s air bag is in the middle of the steering wheel. The right front
passenger‘s air bag is in the instrument
panel on the passenger’s side.
3
Page 39 of 370
Downloaded from www.Manualslib.com manuals search engine A CAUTION:
If something is between an occupant and an air
bag, the bag might not inflate properly or it
might force the object into that person.
The path
of an inflating air bag must be kept clear. Don’t
put anything between an occupant and
an air
bag, and don’t attach
or put anything on the
steering wheel
hub or on or near any other air
bag covering.
When should an air bag inflate?
An air bag is designed to inflate in a moderate to severe
frontal or near-frontal crash. The air
bag will inflate
only if the impact speed is above the system’s designed
“threshold level.”
If your vehicle goes straight into a
wall that doesn’t move or deform. the threshold level is
about 9 to 15 mph (14 to 24 km/hj. The threshold level
can vary, however, with specific vehicle design. so that
it can be somewhat above or below this range. If your
vehicle strikes something that
will move or deform, such
as a parked car, the threshold level will be higher. The
air bag is not designed to inflate in rollovers, side
impacts or rear impacts, because inflation would not
help the occupant.
In any particular crash, no one can say whether an air
bag should have inflated simply because
of the damage
to a vehicle or because of what the repair costs were.
Inflation is determined by the angle of the impact and
how quickly the vehicle slows down in frontal or
near-frontal impacts.
What makes an air bag inflate?
In an impact of sufficient severity, the air bag sensing
system detects that the vehicle
is in a crash. The sensing
system triggers
a release of gas from the inflator, which
inflates the air bag. The inflator, air bag and related
hardware are
all part of the air bag modules inside the
steering wheel and
in the instrument panel in front of the
right front passenger.
Page 40 of 370
Downloaded from www.Manualslib.com manuals search engine 1
c
How does an air bag restrain?
In moderate to severe frontal or near-frontal collisions.
even belted occupants can contact the steering wheel
or the
instrument panel. Air bags supplement the proteciiort
provided by safety belts.
Air bags distribute the force of
the impact more evenly over the occupant's upper body,
stopping the occupant more gradually. But air bags would
not help
you in many types of collisions, including
rollovers. rear impacts and side impacts. primarily because
an occupant's motion
is not toward those air bags. Air
bags should never be regarded as anything more than 2
supplement to safety belts, and then only in moderate to
severe frontai or near-frontal collisions.
What will you see after an air bag inflates?
After an air bag inflates, it quickly deflates, SO
quiclcly that some people may not even realize the
air bag inflated. Some components of the
air bag
module
-- the steering wheel hub for the driver's air
bag, or the instrument panel for the right front
passenger's bag
-- will be hot for a short time. The parts
of the bag that come into contact with you may be
warm, but not too hot to touch. There will be sorne
smoke and dust coming from vents in the deflated air
bags. Air
bag inflation doesn-t prevent the driver from
seeing or from being able to steer the vehicle,
nor does it
stop people from leaving the vehicle.
When an air bag inflates, there is dust in the air.
This dust could cause breathing problems
for
people with a history of asthma or other
breathing trouble.
To avoid this, everyone in the
vehicle should get out as
soon as it is safe to do so.
If you have breathing problems but can't get out
of the vehicle after an air bag inflates, then get
fresh air by opening a window or door.
Your vehicle has a feature that will automatically unlock
the doors and turn
the interior lamps on when the air
bags inflate (if battery power is available). You can lock
the doors again and
tun: the interior lamps off by using
the
door lock and interior lamp controls.
In many crashes severe enough.to inflate an air bag,
windshields are broken by vehicle deformation.
Additional windshield breakage may also occur from the
right: front passenger air
bag.
Page 62 of 370
Downloaded from www.Manualslib.com manuals search engine c
c
c
c
2-2
2-4
2-7
2-12
2- 16
I 7-16
2-18
2- 19
2-20
2-2
1
2-23
2-24
2-28
2-29
2-32
2-33
2-33 Here
you can learn about the many standard and optional features on your Cadillac. mcl inf’ol-mation 011 starting,
shifting and braking. Also explained are
the instrument panel and the warning systems that tell y~ i 1‘ c\wything is
working properly -- and what to do if you have a problem.
Keys
Door Locks
Remote Keyless Entry (RKE) System
Trunk
Theft
Theft-Deterrent System
PASS-Key@
I1
New Vehicle “Break-In’’
Ignition Positions
Starting Your Engine
Engine Coolant Heater
Automatic Transaxle Operation
Parking Brake
Shifting Into PARK (P)
Shifting Out of
PARK (P)
Parking Over Things That Burn
Engine Exhaust 2-34
2-35
2-36
2-37
2-45
2-52
2-57
2-6
I
2-63
2-64
2-68
Running
Your Engine Whilc \’OLI.I-C Parked
Windows
Tilt Wheel
Turn Sigl.lal/MultitLInction
Le~tel-
Lamps
Mirrors
.
Storage Compartments
Cellular Telephone
Astroroof (Option)
Universal Transmitter
The Instrument Panel: Your
Information System
2-70 Digital Cluster
(SLS Only)
2-7
1 Analog Cluster (If Equipped)
2-74 Warning Lights. Gages and Indicators
2-85 Driver Information Center (DIC
j
Page 73 of 370
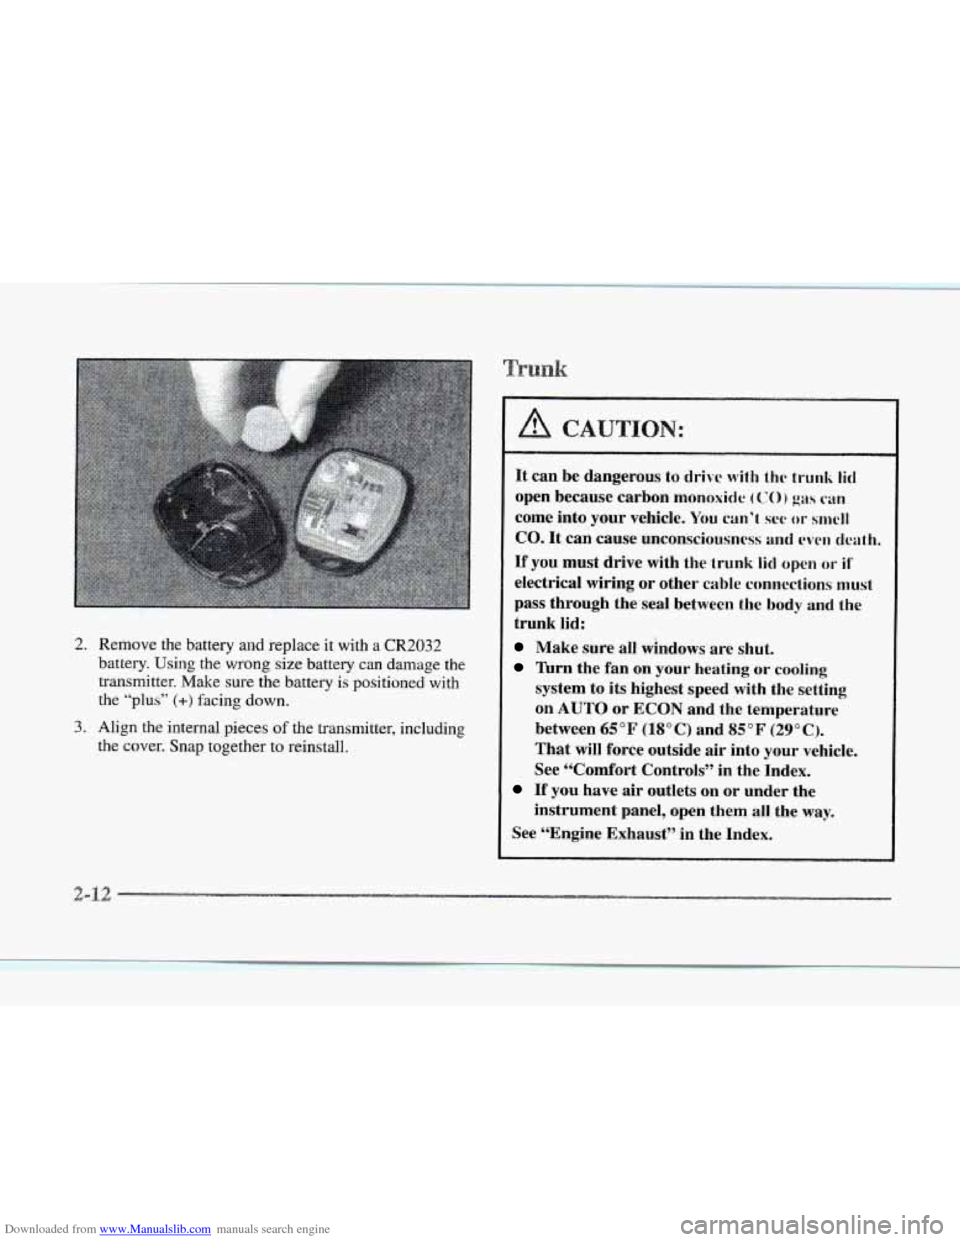
Downloaded from www.Manualslib.com manuals search engine 2. Remove the battery and replace it with a CR2032
battery.
Using the wrong size battery can damage the
transmitter. Make Lsure the battery is positioned with
the “plus”
(+> facing down.
3. Align the internal pieces of the transmitter, including
the cover. Snap together to reinstall.
It can be dangerous to drive with thc trunk lid
open because carbon monoxide (CO) gas can
come into your vehicle. You can’t set‘ or snwll
CO. It can cause unconsciousness and evtw death.
If you must drive with the trunk lid open or if‘
electrical wiring or other cable connections must
pass through the seal between the body and the
trunk lid:
Make sure all Gndows are shut.
Turn the fan on your heating or cooling
system to its highest speed with the setting
on
AUTO or ECON and the temperature
between
65°F (HOC) and 85°F (29°C).
That will force outside air into your vehicle.
See “Comfort Controls” in the Index.
If you have air outlets on or under the
instrument panel, open them all the way.
See “Engine Exhaust” in the Index.
3
Page 89 of 370
Downloaded from www.Manualslib.com manuals search engine c
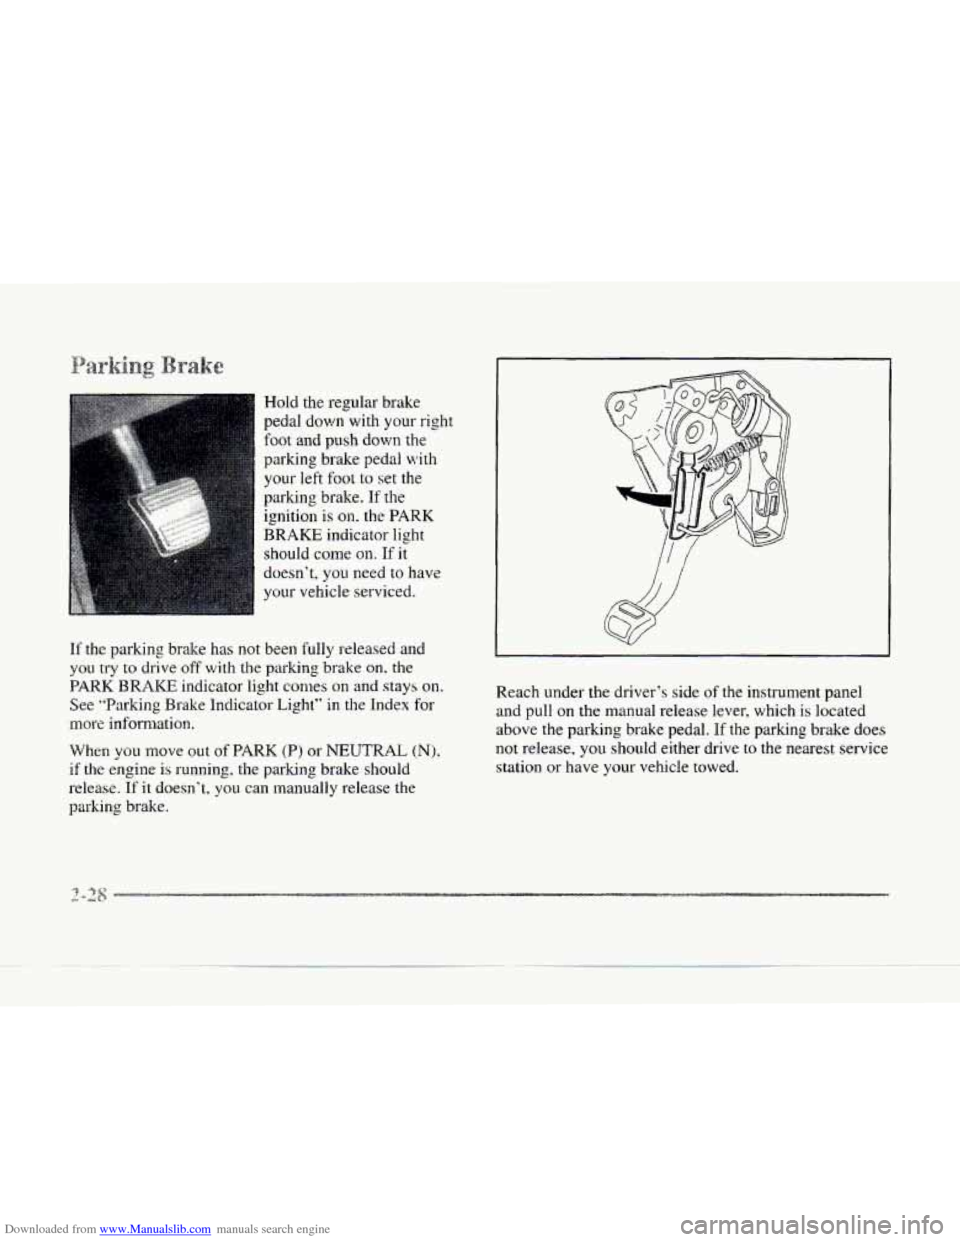
Hold the regular brake
pedal down with your right
foot and
push down the
parking brake pedal with
your
left foot to set the
parking brake. If the
ignition is
on. the PARK
BRAKE
indicator light
should come
on. If it
doesn’t, you need to have
your vehicle serviced.
If the parking brake has not been fully released and
you try to drive off with the parking brake on. the
PARK BRAKE indicator light comes on and stays on.
See ’bParking Brake Indicator Light” in the Index for
more information.
When
you move out of PARK (P) or NEUTRAL (N),
if the engine is running, the parking brake should
release.
If it doesn’t. you can manually release the
parking brake. Reach under
the driver’s side of the
instrument panel
and pull
on the manual release lever, which is located
above the parking brake pedal. If the parking brake does
not release,
you should either drive to the nearest service
station or have your vehicle towed.
Page 98 of 370
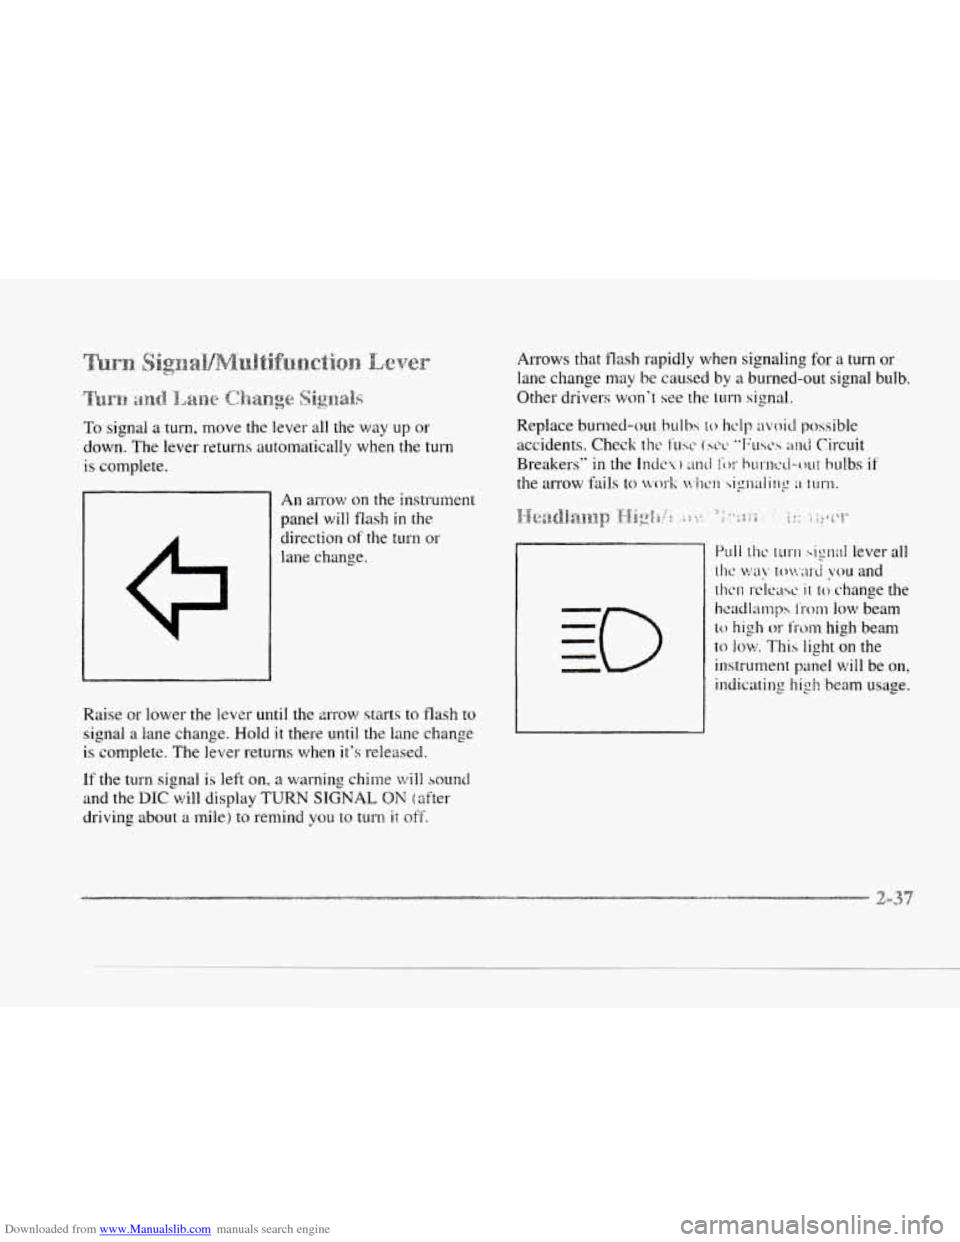
Downloaded from www.Manualslib.com manuals search engine is complete.
An arrow on the instrument
panel will flash
in the
direction
ot' the turn or
lane change.
Raise or lower the
lever until the m-ow starts to flash to
signal a lane change. Hold it there until the lane change
is complete. The lever returns when it's released.
If the turn signal. is left on, a warning chime will sound
and the DIC will display TURN SIGNAL ON (after
driving about a mile) to remind you to turn ii off.
Arrows that flash rapidly when signaling for a turn or
lane change may be caused
by a burned-out signal bulb.
Other drivers
won.? see the turn signal.
Page 106 of 370
Downloaded from www.Manualslib.com manuals search engine c
c
.-.
c
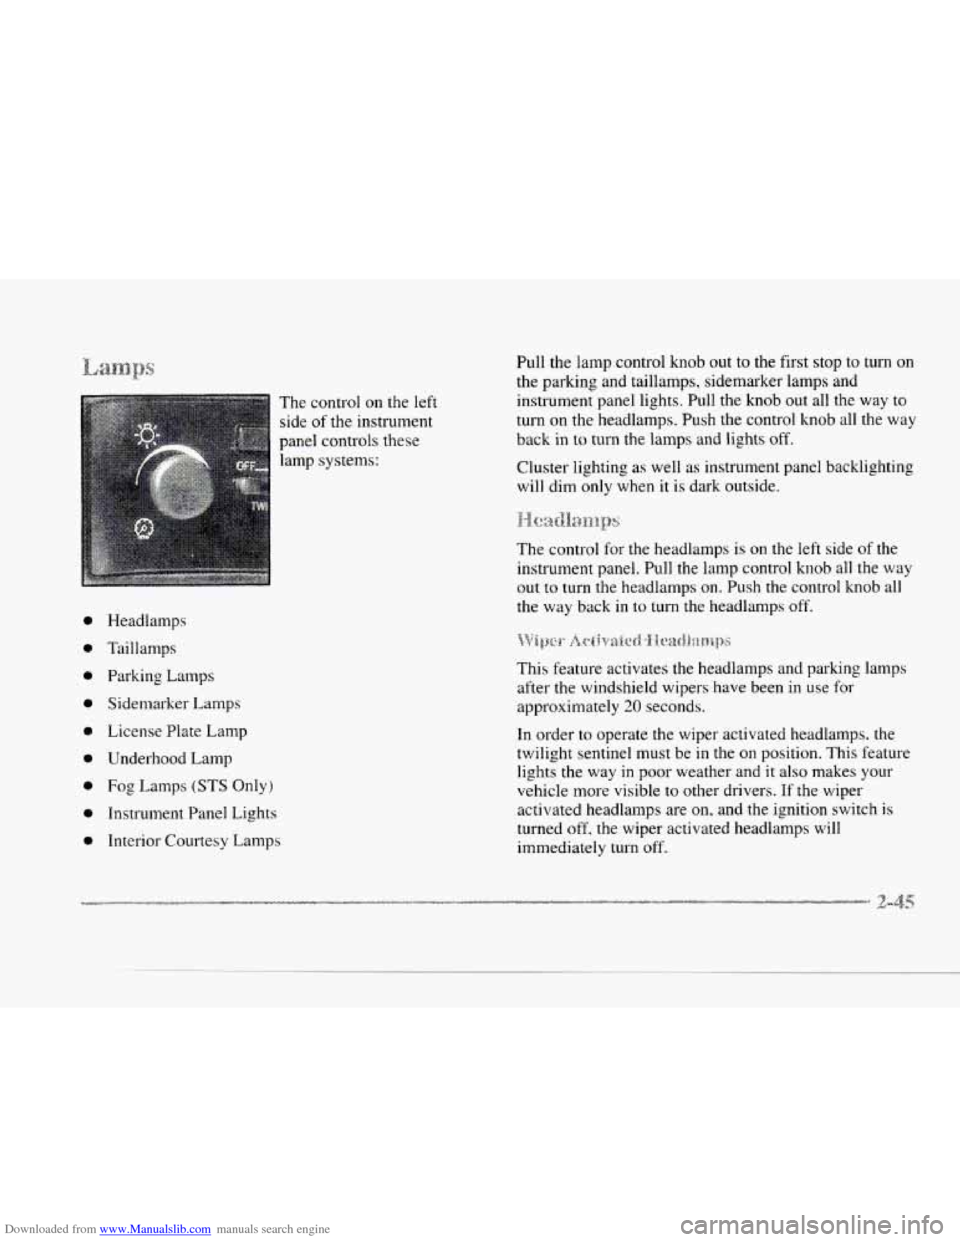
The control on the left
side
of the instrument
panel controls these
lamp systems:
1
i
0
0
0
0
0
0
0
e
*
Headlamps
Taillamps Parking Lamps
Sidemarker
Lamps
License Plate Lamp
Underhood Lamp
Fog Lamps (STS Only)
Instrument Panel Lights
Interior Courtesy Lamps Pull the lamp control
knob out to the first stop to
turn on
the parking and taillamps, sidemarker lamps and
instrument panel lights. Pull the knob out all the way
to
turn on the headlamps. Push the control knob all the way
back
in to turn the lamps and lights off.
Cluster lighting as well as instrument panel backlighting
will dim
only when it is dark outside.
~-~.~~~~~~~~~~~.~~~~
The control for the headlamps is on the left side of the
instrument panel. Pull the lamp control knob all the way
out
to turn the headlarnps on. Push the control knob all
the way back in to turn the headlamps
off.
This feature activates the headlamps and parking lamps
after
the windshield wipers have been in use for
approximately
20 seconds.
In order to operate the wiper activated headlamps. the
twilight sentinel must be
in the on position. This feature
lights the way in poor weather and
it also makes your
vehicle more visible
to other drivers. If the wiper
activated headlamps are on. and the ignition switch
is
turned off. the wiper activated headlamps will
immediately turn off.