window CADILLAC SEVILLE 2003 5.G Owners Manual
[x] Cancel search | Manufacturer: CADILLAC, Model Year: 2003, Model line: SEVILLE, Model: CADILLAC SEVILLE 2003 5.GPages: 408, PDF Size: 2.72 MB
Page 1 of 408

Seats and Restraint Systems........................... 1-1
Front Seats
............................................... 1-2
Safety Belts
.............................................. 1-6
Child Restraints
.......................................1-24
Supplemental In¯atable Restraint (SIR)
........1-44
Restraint System Check
............................1-52
Features and Controls..................................... 2-1
Keys
........................................................ 2-3
Doors and Locks
....................................... 2-9
Windows
.................................................2-15
Theft-Deterrent Systems
............................2-19
Starting and Operating Your Vehicle
...........2-23
Mirrors
....................................................2-37
OnStar
žSystem
......................................2-42
HomeLinkžTransmitter
.............................2-44
Storage Areas
.........................................2-48
Sunroof
..................................................2-50
Vehicle Personalization
.............................2-51
Instrument Panel............................................. 3-1
Instrument Panel Overview
.......................... 3-4
Climate Controls
......................................3-28
Warning Lights, Gages and Indicators
.........3-37
Driver Information Center (DIC)
..................3-53Trip Computer
.........................................3-77
Audio System(s)
.......................................3-78
Driving Your Vehicle....................................... 4-1
Your Driving, the Road, and Your Vehicle
..... 4-2
Towing
...................................................4-31
Service and Appearance Care.......................... 5-1
Service
..................................................... 5-3
Fuel
......................................................... 5-4
Checking Things Under the Hood
...............5-10
Headlamp Aiming
.....................................5-51
Bulb Replacement
....................................5-55
Windshield Wiper Blade Replacement
.........5-62
Tires
......................................................5-63
Appearance Care
.....................................5-83
Vehicle Identi®cation
.................................5-91
Electrical System
......................................5-92
Capacities and Speci®cations
...................5-100
Normal Maintenance Replacement Parts
....5-101
Maintenance Schedule..................................... 6-1
Maintenance Schedule
................................ 6-2
Customer Assistance Information.................... 7-1
Customer Assistance Information
.................. 7-2
Reporting Safety Defects
............................ 7-9
Index................................................................ 1
2003 Cadillac Seville Owner ManualM
Page 31 of 408
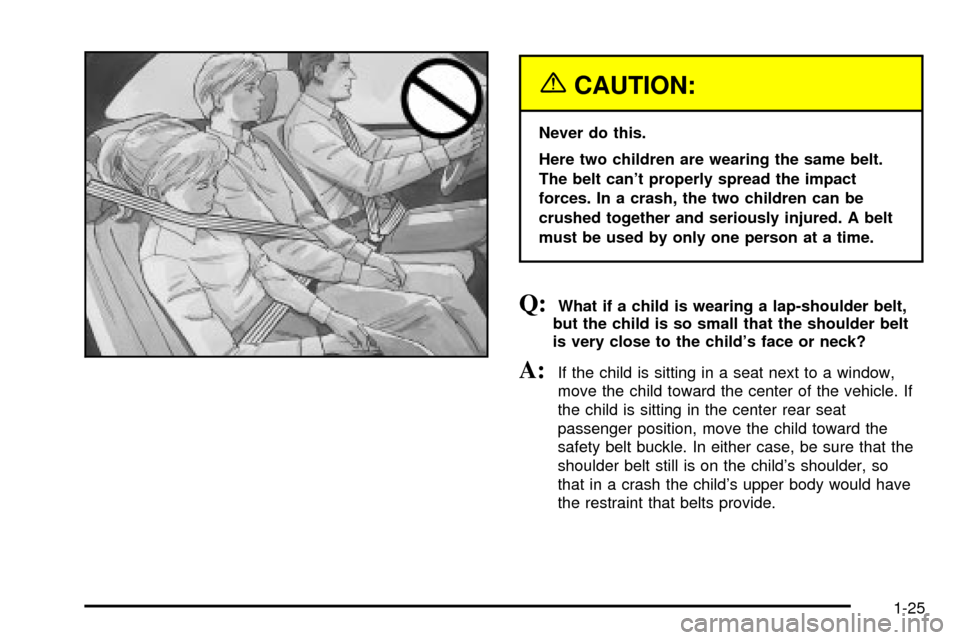
{CAUTION:
Never do this.
Here two children are wearing the same belt.
The belt can't properly spread the impact
forces. In a crash, the two children can be
crushed together and seriously injured. A belt
must be used by only one person at a time.
Q:What if a child is wearing a lap-shoulder belt,
but the child is so small that the shoulder belt
is very close to the child's face or neck?
A:If the child is sitting in a seat next to a window,
move the child toward the center of the vehicle. If
the child is sitting in the center rear seat
passenger position, move the child toward the
safety belt buckle. In either case, be sure that the
shoulder belt still is on the child's shoulder, so
that in a crash the child's upper body would have
the restraint that belts provide.
1-25
Page 37 of 408
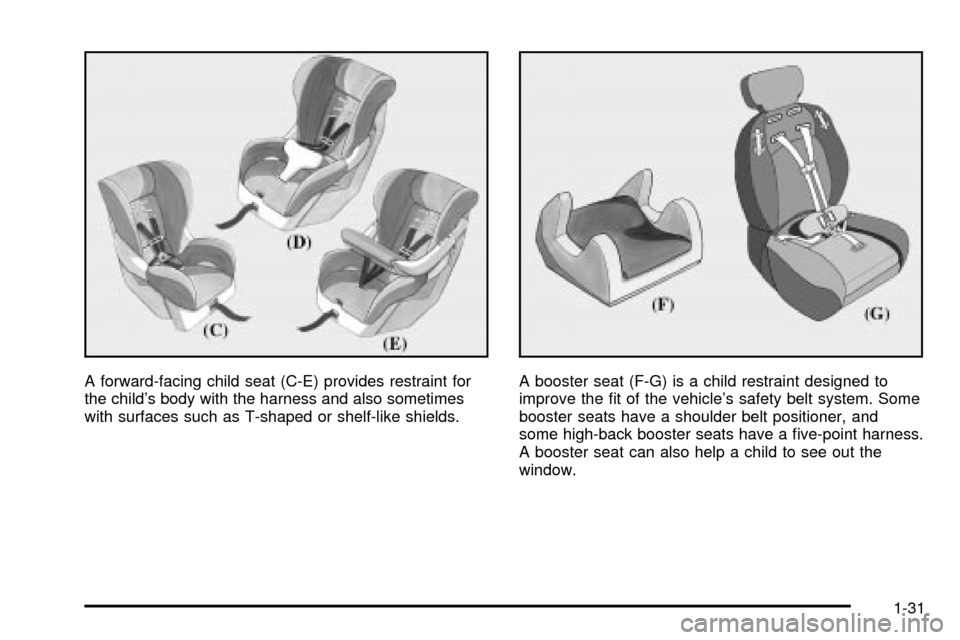
A forward-facing child seat (C-E) provides restraint for
the child's body with the harness and also sometimes
with surfaces such as T-shaped or shelf-like shields.A booster seat (F-G) is a child restraint designed to
improve the ®t of the vehicle's safety belt system. Some
booster seats have a shoulder belt positioner, and
some high-back booster seats have a ®ve-point harness.
A booster seat can also help a child to see out the
window.
1-31
Page 57 of 408
CAUTION: (Continued)
the vehicle should get out as soon as it is safe
to do so. If you have breathing problems but
can't get out of the vehicle after an air bag
in¯ates, then get fresh air by opening a
window or a door. If you experience breathing
problems following an air bag deployment, you
should seek medical attention.
Your vehicle has a feature that will automatically unlock
the doors and turn the interior lamps on when the air
bags in¯ate (if battery power is available). You can lock
the doors again and turn the interior lamps off by
using the door lock and interior lamp controls.
In many crashes severe enough to in¯ate an air bag,
windshields are broken by vehicle deformation.
Additional windshield breakage may also occur from the
right front passenger air bag.
·Air bags are designed to in¯ate only once. After an
air bag in¯ates, you'll need some new parts for
your air bag system. If you don't get them, the air
bag system won't be there to help protect you
in another crash. A new system will include air bagmodules and possibly other parts. The service
manual for your vehicle covers the need to replace
other parts.
·Your vehicle is equipped with a crash sensing and
diagnostic module, which records information
about the frontal air bag system. The module
records information about the readiness of the
system, when the system commands air bag
in¯ation and driver's safety belt usage at
deployment. The module also records speed,
engine rpm, brake and throttle data.
·Let only quali®ed technicians work on your air bag
systems. Improper service can mean that an air
bag system won't work properly. See your dealer for
service.
Notice:If you damage the covering for the driver's
or the right front passenger's air bag, or the air
bag covering on the driver's and right front
passenger's seatback, the bag may not work
properly. You may have to replace the air bag
module in the steering wheel, both the air bag
module and the instrument panel for the right front
passenger's air bag, or both the air bag module
and seatback for the driver's and right front
passenger's side impact air bag. Do not open or
break the air bag coverings.
1-51
Page 61 of 408

Keys...............................................................2-3
Remote Keyless Entry System.........................2-5
Remote Keyless Entry System Operation...........2-6
Doors and Locks.............................................2-9
Door Locks....................................................2-9
Central Door Unlocking System......................2-10
Power Door Locks........................................2-10
Programmable Automatic Door Locks..............2-10
Rear Door Security Locks..............................2-11
Lockout Protection........................................2-11
Leaving Your Vehicle....................................2-11
Trunk..........................................................2-12
Windows........................................................2-15
Power Windows............................................2-16
Sun Visors...................................................2-18
Theft-Deterrent Systems..................................2-19
PASS-Key
žIII ..............................................2-21
PASS-KeyžIII Operation...............................2-21
Starting and Operating Your Vehicle................2-23
New Vehicle Break-In....................................2-23Ignition Positions..........................................2-24
Starting Your Engine.....................................2-25
Engine Coolant Heater..................................2-26
Automatic Transaxle Operation.......................2-28
Parking Brake..............................................2-31
Shifting Into Park (P).....................................2-32
Shifting Out of Park (P).................................2-34
Parking Over Things That Burn.......................2-35
Engine Exhaust............................................2-35
Running Your Engine While You
Are Parked...............................................2-36
Mirrors...........................................................2-37
Automatic Dimming Rearview Mirror with
OnStar
ž...................................................2-37
Automatic Dimming Rearview Mirror with
OnStar
žand Compass...............................2-38
Outside Power Mirrors...................................2-40
Outside Automatic Dimming Mirror..................2-41
Outside Curb View Assist Mirror.....................2-41
Outside Convex Mirror...................................2-41
Outside Heated Mirrors..................................2-41
Section 2 Features and Controls
2-1
Page 63 of 408
Keys
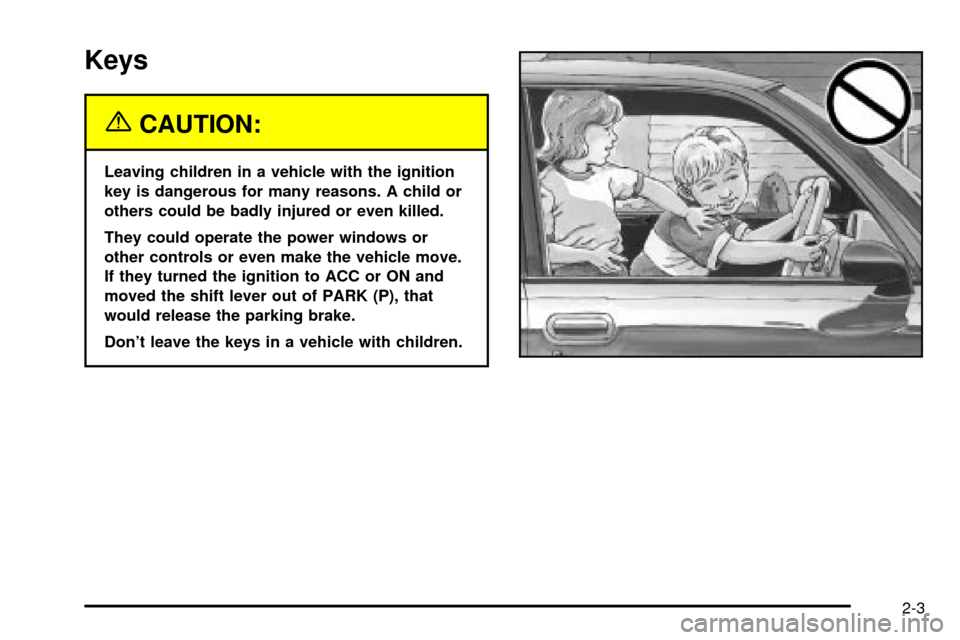
{CAUTION:
Leaving children in a vehicle with the ignition
key is dangerous for many reasons. A child or
others could be badly injured or even killed.
They could operate the power windows or
other controls or even make the vehicle move.
If they turned the ignition to ACC or ON and
moved the shift lever out of PARK (P), that
would release the parking brake.
Don't leave the keys in a vehicle with children.
2-3
Page 69 of 408
Doors and Locks
Door Locks
{CAUTION:
Unlocked doors can be dangerous.
·Passengers Ð especially children Ð can
easily open the doors and fall out of a
moving vehicle. When a door is locked, the
handle will not open it. You increase the
chance of being thrown out of the vehicle
in a crash if the doors are not locked. So,
wear safety belts properly and lock the
doors whenever you drive.
·Young children who get into unlocked
vehicles may be unable to get out. A child
can be overcome by extreme heat and can
suffer permanent injuries or even death
from heat stroke. Always lock your vehicle
whenever you leave it.
·Outsiders can easily enter through an
unlocked door when you slow down or
stop your vehicle. Locking your doors can
help prevent this from happening.There are several ways to lock and unlock your vehicle.
Because your vehicle has the theft-deterrent system,
you must unlock the doors with the key or remote
keyless entry transmitter to avoid setting off the alarm.
From the outside, use either the key or the remote
keyless entry transmitter.
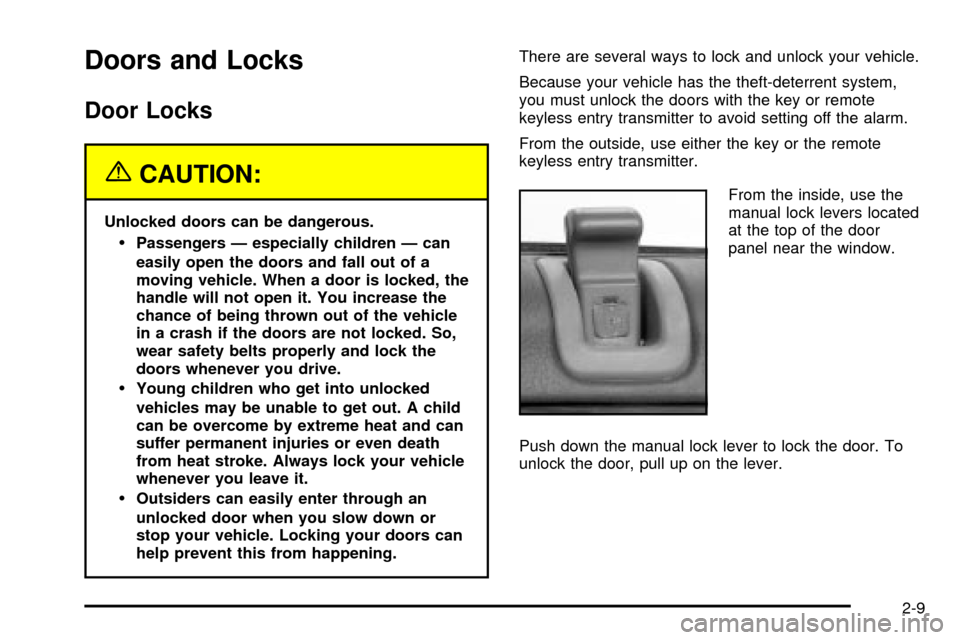
From the inside, use the
manual lock levers located
at the top of the door
panel near the window.
Push down the manual lock lever to lock the door. To
unlock the door, pull up on the lever.
2-9
Page 70 of 408
Central Door Unlocking System
Your vehicle has a central door unlocking mode and a
theft-deterrent system. When unlocking the driver's door,
you can unlock the other doors by holding the key in
the turned position for a few seconds or by quickly
turning the door key twice in the lock cylinder.
Power Door Locks
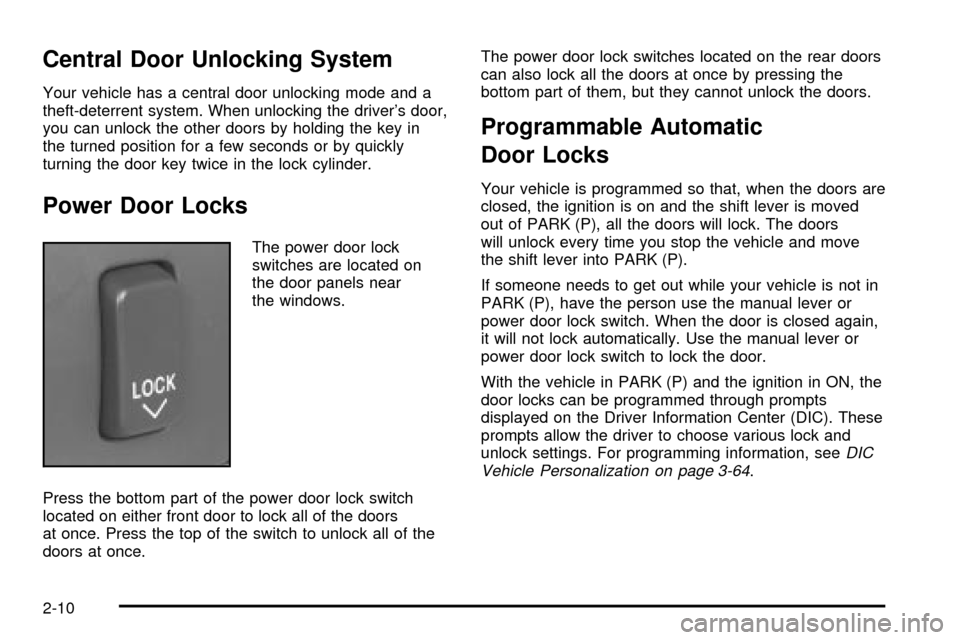
The power door lock
switches are located on
the door panels near
the windows.
Press the bottom part of the power door lock switch
located on either front door to lock all of the doors
at once. Press the top of the switch to unlock all of the
doors at once.The power door lock switches located on the rear doors
can also lock all the doors at once by pressing the
bottom part of them, but they cannot unlock the doors.
Programmable Automatic
Door Locks
Your vehicle is programmed so that, when the doors are
closed, the ignition is on and the shift lever is moved
out of PARK (P), all the doors will lock. The doors
will unlock every time you stop the vehicle and move
the shift lever into PARK (P).
If someone needs to get out while your vehicle is not in
PARK (P), have the person use the manual lever or
power door lock switch. When the door is closed again,
it will not lock automatically. Use the manual lever or
power door lock switch to lock the door.
With the vehicle in PARK (P) and the ignition in ON, the
door locks can be programmed through prompts
displayed on the Driver Information Center (DIC). These
prompts allow the driver to choose various lock and
unlock settings. For programming information, see
DIC
Vehicle Personalization on page 3-64.
2-10
Page 72 of 408
Trunk
{CAUTION:
It can be dangerous to drive with the trunk lid
open because carbon monoxide (CO) gas can
come into your vehicle. You can't see or smell
CO. It can cause unconsciousness and even
death. If you must drive with the trunk lid open
or if electrical wiring or other cable
connections must pass through the seal
between the body and the trunk lid:
·Make sure all other windows are shut.
·Turn the fan on your heating or cooling
system to its highest speed and select the
control setting that will force outside air
into your vehicle. See ªClimate Control
Systemº in the Index.
·If you have air outlets on or under the
instrument panel, open them all the way.
See ªEngine Exhaustº in the Index.
Trunk Lock Release
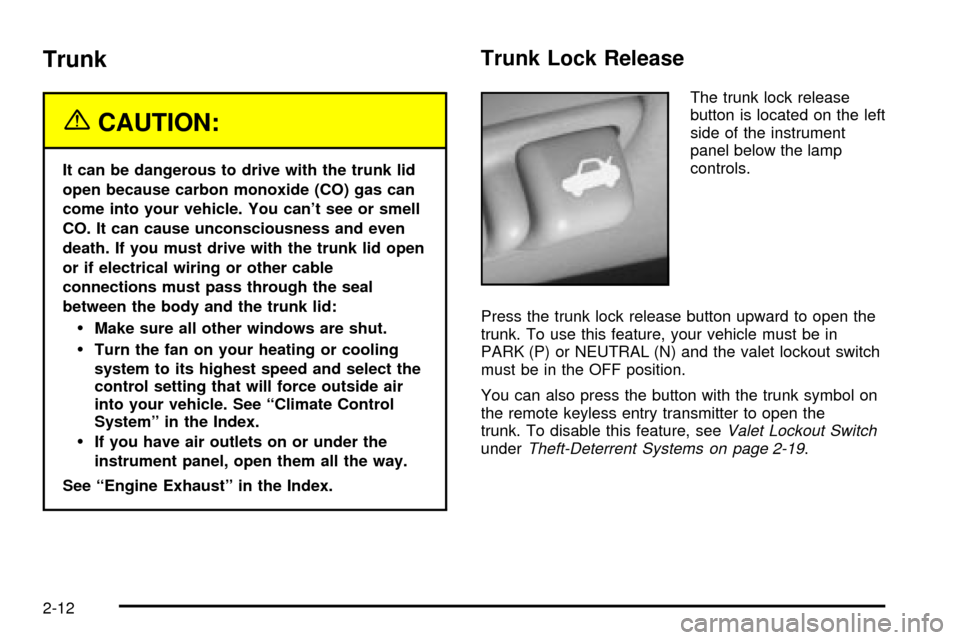
The trunk lock release
button is located on the left
side of the instrument
panel below the lamp
controls.
Press the trunk lock release button upward to open the
trunk. To use this feature, your vehicle must be in
PARK (P) or NEUTRAL (N) and the valet lockout switch
must be in the OFF position.
You can also press the button with the trunk symbol on
the remote keyless entry transmitter to open the
trunk. To disable this feature, see
Valet Lockout SwitchunderTheft-Deterrent Systems on page 2-19.
2-12
Page 73 of 408
Trunk Lid Tie Down
{CAUTION:
Driving with the trunk lid open can allow
dangerous CO (carbon monoxide) gas to come
into your vehicle. You can't see or smell CO. It
can cause unconsciousness and even death. If
you ever need to drive with your trunk lid
open, then:
·Make sure all windows, the rear seat
pass-through and sunroof are closed.
·Turn the fan on your heating and cooling
system to its highest speed, with the
setting on AUTO and temperature between
65ÉF (18ÉC) and 85ÉF (29ÉC). This forces
fresh outside air into your vehicle.
·Open all air ducts on the instrument panel.
Don't use the trunk lid tie down if you are
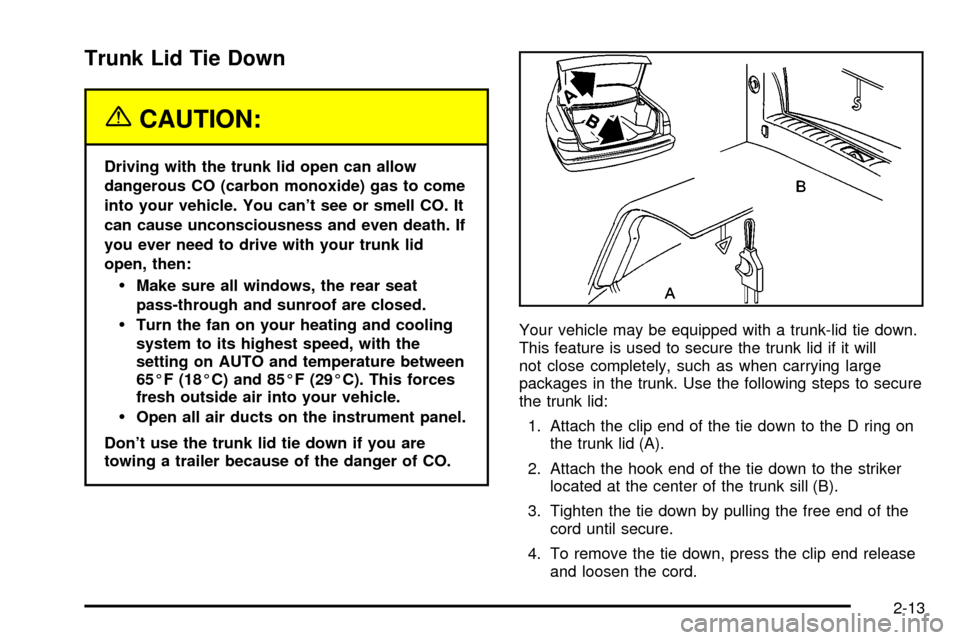
towing a trailer because of the danger of CO.Your vehicle may be equipped with a trunk-lid tie down.
This feature is used to secure the trunk lid if it will
not close completely, such as when carrying large
packages in the trunk. Use the following steps to secure
the trunk lid:
1. Attach the clip end of the tie down to the D ring on
the trunk lid (A).
2. Attach the hook end of the tie down to the striker
located at the center of the trunk sill (B).
3. Tighten the tie down by pulling the free end of the
cord until secure.
4. To remove the tie down, press the clip end release
and loosen the cord.
2-13