odometer CADILLAC SEVILLE 2004 5.G Owners Manual
[x] Cancel search | Manufacturer: CADILLAC, Model Year: 2004, Model line: SEVILLE, Model: CADILLAC SEVILLE 2004 5.GPages: 410, PDF Size: 2.64 MB
Page 113 of 410
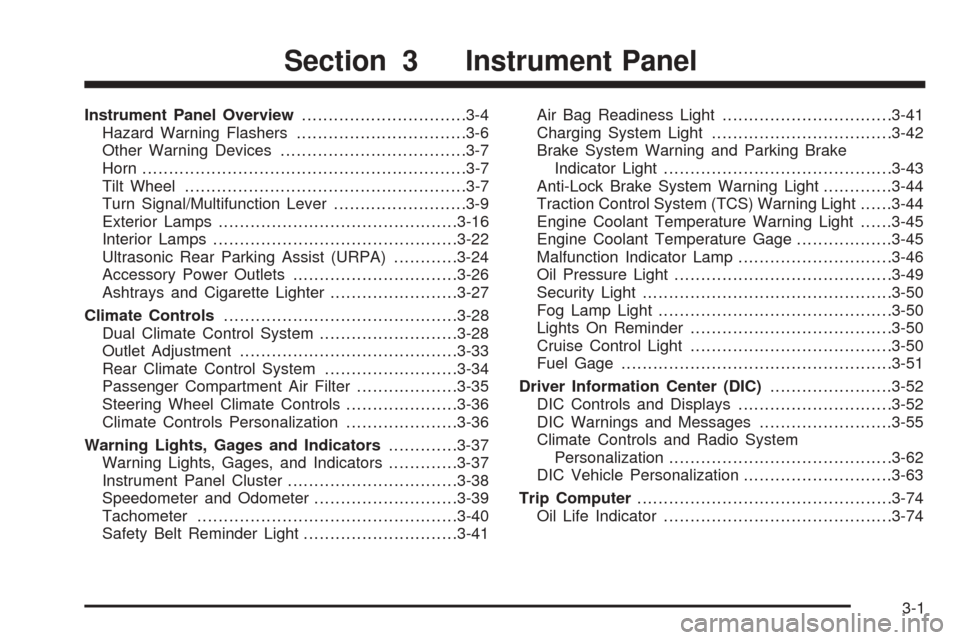
Instrument Panel Overview...............................3-4
Hazard Warning Flashers................................3-6
Other Warning Devices...................................3-7
Horn.............................................................3-7
Tilt Wheel.....................................................3-7
Turn Signal/Multifunction Lever.........................3-9
Exterior Lamps.............................................3-16
Interior Lamps..............................................3-22
Ultrasonic Rear Parking Assist (URPA)............3-24
Accessory Power Outlets...............................3-26
Ashtrays and Cigarette Lighter........................3-27
Climate Controls............................................3-28
Dual Climate Control System..........................3-28
Outlet Adjustment.........................................3-33
Rear Climate Control System.........................3-34
Passenger Compartment Air Filter...................3-35
Steering Wheel Climate Controls.....................3-36
Climate Controls Personalization.....................3-36
Warning Lights, Gages and Indicators.............3-37
Warning Lights, Gages, and Indicators.............3-37
Instrument Panel Cluster................................3-38
Speedometer and Odometer...........................3-39
Tachometer.................................................3-40
Safety Belt Reminder Light.............................3-41Air Bag Readiness Light................................3-41
Charging System Light..................................3-42
Brake System Warning and Parking Brake
Indicator Light...........................................3-43
Anti-Lock Brake System Warning Light.............3-44
Traction Control System (TCS) Warning Light......3-44
Engine Coolant Temperature Warning Light......3-45
Engine Coolant Temperature Gage..................3-45
Malfunction Indicator Lamp.............................3-46
Oil Pressure Light.........................................3-49
Security Light...............................................3-50
Fog Lamp Light............................................3-50
Lights On Reminder......................................3-50
Cruise Control Light......................................3-50
Fuel Gage...................................................3-51
Driver Information Center (DIC).......................3-52
DIC Controls and Displays.............................3-52
DIC Warnings and Messages.........................3-55
Climate Controls and Radio System
Personalization..........................................3-62
DIC Vehicle Personalization............................3-63
Trip Computer................................................3-74
Oil Life Indicator...........................................3-74
Section 3 Instrument Panel
3-1
Page 151 of 410
Speedometer and Odometer
The speedometer lets you see your speed in both
miles per hour (mph) and kilometers per hour (km/h).
The odometer shows how far your vehicle has
been driven, in either miles (used in the United States)
or kilometers (used in Canada).
You may wonder what happens if a vehicle has to have
a new odometer installed. The new one may read
the correct mileage. This is because your vehicle’s
computer has stored the mileage in memory.
Trip Odometers
The trip odometer can record the number of miles or
kilometers traveled for up to two trips.
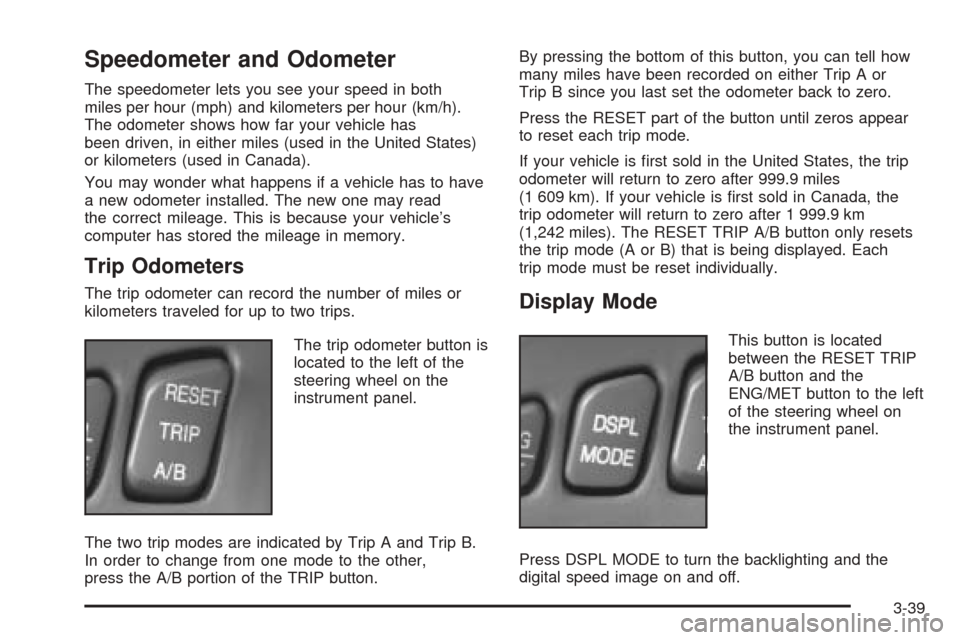
The trip odometer button is
located to the left of the
steering wheel on the
instrument panel.
The two trip modes are indicated by Trip A and Trip B.
In order to change from one mode to the other,
press the A/B portion of the TRIP button.By pressing the bottom of this button, you can tell how
many miles have been recorded on either Trip A or
Trip B since you last set the odometer back to zero.
Press the RESET part of the button until zeros appear
to reset each trip mode.
If your vehicle is first sold in the United States, the trip
odometer will return to zero after 999.9 miles
(1 609 km). If your vehicle is first sold in Canada, the
trip odometer will return to zero after 1 999.9 km
(1,242 miles). The RESET TRIP A/B button only resets
the trip mode (A or B) that is being displayed. Each
trip mode must be reset individually.Display Mode
This button is located
between the RESET TRIP
A/B button and the
ENG/MET button to the left
of the steering wheel on
the instrument panel.
Press DSPL MODE to turn the backlighting and the
digital speed image on and off.
3-39
Page 152 of 410
English Metric Display
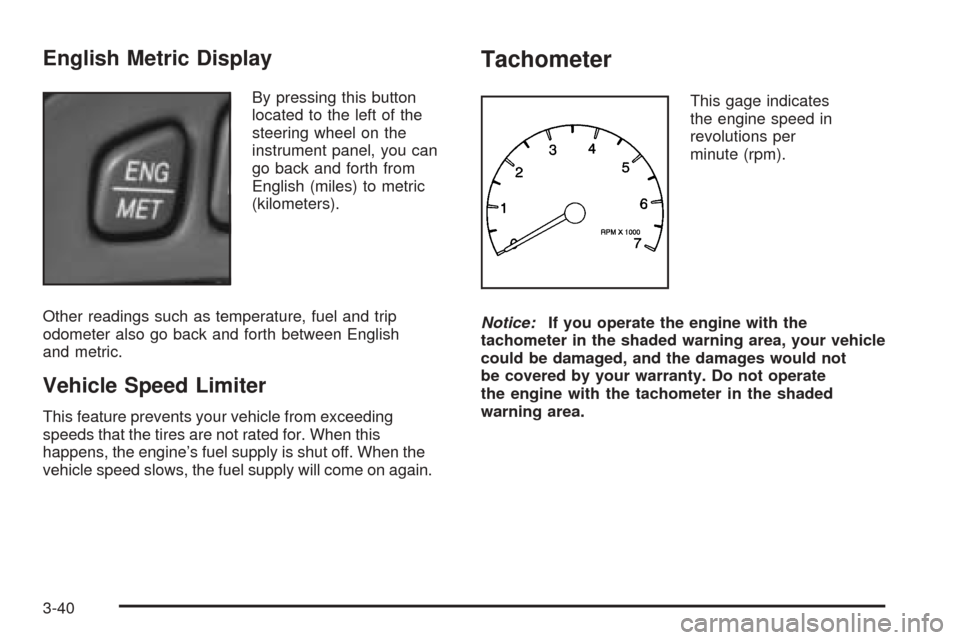
By pressing this button
located to the left of the
steering wheel on the
instrument panel, you can
go back and forth from
English (miles) to metric
(kilometers).
Other readings such as temperature, fuel and trip
odometer also go back and forth between English
and metric.
Vehicle Speed Limiter
This feature prevents your vehicle from exceeding
speeds that the tires are not rated for. When this
happens, the engine’s fuel supply is shut off. When the
vehicle speed slows, the fuel supply will come on again.
Tachometer
This gage indicates
the engine speed in
revolutions per
minute (rpm).
Notice:If you operate the engine with the
tachometer in the shaded warning area, your vehicle
could be damaged, and the damages would not
be covered by your warranty. Do not operate
the engine with the tachometer in the shaded
warning area.
3-40
Page 164 of 410
Driver Information Center (DIC)
This display gives you the status of many of your
vehicle’s systems. The DIC is also used to display driver
personalization features and warning/status messages.
All messages will appear in the DIC display, located
at the bottom of the instrument panel cluster.
DIC Controls and Displays
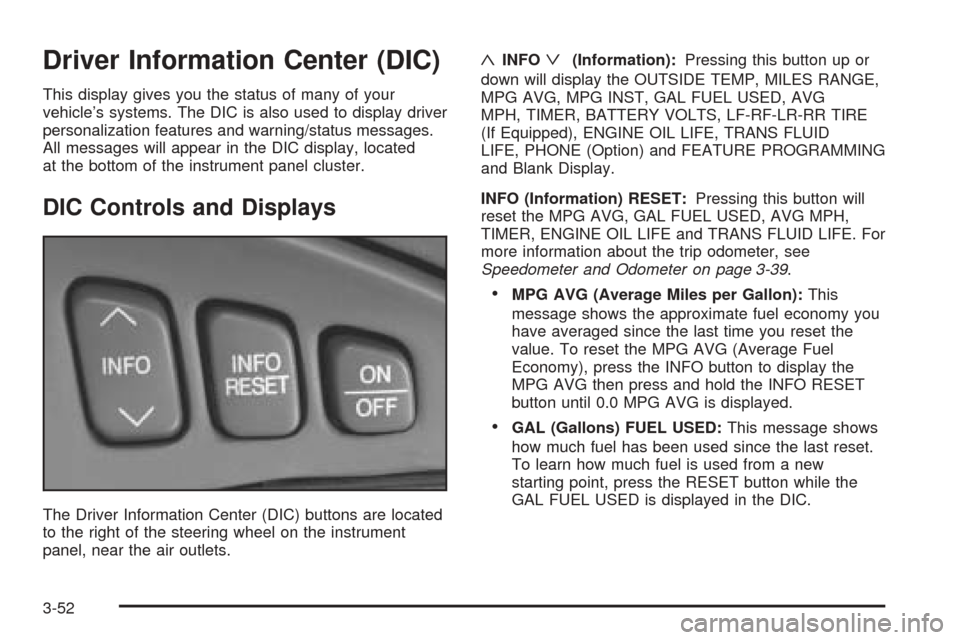
The Driver Information Center (DIC) buttons are located
to the right of the steering wheel on the instrument
panel, near the air outlets.
«INFOª(Information):Pressing this button up or
down will display the OUTSIDE TEMP, MILES RANGE,
MPG AVG, MPG INST, GAL FUEL USED, AVG
MPH, TIMER, BATTERY VOLTS, LF-RF-LR-RR TIRE
(If Equipped), ENGINE OIL LIFE, TRANS FLUID
LIFE, PHONE (Option) and FEATURE PROGRAMMING
and Blank Display.
INFO (Information) RESET:Pressing this button will
reset the MPG AVG, GAL FUEL USED, AVG MPH,
TIMER, ENGINE OIL LIFE and TRANS FLUID LIFE. For
more information about the trip odometer, see
Speedometer and Odometer on page 3-39.
•MPG AVG (Average Miles per Gallon):This
message shows the approximate fuel economy you
have averaged since the last time you reset the
value. To reset the MPG AVG (Average Fuel
Economy), press the INFO button to display the
MPG AVG then press and hold the INFO RESET
button until 0.0 MPG AVG is displayed.
•GAL (Gallons) FUEL USED:This message shows
how much fuel has been used since the last reset.
To learn how much fuel is used from a new
starting point, press the RESET button while the
GAL FUEL USED is displayed in the DIC.
3-52
Page 336 of 410
If you need to replace any of your wheels, wheel bolts
or wheel nuts, replace them only with new GM
original equipment parts. This way, you will be sure to
have the right wheel, wheel bolts and wheel nuts
for your vehicle.
{CAUTION:
Using the wrong replacement wheels, wheel
bolts or wheel nuts on your vehicle can be
dangerous. It could affect the braking and
handling of your vehicle, make your tires lose
air and make you lose control. You could have
a collision in which you or others could be
injured. Always use the correct wheel, wheel
bolts and wheel nuts for replacement.
Notice:The wrong wheel can also cause problems
with bearing life, brake cooling, speedometer or
odometer calibration, headlamp aim, bumper height,
vehicle ground clearance and tire or tire chain
clearance to the body and chassis.
SeeChanging a Flat Tire on page 5-78for more
information.
Used Replacement Wheels
{CAUTION:
Putting a used wheel on your vehicle is
dangerous. You can’t know how it’s been used
or how far it’s been driven. It could fail
suddenly and cause a crash. If you have to
replace a wheel, use a new GM original
equipment wheel.
5-76
Page 378 of 410
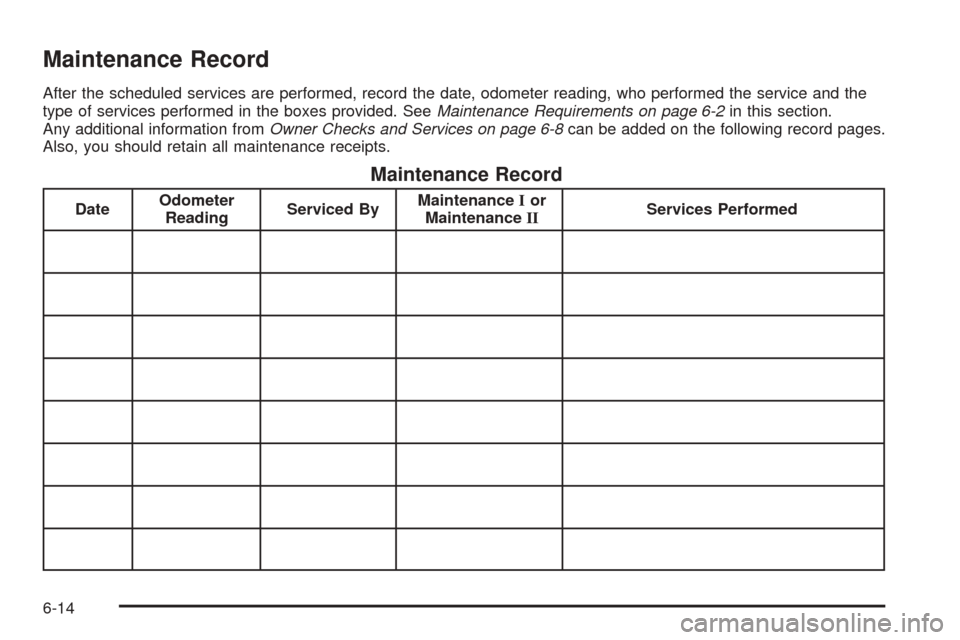
Maintenance Record
After the scheduled services are performed, record the date, odometer reading, who performed the service and the
type of services performed in the boxes provided. SeeMaintenance Requirements on page 6-2in this section.
Any additional information fromOwner Checks and Services on page 6-8can be added on the following record pages.
Also, you should retain all maintenance receipts.
Maintenance Record
DateOdometer
ReadingServiced ByMaintenanceIor
MaintenanceIIServices Performed
6-14
Page 379 of 410
Maintenance Record (cont’d)
DateOdometer
ReadingServiced ByMaintenanceIor
MaintenanceIIServices Performed
6-15
Page 380 of 410
Maintenance Record (cont’d)
DateOdometer
ReadingServiced ByMaintenanceIor
MaintenanceIIServices Performed
6-16
Page 404 of 410
O
Odometer......................................................3-39
Off-Road Recovery..........................................4-12
Oil
Engine.......................................................5-13
Life Indicator...............................................3-74
Pressure Light.............................................3-49
Older Children, Restraints................................1-22
Online Owner Center........................................ 7-3
OnStar
®Personal Calling.................................2-43
OnStar®Services............................................2-42
OnStar®Steering Wheel Controls......................2-43
OnStar®System.............................................2-42
OnStar®Virtual Advisor....................................2-43
Other Warning Devices...................................... 3-7
Outlet Adjustment............................................3-33
Outside
Automatic Dimming Mirror.............................2-40
Convex Mirror.............................................2-41
Curb View Assist Mirror................................2-41
Heated Mirrors............................................2-41
Power Mirrors.............................................2-40
Overheated Engine Protection Operating Mode.....5-26
Overseas – Customer Assistance........................ 7-5
Owner Checks and Services.............................. 6-8
Owners, Canadian............................................... ii
Owner’s Information........................................7-13
P
Parade Dimming.............................................3-23
Park Aid........................................................3-24
Park (P)
Shifting Into................................................2-32
Shifting Out of............................................2-34
Parking
Assist........................................................3-24
Brake........................................................2-31
Brake Indicator Light....................................3-43
Over Things That Burn.................................2-34
Parking on Hills..............................................4-43
Passenger Compartment Air Filter.....................3-35
Passing.................................................4-12, 4-41
PASS-Key
®III ................................................2-22
PASS-Key®III Operation..................................2-22
Personalization, Climate Controls......................3-36
Plan Ahead When Possible................................ 7-8
Playing a Cassette Tape..................................3-91
Playing a CD.........................................3-81, 3-93
Playing the Radio...................................3-76, 3-84
Power
Accessory Outlets........................................3-26
Door Locks.................................................2-10
Electrical System.........................................5-96
Lumbar Controls........................................... 1-2
Seat............................................................ 1-2
10
Page 409 of 410
Transaxle (cont.)
Transaxle Operation, Automatic.........................2-28
Transmission, Transaxle, Transfer Case
Unit Repair Manual......................................7-12
Transportation Options...................................... 7-8
Trip Computer
Oil Life Indicator..........................................3-74
Trip Odometers..............................................3-39
Trunk............................................................2-13
Trunk Lid Tie Down.........................................2-14
Trunk Lock Release........................................2-13
Turn and Lane-Change Signals.......................... 3-9
Turn Signal/Multifunction Lever........................... 3-9
Turn Signals When Towing a Trailer..................4-42
Twilight Sentinel
®............................................3-20
U
Ultrasonic Rear Parking
Assist (URPA).............................................3-24
Umbrella Holder..............................................2-50
Underhood Fuse Block....................................5-97
Understanding Radio Reception.......................3-100
Uniform Tire Quality Grading............................5-74
United States – Customer Assistance.................. 7-4Used Replacement Wheels..............................5-76
Using Digital Signal Processing (DSP)...............3-86
Using HomeLink
®...........................................2-48
V
Valet Lockout Switch.......................................2-21
Vehicle
Control........................................................ 4-5
Damage Warnings........................................... iv
Loading......................................................4-31
Symbols......................................................... iv
Vehicle Data Collection and Event
Data Records..............................................7-10
Vehicle Identification
Number (VIN).............................................5-95
Service Parts Identification Label...................5-95
Vehicle Personalization
DIC ...........................................................3-63
Memory Seat, Mirrors and
Steering Wheel........................................2-52
Vehicle Speed Limiter......................................3-40
Vehicle Storage..............................................5-42
Ventilation Adjustment......................................3-33
Visors...........................................................2-19
15