rear view mirror CADILLAC SEVILLE 2004 5.G Owners Manual
[x] Cancel search | Manufacturer: CADILLAC, Model Year: 2004, Model line: SEVILLE, Model: CADILLAC SEVILLE 2004 5.GPages: 410, PDF Size: 2.64 MB
Page 59 of 410
Keys...............................................................2-3
Remote Keyless Entry System.........................2-5
Remote Keyless Entry System Operation...........2-6
Doors and Locks.............................................2-9
Door Locks....................................................2-9
Central Door Unlocking System......................2-10
Power Door Locks........................................2-10
Programmable Automatic Door Locks..............2-11
Rear Door Security Locks..............................2-11
Lockout Protection........................................2-12
Leaving Your Vehicle....................................2-12
Trunk..........................................................2-13
Windows........................................................2-16
Power Windows............................................2-17
Sun Visors...................................................2-19
Theft-Deterrent Systems..................................2-20
PASS-Key
®III ..............................................2-22
PASS-Key®III Operation...............................2-22
Starting and Operating Your Vehicle................2-24
New Vehicle Break-In....................................2-24
Ignition Positions..........................................2-25
Starting Your Engine.....................................2-26Engine Coolant Heater..................................2-27
Automatic Transaxle Operation.......................2-28
Parking Brake..............................................2-31
Shifting Into Park (P).....................................2-32
Shifting Out of Park (P).................................2-34
Parking Over Things That Burn.......................2-34
Engine Exhaust............................................2-35
Running Your Engine While You Are Parked. . . .2-36
Mirrors...........................................................2-37
Automatic Dimming Rearview Mirror with
OnStar
®...................................................2-37
Automatic Dimming Rearview Mirror with
OnStar
®and Compass...............................2-38
Outside Power Mirrors...................................2-40
Outside Automatic Dimming Mirror..................2-40
Outside Curb View Assist Mirror.....................2-41
Outside Convex Mirror...................................2-41
Outside Heated Mirrors..................................2-41
OnStar
®System.............................................2-42
HomeLink®Transmitter...................................2-44
Programming the HomeLink®Transmitter.........2-45
Section 2 Features and Controls
2-1
Page 95 of 410
Mirrors
Automatic Dimming Rearview Mirror
with OnStar
®
Your vehicle may have an automatic dimming rearview
mirror with OnStar®system controls. For more
information about OnStar®, seeOnStar®System on
page 2-42.
When the automatic dimming feature is turned on, the
mirror automatically changes to reduce glare from
headlamps behind you. A photocell on the mirror senses
when it is becoming dark outside. Another photocell
built into the mirror face senses when headlamps
are behind you.
At night, when the glare is too bright, the mirror will
gradually darken to reduce glare. This change may take
a few seconds. The mirror will return to its clear,
daytime state when the glare is reduced.
Mirror Operation
O
(On/Off):Press the on/off button, located on the
lower left side of the mirror face, to turn the automatic
dimming feature on or off. The indicator light will be
illuminated when the automatic dimming feature is on.
Cleaning the Mirror
When cleaning the mirror, use a paper towel or similar
material dampened with glass cleaner. Do not spray
glass cleaner directly on the mirror as that may cause
the liquid cleaner to enter the mirror housing.
2-37
Page 96 of 410
Automatic Dimming Rearview Mirror
with OnStar
®and Compass
Your vehicle may have an automatic dimming rearview
mirror with a compass display. The mirror also
contains OnStar
®controls. For more information see
OnStar®System on page 2-42.
The automatic dimming feature functions the same as
that of the automatic dimming rearview mirror without a
compass. SeeAutomatic Dimming Rearview Mirror
with OnStar
®on page 2-37.
The mirror also includes an eight-point compass display
in the upper right corner of the mirror face. When on,
the compass automatically calibrates as the vehicle
is driven.
Mirror Operation
O
(On/Off):Press and hold the button, located on the
lower left side of the mirror face, for about three
seconds to turn the automatic dimming feature on or off.
The indicator light will illuminate when this feature is
active. The automatic dimming feature is active
each time the vehicle is started.
Compass Operation
Press the on/off button once to turn the compass on
or off.
When the ignition and the compass feature are on, the
compass will show two character boxes for about
two seconds. After two seconds, the mirror will display
the compass heading.
Compass Calibration
If after two seconds, the display does not show a
compass heading (for example, N for North), there may
be a strong magnetic field interfering with the compass.
Such interference may be caused by a magnetic antenna
mount, magnetic note pad holder or a similar magnetic
item. If the letter C should ever appear in the compass
window, the compass may need calibration.
The mirror can be calibrated by driving the vehicle in
circles at 5 mph (8 km/h) or less until the display reads a
direction.
The compass can be placed in calibration mode
manually by pressing and holding the on/off button until
a C is shown in the compass display.
2-38
Page 98 of 410
Cleaning the Mirror
When cleaning the mirror, use a paper towel or similar
material dampened with glass cleaner. Do not spray
glass cleaner directly on the mirror as that may cause
the liquid cleaner to enter the mirror housing.
Outside Power Mirrors
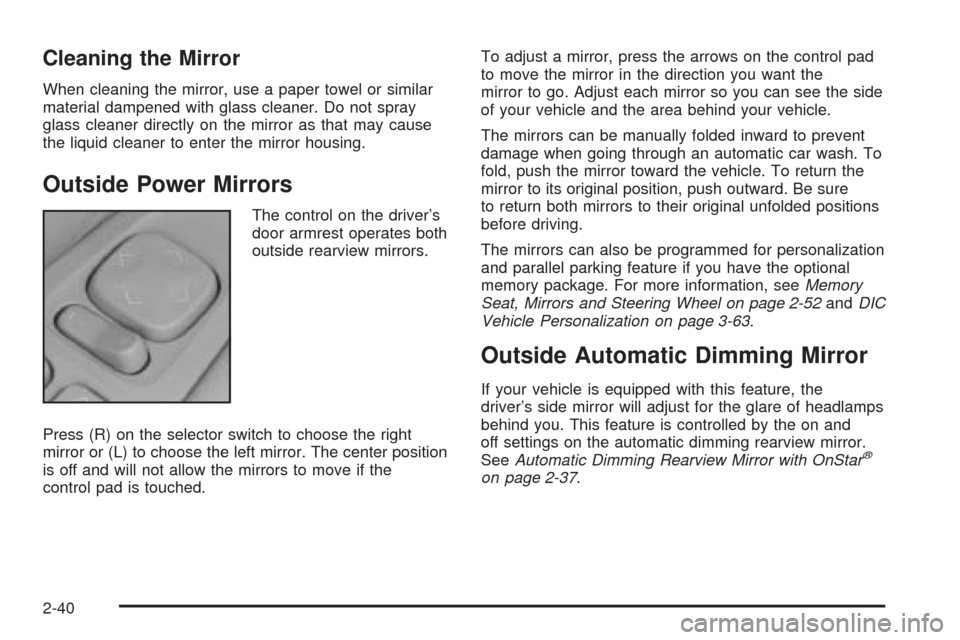
The control on the driver’s
door armrest operates both
outside rearview mirrors.
Press (R) on the selector switch to choose the right
mirror or (L) to choose the left mirror. The center position
is off and will not allow the mirrors to move if the
control pad is touched.To adjust a mirror, press the arrows on the control pad
to move the mirror in the direction you want the
mirror to go. Adjust each mirror so you can see the side
of your vehicle and the area behind your vehicle.
The mirrors can be manually folded inward to prevent
damage when going through an automatic car wash. To
fold, push the mirror toward the vehicle. To return the
mirror to its original position, push outward. Be sure
to return both mirrors to their original unfolded positions
before driving.
The mirrors can also be programmed for personalization
and parallel parking feature if you have the optional
memory package. For more information, seeMemory
Seat, Mirrors and Steering Wheel on page 2-52andDIC
Vehicle Personalization on page 3-63.
Outside Automatic Dimming Mirror
If your vehicle is equipped with this feature, the
driver’s side mirror will adjust for the glare of headlamps
behind you. This feature is controlled by the on and
off settings on the automatic dimming rearview mirror.
SeeAutomatic Dimming Rearview Mirror with OnStar
®
on page 2-37.
2-40
Page 99 of 410
Outside Curb View Assist Mirror
If your vehicle is equipped with memory mirrors, it will
also be capable of performing the curb view assist mirror
feature. This feature will allow the passenger’s side
mirror to tilt to a factory programmed position when the
vehicle is in REVERSE (R). This feature may be
useful in allowing you to view the curb when you are
parallel parking.
When the vehicle is shifted out of REVERSE (R) and a
five-second delay has occurred, the passenger’s
side mirror will return to its original position.
If further adjustment is needed after the mirror is tilted,
the mirror switch may be used.
This feature can be enabled/disabled through the Driver
Information Center (DIC). SeeDIC Vehicle
Personalization on page 3-63for more information.
Outside Convex Mirror
Your passenger’s side mirror is convex. A convex mirror’s
surface is curved so you can see more from the driver’s
seat. This mirror does not have a dimming feature.
{CAUTION:
A convex mirror can make things (like other
vehicles) look farther away than they really are.
If you cut too sharply into the right lane, you
could hit a vehicle on your right. Check your
inside mirror or glance over your shoulder
before changing lanes.
Outside Heated Mirrors
When you operate the rear window defogger, it also
warms both outside mirrors to help clear them of fog or
ice. SeeDual Climate Control System on page 3-28
for more information.
2-41
Page 110 of 410
Vehicle Personalization
Memory Seat, Mirrors and Steering
Wheel
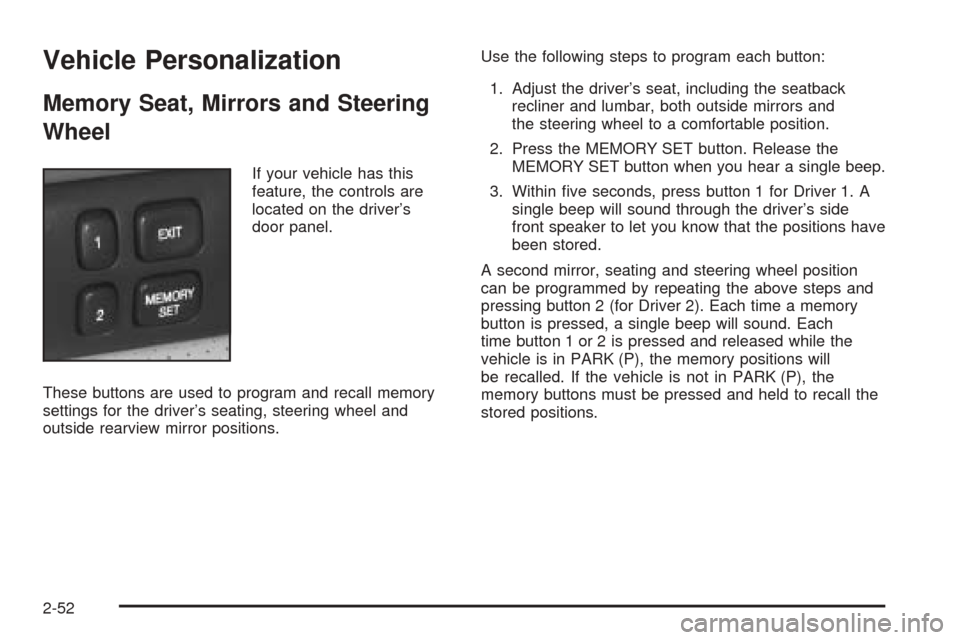
If your vehicle has this
feature, the controls are
located on the driver’s
door panel.
These buttons are used to program and recall memory
settings for the driver’s seating, steering wheel and
outside rearview mirror positions.Use the following steps to program each button:
1. Adjust the driver’s seat, including the seatback
recliner and lumbar, both outside mirrors and
the steering wheel to a comfortable position.
2. Press the MEMORY SET button. Release the
MEMORY SET button when you hear a single beep.
3. Within five seconds, press button 1 for Driver 1. A
single beep will sound through the driver’s side
front speaker to let you know that the positions have
been stored.
A second mirror, seating and steering wheel position
can be programmed by repeating the above steps and
pressing button 2 (for Driver 2). Each time a memory
button is pressed, a single beep will sound. Each
time button 1 or 2 is pressed and released while the
vehicle is in PARK (P), the memory positions will
be recalled. If the vehicle is not in PARK (P), the
memory buttons must be pressed and held to recall the
stored positions.
2-52
Page 124 of 410
Rainsense™ II Wipers
Your vehicle may be equipped with Rainsense™ II
wipers. The moisture sensor for this feature is mounted
on the interior side of the windshield below the
rearview mirror and is used to automatically operate the
wipers by monitoring the amount of moisture build-up
on the windshield. Wipes occur as needed to clear
the windshield depending on driving conditions and the
sensitivity setting. In light rain or snow, fewer wipes
will occur. In heavy rain or snow, wipes will occur more
frequently. The Rainsense™ wipers operate in a
delay mode as well as a continuous low or high speed
as needed. If the system is left on for long periods
of time, occasional wipes may occur without any
moisture on the windshield. This is normal and indicates
that the Rainsense™ system is activated.
The Rainsense™ system can be activated by moving
the wiper stalk up to the INT position and turning the INT
ADJ band to one of the five sensitivity levels. The
bottom INT ADJ position is the lowest sensitivity setting,
level one. This allows more rain or snow to collect on
the windshield between wipes. Turning the INT ADJ
band away from you to the higher sensitivity levels
allows less rain or snow to collect on the windshield
between wipes.The top position is the highest sensitivity setting, level
five. A single wipe will occur each time you turn the INT
ADJ band to a higher sensitivity level to indicate that
the sensitivity level has been increased.
Notice:Going through an automatic car wash with
the wipers on can damage them. Turn the wipers
off when going through an automatic car wash.
The MIST and “wash” cycles operate as normal and are
not affected by the Rainsense™ function. The
Rainsense™ system can be overridden at any time by
manually changing the wiper control to LO or HI speed.
While Rainsense™ is active, the headlamps will turn on
automatically. The headlamps will turn off again once
the wipers turn off if it is light enough outside. If it
is dark, they will remain on. See “Wiper-Activated
Headlamps” underExterior Lamps on page 3-16for
more information.
Notice:Do not place stickers or other items on the
exterior glass surface directly in front of the
moisture sensor. Doing this could cause the
moisture sensor to malfunction.
3-12
Page 137 of 410
CAUTION: (Continued)
So, unless you check carefully behind you
before and when you back up, you could strike
children, pedestrians, bicyclists or pets behind
you, and they could be injured or killed.
Whether or not you are using Rear Park Assist,
always check carefully behind your vehicle
before you back up and then watch closely as
you do.
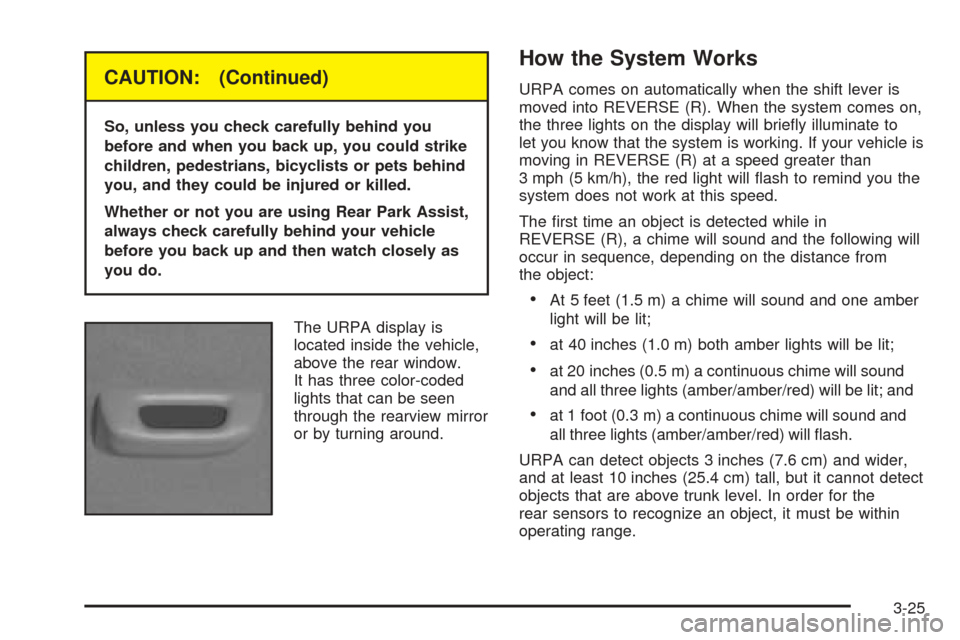
The URPA display is
located inside the vehicle,
above the rear window.
It has three color-coded
lights that can be seen
through the rearview mirror
or by turning around.
How the System Works
URPA comes on automatically when the shift lever is
moved into REVERSE (R). When the system comes on,
the three lights on the display will briefly illuminate to
let you know that the system is working. If your vehicle is
moving in REVERSE (R) at a speed greater than
3 mph (5 km/h), the red light will flash to remind you the
system does not work at this speed.
The first time an object is detected while in
REVERSE (R), a chime will sound and the following will
occur in sequence, depending on the distance from
the object:
•At 5 feet (1.5 m) a chime will sound and one amber
light will be lit;
•at 40 inches (1.0 m) both amber lights will be lit;
•at 20 inches (0.5 m) a continuous chime will sound
and all three lights (amber/amber/red) will be lit; and
•at 1 foot (0.3 m) a continuous chime will sound and
all three lights (amber/amber/red) will flash.
URPA can detect objects 3 inches (7.6 cm) and wider,
and at least 10 inches (25.4 cm) tall, but it cannot detect
objects that are above trunk level. In order for the
rear sensors to recognize an object, it must be within
operating range.
3-25
Page 144 of 410
Defogging and Defrosting
Fog on the inside of windows is a result of high humidity
(moisture) condensing on the cool window glass. This
can be minimized if the climate control system is
used properly. There are two modes to clear fog from
your windshield. Use the floor/defog mode to clear
the windows of fog or moisture and warm the
passengers. Use the defrost mode (FRONT) to remove
fog or frost from the windshield more quickly.
SMODET:Press this switch until floor/defog
appears on the display.
/(Floor/Defog):This mode directs the air equally
between the windshield and the floor outlets. When you
select this mode, the system turns off recirculation and
runs the air-conditioning compressor unless the outside
temperature is at or below freezing. The recirculation
mode cannot be selected while in the floor/defog mode.
1FRONT (Defrost):Pressing FRONT directs most of
the air to the windshield and the side window outlets, with
some air directed to the floor outlets. In this mode, the
system will automatically turn off recirculation and run the
air-conditioning compressor, unless the outside
temperature is at or below freezing. Recirculation cannot
be selected while in the defrost mode. Do not drive the
vehicle until all the windows are clear.
Rear Window Defogger
The rear window defogger uses a warming grid to
remove fog or frost from the rear window.
The rear window defogger will only work when the
ignition is in ON.
=REAR:Press this button to turn the rear window
defogger on or off. Be sure to clear as much snow from
the rear window as possible.
The rear window defogger will turn off approximately 10
minutes after the button is pressed. If turned on
again, the defogger will only run for approximately five
minutes before turning off. The defogger can also
be turned off by pressing the button again or by turning
off the engine.
The heated outside rearview mirrors will heat to help
clear fog or frost from the surface of the mirror when the
REAR button is pressed.
Notice:Using a razor blade or sharp object to clear
the inside rear window may damage the rear
window defogger. Repairs would not be covered by
your warranty. Do not clear the inside of the rear
window with sharp objects.
3-32
Page 184 of 410
Doors Unlock Key Off
This feature will automatically unlock all doors when the
ignition key is turned to OFF.
Programmable Modes
Mode 1:ON
Mode 2:OFF
Before your vehicle was shipped from the factory, it was
programmed to Mode 2. The mode to which the
vehicle was programmed may have been changed since
it left the factory. To determine the mode to which the
vehicle is programmed or to program the vehicle to
a different mode, do the following:
1. Enter FEATURE PROGRAMMING following the
instructions listed previously.
2. Press the down arrow on the INFO button until
DRIVER UNLOCK KEY OFF appears on the
DIC display.
3. To turn on the feature, press the ON/OFF button
until ON appears on the DIC display. To turn it off,
press the ON/OFF button until OFF appears on
the display.
The mode you selected is now set. You can either exit
the programming mode by following the instructions
later in this section or program the next feature available
on your vehicle.
Mirror to Curb In Reverse
If your vehicle has the optional memory package, you
will have this feature. This feature will move the
passenger’s outside rearview mirror to a curb view
position when the shift lever is placed in REVERSE (R),
and it will return the mirror to the last known driving
position when the shift lever is moved out of
REVERSE (R). SeeOutside Curb View Assist Mirror on
page 2-41for more information.
Programmable Modes
Mode 1:ON
Mode 2:OFF
Before your vehicle was shipped from the factory, it was
programmed to Mode 2. The mode to which the
vehicle was programmed may have been changed since
it left the factory. To determine the mode to which the
vehicle is programmed or to program the vehicle to
a different mode, do the following:
1. Enter FEATURE PROGRAMMING following the
instructions listed previously.
2. Press the down arrow on the INFO button until
MIRROR TO CURB IN REV appears on the DIC
display.
3-72