display CADILLAC SRX 2004 1.G User Guide
[x] Cancel search | Manufacturer: CADILLAC, Model Year: 2004, Model line: SRX, Model: CADILLAC SRX 2004 1.GPages: 468, PDF Size: 2.92 MB
Page 143 of 468

Entry Lighting
The entry lighting system turns on the reading and
dome lamps and the backlighting to the exterior lamp
control when a door is opened or if you press the remote
keyless entry transmitter unlock button. If activated by
the transmitter, the lighting will remain active for
about 25 seconds. The entry lighting system uses the
light sensor; it must be dark outside in order for the
lamps to turn on. The lamps turn off about 25 seconds
after the last door is closed. They will dim to off if
the ignition key is placed in ON, or immediately
deactivate if the power locks are activated.
Parade Dimming
This feature prohibits dimming of the instrument panel
displays and backlighting during daylight hours when
the key is in the ignition and the headlamps are
on. This feature operates with the light sensor and is
fully automatic. When the light sensor reads darkness
outside and the parking lamps are active, the instrument
panel displays can be adjusted by sliding the instrument
panel brightness lever toward the symbol to brighten
or away from the symbol to dim the lighting.
Reading Lamps
The reading lamps are located on the overhead console.
These lamps come on automatically when any door is
opened.
For manual operation, press the button next to each
lamp to turn it on. Press it again to turn the lamp off.
If the reading lamps are left on, they automatically shut
off 10 minutes after the ignition has been turned off.
3-21
Page 144 of 468
Ultrasonic Rear Parking Assist
(URPA)
The Ultrasonic Rear Parking Assist (URPA) system is
designed to help you park, while the vehicle is in
REVERSE (R). It operates only at very low speeds, less
than 3 mph (5 km/h). URPA can help make parking
easier and to help you avoid colliding with objects such as
parked vehicles. The URPA system can detect objects up
to 5 feet (1.5 m) behind the vehicle, and tell you how
close these objects are from your rear bumper.
{CAUTION:
Even with the Ultrasonic Rear Park Assist
system, the driver must check carefully before
backing up. The system does not operate above
typical backing speeds of 3 mph (5 km/h) while
parking. And, the system does not detect
objects that are more than 5 feet (1.5 meters)
behind the vehicle.
CAUTION: (Continued)
CAUTION: (Continued)
So, unless you check carefully behind you
before and when you back up, you could strike
children, pedestrians, bicyclists or pets behind
you, and they could be injured or killed.
Whether or not you are using rear park assist,
always check carefully behind your vehicle
before you back up and then watch closely as
you do.
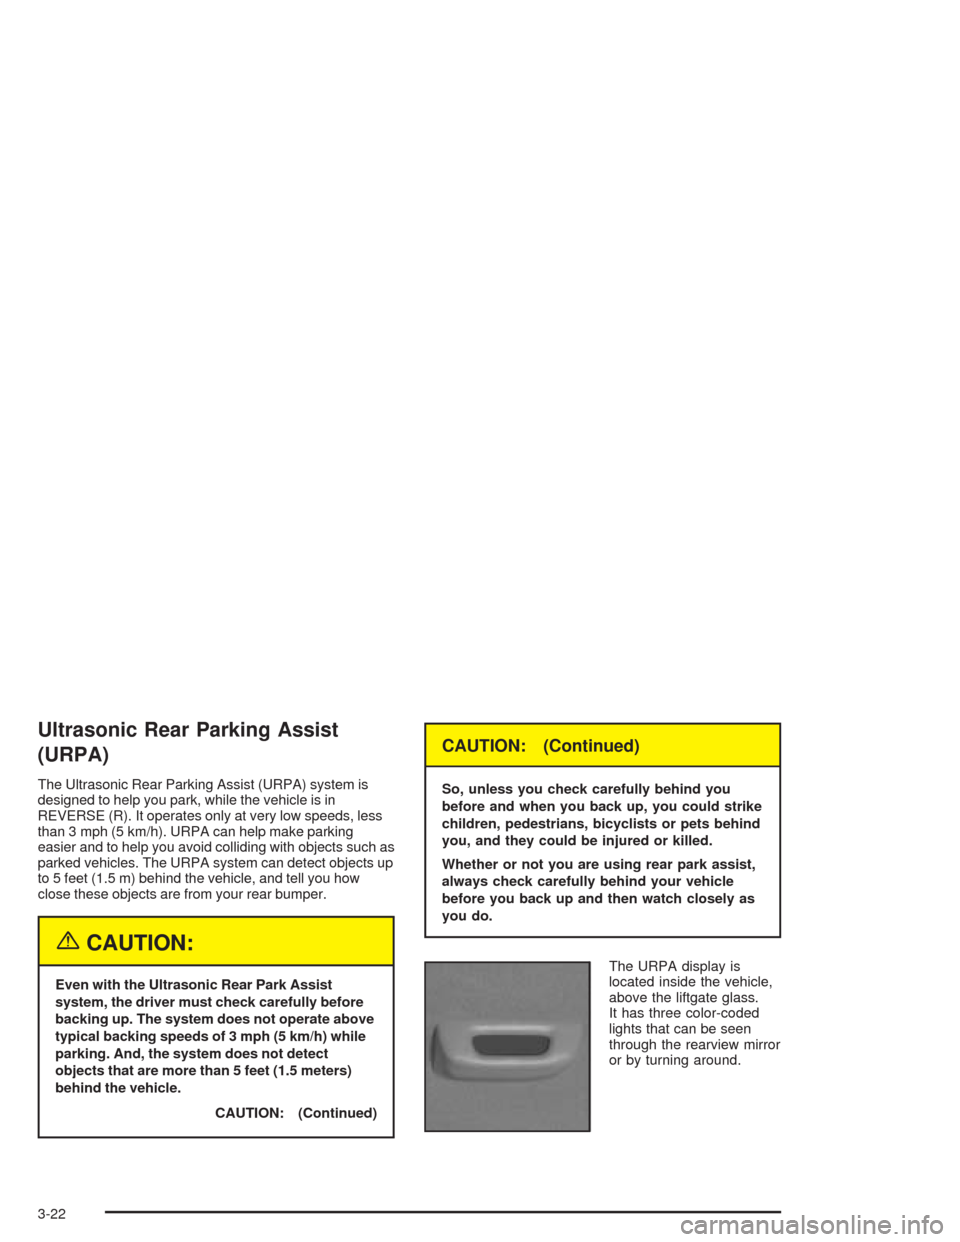
The URPA display is
located inside the vehicle,
above the liftgate glass.
It has three color-coded
lights that can be seen
through the rearview mirror
or by turning around.
3-22
Page 145 of 468
How the System Works
URPA comes on automatically when the shift lever is
moved into REVERSE (R) and the vehicle speed is less
than 3 mph (5 km/h). When the system turns on, the
three lights on the display will illuminate for one and
a half seconds to let you know that the system is
working. If your vehicle is moving in REVERSE (R) at
a speed greater than 3 mph (5 km/h), the red light
will �ash to remind you that the system does not work
at speed greater than 3 mph (5 km/h).
If an object is detected at a REVERSE (R) speed of
less than 3 mph (5 km/h), one of the following will occur:
Description English Metric
amber light 5 ft. 1.5 m
amber/amber lights 40 in. 1.0 m
amber/amber/red lights &
continuous chime20 in. 0.5 m
amber/amber/red lights
�ashing & continuous
chime1 ft. 0.3 m
A chime will sound the �rst time an object is detected
between 20 inches (0.5 m) and 5 feet (1.5 m) away.
URPA cannot detect objects that are above liftgate level.
In order for the rear sensors to recognize an object,
it must be within detection range behind the vehicle.
When the System Does Not Seem to
Work Properly
The light may �ash red when the vehicle is in
REVERSE (R) if the ultrasonic sensors are not kept
clean. So be sure to keep your rear bumper free of mud,
dirt, snow, ice and slush. Other conditions that may
affect system performance include things like the
vibrations from a jackhammer or the compression of
air brakes on a very large truck. If after cleaning the
rear bumper and then driving forward at least 15 mph
(25 km/h), the display continues to �ash red, see your
dealer.
If a trailer was attached to your vehicle, or a bicycle or
an object was on the back of, or hanging out of your
liftgate during your last drive cycle, the light may
also �ash red. The light will continue to �ash whenever
in REVERSE (R) until your vehicle is driven forward
at least 15 mph (25 km/h) without any obstructions
behind the vehicle.
For cleaning instructions, seeCleaning the Outside of
Your Vehicle on page 5-97.
3-23
Page 148 of 468
Climate Controls
Dual Climate Control System
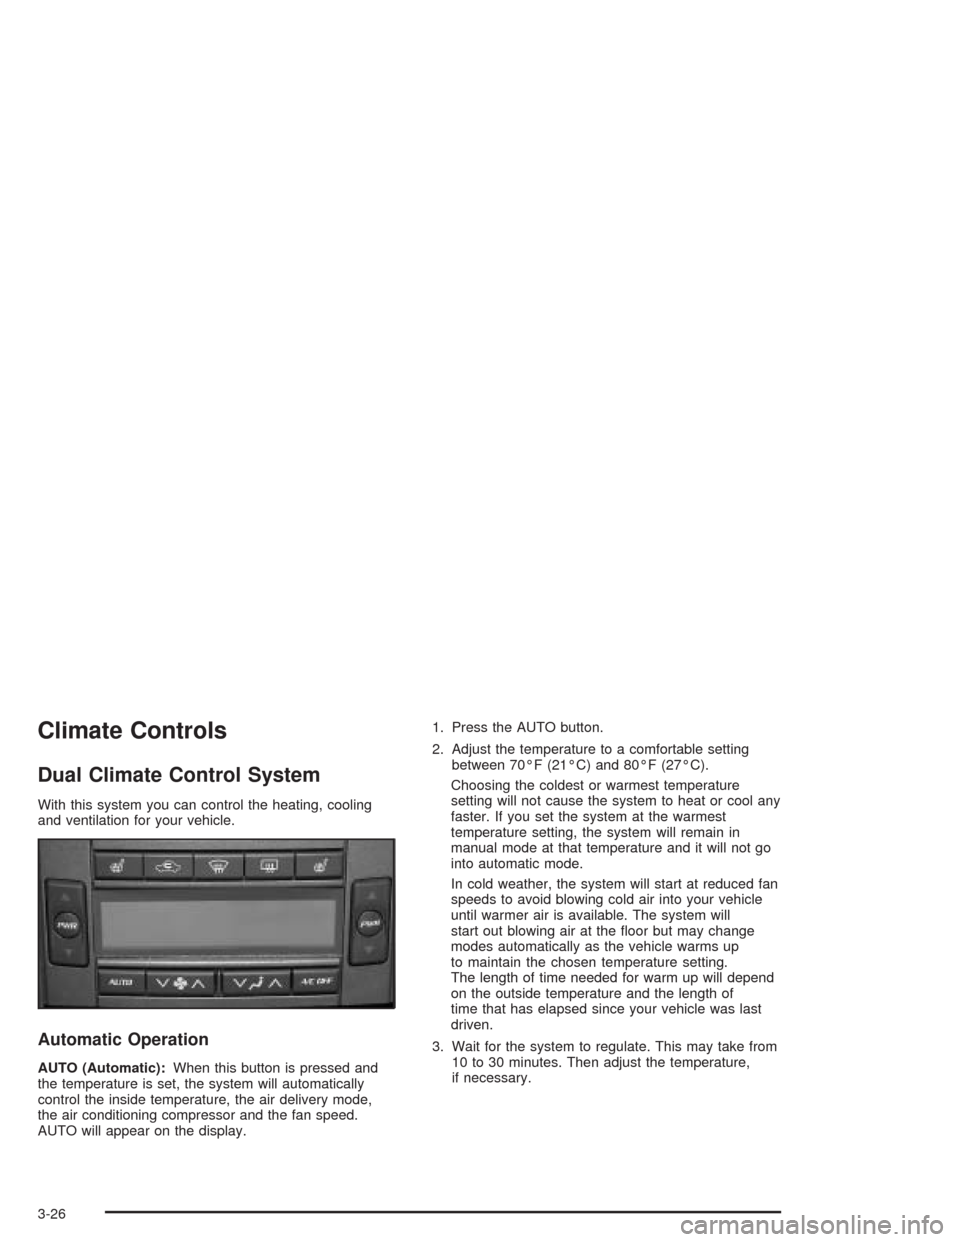
With this system you can control the heating, cooling
and ventilation for your vehicle.
Automatic Operation
AUTO (Automatic):When this button is pressed and
the temperature is set, the system will automatically
control the inside temperature, the air delivery mode,
the air conditioning compressor and the fan speed.
AUTO will appear on the display.1. Press the AUTO button.
2. Adjust the temperature to a comfortable setting
between 70°F (21°C) and 80°F (27°C).
Choosing the coldest or warmest temperature
setting will not cause the system to heat or cool any
faster. If you set the system at the warmest
temperature setting, the system will remain in
manual mode at that temperature and it will not go
into automatic mode.
In cold weather, the system will start at reduced fan
speeds to avoid blowing cold air into your vehicle
until warmer air is available. The system will
start out blowing air at the �oor but may change
modes automatically as the vehicle warms up
to maintain the chosen temperature setting.
The length of time needed for warm up will depend
on the outside temperature and the length of
time that has elapsed since your vehicle was last
driven.
3. Wait for the system to regulate. This may take from
10 to 30 minutes. Then adjust the temperature,
if necessary.
3-26
Page 152 of 468
Defogging and Defrosting
Fog on the inside of windows is a result of high humidity
(moisture) condensing on the cool window glass.
This can be minimized if the climate control system is
used properly. There are two modes to clear fog
from your windshield. Use the defog mode to clear the
windows of fog or moisture and warm the passengers.
Use the defrost mode to remove fog or frost from
the windshield more quickly.
yNz(Mode):Press this button until defog appears
on the display.
-(Defog):This mode directs the air between the
windshield, �oor outlets and side windows. When you
select this mode, the system turns off recirculation
and runs the air-conditioning compressor unless
the outside temperature is at or below freezing.
The recirculation mode is cancelled when you enter
defog mode. If you select recirculation while in defog
mode, it will be cancelled after 10 minutes.If you have fogging on the side windows, turn the
thumbwheel on the outboard outlets to the side window
defog position. SeeOutlet Adjustment on page 3-31
for more information.
0(Defrost):Pressing defrost directs most of the air
to the windshield, with some air directed to the side
windows. In this mode, the system will automatically
turn off recirculation and run the air-conditioning
compressor, unless the outside temperature is at or
below freezing. Recirculation cannot be selected while
in the defrost mode.
This mode may also cause the fan speed and air
temperature to increase.
If you have fogging on the side windows, turn the
thumbwheel on the outboard outlets to the side window
defog position. SeeOutlet Adjustment on page 3-31
for more information. Do not drive the vehicle until all the
windows are clear.
3-30
Page 159 of 468

Speedometer and Odometer
The speedometer lets you see your speed in either
miles per hour (mph) or kilometers per hour (km/h).
The odometer shows how far your vehicle has been
driven, in either miles (used in the United States)
or kilometers (used in Canada).
You may wonder what happens if a vehicle has to have
a new odometer installed. The new one may read
the correct mileage. This is because your vehicle’s
computer has stored the mileage in memory.
While the tap up/tap down feature is active, the
odometer will change to show the gear range. See
Automatic Transmission Operation on page 2-25
for more information.
Trip Odometers
The trip odometer can record the number of miles or
kilometers traveled for up to two trips.
The trip odometer is part of the Driver Information
Center (DIC). To access the trip odometer, use one of
the following procedures:
Using the Base audio system, do the following:
1. Press the INFO (Information) button located to the
right of the screen to access the DIC menu.
2. Scroll through the menu using the up or down
arrows on the INFO button until you reach Trip
Odometer A or Trip Odometer B.
The selected trip odometer (A or B) will be
displayed at the top of the screen with the
accumulated mileage.
3. Repeat the steps to view the other trip odometer.
You can reset the selected trip odometer by pressing
CLR (Clear) button located in the center of the INFO
button to the right of the screen. The mileage for that trip
odometer will return to zero. Each trip odometer must be
reset individually.
3-37
Page 160 of 468
Using the Navigation audio system, do the following:
1. Press and hold the vehicle information button in the
upper right corner of the screen for three seconds
to access the Vehicle Information menu.
2. Use the up and down arrows on the screen to bring
TRIP A or TRIP B into view. Then press the button
next to the trip you wish to be viewed.
The selected trip odometer (A or B) will be displayed
at the top of the screen with the accumulated
mileage.
3. Press the RETURN button to return to the
previous page.
4. Repeat the steps to view the other trip odometer.
You can reset the selected trip odometer by pressing
RESET button on the Vehicle Information menu.
The mileage for the selected trip odometer will return to
zero. Each trip odometer must be reset individually.Tachometer
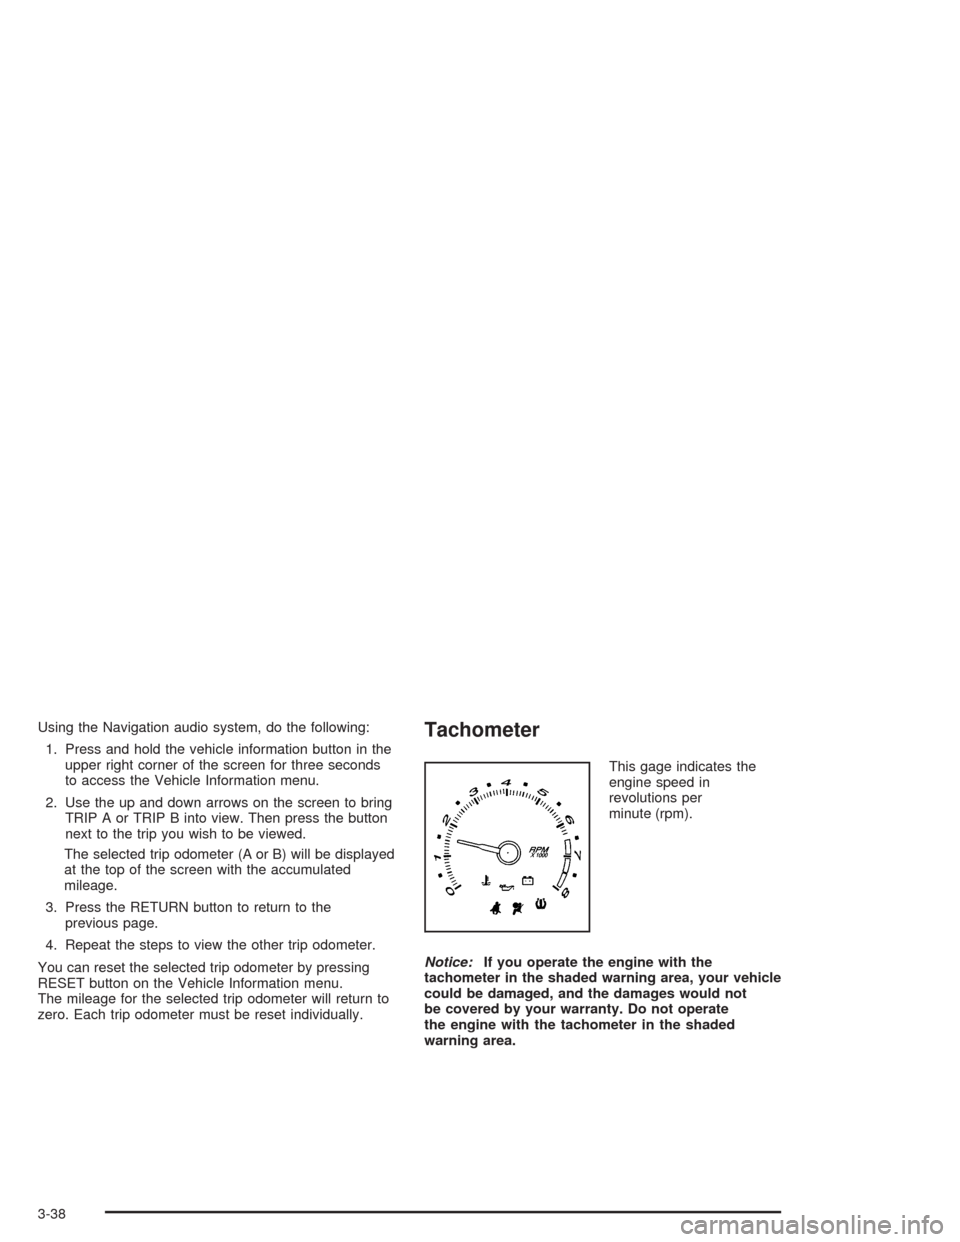
This gage indicates the
engine speed in
revolutions per
minute (rpm).
Notice:If you operate the engine with the
tachometer in the shaded warning area, your vehicle
could be damaged, and the damages would not
be covered by your warranty. Do not operate
the engine with the tachometer in the shaded
warning area.
3-38
Page 162 of 468
{CAUTION:
If the air bag readiness light stays on after you
start your vehicle, it means the air bag system
may not be working properly. The air bags in
your vehicle may not in�ate in a crash, or they
could even in�ate without a crash. To help
avoid injury to yourself or others, have your
vehicle serviced right away if the air bag
readiness light stays on after you start your
vehicle.
The air bag readiness light should �ash for a few
seconds when you turn the ignition key to ON. If the
light doesn’t come on then, have it �xed so it will
be ready to warn you if there is a problem.
If there is a problem with the air bag system in your
vehicle, the Service Air Bag message will appear on the
DIC display. SeeDIC Warnings and Messages on
page 3-64for more information.
Charging System Light
When you turn the key to
ON or START, this light
will come on brie�y
to show that the generator
and battery charging
systems are working
properly.
If this light stays on, your vehicle needs service. You
should take your vehicle to the dealer at once. To save
your battery until you get there, turn off all accessories.
3-40
Page 173 of 468

Driver Information Center (DIC)
The DIC gives you the status of many of your vehicle’s
systems. It is also used to display driver personalization
features and warning/status messages. All messages
will appear on the audio system display which is also the
display for the Navigation system.
System Controls
If you have the Base audio system, use the following to
operate the DIC:
INFO (Information):Use the up or down arrows on this
switch to scroll through the system status information.
CLR (Clear):Press this button to clear DIC messages
and to reset DIC items to zero. This button is also
used to exit out of a menu. SeeDIC Warnings and
Messages on page 3-64andStatus of Vehicle Systems
on page 3-53for more information.
TUNE/SEL (Select) Knob:Once a menu is displayed,
use the knob located to the lower right of the display
to scroll through the menu items and/or select them.
To scroll through the menu items, turn the knob.
Once an item is highlighted, press the knob once to
select it.
Base Audio System
3-51
Page 174 of 468

If you have the Navigation system, use the following to
operate the DIC.
Brie�y press the blue vehicle information button in the
upper right corner of the screen. Each press of this
button will scroll to the next available vehicle
information item.The Vehicle Information menu allows you to select the
vehicle information to be displayed and allows you
to reset or turn on or off certain information. You can
access the Vehicle Information menu by doing one
of the following:
Press and hold the vehicle information button in the
upper right corner of the screen for three seconds,
or
e/z(Audio/Adjust):This is the Audio/Adjust button.
_(Vehicle Information):This is the Vehicle
Information button.
Press the Audio/Adjust button to the left of the
screen to bring up the Main Audio menu and
then press the Vehicle Information button on the
Main Audio menu. Navigation/Audio System
3-52