navigation system CADILLAC SRX 2004 1.G Owners Manual
[x] Cancel search | Manufacturer: CADILLAC, Model Year: 2004, Model line: SRX, Model: CADILLAC SRX 2004 1.GPages: 468, PDF Size: 2.92 MB
Page 124 of 468
Audio System(s).............................................3-93
Setting the Time...........................................3-93
Radio with CD..............................................3-94
Navigation/Radio System..............................3-110
Rear Seat Entertainment System...................3-110
Theft-Deterrent Feature................................3-123Audio Steering Wheel Controls......................3-124
Radio Reception.........................................3-125
Care of Your CDs and DVDs........................3-126
Care of Your CD and DVD Player.................3-126
Diversity Antenna System.............................3-126
XM™ Satellite Radio Antenna System............3-127
Section 3 Instrument Panel
3-2
Page 127 of 468
The main components of the instrument panel are
the following:
A. Air Outlets. SeeOutlet Adjustment on page 3-31.
B. Turn Signal/Multifunction Lever. SeeTurn
Signal/Multifunction Lever on page 3-8.
C. Steering Wheel Controls. SeeAudio Steering Wheel
Controls on page 3-124.
D. Instrument Panel Cluster. SeeInstrument Panel
Cluster on page 3-36.
E. Windshield Wiper Lever. SeeWindshield Wiper
Lever on page 3-14.F. Hazard Warning Flasher Button. SeeHazard
Warning Flashers on page 3-6.
G. Audio/Navigation System. SeeAudio System(s) on
page 3-93.
H. Traction Control Button. SeeTraction Control
System (TCS) on page 4-9.
I. Automatic Transmission Shift Lever. SeeAutomatic
Transmission Operation on page 2-25.
J. Climate Control System. SeeDual Climate Control
System on page 3-26.
K. Glove Box. SeeGlove Box on page 2-45.
3-5
Page 141 of 468

are still illuminated. Turning the exterior lamp control to
AUTO or to the low-beam headlamp position will
turn off the DRL and cancel the Headlamps Suggested
message. If the parking lamps or the fog lamps were
turned on instead, the DRL will still turn off and the
Headlamps Suggested message will be displayed.
You can turn it off by pressing the OK button if you have
the Navigation audio system or the CLR button if you
have the Base audio system.
To operate your vehicle with the DRL off, turn the
exterior lamp control off. Then turn on the fog lamps or
parking lamps, and the DRL will turn off. The
Headlamps Suggested message will appear on the DIC
display. This will work regardless of gear position
and whether or not the parking brake is set.
As with any vehicle, you should turn on the regular
headlamp system when you need it.Light Sensor
The light sensor for the DRL and AUTO headlamp
feature is located on top of the instrument panel. If you
cover the sensor, it will read dark, and the exterior
lamps or the Headlamps Suggested message will
appear on the DIC whenever the ignition is on.
3-19
Page 149 of 468
You can switch from English to metric units through the
Driver Information Center (DIC). If you have the Base
audio system, seeDIC Main Menu on page 3-60.Ifyou
have the Navigation system, see “Setup Menu” in the
Index of the Entertainment and Navigation System
Supplement.
The air-conditioning system removes moisture from the
air, so you may sometimes notice a small amount of
water dripping underneath your vehicle while idling
or after turning off the engine. This is normal.
Do not cover the solar sensor located in the center of
the instrument panel, near the windshield. For more
information on the solar sensor, see “Sensors” later in
this section.
Manual Operation
yNz(Mode):Pressing the MODE switch and
changing the mode cancels automatic operation
and places the system in manual mode. Press AUTO to
return to automatic operation.
The outboard air outlets will always receive air�ow
regardless of the mode selected. SeeOutlet Adjustment
on page 3-31to change this air�ow from the outboard
outlets.To change the current mode, select one of the following:
Y(Vent):This mode directs air to the instrument
panel outlets.
\(Bi-Level):This mode directs approximately half of
the air to the instrument panel outlets, and then
directs most of the remaining air to the �oor outlets.
Some air may be directed toward the windshield.
In automatic operation, cooler air is directed to the upper
outlets and warmer air to the �oor outlets.
[(Floor):This mode directs most of the air to the
�oor outlets with some air directed to the outboard
outlets (for the side windows), and a little air directed to
the windshield.
The MODE switch can also be used to select the defog
mode. Information on defogging and defrosting can
be found later in this section.
3-27
Page 160 of 468
Using the Navigation audio system, do the following:
1. Press and hold the vehicle information button in the
upper right corner of the screen for three seconds
to access the Vehicle Information menu.
2. Use the up and down arrows on the screen to bring
TRIP A or TRIP B into view. Then press the button
next to the trip you wish to be viewed.
The selected trip odometer (A or B) will be displayed
at the top of the screen with the accumulated
mileage.
3. Press the RETURN button to return to the
previous page.
4. Repeat the steps to view the other trip odometer.
You can reset the selected trip odometer by pressing
RESET button on the Vehicle Information menu.
The mileage for the selected trip odometer will return to
zero. Each trip odometer must be reset individually.Tachometer
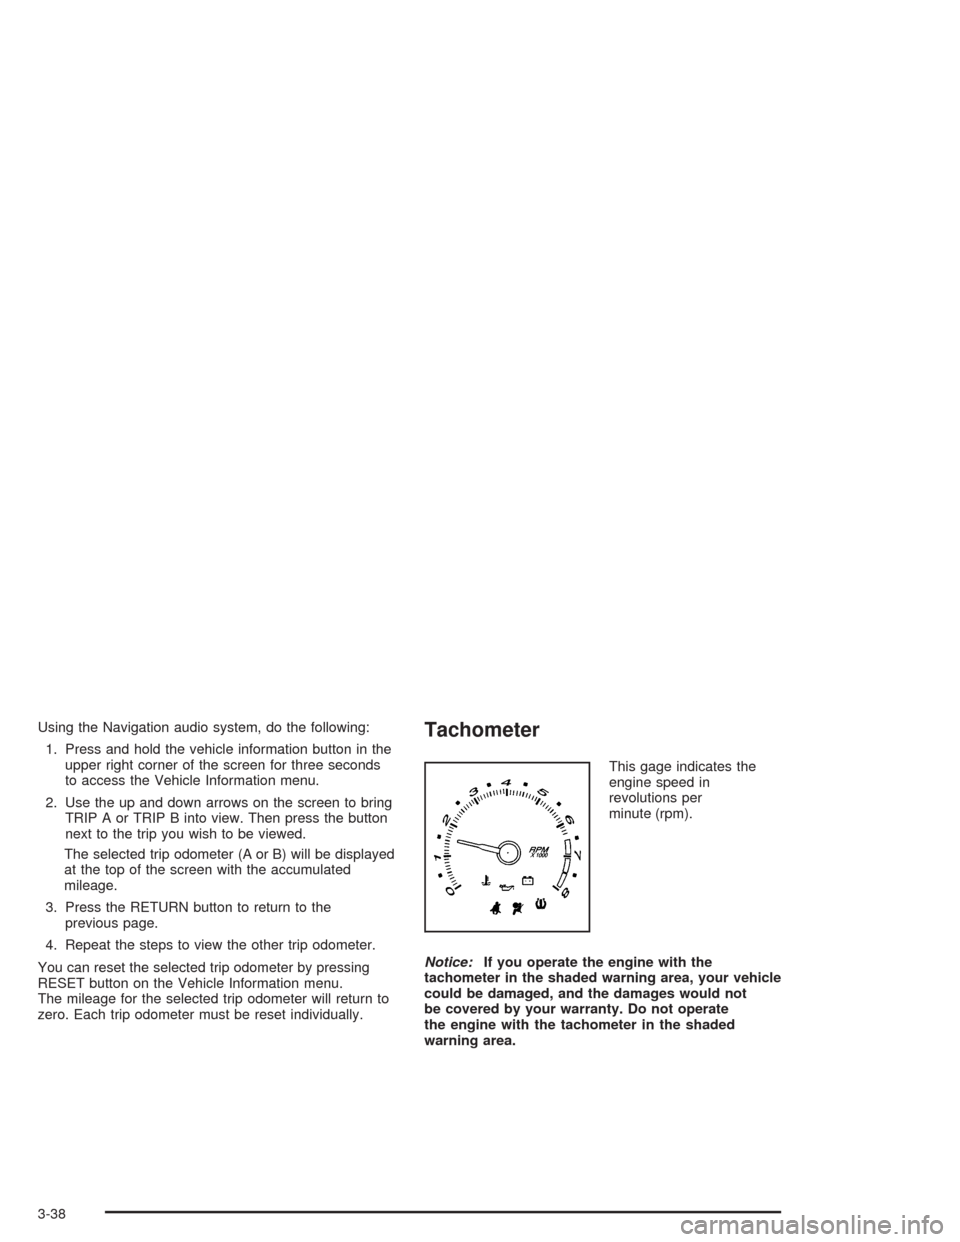
This gage indicates the
engine speed in
revolutions per
minute (rpm).
Notice:If you operate the engine with the
tachometer in the shaded warning area, your vehicle
could be damaged, and the damages would not
be covered by your warranty. Do not operate
the engine with the tachometer in the shaded
warning area.
3-38
Page 173 of 468

Driver Information Center (DIC)
The DIC gives you the status of many of your vehicle’s
systems. It is also used to display driver personalization
features and warning/status messages. All messages
will appear on the audio system display which is also the
display for the Navigation system.
System Controls
If you have the Base audio system, use the following to
operate the DIC:
INFO (Information):Use the up or down arrows on this
switch to scroll through the system status information.
CLR (Clear):Press this button to clear DIC messages
and to reset DIC items to zero. This button is also
used to exit out of a menu. SeeDIC Warnings and
Messages on page 3-64andStatus of Vehicle Systems
on page 3-53for more information.
TUNE/SEL (Select) Knob:Once a menu is displayed,
use the knob located to the lower right of the display
to scroll through the menu items and/or select them.
To scroll through the menu items, turn the knob.
Once an item is highlighted, press the knob once to
select it.
Base Audio System
3-51
Page 174 of 468

If you have the Navigation system, use the following to
operate the DIC.
Brie�y press the blue vehicle information button in the
upper right corner of the screen. Each press of this
button will scroll to the next available vehicle
information item.The Vehicle Information menu allows you to select the
vehicle information to be displayed and allows you
to reset or turn on or off certain information. You can
access the Vehicle Information menu by doing one
of the following:
Press and hold the vehicle information button in the
upper right corner of the screen for three seconds,
or
e/z(Audio/Adjust):This is the Audio/Adjust button.
_(Vehicle Information):This is the Vehicle
Information button.
Press the Audio/Adjust button to the left of the
screen to bring up the Main Audio menu and
then press the Vehicle Information button on the
Main Audio menu. Navigation/Audio System
3-52
Page 175 of 468

Status of Vehicle Systems
You can view the status of several vehicle systems
using the DIC. Depending upon whether or not
your vehicle has the Navigation system, the menu items
will vary slightly.
Vehicle Information Menu
(Base Audio System)
To access this menu using the Base audio system,
press the up or down arrow on the INFO switch located
to the right of the display.
The following items are available when the ignition is in
RUN. These items will not be available when the
ignition is in accessory. The tire pressure menu items
are only available if your vehicle has the Tire Pressure
Monitor (TPM) System:
OUTSIDE TEMP
MI TRIP A*
MI TRIP B*
MILES RANGE
MPG AVG*
MPG INST
GAL FUEL USED*
AVG MPH*
TIMER*
BATTERY VOLTS
ENGINE OIL LIFE*
TRANS FLUID LIFE*
PSI LF TIRE
PSI RF TIRE
PSI RR TIRE
PSI LR TIRE
BLANK LINE
*These items can be reset. Each one must be reset
individually. For a detailed description of the menu items
and how to reset them, see “Vehicle Information
Menu Item Descriptions” later in this section.
You can view any of these items at any time, but only
one item can be displayed at a time.
3-53
Page 176 of 468
Vehicle Information Menu
(Navigation System)
To access the Vehicle Info menu using the Navigation
system, press and hold the vehicle information button in
the upper right corner of the screen for three seconds.
You can also access this menu through the Main
Audio menu. See “Main Audio Menu” in the Index of the
SRX Entertainment and Navigation System owner’s
manual.
The following submenu appears when Vehicle Info is
selected. The tire pressure menu items are only
available if your vehicle has the Tire Pressure Monitor
(TPM) System:
Clock/Outside Air Temp
Trip Odometer A*
Trip Odometer B*
Fuel Range
Average Fuel Economy*
Instantaneous Fuel Economy
Fuel Used*
Average Vehicle Speed*
Timer*
Battery Voltage
Left Front Tire Pressure
Left Rear Tire Pressure
Right Front Tire Pressure
Right Rear Tire Pressure
Engine Oil Life*
Transmission Fluid Life*
*These items can be reset. Each one must be reset
individually. For a detailed description of the menu items
and how to reset them, see “Vehicle Information
Menu Item Descriptions” following.
You can view any of these submenu items at any time
by selecting them using the button next to the item.
The currently selected item is displayed at the top of the
screen. Only one item can be displayed at a time.
3-54
Page 177 of 468
Vehicle Information Menu Item
Descriptions
The following paragraphs contain a more detailed
description of each menu item:
Clock/Outside Air Temp (Navigation System):If you
select this item, the clock and outside temperature
will be displayed at the top of the screen. The outside
temperature will be displayed in either degrees
Fahrenheit or degrees Celsius depending upon whether
the system is set for English or metric units. If you
wish to change the units, see “Main Audio Menu” in the
SRX Entertainment and Navigation System owner’s
manual.
OUTSIDE TEMP (Base Audio System):If you select
this item, the current outside temperature is displayed
at the top of the screen. It will be in either degrees
Fahrenheit or degrees Celsius depending upon whether
the system is set for English or metric units. If you
wish to change the units, seeDIC Main Menu on
page 3-60.MI TRIP A and B/Trip Odometer A and B:For
information on the trip odometers, see “Trip Odometers”
underSpeedometer and Odometer on page 3-37.
MPG AVG/Average Fuel Economy:If you select this
item, the approximate average miles per gallon (mpg)
or Liters per 100 kilometers (L/100km) is displayed.
This number is calculated based on the number of
mpg (L/100km) recorded since the last time this menu
item was reset.
To reset the MPG AVG using the Base audio system,
press the CLR button located to the right of the screen.
The display will return to zero.
To reset the Average Fuel Economy using the Navigation
system, press and hold the vehicle information button in
the upper right corner of the screen for three seconds to
bring up the Vehicle Information menu. Use the up and
down arrows on the screen to select Average Fuel
Economy and then touch the RESET button. Touch the
RETURN button on the screen to go back to the
previous page.
3-55