reset CADILLAC SRX 2004 1.G Owners Manual
[x] Cancel search | Manufacturer: CADILLAC, Model Year: 2004, Model line: SRX, Model: CADILLAC SRX 2004 1.GPages: 468, PDF Size: 2.92 MB
Page 77 of 468

Central Door Unlocking System
Your vehicle has a central door unlocking feature.
When unlocking the driver’s door, you can unlock the
other doors by holding the key in the turned position for
a few seconds or by quickly turning the key twice in
the lock cylinder.
Power Door Locks
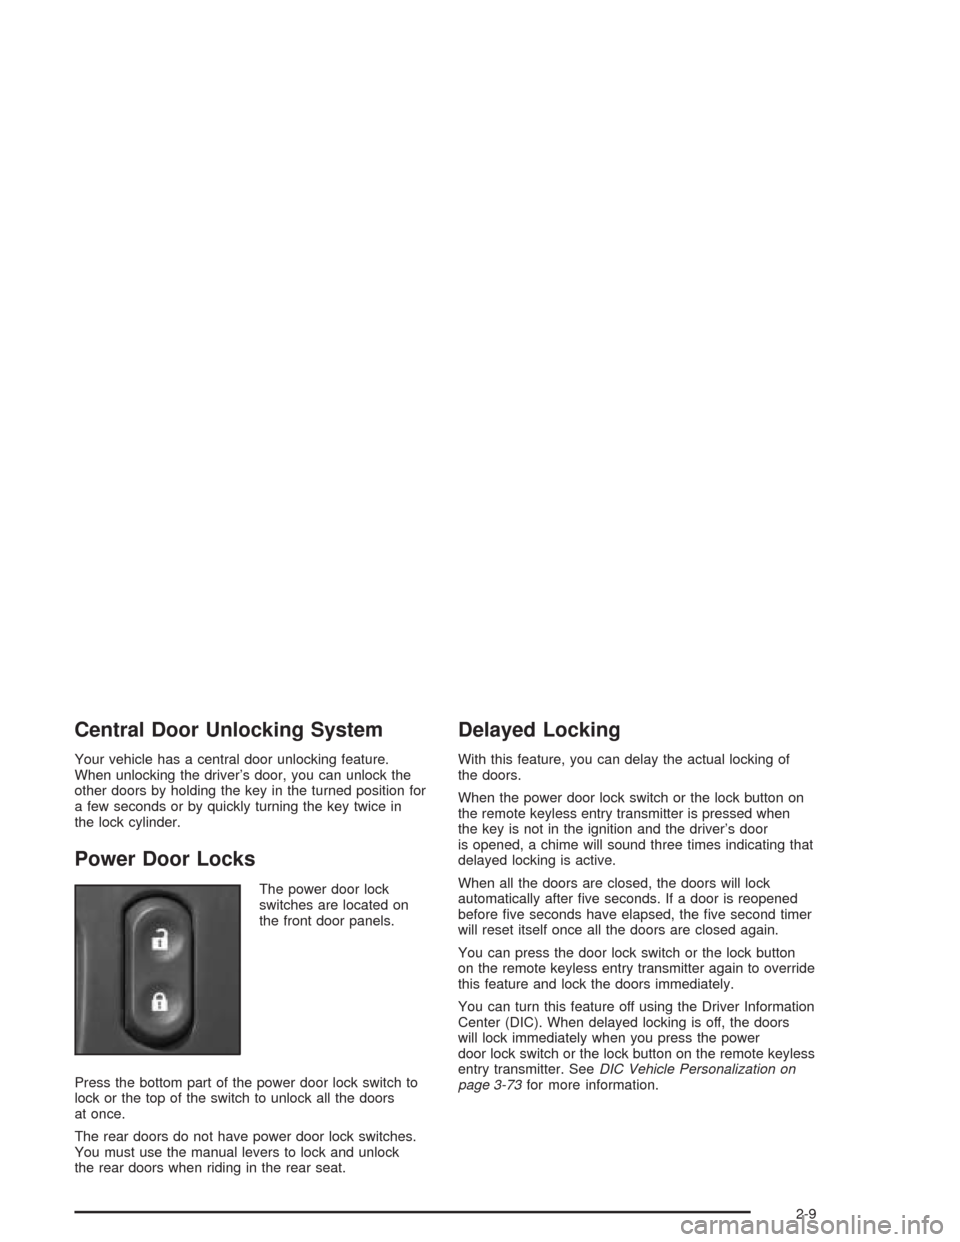
The power door lock
switches are located on
the front door panels.
Press the bottom part of the power door lock switch to
lock or the top of the switch to unlock all the doors
at once.
The rear doors do not have power door lock switches.
You must use the manual levers to lock and unlock
the rear doors when riding in the rear seat.
Delayed Locking
With this feature, you can delay the actual locking of
the doors.
When the power door lock switch or the lock button on
the remote keyless entry transmitter is pressed when
the key is not in the ignition and the driver’s door
is opened, a chime will sound three times indicating that
delayed locking is active.
When all the doors are closed, the doors will lock
automatically after �ve seconds. If a door is reopened
before �ve seconds have elapsed, the �ve second timer
will reset itself once all the doors are closed again.
You can press the door lock switch or the lock button
on the remote keyless entry transmitter again to override
this feature and lock the doors immediately.
You can turn this feature off using the Driver Information
Center (DIC). When delayed locking is off, the doors
will lock immediately when you press the power
door lock switch or the lock button on the remote keyless
entry transmitter. SeeDIC Vehicle Personalization on
page 3-73for more information.
2-9
Page 83 of 468

Programming the Power Windows
If the battery on your vehicle has been recharged,
disconnected or is not working, you will need to
reprogram each front power window for the express-up
feature to work. Before reprogramming, you will need
to replace or recharge your vehicle’s battery.
To program each front window, follow these steps:
1. With the ignition in ACCESSORY, ON or when
Retained Accessory Power (RAP) is active, close
all doors.
2. Press and hold the down arrow on the power
window switch until the window has fully opened.
3. Press the up arrow on the power window switch
until the window is fully closed.
4. Continue holding up arrow on the switch for
approximately two seconds after the window
is completely closed.
The window is now reprogrammed. Repeat the process
for the other front window.
Anti-Pinch Feature
If a hand, an arm or another object is above the middle
of the window and is in the path of the window when
the express-up feature is active, the window will stop at
the obstruction and express-open to a factory preset
position.
{CAUTION:
Pressing and holding the power window control
will turn off the anti-pinch feature. If this
happens, a power window won’t stop if
something gets in the way. You or others could
be injured, and your window could be damaged.
Be careful not to press and hold the power
window control.
2-15
Page 113 of 468

Reprogramming a Single HomeLink®
Button
To program a device to HomeLink®using a HomeLink®
button previously trained, follow these steps:
1. Press and hold the desired HomeLink
®button.
Do not release the button.
2. The indicator light will begin to �ash after
20 seconds. While still holding the HomeLink
®
button, proceed with Step 2 under “Programming
HomeLink®.”
Resetting Defaults
To reset HomeLink®to default settings do the following:
1. Hold down the two outside buttons for about
20 seconds until the indicator light begins to �ash.
2. Continue to hold both buttons until the HomeLink
®
indicator light turns off.
3. Release both buttons.
For questions or comments, contact HomeLink
®at
1-800-355-3515, or on the internet at
www.homelink.com.
Storage Areas
Glove Box
The glove box is located in front of the passenger’s seat
on the instrument panel. To lock the glove box door,
insert your key into the lock cylinder and turn it
clockwise. Turn the key counterclockwise to unlock
the door.
Cupholder(s)
Your vehicle has cupholders located between the front
seats. Slide the cover back to expose them. There are
also cupholders in the armrest of the second row
seat. Press the panel on the front of the armrest to
expose the cupholders. On the outboard sides of
the third row there may also be cupholders.
Cell Phone Storage Area
Your vehicle has a closeable cell phone/sunglasses
storage area inside both of the front doors. Press
the button to open the door.
2-45
Page 135 of 468

Resuming a Set Speed
Suppose you set your cruise control at a desired speed
and then you apply the brake. This, of course,
disengages the cruise control. But you don’t need to
reset it.
Once you’re going about 25 mph (40 km/h) or more,
you can move the cruise control switch brie�y from on to
resume/accelerate.
You’ll go right back up to your chosen speed and stay
there.
If you hold the switch at resume/accelerate the vehicle
will keep going faster until you release the switch or
apply the brake. So unless you want to go faster, don’t
hold the switch at resume/accelerate.
Increasing Speed While Using Cruise
Control
There are two ways to go to a higher speed:
Use the accelerator pedal to get to the higher
speed. Press the set button at the end of the lever,
then release the button and the accelerator
pedal. You’ll now cruise at the higher speed.
Move the cruise switch from on to
resume/accelerate. Hold it there until you get up to
the speed you want, and then release the switch.
To increase your speed in very small amounts,
move the switch brie�y to resume/accelerate.
Each time you do this, your vehicle will go about
1 mph (1.6 km/h) faster.
Reducing Speed While Using Cruise
Control
There are two ways to reduce your speed while using
cruise control:
Press in the button at the end of the lever until you
reach the lower speed you want, then release it.
To slow down in very small amounts, brie�y press
the set button. Each time you do this, you’ll go
about 1 mph (1.6 km/h) slower.
Passing Another Vehicle While Using
Cruise Control
Use the accelerator pedal to increase your speed.
When you take your foot off the pedal, your vehicle will
slow down to the cruise control speed you set earlier.
3-13
Page 159 of 468

Speedometer and Odometer
The speedometer lets you see your speed in either
miles per hour (mph) or kilometers per hour (km/h).
The odometer shows how far your vehicle has been
driven, in either miles (used in the United States)
or kilometers (used in Canada).
You may wonder what happens if a vehicle has to have
a new odometer installed. The new one may read
the correct mileage. This is because your vehicle’s
computer has stored the mileage in memory.
While the tap up/tap down feature is active, the
odometer will change to show the gear range. See
Automatic Transmission Operation on page 2-25
for more information.
Trip Odometers
The trip odometer can record the number of miles or
kilometers traveled for up to two trips.
The trip odometer is part of the Driver Information
Center (DIC). To access the trip odometer, use one of
the following procedures:
Using the Base audio system, do the following:
1. Press the INFO (Information) button located to the
right of the screen to access the DIC menu.
2. Scroll through the menu using the up or down
arrows on the INFO button until you reach Trip
Odometer A or Trip Odometer B.
The selected trip odometer (A or B) will be
displayed at the top of the screen with the
accumulated mileage.
3. Repeat the steps to view the other trip odometer.
You can reset the selected trip odometer by pressing
CLR (Clear) button located in the center of the INFO
button to the right of the screen. The mileage for that trip
odometer will return to zero. Each trip odometer must be
reset individually.
3-37
Page 160 of 468

Using the Navigation audio system, do the following:
1. Press and hold the vehicle information button in the
upper right corner of the screen for three seconds
to access the Vehicle Information menu.
2. Use the up and down arrows on the screen to bring
TRIP A or TRIP B into view. Then press the button
next to the trip you wish to be viewed.
The selected trip odometer (A or B) will be displayed
at the top of the screen with the accumulated
mileage.
3. Press the RETURN button to return to the
previous page.
4. Repeat the steps to view the other trip odometer.
You can reset the selected trip odometer by pressing
RESET button on the Vehicle Information menu.
The mileage for the selected trip odometer will return to
zero. Each trip odometer must be reset individually.Tachometer
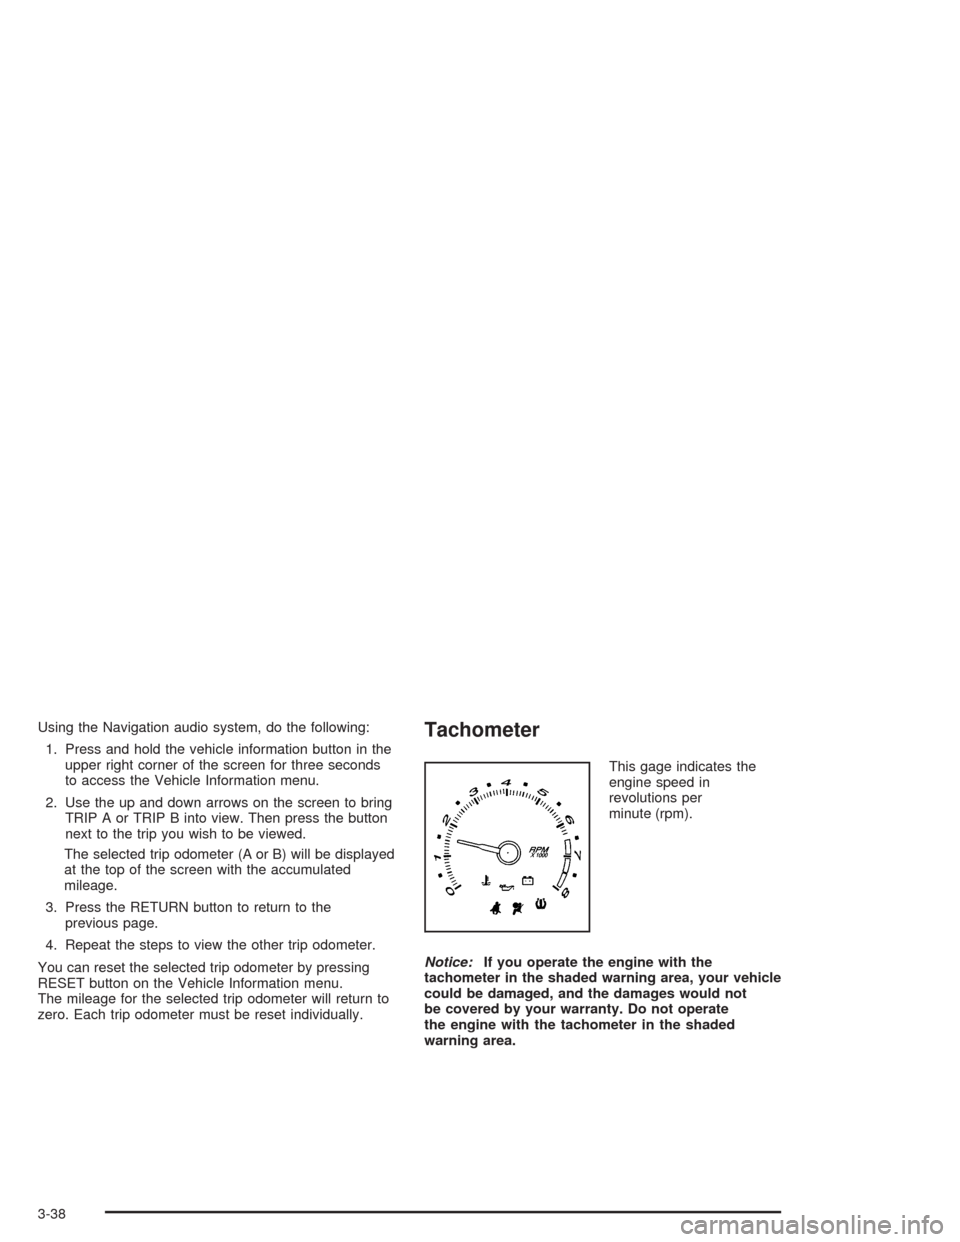
This gage indicates the
engine speed in
revolutions per
minute (rpm).
Notice:If you operate the engine with the
tachometer in the shaded warning area, your vehicle
could be damaged, and the damages would not
be covered by your warranty. Do not operate
the engine with the tachometer in the shaded
warning area.
3-38
Page 164 of 468

Anti-Lock Brake System
Warning Light
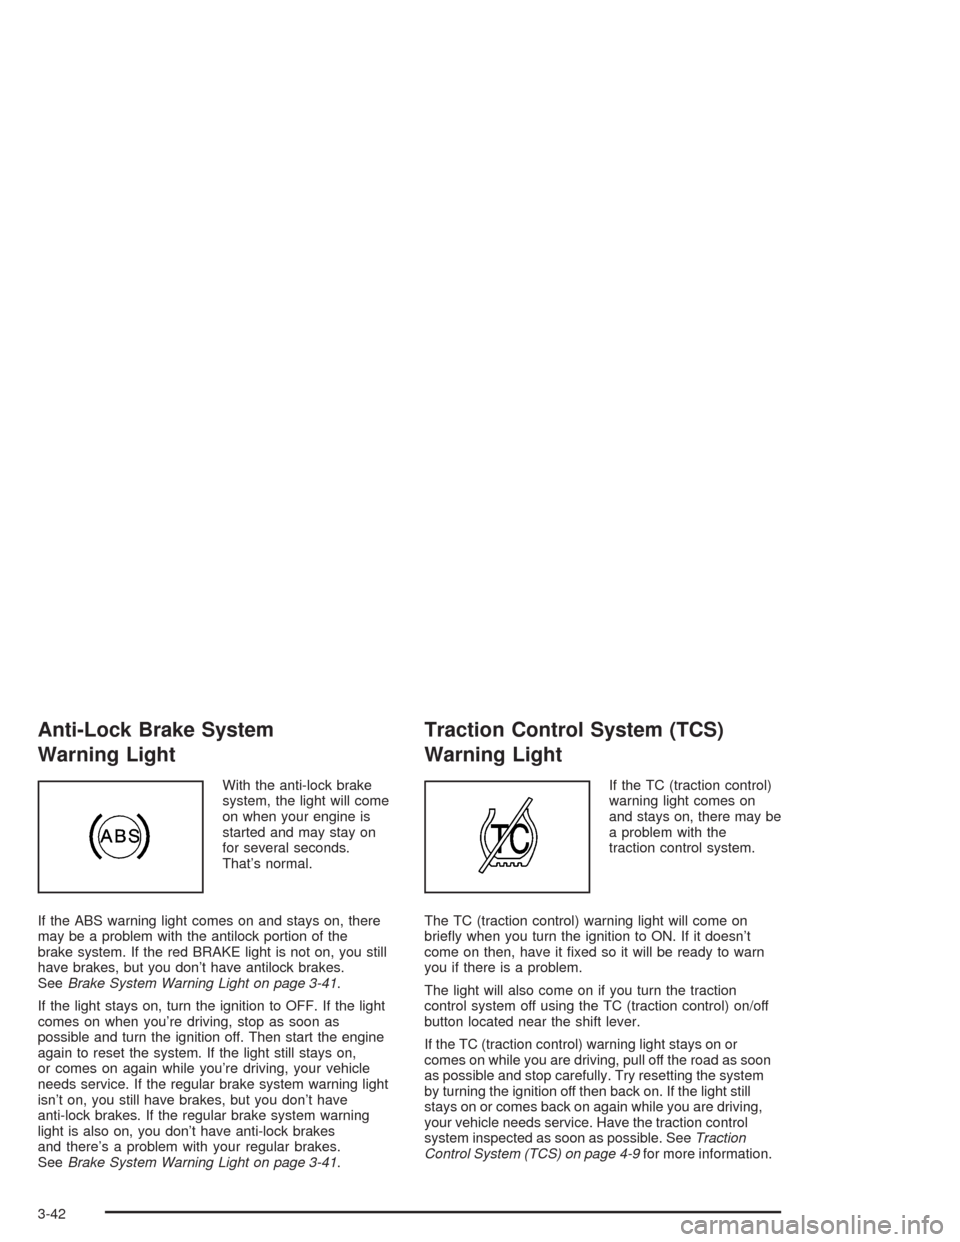
With the anti-lock brake
system, the light will come
on when your engine is
started and may stay on
for several seconds.
That’s normal.
If the ABS warning light comes on and stays on, there
may be a problem with the antilock portion of the
brake system. If the red BRAKE light is not on, you still
have brakes, but you don’t have antilock brakes.
SeeBrake System Warning Light on page 3-41.
If the light stays on, turn the ignition to OFF. If the light
comes on when you’re driving, stop as soon as
possible and turn the ignition off. Then start the engine
again to reset the system. If the light still stays on,
or comes on again while you’re driving, your vehicle
needs service. If the regular brake system warning light
isn’t on, you still have brakes, but you don’t have
anti-lock brakes. If the regular brake system warning
light is also on, you don’t have anti-lock brakes
and there’s a problem with your regular brakes.
SeeBrake System Warning Light on page 3-41.
Traction Control System (TCS)
Warning Light
If the TC (traction control)
warning light comes on
and stays on, there may be
a problem with the
traction control system.
The TC (traction control) warning light will come on
brie�y when you turn the ignition to ON. If it doesn’t
come on then, have it �xed so it will be ready to warn
you if there is a problem.
The light will also come on if you turn the traction
control system off using the TC (traction control) on/off
button located near the shift lever.
If the TC (traction control) warning light stays on or
comes on while you are driving, pull off the road as soon
as possible and stop carefully. Try resetting the system
by turning the ignition off then back on. If the light still
stays on or comes back on again while you are driving,
your vehicle needs service. Have the traction control
system inspected as soon as possible. SeeTraction
Control System (TCS) on page 4-9for more information.
3-42
Page 173 of 468

Driver Information Center (DIC)
The DIC gives you the status of many of your vehicle’s
systems. It is also used to display driver personalization
features and warning/status messages. All messages
will appear on the audio system display which is also the
display for the Navigation system.
System Controls
If you have the Base audio system, use the following to
operate the DIC:
INFO (Information):Use the up or down arrows on this
switch to scroll through the system status information.
CLR (Clear):Press this button to clear DIC messages
and to reset DIC items to zero. This button is also
used to exit out of a menu. SeeDIC Warnings and
Messages on page 3-64andStatus of Vehicle Systems
on page 3-53for more information.
TUNE/SEL (Select) Knob:Once a menu is displayed,
use the knob located to the lower right of the display
to scroll through the menu items and/or select them.
To scroll through the menu items, turn the knob.
Once an item is highlighted, press the knob once to
select it.
Base Audio System
3-51
Page 174 of 468

If you have the Navigation system, use the following to
operate the DIC.
Brie�y press the blue vehicle information button in the
upper right corner of the screen. Each press of this
button will scroll to the next available vehicle
information item.The Vehicle Information menu allows you to select the
vehicle information to be displayed and allows you
to reset or turn on or off certain information. You can
access the Vehicle Information menu by doing one
of the following:
Press and hold the vehicle information button in the
upper right corner of the screen for three seconds,
or
e/z(Audio/Adjust):This is the Audio/Adjust button.
_(Vehicle Information):This is the Vehicle
Information button.
Press the Audio/Adjust button to the left of the
screen to bring up the Main Audio menu and
then press the Vehicle Information button on the
Main Audio menu. Navigation/Audio System
3-52
Page 175 of 468

Status of Vehicle Systems
You can view the status of several vehicle systems
using the DIC. Depending upon whether or not
your vehicle has the Navigation system, the menu items
will vary slightly.
Vehicle Information Menu
(Base Audio System)
To access this menu using the Base audio system,
press the up or down arrow on the INFO switch located
to the right of the display.
The following items are available when the ignition is in
RUN. These items will not be available when the
ignition is in accessory. The tire pressure menu items
are only available if your vehicle has the Tire Pressure
Monitor (TPM) System:
OUTSIDE TEMP
MI TRIP A*
MI TRIP B*
MILES RANGE
MPG AVG*
MPG INST
GAL FUEL USED*
AVG MPH*
TIMER*
BATTERY VOLTS
ENGINE OIL LIFE*
TRANS FLUID LIFE*
PSI LF TIRE
PSI RF TIRE
PSI RR TIRE
PSI LR TIRE
BLANK LINE
*These items can be reset. Each one must be reset
individually. For a detailed description of the menu items
and how to reset them, see “Vehicle Information
Menu Item Descriptions” later in this section.
You can view any of these items at any time, but only
one item can be displayed at a time.
3-53