phone CADILLAC SRX 2005 1.G Owners Manual
[x] Cancel search | Manufacturer: CADILLAC, Model Year: 2005, Model line: SRX, Model: CADILLAC SRX 2005 1.GPages: 442, PDF Size: 2.52 MB
Page 68 of 442
Storage Areas................................................2-47
Glove Box...................................................2-47
Cupholder(s)................................................2-47
Cell Phone Storage Area...............................2-47
Front Storage Area.......................................2-47
Center Console Storage Area.........................2-47
Map Pocket.................................................2-47
Assist Handles.............................................2-47
Luggage Carrier...........................................2-48Convenience Net..........................................2-49
Cargo Cover................................................2-49
Cargo Management System...........................2-49
Sunroof.........................................................2-50
Sunroof (UltraView).......................................2-50
Sunroof (UltraView Plus)................................2-51
Vehicle Personalization...................................2-53
Memory Seat and Mirrors..............................2-53
Section 2 Features and Controls
2-2
Page 107 of 442
OnStar®Personal Calling
As an OnStar®subscriber, the Personal Calling
capability is an available hands-free wireless phone that
is integrated into the vehicle. Calls can be placed
nationwide using simple voice commands with no
additional contracts and no additional roaming charges.
To �nd out more about OnStar
®Personal Calling,
refer to the OnStar®user’s guide in the vehicle’s glove
box, visit www.onstar.com or www.onstarcanada.com;
or speak to an OnStar
®advisor by pressing the OnStar®
button or calling 1-888-4-ONSTAR (1-888-466-7827).
OnStar®Virtual Advisor
Virtual Advisor is a feature of OnStar®Personal Calling
that uses minutes to access up-to-date weather and
traffic reports for your area, news and sports updates,
stock quotes, entertainment, and more. Customize
your information pro�le at www.myonstar.com. See the
OnStar
®user’s guide for more information.
OnStar®Steering Wheel Controls
A steering wheel control can be used to interact with the
OnStar®personal calling feature.
Press the control with this
symbol on the steering
wheel to make
a phone call.
When calling into voice mail systems, or to dial directory
numbers, press the control, say the number(s), then
say “dial.”
See the OnStar
®user’s guide for more information.
2-41
Page 113 of 442
Storage Areas
Glove Box
To open the glove box, lift up on the lever. Use your
door key to lock or unlock it.
Cupholder(s)
Your vehicle has cupholders located between the front
seats. Slide the cover back to expose them. There
are also cupholders in the armrest of the second row
seat. Press the panel on the front of the armrest
to expose the cupholders. On the outboard sides of the
third row there may also be cupholders.
Cell Phone Storage Area
Your vehicle has a closeable cell phone/sunglasses
storage area inside both of the front doors. Press
the button to open the door.
Front Storage Area
Your vehicle has a closeable storage area inside both of
the front doors. Press the button to open the door.
Center Console Storage Area
Your vehicle has a center console storage area located
between the front seats. It includes storage areas, and
accessory power outlet(s) on the rear of the console.
Map Pocket
There are map pockets located near the bottom of the
front doors.
Assist Handles
Your vehicle has assist handles located above the doors.
2-47
Page 143 of 442
Accessory Power Outlets
Your vehicle is equipped with accessory power outlets.
The outlets can be used to plug in electrical equipment
such as a cellular telephone, CB radio, etc.
Your vehicle has one outlet in front of the center
console, one in the rear of the center console, one in
the rear compartment, and there may be an additional
outlet in the rear of the center console.
Your vehicle may have a small cap that must be
removed to access the accessory power outlet. If it
does, when not using the outlet be sure to cover it with
the protective cap.
Notice:Leaving electrical equipment on for
extended periods will drain the battery. Always turn
off electrical equipment when not in use and do
not plug in equipment that exceeds the maximum
amperage rating.
Power outlets can be set to work all the time or shut off
10 minutes after the vehicle is turned off. To change
your setting, see your dealer for a fuse adjustment.Certain accessory power plugs may not be compatible
to the accessory power outlet and could result in
blown vehicle or adapter fuses. If you experience a
problem, see your dealer for additional information on
the accessory power outlets.
Notice:Adding any electrical equipment to your
vehicle may damage it or keep other components
from working as they should. The repairs would not
be covered by your warranty. Do not use equipment
exceeding maximum amperage rating. Check
with your dealer before adding electrical equipment.
Follow the proper installation instructions that are
included with any electrical equipment you install.
Notice:Improper use of the power outlet can cause
damage not covered by your warranty. Do not
hang any type of accessory or accessory bracket
from the plug because the power outlets are
designed for accessory power plugs only.
3-23
Page 200 of 442

Audio System(s)
Notice:Before adding any sound equipment to
your vehicle, such as an audio system, CD player,
CB radio, mobile telephone, or two-way radio, make
sure that it can be added by checking with your
dealer. Also, check federal rules covering mobile
radio and telephone units. If sound equipment can
be added, it is very important to do it properly.
Added sound equipment may interfere with
the operation of your vehicle’s engine, radio, or
other systems, and even damage them. Your
vehicle’s systems may interfere with the operation
of sound equipment that has been added.
Notice:The chime signals related to seat belts,
parking brake, and other functions of your vehicle
operate through the GM radio/entertainment system.
If that equipment is replaced or additional
equipment is added to your vehicle, the chimes may
not work. Make sure that replacement or additional
equipment is compatible with your vehicle before
installing it.
Figure out which audio system is in your vehicle, �nd
out what your audio system can do, and how to operate
all of its controls.Your vehicle has a feature called Retained Accessory
Power (RAP). With RAP, the audio system can be
played even after the ignition is turned off. SeeRetained
Accessory Power (RAP) on page 2-22for more
information.
Setting the Time
1. Press the TUNE/SEL knob to enter the main menu.
2. Turn the TUNE/SEL knob until SET CLOCK
appears on the display.
3. Press the TUNE/SEL knob to select SET CLOCK.
4. Turn the TUNE/SEL knob to adjust the time.
5. Press the TUNE/SEL knob to update the time.
VEHICLE TIME UPDATED will appear on the
display.
If the CLOCK/RADIO DISP is con�gured into one of the
con�gurable keys, pressing the key will switch the
display between the radio station frequency and the
time. See “Con�gurable Radio Display Keys” under
Radio with CD on page 3-81for more information on
con�guring the keys.
3-80
Page 209 of 442
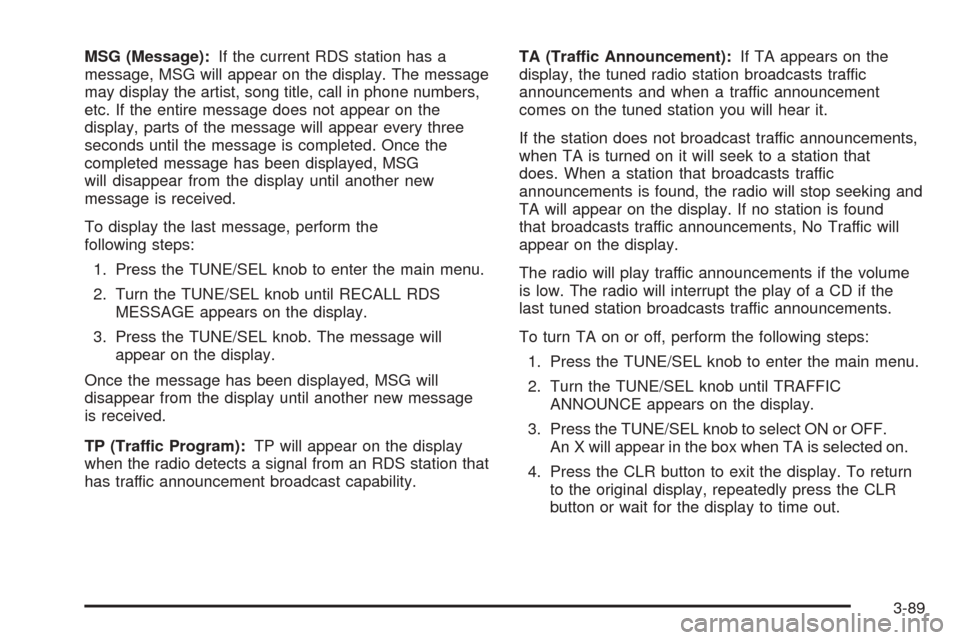
MSG (Message):If the current RDS station has a
message, MSG will appear on the display. The message
may display the artist, song title, call in phone numbers,
etc. If the entire message does not appear on the
display, parts of the message will appear every three
seconds until the message is completed. Once the
completed message has been displayed, MSG
will disappear from the display until another new
message is received.
To display the last message, perform the
following steps:
1. Press the TUNE/SEL knob to enter the main menu.
2. Turn the TUNE/SEL knob until RECALL RDS
MESSAGE appears on the display.
3. Press the TUNE/SEL knob. The message will
appear on the display.
Once the message has been displayed, MSG will
disappear from the display until another new message
is received.
TP (Traffic Program):TP will appear on the display
when the radio detects a signal from an RDS station that
has traffic announcement broadcast capability.TA (Traffic Announcement):If TA appears on the
display, the tuned radio station broadcasts traffic
announcements and when a traffic announcement
comes on the tuned station you will hear it.
If the station does not broadcast traffic announcements,
when TA is turned on it will seek to a station that
does. When a station that broadcasts traffic
announcements is found, the radio will stop seeking and
TA will appear on the display. If no station is found
that broadcasts traffic announcements, No Traffic will
appear on the display.
The radio will play traffic announcements if the volume
is low. The radio will interrupt the play of a CD if the
last tuned station broadcasts traffic announcements.
To turn TA on or off, perform the following steps:
1. Press the TUNE/SEL knob to enter the main menu.
2. Turn the TUNE/SEL knob until TRAFFIC
ANNOUNCE appears on the display.
3. Press the TUNE/SEL knob to select ON or OFF.
An X will appear in the box when TA is selected on.
4. Press the CLR button to exit the display. To return
to the original display, repeatedly press the CLR
button or wait for the display to time out.
3-89
Page 218 of 442

7. Press the TUNE/SEL knob to select the con�gurable
key to change.
8. Turn the TUNE/SEL knob to �nd the feature that
you would like to store to the key.
9. Press the TUNE/SEL knob when you have found
the feature to be stored. The display will update,
by showing the symbol of the feature that you
selected next to the con�gurable key.
10. Repeat the previous steps for each con�gurable key.
Once a feature is programmed to a key, the feature will
not appear on the display when programming the
remaining con�gurable keys. The con�gurable keys can
be changed at any time.
Navigation/Radio System
Your vehicle may have a navigation radio system that
includes Radio Data System (RDS) with Program Type
(PTY) selections that will seek out the kind of music you
want to listen to and XM™ Satellite Radio Service
capabilities (if equipped). The radio can also
communicate with the navigation system to broadcast
announcements on traffic, weather, and emergency alert
communications. For information on how to use this
system, see the “Navigation System” manual.
Rear Seat Entertainment System
Your vehicle may have the DVD Rear Seat
Entertainment (RSE) system. The RSE system includes
a DVD player, a video display screen, two sets of
wireless headphones, and a remote control.
RSE is available in a base and an uplevel version. The
uplevel version is provided with the navigation radio
(if equipped). The uplevel RSE system offers the rear
seat passengers to have shared control of FM1,
FM2, AM, weather, CDC, and XM™ Satellite Radio
Service (if equipped).
Before You Drive
The RSE system is for rear seat passengers only. The
driver cannot safely view the video screen while
driving and should not try to do so.
Headphones
The RSE system includes two sets of wireless
headphones.
Each set of headphones has an ON/OFF control.
An indicator light will illuminate on the headphones when
they are on. If the light does not illuminate, the batteries
may need to be replaced. See “Battery Replacement”
later in this section for more information. To turn the
headphones OFF activate the ON/OFF control.
3-98
Page 219 of 442
Each set of headphones has a volume knob. To adjust
the volume, adjust this knob.
The transmitters are located below the video display
screen. The headphones will shut off to save battery
power if they lose the signal from the system after about
four minutes. The signal may be lost if the system is
turned off or if the headphones are out of range of the
signal transmitters.
Notice:Do not store the headphones in heat or
direct sunlight. This could damage the headphones
and repairs would not be covered by your warranty.
Keep the headphones stored in a cool, dry place.
Battery Replacement
To change the batteries, do the following:
1. Loosen the screw on the battery compartment door
located on the left side of the headphone earpiece.
2. Replace the two AAA batteries in the compartment.
Make sure that they are installed correctly, using
the diagram on the inside of the battery
compartment.
3. Tighten the screws to close the compartment door.
If the headphones are to be stored for a long period
of time, remove the batteries and keep them in a cool,
dry place.
Stereo RCA Jacks
The RCA jacks are located on the front of the DVD player
faceplate. These jacks allow audio and video signals to
be connected from an auxiliary device such as a
camcorder or a video game unit to the RSE system. The
L jack is for left audio input, the R jack is for right audio
input, and the V jack is used for video input. The system
requires standard RCA cables, not included, to connect
the auxiliary device to the RCA jacks. Refer to the
manufacturer’s instructions for proper usage.
To use the auxiliary audio and video inputs, connect an
external auxiliary device such as a camcorder to the RCA
jacks and turn on both the auxiliary device power and the
power on the front of the RSE player. To have use of
these jacks, select AUX using the MODE button on the
DVD player faceplate or the remote control.
3-99
Page 221 of 442
Audio Output
Audio from the DVD player or auxiliary inputs may be
heard through the following possible sources:
Wireless Headphones
Vehicle Speakers
Wired Headphones (not included)
The RSE system will always transmit the audio signal
by infrared to the wireless headphones, if there is audio
available. See “Headphones” previously for more
information.
The RSE system is capable of outputting audio to the
vehicle speakers by using the radio. The RSE
system may be selected as an audio source on the
radio if the RSE system power is on. Once the
RSE system is selected as an audio source on the
radio, adjust the speaker volume on the radio, if
necessary. If the RSE system power is not on, the RSE
system will not be an available source on the radio.
Refer to the radio information for the radio that
your vehicle has for more information.
Video Screen
The video screen is located in the �oor console. Lift up
the screen by the top or the sides into the full open
position. Adjust the screen’s position as desired. When
the video screen is not in use, close the screen.
The DVD player and display will continue to operate
when the screen is in the up or the down position. The
video screen contains the transmitters for the wireless
headphones and the remote control. If the screen is in the
closed position, the signals will not be available for the
operation of the headphones and the remote control.
Notice:Directly touching the video screen may
damage it. Do not touch the screen. See “Cleaning
the Video Screen” later in this section for more
information.
3-101
Page 223 of 442

If your vehicle is equipped with the navigation system,
each press of the SRCE button will cycle the rear video
between DVD, AUX, TV, and front DVD.
Pressing the enter button when this menu appears on the
display will switch the RSE setting between all speaker
and rear video. All speaker will not be available if the front
passenger has turned on the parental control.
All Speaker:The radio and the RSE unit will share
control of what is heard through the vehicle
speakers. All audio and video sources are available
for selection with the SRCE button when in all
speaker.
Rear Video:The RSE unit will only control what is
seen on the rear display and what is heard through
the headphones.
c(Stop):Press this button to stop playing a DVD.
Press this button twice to return to the beginning
of the DVD.
s(Play/Pause):Press this button to turn the DVD
player on, to start play of a DVD or CD, and to
switch between play and pause of a DVD or CD.
y(Menu):Press this button to access the DVD menu.
This button only operates with a DVD.
If your vehicle is equipped with the TV option, the menu
button will display a TV speci�c menu.
z(Display Menu):Press this button to modify the
video screen display characteristics.
n,q,p,o(Menu Navigation):Use the arrow
keys to navigate through a menu.
r(Enter):Press this button to select items
within a menu.
If your vehicle is equipped with the navigation system,
after pressing the SRCE button, the enter button
can select all speaker or rear video. See the SRCE
button previously for more information.
Audio/Video Jack:See “Stereo RCA Jacks” earlier in
this section for more information.
X(Headphone Jack):These jacks allow you to listen
to the RSE through wired headphones (not included).
9(Headphone Volume):Turn the left knob to
increase the volume of the headphone connected to the
left headphone jack. Turn the right knob to increase
the volume of the headphone connected to the
right headphone jack.
3-103