buttons CADILLAC SRX 2012 2.G User Guide
[x] Cancel search | Manufacturer: CADILLAC, Model Year: 2012, Model line: SRX, Model: CADILLAC SRX 2012 2.GPages: 502, PDF Size: 6.23 MB
Page 125 of 502
Black plate (7,1)Cadillac SRX Owner Manual (Include Mex) - 2012
Storage 4-7
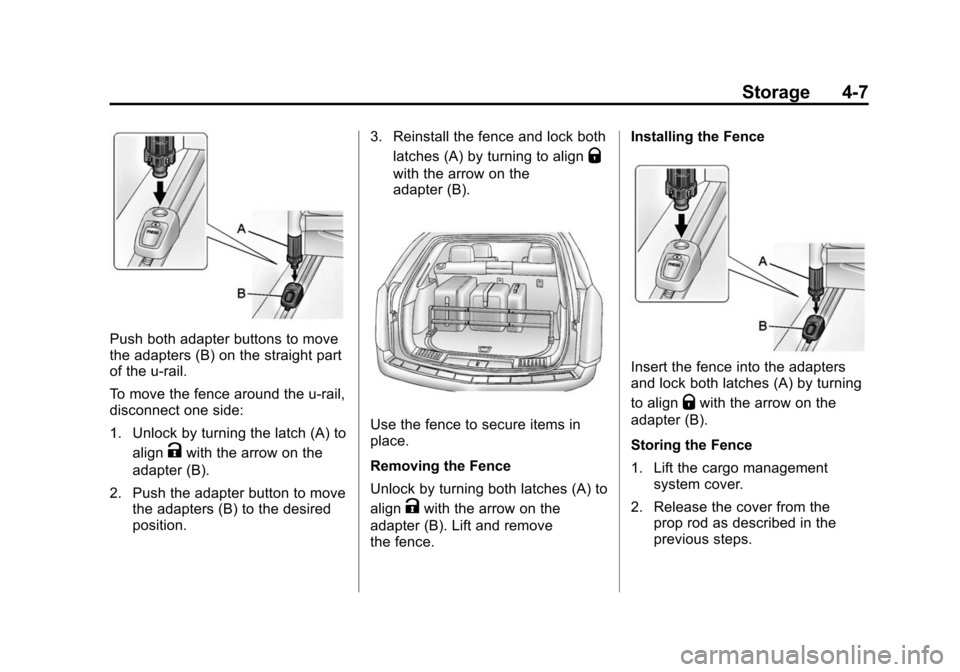
Push both adapter buttons to move
the adapters (B) on the straight part
of the u-rail.
To move the fence around the u-rail,
disconnect one side:
1. Unlock by turning the latch (A) toalign
Kwith the arrow on the
adapter (B).
2. Push the adapter button to move the adapters (B) to the desired
position. 3. Reinstall the fence and lock both
latches (A) by turning to align
Q
with the arrow on the
adapter (B).
Use the fence to secure items in
place.
Removing the Fence
Unlock by turning both latches (A) to
align
Kwith the arrow on the
adapter (B). Lift and remove
the fence. Installing the Fence
Insert the fence into the adapters
and lock both latches (A) by turning
to align
Qwith the arrow on the
adapter (B).
Storing the Fence
1. Lift the cargo management system cover.
2. Release the cover from the prop rod as described in the
previous steps.
Page 133 of 502
Black plate (3,1)Cadillac SRX Owner Manual (Include Mex) - 2012
Instruments and Controls 5-3
yorz:Pressyto select the
next favorite radio station or next
CD, DVD, if equipped, or MP3 track.
Press
zto select the previous
favorite radio station or previous
CD, DVD, if equipped, or MP3 track.
+
x− (Volume): Press + to
increase the volume; press −to
decrease the volume.
b/g(Push to Talk): For vehicles
with an OnStar®, Bluetooth®,
or navigation system, press to
interact with those systems. See
Bluetooth (Overview) on page 7‑47
or Bluetooth (Infotainment Controls)
on page 7‑49 orBluetooth (Voice
Recognition) on page 7‑53 or
Bluetooth (UHP Mexico Only) on
page 7‑59, OnStar Overview on
page 14‑1, or the separate
navigation manual for more
information.
0/c(End Call/Mute): Press to
silence the vehicle speakers only.
Press again to turn the sound on.
For vehicles with OnStar or
Bluetooth systems, press to reject
an incoming call, or end a
current call.
SRCE: Press to select an audio
source. For vehicles with a heated
steering wheel, use the infotainment
buttons to select an audio source.
See Heated Steering Wheel on
page 5‑3 orOverview (Radio with
CD) on page 7‑3 orOverview
(Radio with CD/DVD and MEM) on
page 7‑5 for more information.Heated Steering Wheel
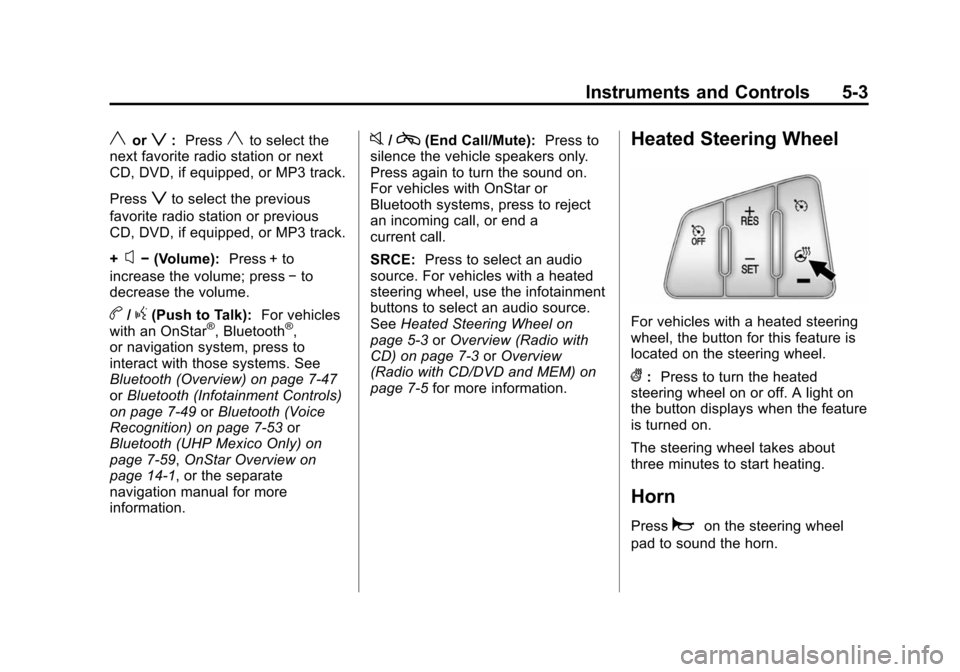
For vehicles with a heated steering
wheel, the button for this feature is
located on the steering wheel.
(:Press to turn the heated
steering wheel on or off. A light on
the button displays when the feature
is turned on.
The steering wheel takes about
three minutes to start heating.
Horn
Pressaon the steering wheel
pad to sound the horn.
Page 137 of 502
Black plate (7,1)Cadillac SRX Owner Manual (Include Mex) - 2012
Instruments and Controls 5-7
Compass
The vehicle may have a compass
display on the Driver Information
Center (DIC). The compass receives
its heading and other information
from the Global Positioning
System (GPS) antenna, StabiliTrak,
and vehicle speed information.
Avoid covering the GPS antenna for
long periods of time with objects
that may interfere with the antenna's
ability to receive a satellite signal.
SeeMulti-Band Antenna on
page 7‑18 for the location of the
vehicle's antenna. The compass
system is designed to operate for a
certain number of miles or degrees
of turn before needing a signal
from the GPS satellites. When the
compass display shows CAL, drive
the vehicle for a short distance in an
open area where it can receive a
GPS signal. The compass system
will automatically determine when a
GPS signal is restored and provide
a heading again. See
Compass Messages on
page 5‑34 for more information on
the messages that may be
displayed for the compass.
Clock (Analog Clock)
The analog clock is located on the
instrument panel above the radio.
The clock is not connected with any
other vehicle system and runs by
itself. To adjust the clock:
1. Locate the adjustment buttons directly below the clock face.
2. Push and hold either adjustment button to advance or reverse the
clock hands. Holding the buttons
down will cause the clock to
advance faster. Release the
buttons before reaching the
desired time.
3. Push and release the buttons to increase the time by one minute
increments until the desired time
is reached.
Clock (Digital Clock)
The infotainment system controls
are used to access the time and
date settings through the menu
system. See Operation on page 7‑7
for information about how to use the
menu system. See the separate
navigation manual for instructions
on how to operate the digital clock
for the navigation system.
To turn the digital clock on or off:
1. Press the CONFIG button.
2. Select Time and Date Settings.
3. Select Clock Displayed.
4. Press MENU/SELECT to turn the clock on or off.
Page 146 of 502
Black plate (16,1)Cadillac SRX Owner Manual (Include Mex) - 2012
5-16 Instruments and Controls
If the Vehicle Information is
selected, a full page screen displays
at start-up the three safety belt
symbols.
Once the passenger safety belt is
buckled, the corresponding safety
belt symbol in the DIC turns green.
There are no seat position sensors
in the seat, nor a safety belt
reminder sensor pad. If a safety belt
is not initially buckled, the cluster
continues to show the gray safety
belt icon.
While the vehicle is moving, if a
second row passenger who was
previously buckled becomes
unbuckled, a full screen warning
displays with the corresponding
safety belt indicator flashing red.
A chime may sound.
Acknowledge warning messages by
pressing any of the DIC buttons.Airbag Readiness Light
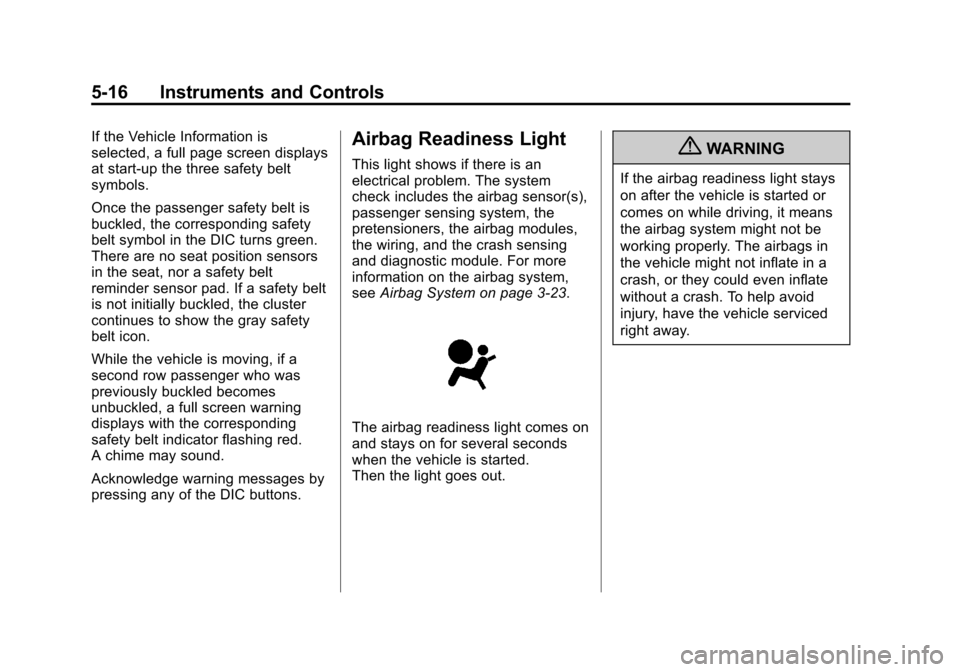
This light shows if there is an
electrical problem. The system
check includes the airbag sensor(s),
passenger sensing system, the
pretensioners, the airbag modules,
the wiring, and the crash sensing
and diagnostic module. For more
information on the airbag system,
seeAirbag System on page 3‑23.
The airbag readiness light comes on
and stays on for several seconds
when the vehicle is started.
Then the light goes out.
{WARNING
If the airbag readiness light stays
on after the vehicle is started or
comes on while driving, it means
the airbag system might not be
working properly. The airbags in
the vehicle might not inflate in a
crash, or they could even inflate
without a crash. To help avoid
injury, have the vehicle serviced
right away.
Page 158 of 502
Black plate (28,1)Cadillac SRX Owner Manual (Include Mex) - 2012
5-28 Instruments and Controls
Cruise Control Light
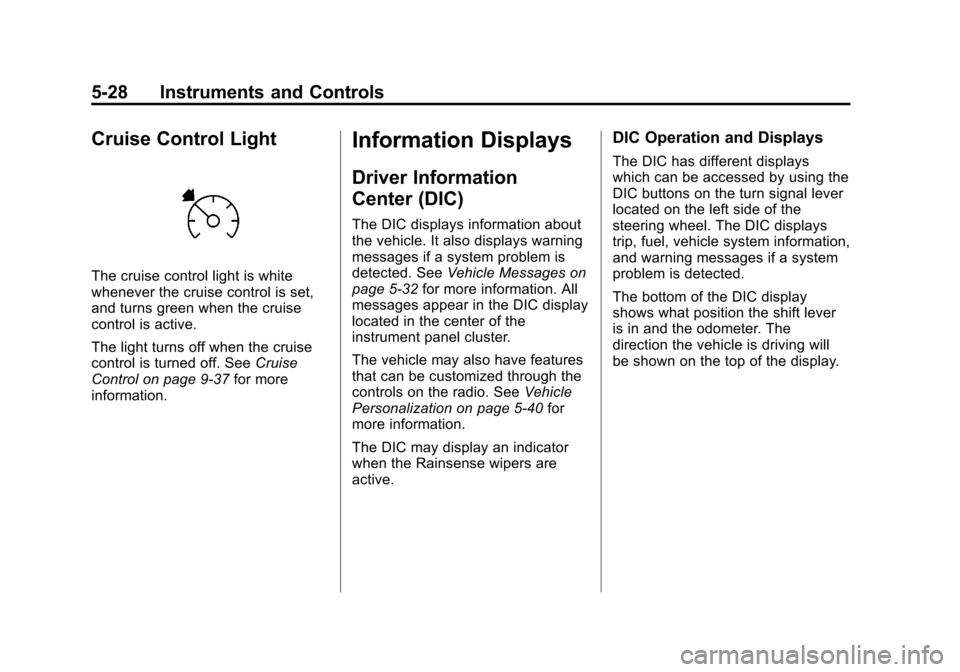
The cruise control light is white
whenever the cruise control is set,
and turns green when the cruise
control is active.
The light turns off when the cruise
control is turned off. SeeCruise
Control on page 9‑37 for more
information.
Information Displays
Driver Information
Center (DIC)
The DIC displays information about
the vehicle. It also displays warning
messages if a system problem is
detected. See Vehicle Messages on
page 5‑32 for more information. All
messages appear in the DIC display
located in the center of the
instrument panel cluster.
The vehicle may also have features
that can be customized through the
controls on the radio. See Vehicle
Personalization on page 5‑40 for
more information.
The DIC may display an indicator
when the Rainsense wipers are
active.
DIC Operation and Displays
The DIC has different displays
which can be accessed by using the
DIC buttons on the turn signal lever
located on the left side of the
steering wheel. The DIC displays
trip, fuel, vehicle system information,
and warning messages if a system
problem is detected.
The bottom of the DIC display
shows what position the shift lever
is in and the odometer. The
direction the vehicle is driving will
be shown on the top of the display.
Page 159 of 502
Black plate (29,1)Cadillac SRX Owner Manual (Include Mex) - 2012
Instruments and Controls 5-29
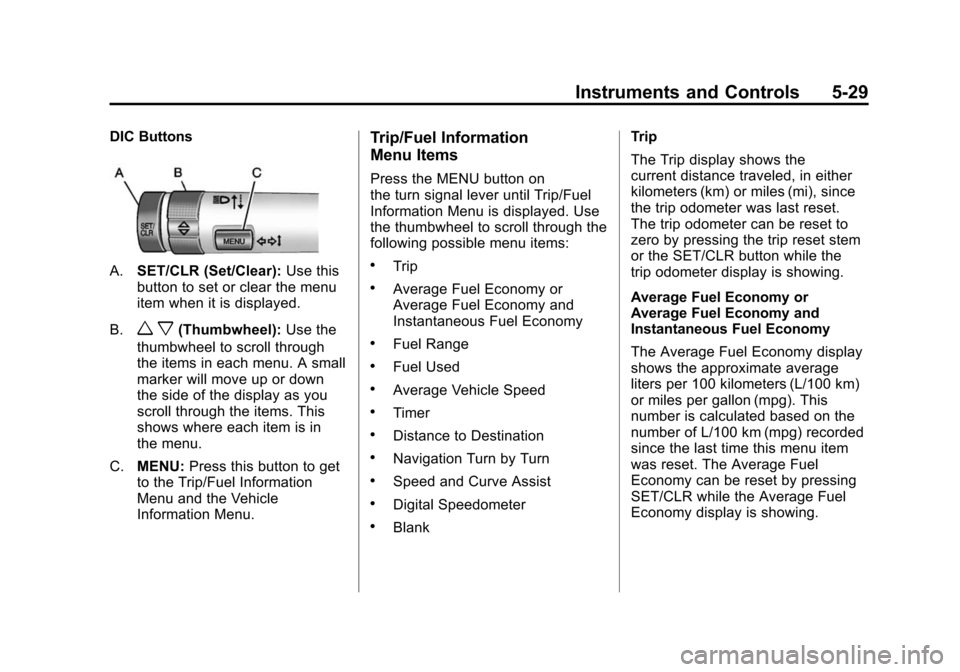
DIC Buttons
A.SET/CLR (Set/Clear): Use this
button to set or clear the menu
item when it is displayed.
B.
w x(Thumbwheel): Use the
thumbwheel to scroll through
the items in each menu. A small
marker will move up or down
the side of the display as you
scroll through the items. This
shows where each item is in
the menu.
C. MENU: Press this button to get
to the Trip/Fuel Information
Menu and the Vehicle
Information Menu.
Trip/Fuel Information
Menu Items
Press the MENU button on
the turn signal lever until Trip/Fuel
Information Menu is displayed. Use
the thumbwheel to scroll through the
following possible menu items:
.Trip
.Average Fuel Economy or
Average Fuel Economy and
Instantaneous Fuel Economy
.Fuel Range
.Fuel Used
.Average Vehicle Speed
.Timer
.Distance to Destination
.Navigation Turn by Turn
.Speed and Curve Assist
.Digital Speedometer
.Blank Trip
The Trip display shows the
current distance traveled, in either
kilometers (km) or miles (mi), since
the trip odometer was last reset.
The trip odometer can be reset to
zero by pressing the trip reset stem
or the SET/CLR button while the
trip odometer display is showing.
Average Fuel Economy or
Average Fuel Economy and
Instantaneous Fuel Economy
The Average Fuel Economy display
shows the approximate average
liters per 100 kilometers (L/100 km)
or miles per gallon (mpg). This
number is calculated based on the
number of L/100 km (mpg) recorded
since the last time this menu item
was reset. The Average Fuel
Economy can be reset by pressing
SET/CLR while the Average Fuel
Economy display is showing.
Page 176 of 502
Black plate (46,1)Cadillac SRX Owner Manual (Include Mex) - 2012
5-46 Instruments and Controls
Universal Remote
System
SeeRadio Frequency Statement on
page 13‑21 for information
regarding Part 15 of the Federal
Communications Commission (FCC)
rules and Industry Canada
Standards RSS-GEN/210/220/310.
Universal Remote System
Programming
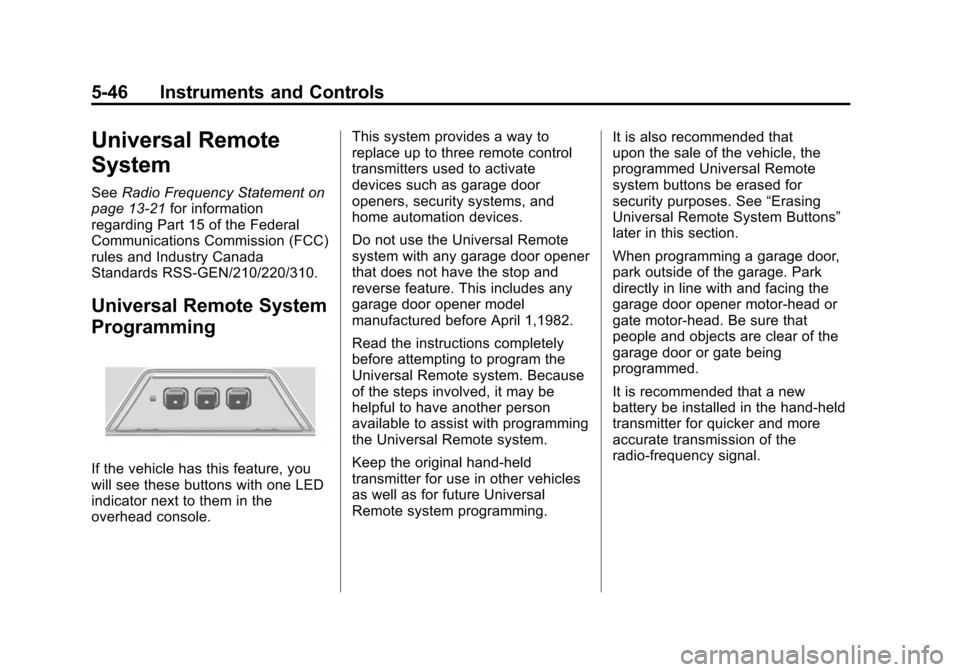
If the vehicle has this feature, you
will see these buttons with one LED
indicator next to them in the
overhead console. This system provides a way to
replace up to three remote control
transmitters used to activate
devices such as garage door
openers, security systems, and
home automation devices.
Do not use the Universal Remote
system with any garage door opener
that does not have the stop and
reverse feature. This includes any
garage door opener model
manufactured before April 1,1982.
Read the instructions completely
before attempting to program the
Universal Remote system. Because
of the steps involved, it may be
helpful to have another person
available to assist with programming
the Universal Remote system.
Keep the original hand-held
transmitter for use in other vehicles
as well as for future Universal
Remote system programming.
It is also recommended that
upon the sale of the vehicle, the
programmed Universal Remote
system buttons be erased for
security purposes. See
“Erasing
Universal Remote System Buttons”
later in this section.
When programming a garage door,
park outside of the garage. Park
directly in line with and facing the
garage door opener motor-head or
gate motor-head. Be sure that
people and objects are clear of the
garage door or gate being
programmed.
It is recommended that a new
battery be installed in the hand-held
transmitter for quicker and more
accurate transmission of the
radio-frequency signal.
Page 177 of 502
Black plate (47,1)Cadillac SRX Owner Manual (Include Mex) - 2012
Instruments and Controls 5-47
Programming the Universal
Remote System
For questions or help programming
the Universal Remote system, call
1‐800‐355‐3515 or go to
www.homelink.com.
Programming a garage door opener
involves time-sensitive actions, so
read the entire procedure before
starting. Otherwise, the device will
time out and the procedure will have
to be repeated.
To program up to three devices:
1. Hold the end of the hand-heldtransmitter about 3 to 8 cm (1 to
3 in) away from the Universal
Remote system buttons while
keeping the indicator light in
view. The hand-held transmitter
was supplied by the
manufacturer of the garage door
opener receiver
(motor-head unit). 2. At the same time, press and
hold both the hand-held
transmitter button and one of the
three Universal Remote system
buttons to be used to operate
the garage door. Do not release
the Universal Remote system
button or the hand-held
transmitter button until the
indicator light changes from a
slowly to a rapidly flashing light.
You now may release both
buttons.
Some entry gates and garage
door openers may require
substitution of Step 2 with the
procedure noted in “Gate
Operator and Canadian
Programming” later in this
section. 3. Press and hold for five seconds
the newly trained Universal
Remote system button (the
button selected in Step 2) while
observing the indicator light and
garage door activation.
.If the indicator light stays on
continuously or the garage
door starts to move when
the Universal Remote
system button is pressed
and released, then the
programming is complete.
There is no need to
continue programming
Steps 4 through 6.
.If the Universal Remote
system indicator light blinks
rapidly for two seconds,
then turns to a constant
light and the garage door
does not move, continue
with programming Steps 4
through 6.
Page 178 of 502
Black plate (48,1)Cadillac SRX Owner Manual (Include Mex) - 2012
5-48 Instruments and Controls
It may be helpful to have
another person assist with
the remaining Steps 4
through 6.
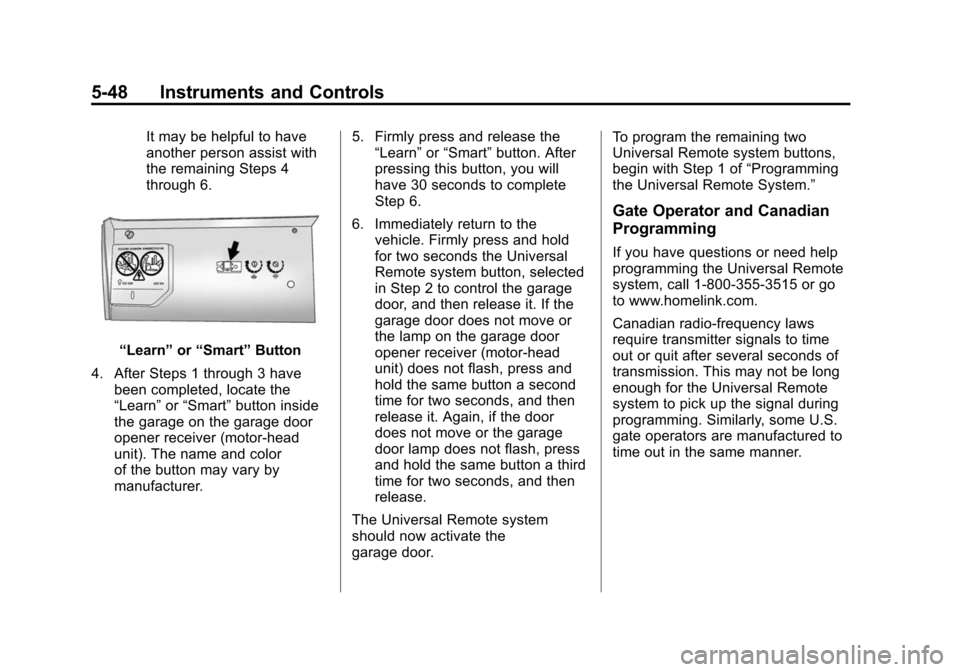
“Learn”or“Smart” Button
4. After Steps 1 through 3 have been completed, locate the
“Learn” or“Smart” button inside
the garage on the garage door
opener receiver (motor-head
unit). The name and color
of the button may vary by
manufacturer. 5. Firmly press and release the
“Learn” or“Smart” button. After
pressing this button, you will
have 30 seconds to complete
Step 6.
6. Immediately return to the vehicle. Firmly press and hold
for two seconds the Universal
Remote system button, selected
in Step 2 to control the garage
door, and then release it. If the
garage door does not move or
the lamp on the garage door
opener receiver (motor-head
unit) does not flash, press and
hold the same button a second
time for two seconds, and then
release it. Again, if the door
does not move or the garage
door lamp does not flash, press
and hold the same button a third
time for two seconds, and then
release.
The Universal Remote system
should now activate the
garage door. To program the remaining two
Universal Remote system buttons,
begin with Step 1 of
“Programming
the Universal Remote System.”
Gate Operator and Canadian
Programming
If you have questions or need help
programming the Universal Remote
system, call 1‐800‐355‐3515 or go
to www.homelink.com.
Canadian radio-frequency laws
require transmitter signals to time
out or quit after several seconds of
transmission. This may not be long
enough for the Universal Remote
system to pick up the signal during
programming. Similarly, some U.S.
gate operators are manufactured to
time out in the same manner.
Page 179 of 502
Black plate (49,1)Cadillac SRX Owner Manual (Include Mex) - 2012
Instruments and Controls 5-49
If you live in Canada, or you are
having difficulty programming a
gate operator or garage door opener
by using the“Programming the
Universal Remote System”
procedures, regardless of where
you live, replace Step 2 under
“Programming the Universal
Remote System” with the following:
Continue to press and hold the
Universal Remote system button
while you press and release every
two seconds (cycle) the hand-held
transmitter button until the
frequency signal has been
successfully accepted by the
Universal Remote system. The
Universal Remote system indicator
light will flash slowly at first and then
rapidly. Proceed with Step 3 under
“Programming the Universal Remote
System” to complete.Universal Remote System
Operation
Using the Universal Remote
System
Press and hold the appropriate
Universal Remote system button for
at least half of a second. The
indicator light will come on while the
signal is being transmitted.
Erasing Universal Remote
System Buttons
All programmed buttons should be
erased when the vehicle is sold or
the lease ends.
To erase all programmed buttons on
the Universal Remote system
device:
1. Press and hold down the
two outside buttons until the
indicator light begins to flash.
This should take about
10 seconds.
2. Release both buttons.
Reprogramming a Single
Universal Remote System
Button
To reprogram any of the three
Universal Remote system buttons:
1. Press and hold the desired Universal Remote system
button. Do not release the
button.
2. The indicator light will begin to flash after 20 seconds. Without
releasing the button, proceed
with Step 1 of the section
“Programming the Universal
Remote System.”
If you have questions or need help
programming the Universal Remote
system, call 1‐800‐355‐3515 or go
to www.homelink.com. You may
also call the customer assistance
phone number under Customer
Assistance Offices (U.S. and
Canada) on page 13‑4 orCustomer
Assistance Offices (Mexico) on
page 13‑5.