dead battery CADILLAC STS 2006 1.G Owners Manual
[x] Cancel search | Manufacturer: CADILLAC, Model Year: 2006, Model line: STS, Model: CADILLAC STS 2006 1.GPages: 480, PDF Size: 2.74 MB
Page 76 of 480

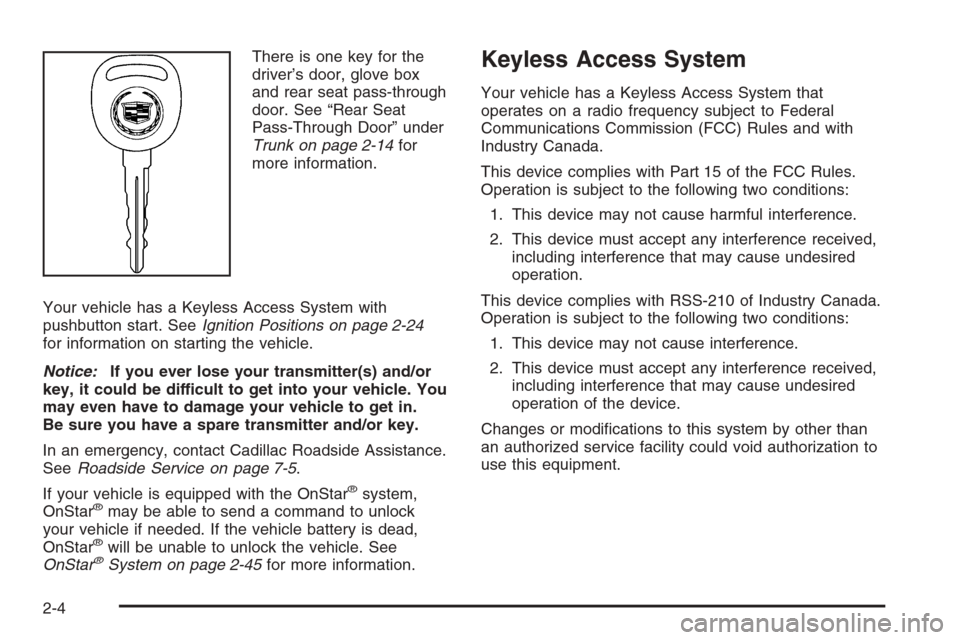
There is one key for the
driver’s door, glove box
and rear seat pass-through
door. See “Rear Seat
Pass-Through Door” under
Trunk on page 2-14for
more information.
Your vehicle has a Keyless Access System with
pushbutton start. SeeIgnition Positions on page 2-24
for information on starting the vehicle.
Notice:If you ever lose your transmitter(s) and/or
key, it could be difficult to get into your vehicle. You
may even have to damage your vehicle to get in.
Be sure you have a spare transmitter and/or key.
In an emergency, contact Cadillac Roadside Assistance.
SeeRoadside Service on page 7-5.
If your vehicle is equipped with the OnStar
®system,
OnStar®may be able to send a command to unlock
your vehicle if needed. If the vehicle battery is dead,
OnStar
®will be unable to unlock the vehicle. See
OnStar®System on page 2-45for more information.
Keyless Access System
Your vehicle has a Keyless Access System that
operates on a radio frequency subject to Federal
Communications Commission (FCC) Rules and with
Industry Canada.
This device complies with Part 15 of the FCC Rules.
Operation is subject to the following two conditions:
1. This device may not cause harmful interference.
2. This device must accept any interference received,
including interference that may cause undesired
operation.
This device complies with RSS-210 of Industry Canada.
Operation is subject to the following two conditions:
1. This device may not cause interference.
2. This device must accept any interference received,
including interference that may cause undesired
operation of the device.
Changes or modi�cations to this system by other than
an authorized service facility could void authorization to
use this equipment.
2-4
Page 362 of 480

{CAUTION:
Fans or other moving engine parts can injure
you badly. Keep your hands away from moving
parts once the engine is running.
5. Check that the jumper cables do not have loose
or missing insulation. If they do, you could get a
shock. The vehicles could be damaged too.
Before you connect the cables, here are some
basic things you should know. Positive (+) will go
to positive (+) or to a remote positive (+) terminal
if the vehicle has one. Negative (−) will go to a
heavy, unpainted metal engine part or to a remote
negative (−) terminal if the vehicle has one.
Do not connect positive (+) to negative (−)oryou
will get a short that would damage the battery
and maybe other parts too. And do not connect the
negative (−) cable to the negative (−) terminal on
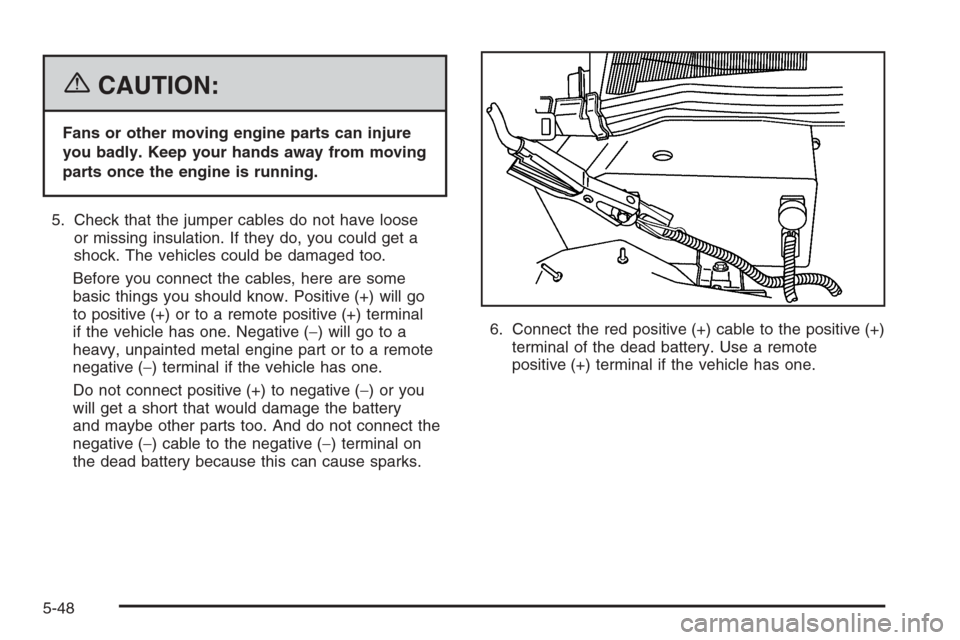
the dead battery because this can cause sparks.6. Connect the red positive (+) cable to the positive (+)
terminal of the dead battery. Use a remote
positive (+) terminal if the vehicle has one.
5-48
Page 363 of 480

7. Do not let the other end touch metal. Connect it to
the positive (+) terminal of the good battery. Use a
remote positive (+) terminal if the vehicle has one.
8. Now connect the black negative (−) cable to the
negative terminal of the good battery. Use a
remote negative (−) terminal if the vehicle has one.
Do not let the other end touch anything until the
next step. The other end of the negative (−) cable
does not go to the dead battery. It goes to a
heavy, unpainted metal engine part or to a remote
negative (−) terminal on the vehicle with the
dead battery.9. Connect the other end of the negative (−) cable at
least 18 inches (45 cm) away from the dead battery,
but not near engine parts that move. The electrical
connection is just as good there, and the chance
of sparks getting back to the battery is much less.
Use a remote negative (−) terminal if the vehicle has
one. Your vehicle’s remote negative (−) ground
location is for this purpose.
10. Now start the vehicle with the good battery and run
the engine for a while.
11. Try to start the vehicle that had the dead battery.
If it will not start after a few tries, it probably needs
service.
5-49
Page 364 of 480

Notice:If the jumper cables are connected or
removed in the wrong order, electrical shorting may
occur and damage the vehicle. The repairs would
not be covered by your warranty. Always connect
and remove the jumper cables in the correct
order, making sure that the cables do not touch
each other or other metal.
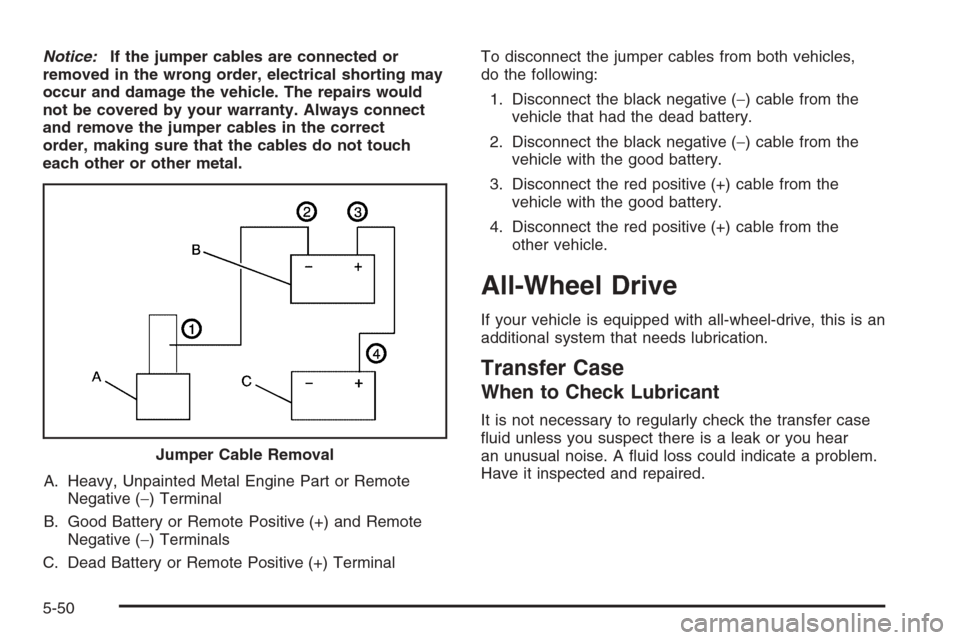
A. Heavy, Unpainted Metal Engine Part or Remote
Negative (−) Terminal
B. Good Battery or Remote Positive (+) and Remote
Negative (−) Terminals
C. Dead Battery or Remote Positive (+) TerminalTo disconnect the jumper cables from both vehicles,
do the following:
1. Disconnect the black negative (−) cable from the
vehicle that had the dead battery.
2. Disconnect the black negative (−) cable from the
vehicle with the good battery.
3. Disconnect the red positive (+) cable from the
vehicle with the good battery.
4. Disconnect the red positive (+) cable from the
other vehicle.
All-Wheel Drive
If your vehicle is equipped with all-wheel-drive, this is an
additional system that needs lubrication.
Transfer Case
When to Check Lubricant
It is not necessary to regularly check the transfer case
�uid unless you suspect there is a leak or you hear
an unusual noise. A �uid loss could indicate a problem.
Have it inspected and repaired. Jumper Cable Removal
5-50