power steering CADILLAC STS V 2007 1.G Owners Manual
[x] Cancel search | Manufacturer: CADILLAC, Model Year: 2007, Model line: STS V, Model: CADILLAC STS V 2007 1.GPages: 560, PDF Size: 2.92 MB
Page 9 of 560
Front Seats
Power Seats
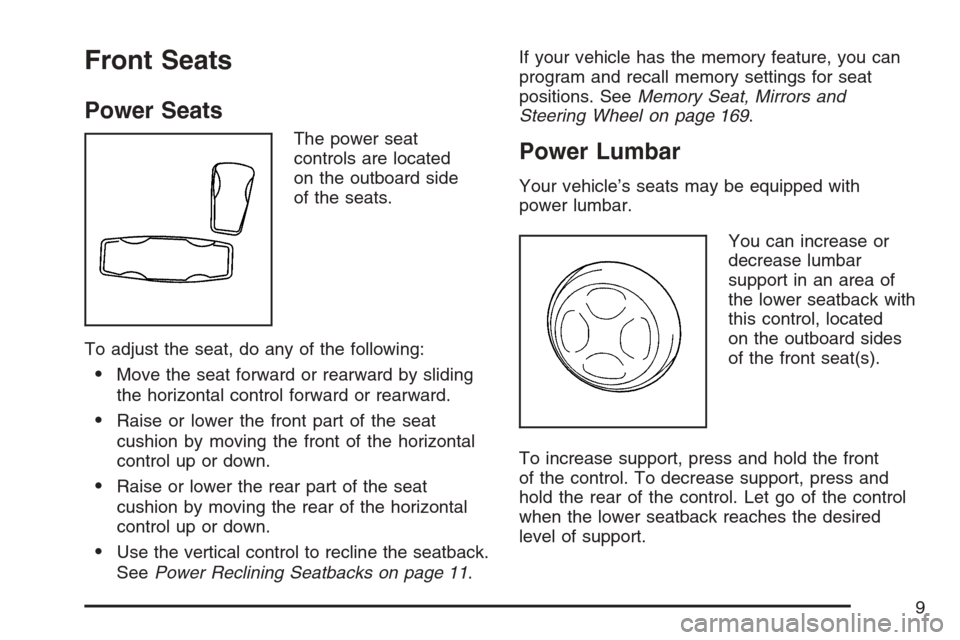
The power seat
controls are located
on the outboard side
of the seats.
To adjust the seat, do any of the following:
Move the seat forward or rearward by sliding
the horizontal control forward or rearward.
Raise or lower the front part of the seat
cushion by moving the front of the horizontal
control up or down.
Raise or lower the rear part of the seat
cushion by moving the rear of the horizontal
control up or down.
Use the vertical control to recline the seatback.
SeePower Reclining Seatbacks on page 11.If your vehicle has the memory feature, you can
program and recall memory settings for seat
positions. SeeMemory Seat, Mirrors and
Steering Wheel on page 169.
Power Lumbar
Your vehicle’s seats may be equipped with
power lumbar.
You can increase or
decrease lumbar
support in an area of
the lower seatback with
this control, located
on the outboard sides
of the front seat(s).
To increase support, press and hold the front
of the control. To decrease support, press and
hold the rear of the control. Let go of the control
when the lower seatback reaches the desired
level of support.
9
Page 89 of 560
If the engine is off, the windows may be closed
from outside the vehicle using the lock button
on the keyless access transmitter. Press and hold
the lock button for more than two seconds to
close any open window(s) on your vehicle. If any
window is unable to close completely, it will
reverse and the horn will chirp. See “Anti-Pinch
Feature” underPower Windows on page 105
for more information.
You can program your vehicle so the turn signal
indicators will not �ash and the horn will not sound
when pressing the lock button on the keyless
access transmitter. For more information
see “Lights Flash at Lock” and “Horn Chirps at
Lock” underVehicle Personalization on page 148.
/(Remote Start):Press this button to operate
the remote start feature. See “Remote Vehicle
Start” at the end of this section for more detailed
information.
"(Unlock):Press this button once to unlock
the driver’s door. The turn signal indicators will
�ash twice. Press the unlock button twice within
�ve seconds to unlock all the doors. If it is dark
enough outside, your interior lamps will come on.You can program your vehicle so the turn signal
indicators will not �ash and the fog lamps and
reverse lamps remain on steady for about
20 seconds when the keyless access transmitter is
used to unlock the vehicle. See “Lights Flash at
Lock” and “Ext. (Exterior) Lights at Unlock” under
Vehicle Personalization on page 148.
If your vehicle has the memory feature you can
program and recall memory settings when you
press the unlock button on the keyless access
transmitter. SeeMemory Seat, Mirrors and Steering
Wheel on page 169for more information.
G(Trunk):Press and hold this button for
about one second to open the trunk while
the engine is turned off or the shift lever is in
PARK (P).
L(Vehicle Locator/Panic Alarm):Press and
release this button to locate your vehicle. The horn
will chirp three times and the turn signal lamps
will �ash three times. Press and hold the button for
three seconds to sound the panic alarm. The
horn will chirp and the turn signal lamps will �ash
for 30 seconds. Press and release the button
again to cancel the panic alarm.
89
Page 112 of 560
9/Acc. (OFF/ACCESSORY):When this button
is pressed, the engine will turn off even if the shifter
is not in PARK (P). If the shifter is in PARK (P), the
ignition mode will change to RAP, if all doors are
closed. The ignition mode will change to off, if a
front door is opened. SeeRetained Accessory
Power (RAP) on page 112for more information.
If the shifter is not in PARK (P), the ignition mode
will change to Acc. SeeShifting Into Park (P) on
page 122.
When the engine is off, press this button to place
the vehicle in accessory mode. ACCESSORY
ACTIVE will display on the Driver Information
Center (DIC). This mode allows you to use things
like the radio and the windshield wipers while the
engine is off. Use accessory mode if you must have
your vehicle in motion while the engine is off, for
example, if your vehicle is being towed. If the door
is open while in accessory mode, the key in
reminder chime will sound continuously.
If the push-button start is not working, your vehicle
may be near a strong radio antenna signal causing
interference to the keyless access system. SeeDIC
Warnings and Messages on page 264for more
information.After being in Acc. for about 20 minutes, the vehicle
will automatically enter RAP or will turn off,
depending on if the doors are opened or closed.
Retained Accessory Power (RAP)
The following accessories on your vehicle may be
used for up to 20 minutes after the engine is
turned off:
Radio
Power Windows
Audio Steering Wheel Controls
Power to these accessories stops after 20 minutes
or if one of the front doors is opened. If you
want power for another 20 minutes, close all the
doors and press to Acc. to place the vehicle
in accessory mode. Press the button again and
the vehicle will return to RAP.
112
Page 130 of 560
Cleaning the Mirror
When cleaning the mirror, use a paper towel or
similar material dampened with glass cleaner.
Do not spray glass cleaner directly on the mirror
as that may cause the liquid cleaner to enter
the mirror housing.
Outside Power Heated Mirrors
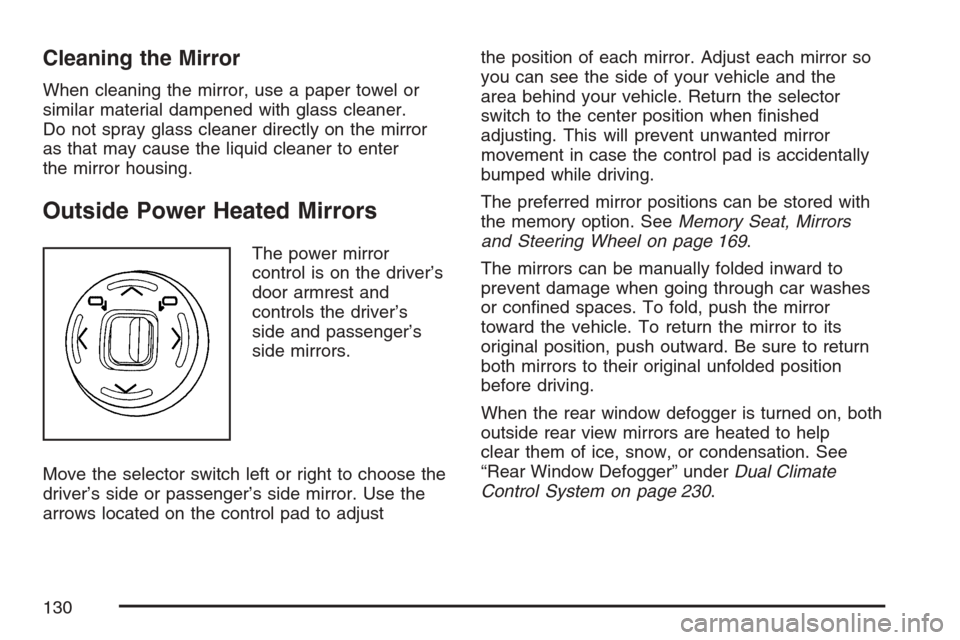
The power mirror
control is on the driver’s
door armrest and
controls the driver’s
side and passenger’s
side mirrors.
Move the selector switch left or right to choose the
driver’s side or passenger’s side mirror. Use the
arrows located on the control pad to adjustthe position of each mirror. Adjust each mirror so
you can see the side of your vehicle and the
area behind your vehicle. Return the selector
switch to the center position when �nished
adjusting. This will prevent unwanted mirror
movement in case the control pad is accidentally
bumped while driving.
The preferred mirror positions can be stored with
the memory option. SeeMemory Seat, Mirrors
and Steering Wheel on page 169.
The mirrors can be manually folded inward to
prevent damage when going through car washes
or con�ned spaces. To fold, push the mirror
toward the vehicle. To return the mirror to its
original position, push outward. Be sure to return
both mirrors to their original unfolded position
before driving.
When the rear window defogger is turned on, both
outside rear view mirrors are heated to help
clear them of ice, snow, or condensation. See
“Rear Window Defogger” underDual Climate
Control System on page 230.
130
Page 169 of 560
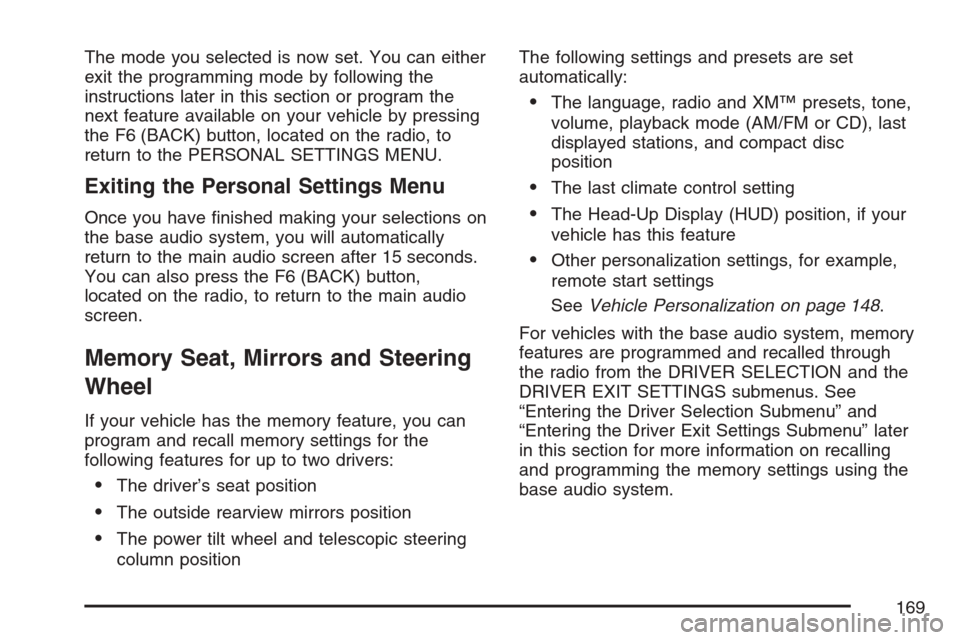
The mode you selected is now set. You can either
exit the programming mode by following the
instructions later in this section or program the
next feature available on your vehicle by pressing
the F6 (BACK) button, located on the radio, to
return to the PERSONAL SETTINGS MENU.
Exiting the Personal Settings Menu
Once you have �nished making your selections on
the base audio system, you will automatically
return to the main audio screen after 15 seconds.
You can also press the F6 (BACK) button,
located on the radio, to return to the main audio
screen.
Memory Seat, Mirrors and Steering
Wheel
If your vehicle has the memory feature, you can
program and recall memory settings for the
following features for up to two drivers:
The driver’s seat position
The outside rearview mirrors position
The power tilt wheel and telescopic steering
column positionThe following settings and presets are set
automatically:
The language, radio and XM™ presets, tone,
volume, playback mode (AM/FM or CD), last
displayed stations, and compact disc
position
The last climate control setting
The Head-Up Display (HUD) position, if your
vehicle has this feature
Other personalization settings, for example,
remote start settings
SeeVehicle Personalization on page 148.
For vehicles with the base audio system, memory
features are programmed and recalled through
the radio from the DRIVER SELECTION and the
DRIVER EXIT SETTINGS submenus. See
“Entering the Driver Selection Submenu” and
“Entering the Driver Exit Settings Submenu” later
in this section for more information on recalling
and programming the memory settings using the
base audio system.
169
Page 172 of 560
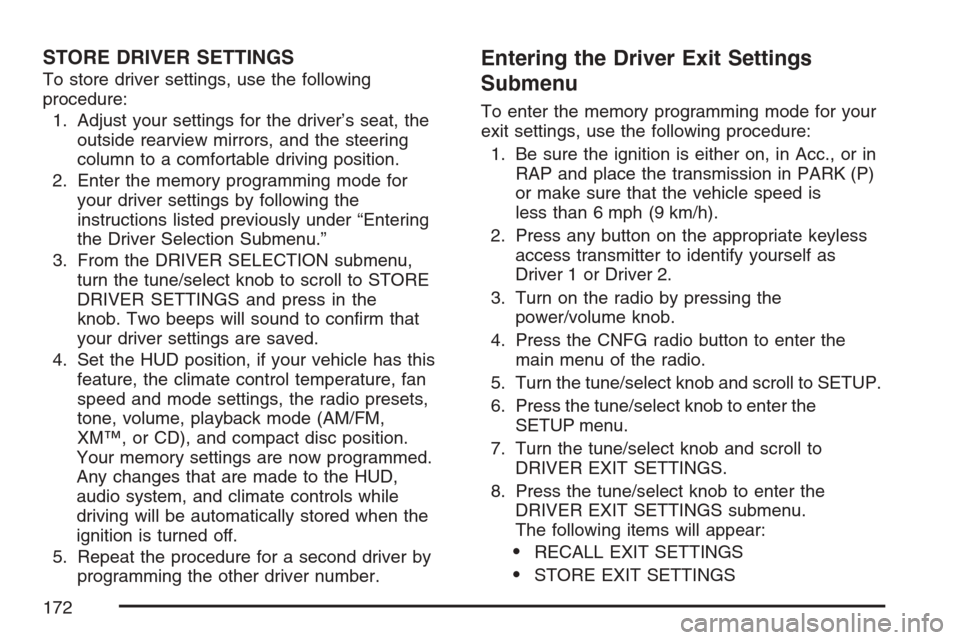
STORE DRIVER SETTINGS
To store driver settings, use the following
procedure:
1. Adjust your settings for the driver’s seat, the
outside rearview mirrors, and the steering
column to a comfortable driving position.
2. Enter the memory programming mode for
your driver settings by following the
instructions listed previously under “Entering
the Driver Selection Submenu.”
3. From the DRIVER SELECTION submenu,
turn the tune/select knob to scroll to STORE
DRIVER SETTINGS and press in the
knob. Two beeps will sound to con�rm that
your driver settings are saved.
4. Set the HUD position, if your vehicle has this
feature, the climate control temperature, fan
speed and mode settings, the radio presets,
tone, volume, playback mode (AM/FM,
XM™, or CD), and compact disc position.
Your memory settings are now programmed.
Any changes that are made to the HUD,
audio system, and climate controls while
driving will be automatically stored when the
ignition is turned off.
5. Repeat the procedure for a second driver by
programming the other driver number.
Entering the Driver Exit Settings
Submenu
To enter the memory programming mode for your
exit settings, use the following procedure:
1. Be sure the ignition is either on, in Acc., or in
RAP and place the transmission in PARK (P)
or make sure that the vehicle speed is
less than 6 mph (9 km/h).
2. Press any button on the appropriate keyless
access transmitter to identify yourself as
Driver 1 or Driver 2.
3. Turn on the radio by pressing the
power/volume knob.
4. Press the CNFG radio button to enter the
main menu of the radio.
5. Turn the tune/select knob and scroll to SETUP.
6. Press the tune/select knob to enter the
SETUP menu.
7. Turn the tune/select knob and scroll to
DRIVER EXIT SETTINGS.
8. Press the tune/select knob to enter the
DRIVER EXIT SETTINGS submenu.
The following items will appear:
RECALL EXIT SETTINGS
STORE EXIT SETTINGS
172
Page 175 of 560
Instrument Panel Overview........................ 178
Hazard Warning Flashers.......................... 180
Other Warning Devices............................. 180
Horn.......................................................... 180
Power Tilt Wheel and Telescopic
Steering Column.................................... 181
Heated Steering Wheel............................. 181
Turn Signal/Multifunction Lever.................. 182
Turn and Lane-Change Signals................. 182
Headlamp High/Low-Beam Changer.......... 183
Forward Collision Alert (FCA) System.......... 184
Flash-to-Pass............................................ 188
Windshield Wipers..................................... 189
Rainsense™ II Wipers............................... 190
Windshield Washer.................................... 191
Headlamp Washer..................................... 192
Cruise Control........................................... 193
Adaptive Cruise Control............................. 197
Headlamps................................................ 211
Wiper Activated Headlamps....................... 215
Headlamps on Reminder........................... 216
Daytime Running Lamps (DRL)................. 216
Fog Lamps................................................ 217
Twilight Sentinel
®...................................... 218
Exterior Lighting Battery Saver.................. 219Instrument Panel Brightness...................... 220
Entry Lighting............................................ 220
Parade Dimming........................................ 220
Reading Lamps......................................... 221
Battery Load Management......................... 221
Electric Power Management...................... 221
Inadvertent Power Battery Saver............... 222
Head-Up Display (HUD)............................ 223
Ultrasonic Rear Parking
Assist (URPA)........................................ 226
Accessory Power Outlet(s)........................ 228
Ashtray(s) and Cigarette Lighter................ 229
Climate Controls......................................... 230
Dual Climate Control System..................... 230
Outlet Adjustment...................................... 237
Rear Climate Control System.................... 237
Passenger Compartment Air Filter............. 239
Warning Lights, Gages, and Indicators..... 241
Instrument Panel Cluster........................... 242
Speedometer and Odometer...................... 243
Tachometer............................................... 243
Safety Belt Reminder Light........................ 243
Passenger Safety Belt Reminder Light....... 244
Airbag Readiness Light............................. 244
Section 3 Instrument Panel
175
Page 179 of 560
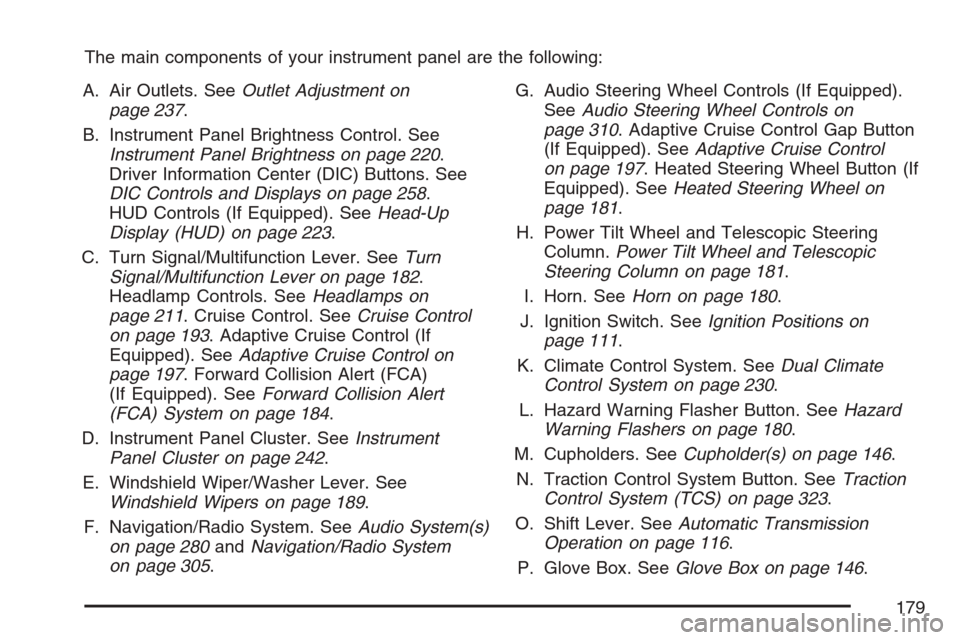
The main components of your instrument panel are the following:
A. Air Outlets. SeeOutlet Adjustment on
page 237.
B. Instrument Panel Brightness Control. See
Instrument Panel Brightness on page 220.
Driver Information Center (DIC) Buttons. See
DIC Controls and Displays on page 258.
HUD Controls (If Equipped). SeeHead-Up
Display (HUD) on page 223.
C. Turn Signal/Multifunction Lever. SeeTurn
Signal/Multifunction Lever on page 182.
Headlamp Controls. SeeHeadlamps on
page 211. Cruise Control. SeeCruise Control
on page 193. Adaptive Cruise Control (If
Equipped). SeeAdaptive Cruise Control on
page 197. Forward Collision Alert (FCA)
(If Equipped). SeeForward Collision Alert
(FCA) System on page 184.
D. Instrument Panel Cluster. SeeInstrument
Panel Cluster on page 242.
E. Windshield Wiper/Washer Lever. See
Windshield Wipers on page 189.
F. Navigation/Radio System. SeeAudio System(s)
on page 280andNavigation/Radio System
on page 305.G. Audio Steering Wheel Controls (If Equipped).
SeeAudio Steering Wheel Controls on
page 310. Adaptive Cruise Control Gap Button
(If Equipped). SeeAdaptive Cruise Control
on page 197. Heated Steering Wheel Button (If
Equipped). SeeHeated Steering Wheel on
page 181.
H. Power Tilt Wheel and Telescopic Steering
Column.Power Tilt Wheel and Telescopic
Steering Column on page 181.
I. Horn. SeeHorn on page 180.
J. Ignition Switch. SeeIgnition Positions on
page 111.
K. Climate Control System. SeeDual Climate
Control System on page 230.
L. Hazard Warning Flasher Button. SeeHazard
Warning Flashers on page 180.
M. Cupholders. SeeCupholder(s) on page 146.
N. Traction Control System Button. SeeTraction
Control System (TCS) on page 323.
O. Shift Lever. SeeAutomatic Transmission
Operation on page 116.
P. Glove Box. SeeGlove Box on page 146.
179
Page 181 of 560
Power Tilt Wheel and Telescopic
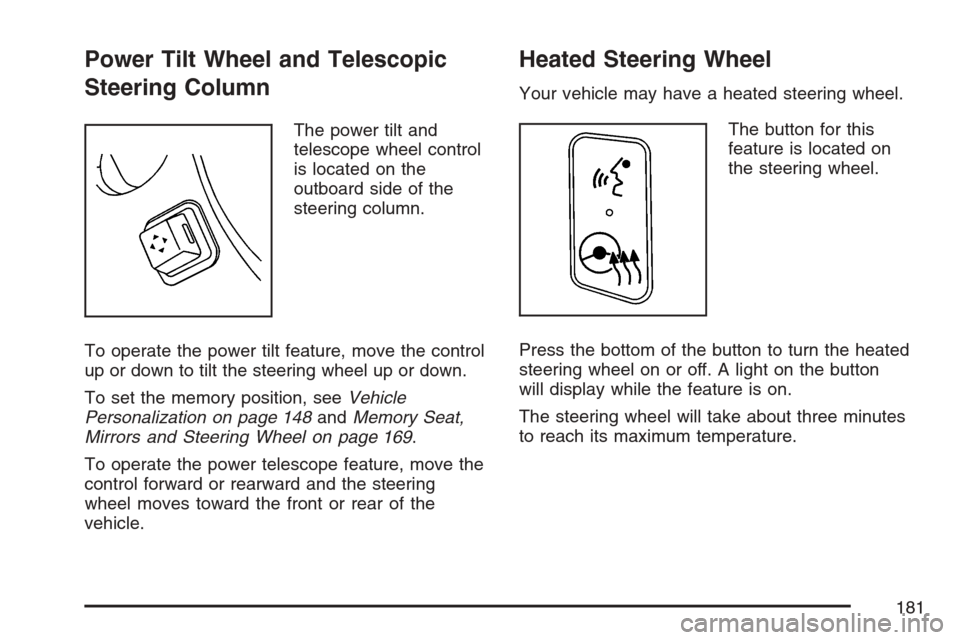
Steering Column
The power tilt and
telescope wheel control
is located on the
outboard side of the
steering column.
To operate the power tilt feature, move the control
up or down to tilt the steering wheel up or down.
To set the memory position, seeVehicle
Personalization on page 148andMemory Seat,
Mirrors and Steering Wheel on page 169.
To operate the power telescope feature, move the
control forward or rearward and the steering
wheel moves toward the front or rear of the
vehicle.
Heated Steering Wheel
Your vehicle may have a heated steering wheel.
The button for this
feature is located on
the steering wheel.
Press the bottom of the button to turn the heated
steering wheel on or off. A light on the button
will display while the feature is on.
The steering wheel will take about three minutes
to reach its maximum temperature.
181
Page 323 of 560
Remember: ABS does not change the time you
need to get your foot up to the brake pedal
or always decrease stopping distance. If you get
too close to the vehicle in front of you, you will not
have time to apply the brakes if that vehicle
suddenly slows or stops. Always leave enough
room up ahead to stop, even though you
have ABS.
Using ABS
Do not pump the brakes. Just hold the brake pedal
down �rmly and let anti-lock work for you. You may
hear the anti-lock pump or motor operate, and feel
the brake pedal pulsate, but this is normal.
Braking in Emergencies
With ABS, you can steer and brake at the same
time. In many emergencies, steering can help you
more than even the very best braking.
Traction Control System (TCS)
Your vehicle has a traction control system that
limits wheel spin. This is especially useful in
slippery road conditions. On a rear-wheel-drive
vehicle, the system operates if it senses that
one or both of the rear wheels are spinning or
beginning to lose traction. On an All-Wheel-Drive
(AWD) vehicle, the system will operate if it
senses that any of the wheels are spinning or
beginning to lose traction. When this happens, the
system brakes the spinning wheel(s) and/or
reduces engine power to limit wheel spin.
You may feel or hear the system working, but this
is normal.
This warning light will
come on to let you
know if there’s a
problem with your
traction control system.
SeeTraction Control System (TCS) Warning Light
on page 250. When this warning light is on, the
system will not limit wheel spin. Adjust your driving
accordingly.
323