power CADILLAC XLR 2004 1.G User Guide
[x] Cancel search | Manufacturer: CADILLAC, Model Year: 2004, Model line: XLR, Model: CADILLAC XLR 2004 1.GPages: 356, PDF Size: 2.36 MB
Page 68 of 356
Trunk Lock Release
{CAUTION:
Moving parts of the powered trunk lid can be
dangerous. You or others could be injured.
Keep yourself and others away from the trunk
lid and its mechanism while it is closing.
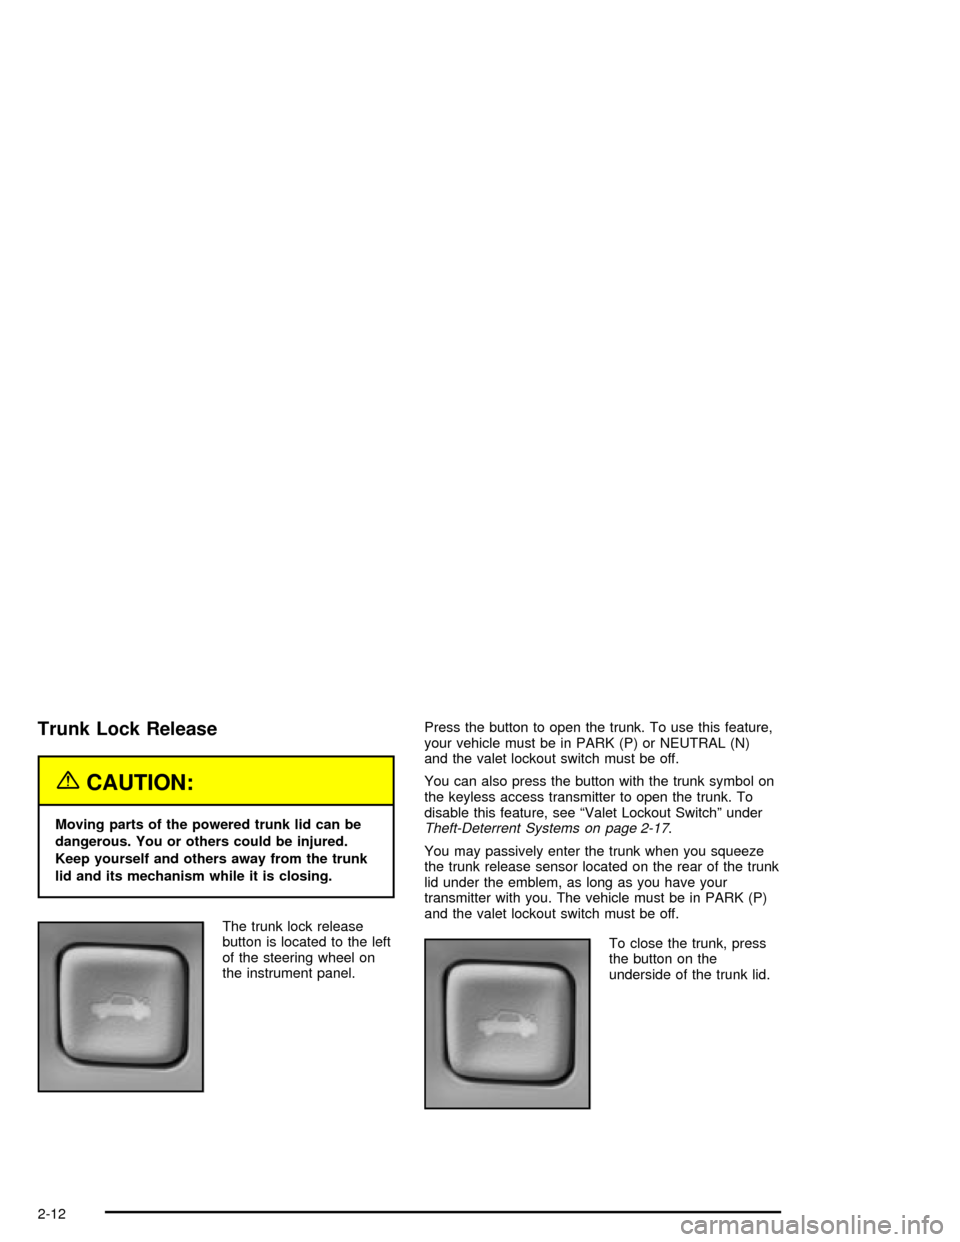
The trunk lock release
button is located to the left
of the steering wheel on
the instrument panel.Press the button to open the trunk. To use this feature,
your vehicle must be in PARK (P) or NEUTRAL (N)
and the valet lockout switch must be off.
You can also press the button with the trunk symbol on
the keyless access transmitter to open the trunk. To
disable this feature, see ªValet Lockout Switchº underTheft-Deterrent Systems on page 2-17.
You may passively enter the trunk when you squeeze
the trunk release sensor located on the rear of the trunk
lid under the emblem, as long as you have your
transmitter with you. The vehicle must be in PARK (P)
and the valet lockout switch must be off.
To close the trunk, press
the button on the
underside of the trunk lid.
2-12
Page 69 of 356

To stop the trunk lid while it is closing, do one of the
following:
·Press the trunk lock release button located on the
instrument panel.
·Use the key cylinder on the rear fascia.
·Squeeze the trunk release sensor located on the
rear of the trunk lid.
·Press the button with the trunk symbol on the
keyless access transmitter.
·Press the trunk close button on the underside of the
trunk lid.
To begin opening the trunk from the stopped position,
use any of the methods above, except pressing the trunk
close button.
To resume closing the power trunk lid, press the trunk
close button on the underside of the trunk lid.If the vehicle has lost
battery power, you can
still open the trunk using
the key.
The key cylinder is located behind a cover on the lower
rear fascia on the driver's side of the vehicle. Use
the key to pry open the door to access the key cylinder.
2-13
Page 71 of 356
Power Windows
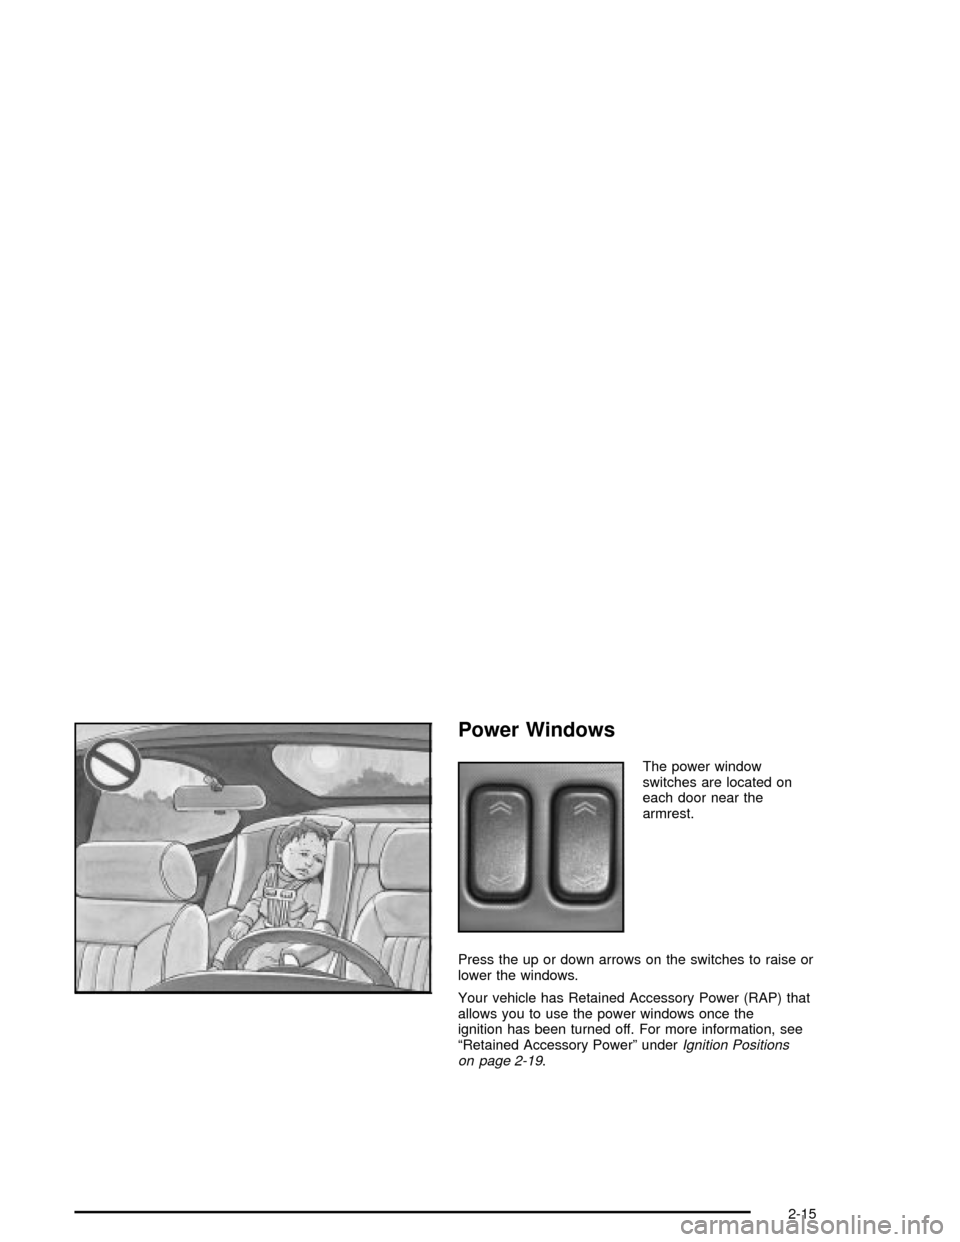
The power window
switches are located on
each door near the
armrest.
Press the up or down arrows on the switches to raise or
lower the windows.
Your vehicle has Retained Accessory Power (RAP) that
allows you to use the power windows once the
ignition has been turned off. For more information, see
ªRetained Accessory Powerº under
Ignition Positions
on page 2-19.
2-15
Page 72 of 356

After a power reconnect such as battery replacement,
the express-up feature will not function until the
system is reinitialized. To reinitialize the express-up
once power is restored, do the following:
1. Close the door.
2. Raise the window by holding the up arrow on the
power window switch.
3. Hold the up arrow for three seconds after the
window is closed. Release the switch. Then hold the
up arrow again for three seconds.
If the express-up system has not been reinitialized, the
windows cannot be raised with the door open.
Express-Down Window
This feature is on both power windows. Press the down
arrow on the switch to the second position to activate
the express-down feature. If you want to stop the
window as it is lowering, press the switch again.
Express-Up Window
This feature is on both power windows. Press the up
arrow on the switch to the second position to activate the
express-up feature. If you want to stop the window as
it is raising, press the switch again.
Window Indexing
This feature automatically lowers the window a small
amount when the door is opened. Then, when the door
is closed, the window will raise to its full up position.
The windows will not index while the retractable hardtop
is stowed.
Sun Visors
Swing down the visor to block out glare. It can also be
detached from the center mount and moved to the side.
Lighted Visor Vanity Mirrors
Swing the visor down and lift the cover. The lamp will
automatically come on when the cover is opened.
2-16
Page 73 of 356

Theft-Deterrent Systems
Vehicle theft is big business, especially in some cities.
Although your vehicle has a number of theft-deterrent
features, we know that nothing we put on it can make it
impossible to steal. However, there are ways you
can help.
Theft-Deterrent System
Your vehicle is equipped with a theft-deterrent alarm
system.
With this system, the
security light will ¯ash
when the door is open and
locked with the power
door lock switch.
If this light is on continuously while the engine is
running, your vehicle needs service.
Arming the System
Use one of the two following items listed here to arm
the system:
·Press the lock button on the keyless access
transmitter.
·Open the door. Lock the door with the power door
lock switch. The SECURITY light should ¯ash.
Close the door. The SECURITY light will stop
¯ashing and stay on. After 30 seconds, the light
should turn off.
·The vehicle can be programmed to automatically
lock the doors when you exit the vehicle. See
DIC Vehicle Personalization on page 3-66.
Now, if a door or the trunk lid is opened without the
keyless access transmitter, the alarm will go off. Your
horn will sound for two minutes, then it will go off to save
battery power. And, your vehicle will not start without
a keyless transmitter present.
The theft-deterrent system will not arm if you lock the
driver's door with the power door lock switch after
the doors are closed.
If your passenger stays in the vehicle when you leave
with the keyless access transmitter, have the passenger
lock the vehicle after the doors are closed. This way the
alarm will not arm, and your passenger will not set it off.
2-17
Page 75 of 356

Starting and Operating Your
Vehicle
New Vehicle Break-In
Notice:Your vehicle does not need an elaborate
ªbreak-in.º But it will perform better in the long run
if you follow these guidelines:
·Keep your speed at 55 mph (88 km/h) or less for
the ®rst 500 miles (805 km).
·Do not drive at any one speed Ð fast or
slow Ð for the ®rst 500 miles (805 km). Do not
make full-throttle starts.
·Avoid making hard stops for the ®rst 200 miles
(322 km) or so. During this time your new
brake linings are not yet broken in. Hard stops
with new linings can mean premature wear
and earlier replacement. Follow this breaking-in
guideline every time you get new brake
linings.
Ignition Positions
Your vehicle has an
electronic keyless ignition
with pushbutton start.
/(START):Press this button while your foot is on the
brake to start the engine. The keyless access transmitter
must be in the vehicle for the ignition to work.
9ACC (OFF/ACCESSORY):When the engine is on
or in ACCESSORY, press this button to turn the
engine off and place the vehicle in RAP. See ªRetained
Accessory Power (RAP)º following for more information.
2-19
Page 76 of 356

When the engine is off, press this button to place the
vehicle in ACCESSORY mode. ACCESSORY
MODE ACTIVE will display on the Driver Information
Center (DIC). This mode allows you to use things
like the radio and the windshield wipers while the engine
is off. Use ACCESSORY if you must have your vehicle
in motion while the engine is off, for example, if your
vehicle is being pushed or towed. If the door is
open while in ACCESSORY, the key in reminder chime
will sound continuously.
Retained Accessory Power (RAP)
The following accessories on your vehicle may be used
for up to 10 minutes after the engine is turned off:
·Radio
·Power Windows
·Audio Steering Wheel Controls
Power to these accessories stops after 10 minutes or if
a door is opened. If you want power for another
10 minutes, close all the doors and press the
OFF/ACCESSORY button to place the vehicle in
ACCESSORY mode. Press the button again and the
vehicle will return to RAP.
Starting Your Engine
Move your shift lever to PARK (P) or NEUTRAL (N).
Your engine will not start in any other position ± that is
a safety feature. To restart when you are already
moving, use NEUTRAL (N) only.
The keyless access transmitter must be in the vehicle
for the ignition to work.
Notice:Do not try to shift to PARK (P) if your
vehicle is moving. If you do, you could damage the
transmission. Shift to PARK (P) only when your
vehicle is stopped.
1. With your foot on the brake pedal, press the
START button. When the engine begins cranking,
let go of the button. The idle speed will go down as
your engine gets warm.
If the battery in the keyless access transmitter is
weak, the DIC will display FOB BATTERY
LOW. You can still drive the vehicle. See ªBattery
Replacementº under
Keyless Access System
Operation on page 2-4for more information.
2-20
Page 89 of 356
Mirrors
Automatic Dimming Rearview Mirror
with OnStar
ž
Your vehicle has an automatic dimming inside rearview
mirror. The mirror also contains OnStaržcontrols.
For more information about OnStarž, seeOnStarž
System on page 2-35.
O(On/Off):This button, located on the lower left side
of the mirror, is for the automatic dimming functions.
Mirror Operation
The automatic dimming feature is active each time the
vehicle is started.
To turn the automatic dimming feature on or off, press
and release the on/off button. The indicator light will
illuminate when this feature is active.
Cleaning the Mirror
When cleaning the mirror, use a paper towel or similar
material dampened with glass cleaner. Do not spray
glass cleaner directly on the mirror as that may cause
the liquid cleaner to enter the mirror housing.
Outside Power Heated Mirrors
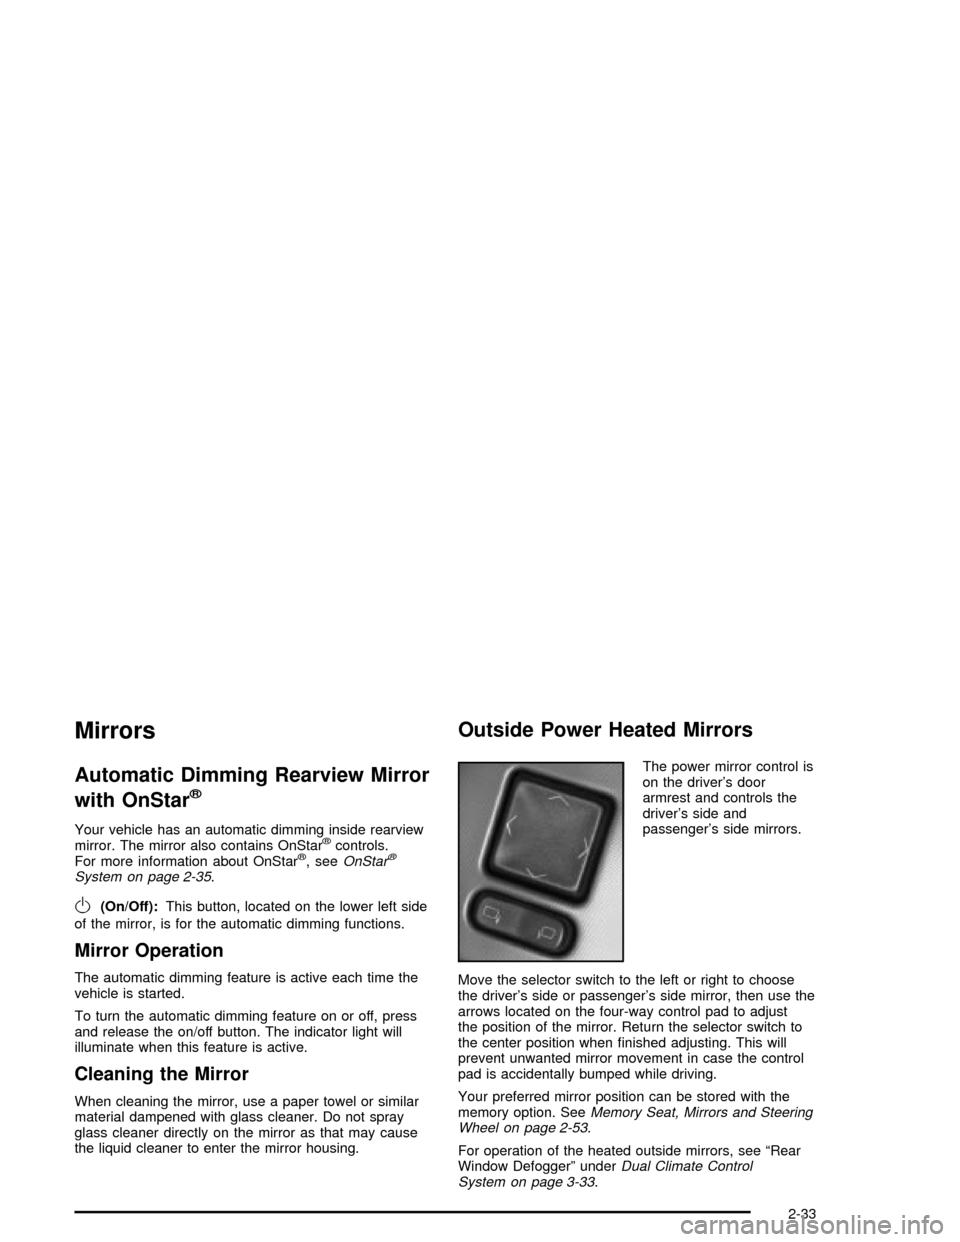
The power mirror control is
on the driver's door
armrest and controls the
driver's side and
passenger's side mirrors.
Move the selector switch to the left or right to choose
the driver's side or passenger's side mirror, then use the
arrows located on the four-way control pad to adjust
the position of the mirror. Return the selector switch to
the center position when ®nished adjusting. This will
prevent unwanted mirror movement in case the control
pad is accidentally bumped while driving.
Your preferred mirror position can be stored with the
memory option. See
Memory Seat, Mirrors and Steering
Wheel on page 2-53.
For operation of the heated outside mirrors, see ªRear
Window Defoggerº under
Dual Climate Control
System on page 3-33.
2-33
Page 102 of 356
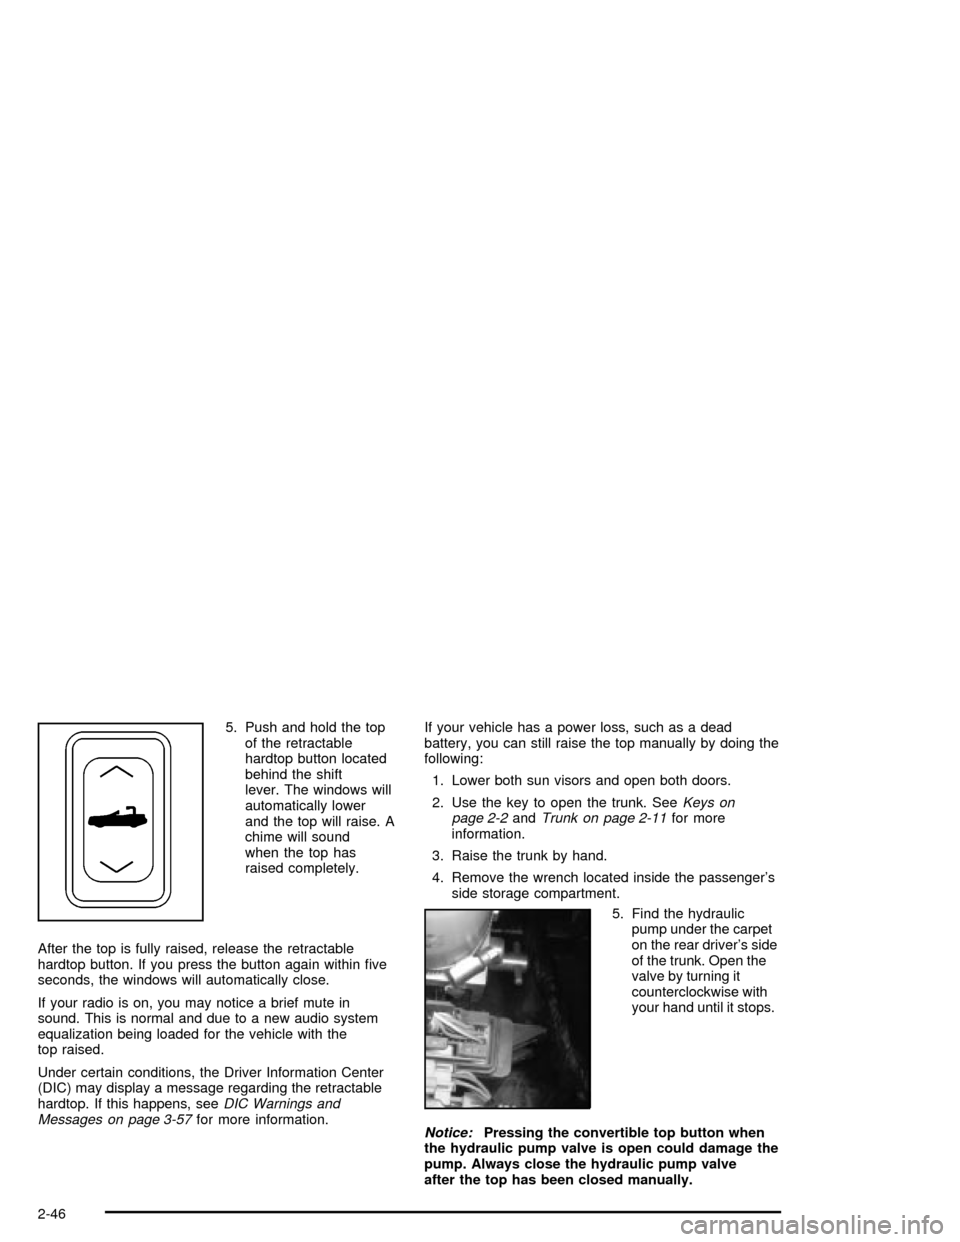
5. Push and hold the top
of the retractable
hardtop button located
behind the shift
lever. The windows will
automatically lower
and the top will raise. A
chime will sound
when the top has
raised completely.
After the top is fully raised, release the retractable
hardtop button. If you press the button again within ®ve
seconds, the windows will automatically close.
If your radio is on, you may notice a brief mute in
sound. This is normal and due to a new audio system
equalization being loaded for the vehicle with the
top raised.
Under certain conditions, the Driver Information Center
(DIC) may display a message regarding the retractable
hardtop. If this happens, see
DIC Warnings and
Messages on page 3-57for more information.If your vehicle has a power loss, such as a dead
battery, you can still raise the top manually by doing the
following:
1. Lower both sun visors and open both doors.
2. Use the key to open the trunk. See
Keys on
page 2-2andTrunk on page 2-11for more
information.
3. Raise the trunk by hand.
4. Remove the wrench located inside the passenger's
side storage compartment.
5. Find the hydraulic
pump under the carpet
on the rear driver's side
of the trunk. Open the
valve by turning it
counterclockwise with
your hand until it stops.
Notice:Pressing the convertible top button when
the hydraulic pump valve is open could damage the
pump. Always close the hydraulic pump valve
after the top has been closed manually.
2-46
Page 110 of 356

Use the following steps to program each button:
1. Adjust the driver's seat including the seatback
recliner, lumbar and head restraint, both outside
mirrors and the steering wheel to a comfortable
position.
2. Press and hold button 1 until two beeps are heard,
then release the button.
A second mirror, seating and steering wheel position
can be programmed by repeating the above steps and
pressing button 2 (for driver 2). Each time a memory
button is pressed and released, a single beep will sound.
Each time button 1 or 2 is pressed and released while
the vehicle is in PARK (P), the memory positions will be
recalled after a brief delay. If the vehicle is not in
PARK (P), the memory buttons must be pressed and
held to recall the stored positions.
When the engine is started, the seat, mirrors, and
steering wheel may automatically adjust to their
programmed positions.To stop recall movement of the memory feature at any
time, press one of the power seat controls, power
mirror control buttons, memory buttons, or power
steering column control.
Two personalized exit positions can be set by ®rst
recalling the driving position (by pressing 1 or 2), then
positioning the steering wheel and seat in the desired
exit positions and then pressing and holding the
exit button until two beeps are heard. With the vehicle in
PARK (P), the exit position for the previously set
driver can be recalled by pressing the EXIT button.
When you use the keyless access transmitter to unlock
you vehicle, automatic seat and steering wheel
movement to the exit position may occur. The numbers
on the back of the transmitter, 1 and 2, corresponds
to the numbers on the memory buttons.
Further programming for automatic seat and mirror
movement can be done using the Driver Information
Center (DIC).
For programming information, see
DIC Vehicle
Personalization on page 3-66.
2-54