headlamp CADILLAC XLR V 2007 1.G Owner's Manual
[x] Cancel search | Manufacturer: CADILLAC, Model Year: 2007, Model line: XLR V, Model: CADILLAC XLR V 2007 1.GPages: 512, PDF Size: 3.84 MB
Page 409 of 512
The vehicle should be properly prepared as
follows:
The vehicle should be placed so the
headlamps are 25 ft (7.6 m) from a light
colored wall.
The vehicle must have all four tires on a
perfectly level surface which is level all
the way to the wall.
The vehicle should be placed so it is
perpendicular to the wall.
The vehicle should not have any snow, ice or
mud attached to it.
The vehicle should be fully assembled and all
other work stopped while headlamp aiming is
being done.
The vehicle should be normally loaded with a
full tank of fuel and one person or 160 lbs
(75 kg) on the driver’s seat.
Tires should be properly in�ated.
Start the vehicle and rock it to level the
suspension.Headlamp aiming is done with the low-beam
headlamps. The high-beam headlamps are
correctly aimed if the low-beam headlamps are
aimed properly.
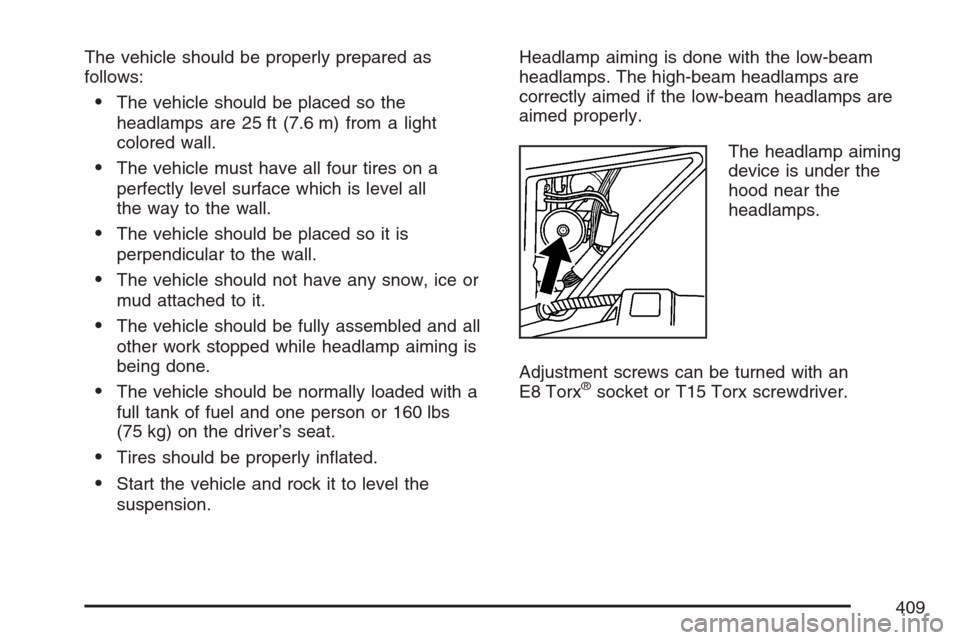
The headlamp aiming
device is under the
hood near the
headlamps.
Adjustment screws can be turned with an
E8 Torx
®socket or T15 Torx screwdriver.
409
Page 410 of 512
Headlamp Vertical Aiming
To properly prepare the vehicle for vertical
headlamp aiming seeHeadlamp Aiming on
page 408for more information.
To adjust the vertical aim, do the following:
Notice:Horizontal aiming must be performed
before making any adjustments to the
vertical aim. Adjusting the vertical aim �rst will
result in an incorrect headlamp aim.
1. Open the hood. SeeHood Release on
page 373for more information.
2. Locate the aim dot on the inner projector lens
of the low-beam headlamp.
3. Measure the distance from the ground to the
aim dot on each low-beam headlamp. Record
this distance.4. At the wall or other �at surface, measure from
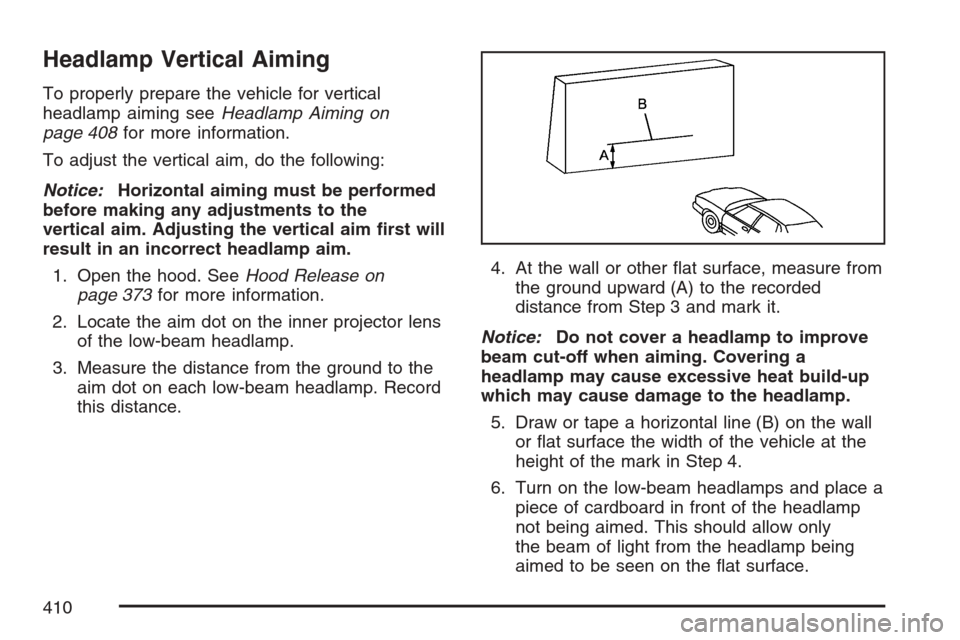
the ground upward (A) to the recorded
distance from Step 3 and mark it.
Notice:Do not cover a headlamp to improve
beam cut-off when aiming. Covering a
headlamp may cause excessive heat build-up
which may cause damage to the headlamp.
5. Draw or tape a horizontal line (B) on the wall
or �at surface the width of the vehicle at the
height of the mark in Step 4.
6. Turn on the low-beam headlamps and place a
piece of cardboard in front of the headlamp
not being aimed. This should allow only
the beam of light from the headlamp being
aimed to be seen on the �at surface.
410
Page 411 of 512

7. Locate the vertical headlamp aiming screws,
which are under the hood near each headlamp
assembly.
The adjustment screw can be turned with a
6 mm male hex.
8. Turn the vertical
aiming screw until
the headlamp
beam is aimed to
the horizontal
tape line.
9. The top edge of the cut-off should be
positioned at the bottom edge of the horizontal
tape line.10. Make sure that the light from the headlamp is
positioned at the bottom edge of the horizontal
tape line. The lamp on the left (A) shows
the correct headlamp aim. The lamp on the
right (B) shows the incorrect headlamp aim.
11. Repeat Steps 7 through 9 for the opposite
headlamp.
411
Page 433 of 512
If you need to replace any of your wheels, wheel
bolts or wheel nuts, replace them only with
new GM original equipment parts. This way, you
will be sure to have the right wheel, wheel
bolts, and wheel nuts for your vehicle.
{CAUTION:
Using the wrong replacement wheels,
wheel bolts, or wheel nuts on your vehicle
can be dangerous. It could affect the
braking and handling of your vehicle,
make your tires lose air and make you
lose control. You could have a collision in
which you or others could be injured.
Always use the correct wheel, wheel bolts,
and wheel nuts for replacement.
Notice:The wrong wheel can also cause
problems with bearing life, brake cooling,
speedometer or odometer calibration,
headlamp aim, bumper height, vehicle ground
clearance, and tire clearance to the body
and chassis.
{CAUTION:
Rust or dirt on a wheel, or on the parts to
which it is fastened, can make wheel nuts
become loose after a time. The wheel
could come off and cause a crash. When
you change a wheel, remove any rust or
dirt from places where the wheel attaches
to the vehicle. In an emergency, you can
use a cloth or a paper towel to do this;
but be sure to use a scraper or wire brush
later, if you need to, to get all the rust or
dirt off.
{CAUTION:
Never use oil or grease on studs or the
threads of the wheel nuts. If you do, the
wheel nuts might come loose and the
wheel could fall off, causing a crash.
433
Page 456 of 512
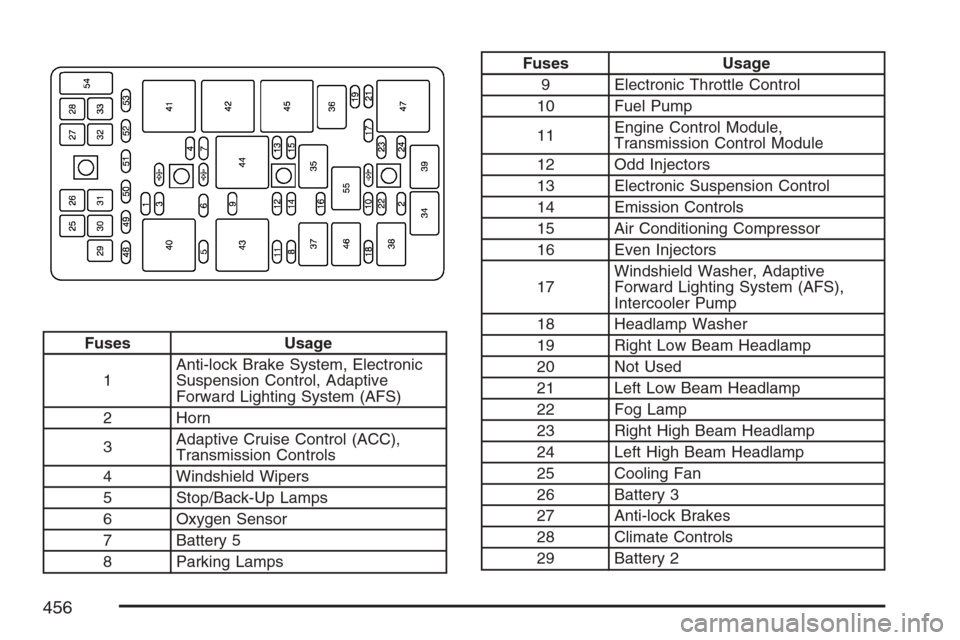
Fuses Usage
1Anti-lock Brake System, Electronic
Suspension Control, Adaptive
Forward Lighting System (AFS)
2 Horn
3Adaptive Cruise Control (ACC),
Transmission Controls
4 Windshield Wipers
5 Stop/Back-Up Lamps
6 Oxygen Sensor
7 Battery 5
8 Parking Lamps
Fuses Usage
9 Electronic Throttle Control
10 Fuel Pump
11Engine Control Module,
Transmission Control Module
12 Odd Injectors
13 Electronic Suspension Control
14 Emission Controls
15 Air Conditioning Compressor
16 Even Injectors
17Windshield Washer, Adaptive
Forward Lighting System (AFS),
Intercooler Pump
18 Headlamp Washer
19 Right Low Beam Headlamp
20 Not Used
21 Left Low Beam Headlamp
22 Fog Lamp
23 Right High Beam Headlamp
24 Left High Beam Headlamp
25 Cooling Fan
26 Battery 3
27 Anti-lock Brakes
28 Climate Controls
29 Battery 2
456
Page 457 of 512

Fuses Usage
30 Starter
31 Audio Ampli�er
32 Not Used
33 Battery 1
48 Spare
49 Spare
50 Spare
51 Spare
52 Spare
53 Not Used
54 Fuse Puller
Relays Usage
34 Horn
35 Air Conditioning Compressor
36 Windshield Washer
37 Parking Lamps
38 Fog Lamps
39 High Beam Headlamps
Relays Usage
40 Rear Window Defogger
41 Windshield Wiper High/Low
42 Wiper RUN/ACCESSORY Power
43 Starter/Crank
44 Ignition 1
45 Windshield Wiper On/Off
46 Headlamp Washer
47 Low Beam Headlamps
55 Fuel Pump
Diodes Usage
§Diode 1
§Wiper Diode
§Diode 2
457
Page 500 of 512
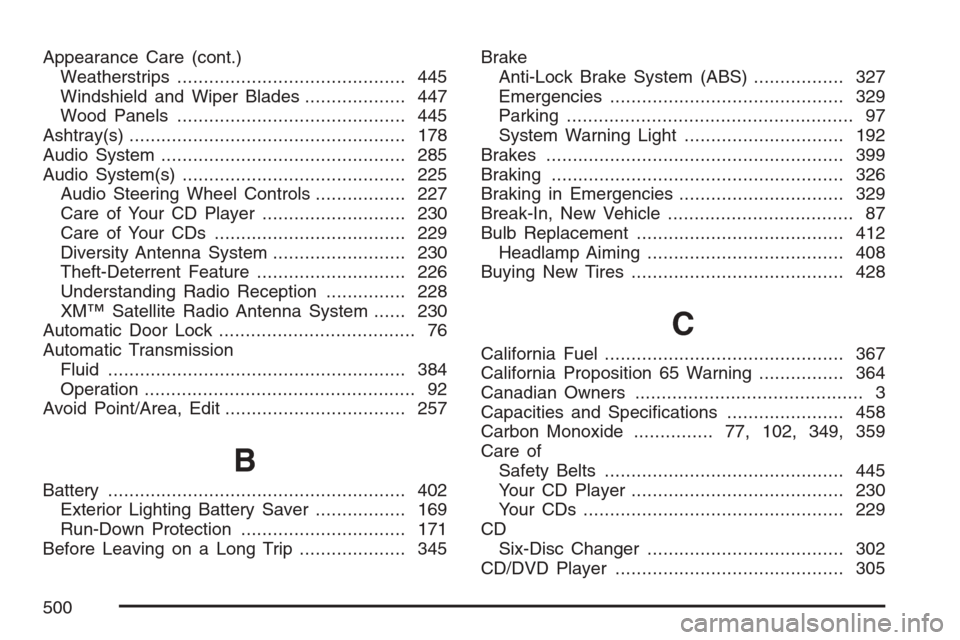
Appearance Care (cont.)
Weatherstrips........................................... 445
Windshield and Wiper Blades................... 447
Wood Panels........................................... 445
Ashtray(s).................................................... 178
Audio System.............................................. 285
Audio System(s).......................................... 225
Audio Steering Wheel Controls................. 227
Care of Your CD Player........................... 230
Care of Your CDs.................................... 229
Diversity Antenna System......................... 230
Theft-Deterrent Feature............................ 226
Understanding Radio Reception............... 228
XM™ Satellite Radio Antenna System...... 230
Automatic Door Lock..................................... 76
Automatic Transmission
Fluid........................................................ 384
Operation................................................... 92
Avoid Point/Area, Edit.................................. 257
B
Battery........................................................ 402
Exterior Lighting Battery Saver................. 169
Run-Down Protection............................... 171
Before Leaving on a Long Trip.................... 345Brake
Anti-Lock Brake System (ABS)................. 327
Emergencies............................................ 329
Parking...................................................... 97
System Warning Light.............................. 192
Brakes........................................................ 399
Braking....................................................... 326
Braking in Emergencies............................... 329
Break-In, New Vehicle................................... 87
Bulb Replacement....................................... 412
Headlamp Aiming..................................... 408
Buying New Tires........................................ 428
C
California Fuel............................................. 367
California Proposition 65 Warning................ 364
Canadian Owners........................................... 3
Capacities and Speci�cations...................... 458
Carbon Monoxide............... 77,102, 349, 359
Care of
Safety Belts............................................. 445
Your CD Player........................................ 230
Your CDs ................................................. 229
CD
Six-Disc Changer..................................... 302
CD/DVD Player........................................... 305
500
Page 504 of 512
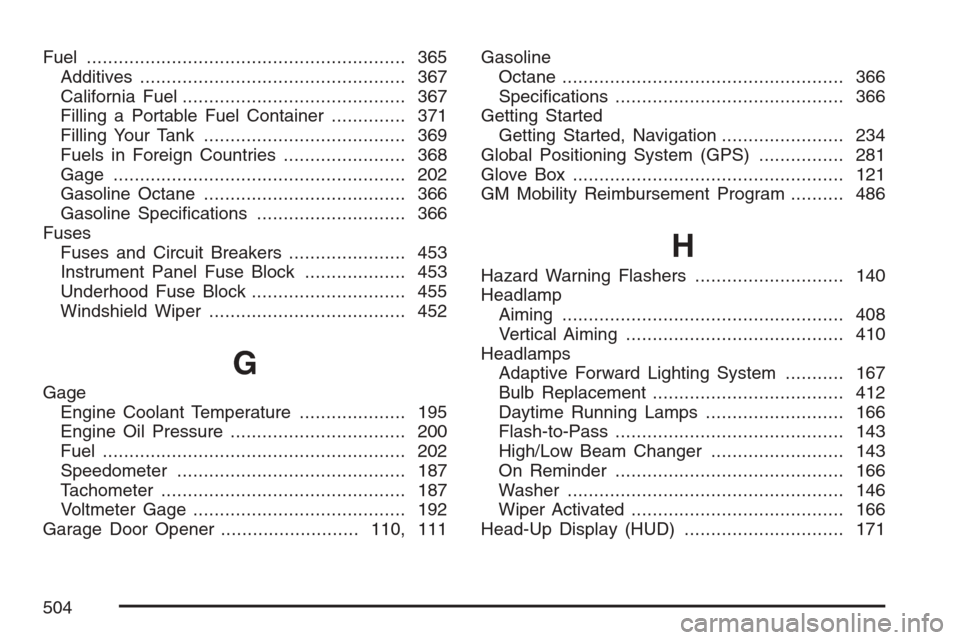
Fuel............................................................ 365
Additives.................................................. 367
California Fuel.......................................... 367
Filling a Portable Fuel Container.............. 371
Filling Your Tank...................................... 369
Fuels in Foreign Countries....................... 368
Gage....................................................... 202
Gasoline Octane...................................... 366
Gasoline Speci�cations............................ 366
Fuses
Fuses and Circuit Breakers...................... 453
Instrument Panel Fuse Block................... 453
Underhood Fuse Block............................. 455
Windshield Wiper..................................... 452
G
Gage
Engine Coolant Temperature.................... 195
Engine Oil Pressure................................. 200
Fuel......................................................... 202
Speedometer........................................... 187
Tachometer.............................................. 187
Voltmeter Gage........................................ 192
Garage Door Opener..........................110, 111Gasoline
Octane..................................................... 366
Speci�cations........................................... 366
Getting Started
Getting Started, Navigation....................... 234
Global Positioning System (GPS)................ 281
Glove Box................................................... 121
GM Mobility Reimbursement Program.......... 486
H
Hazard Warning Flashers............................ 140
Headlamp
Aiming..................................................... 408
Vertical Aiming......................................... 410
Headlamps
Adaptive Forward Lighting System........... 167
Bulb Replacement.................................... 412
Daytime Running Lamps.......................... 166
Flash-to-Pass........................................... 143
High/Low Beam Changer ......................... 143
On Reminder........................................... 166
Washer.................................................... 146
Wiper Activated........................................ 166
Head-Up Display (HUD).............................. 171
504
Page 512 of 512
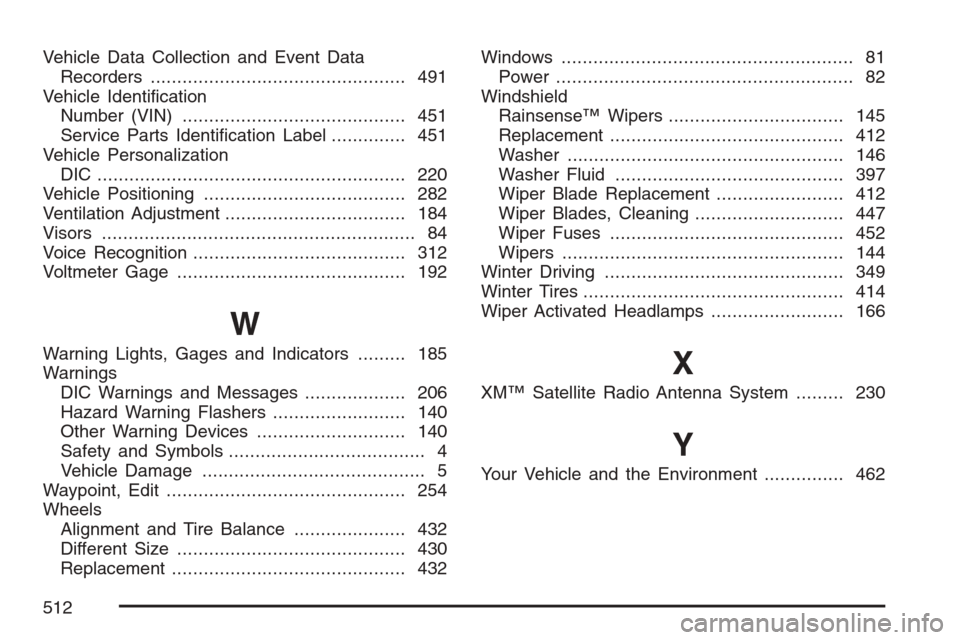
Vehicle Data Collection and Event Data
Recorders................................................ 491
Vehicle Identi�cation
Number (VIN).......................................... 451
Service Parts Identi�cation Label.............. 451
Vehicle Personalization
DIC .......................................................... 220
Vehicle Positioning...................................... 282
Ventilation Adjustment.................................. 184
Visors........................................................... 84
Voice Recognition........................................ 312
Voltmeter Gage........................................... 192
W
Warning Lights, Gages and Indicators......... 185
Warnings
DIC Warnings and Messages................... 206
Hazard Warning Flashers......................... 140
Other Warning Devices............................ 140
Safety and Symbols..................................... 4
Vehicle Damage.......................................... 5
Waypoint, Edit............................................. 254
Wheels
Alignment and Tire Balance..................... 432
Different Size........................................... 430
Replacement............................................ 432Windows....................................................... 81
Power........................................................ 82
Windshield
Rainsense™ Wipers................................. 145
Replacement............................................ 412
Washer.................................................... 146
Washer Fluid........................................... 397
Wiper Blade Replacement........................ 412
Wiper Blades, Cleaning............................ 447
Wiper Fuses............................................ 452
Wipers..................................................... 144
Winter Driving............................................. 349
Winter Tires................................................. 414
Wiper Activated Headlamps ......................... 166X
XM™ Satellite Radio Antenna System......... 230
Y
Your Vehicle and the Environment............... 462
512