change time CADILLAC XT5 2018 User Guide
[x] Cancel search | Manufacturer: CADILLAC, Model Year: 2018, Model line: XT5, Model: CADILLAC XT5 2018Pages: 380, PDF Size: 6.21 MB
Page 158 of 380
Cadillac XT5 Owner Manual (GMNA-Localizing-U.S./Canada/Mexico-
11349110) - 2018 - CRC - 9/28/17
INSTRUMENTS AND CONTROLS 157
Make sure the hand-held transmitter
has a new battery for quick and
accurate transmission of the
radio-frequency signal.
Programming the Universal
Remote System
For questions or help programming
the Universal Remote system, call
1-800-355-3515 or see
www.homelink.com.
Programming involves time-sensitive
actions, and may time out causing the
procedure to be repeated.
To program up to three devices:1. Hold the end of the hand-held transmitter about 3 to 8 cm (1 to
3 in) away from the Universal
Remote system buttons with the
indicator light in view. The
hand-held transmitter was
supplied by the manufacturer of
the garage door opener receiver.
2. At the same time, press and hold both the hand-held transmitter
button and one of the three
Universal Remote system
buttons to be used to operate the garage door. Do not release either
button until the indicator light
changes from a slow to a rapid
flash. Then release both buttons.
Some garage door openers may
require substitution of Step 2
with the procedure under
“Radio
Signals for Canada and Some
Gate Operators” later in this
section.
3. Press and hold the newly programmed Universal Remote
system button for five seconds
while watching the indicator
light and garage door activation.
.If the indicator light stays on
continuously or the garage
door moves when the button
is pressed, then programming
is complete. There is no need
to complete Steps 4–6.
. If the indicator light does not
come on or the garage door
does not move, a second
button press may be
required. For a second time,
press and hold the newly
programmed button for five seconds. If the light stays
on or the garage door moves,
programming is complete.
. If the indicator light blinks
rapidly for two seconds, then
changes to a solid light and
the garage door does not
move, continue with
programming Steps 4–6.
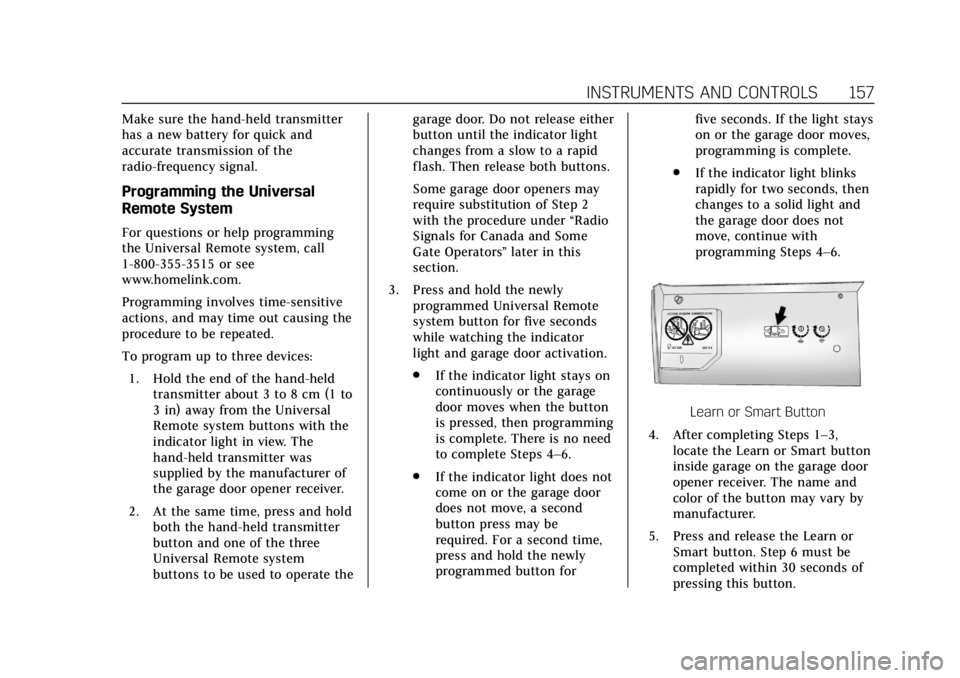
Learn or Smart Button
4. After completing Steps 1–3, locate the Learn or Smart button
inside garage on the garage door
opener receiver. The name and
color of the button may vary by
manufacturer.
5. Press and release the Learn or Smart button. Step 6 must be
completed within 30 seconds of
pressing this button.
Page 161 of 380
Cadillac XT5 Owner Manual (GMNA-Localizing-U.S./Canada/Mexico-
11349110) - 2018 - CRC - 9/28/17
160 LIGHTING
Lighting
Exterior Lighting
Exterior Lamp Controls . . . . . . . . . . 160
Exterior Lamps Off Reminder . . . 162
Headlamp High/Low-BeamChanger . . . . . . . . . . . . . . . . . . . . . . . . . . 162
Flash-to-Pass . . . . . . . . . . . . . . . . . . . . . 162
Daytime Running Lamps (DRL) . . . . . . . . . . . . . . . . . . . . 162
Automatic Headlamp System . . . 162
Hazard Warning Flashers . . . . . . . . 163
Turn and Lane-Change Signals . . . . . . . . . . . . . . . . . . . . . . . . . . . 163
Cornering Lamps . . . . . . . . . . . . . . . . . 164
Interior Lighting
Instrument Panel Illumination Control . . . . . . . . . . . . . . . . . . . . . . . . . . 164
Courtesy Lamps . . . . . . . . . . . . . . . . . . 164
Dome Lamps . . . . . . . . . . . . . . . . . . . . . 164
Reading Lamps . . . . . . . . . . . . . . . . . . . 165
Lighting Features
Entry Lighting . . . . . . . . . . . . . . . . . . . . 165
Exit Lighting . . . . . . . . . . . . . . . . . . . . . . 165
Battery Power Protection . . . . . . . . 166
Exterior Lighting Battery Saver . . . . . . . . . . . . . . . . . . . . . . . . . . . . . 166
Exterior Lighting
Exterior Lamp Controls
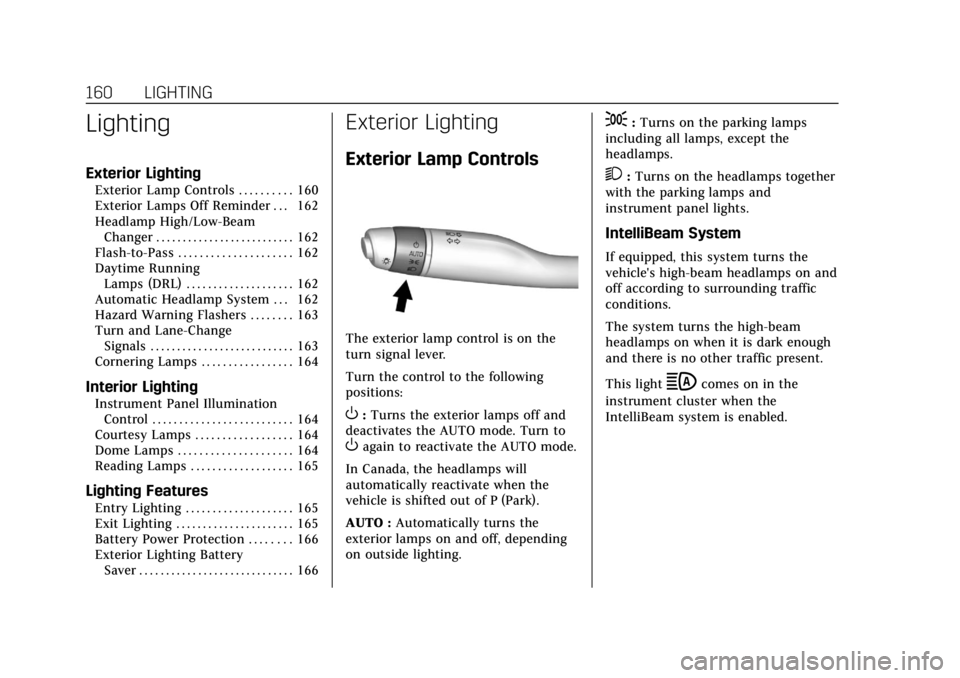
The exterior lamp control is on the
turn signal lever.
Turn the control to the following
positions:
O:Turns the exterior lamps off and
deactivates the AUTO mode. Turn to
Oagain to reactivate the AUTO mode.
In Canada, the headlamps will
automatically reactivate when the
vehicle is shifted out of P (Park).
AUTO : Automatically turns the
exterior lamps on and off, depending
on outside lighting.
;: Turns on the parking lamps
including all lamps, except the
headlamps.
2: Turns on the headlamps together
with the parking lamps and
instrument panel lights.
IntelliBeam System
If equipped, this system turns the
vehicle's high-beam headlamps on and
off according to surrounding traffic
conditions.
The system turns the high-beam
headlamps on when it is dark enough
and there is no other traffic present.
This light
bcomes on in the
instrument cluster when the
IntelliBeam system is enabled.
Page 163 of 380
Cadillac XT5 Owner Manual (GMNA-Localizing-U.S./Canada/Mexico-
11349110) - 2018 - CRC - 9/28/17
162 LIGHTING
Exterior Lamps Off
Reminder
A warning chime sounds if the driver
door is opened while the ignition is off
and the exterior lamps are on.
Headlamp High/Low-Beam
Changer
3
:Push the turn signal lever away
from you and release, to turn the high
beams on. To return to low beams,
push the lever again or pull it toward
you and release.
This indicator light turns on in the
instrument cluster when the
high-beam headlamps are on.
Flash-to-Pass
To flash the high beams, pull the turn
signal lever toward you, and release.
Daytime Running
Lamps (DRL)
DRL can make it easier for others to
see the front of your vehicle during
the day. Fully functional DRL are
required on all vehicles first sold in
Canada.
The dedicated DRL will come on when
all of the following conditions are met:
. The ignition is on.
. The exterior lamp control is
in AUTO.
. The light sensor determines it is
daytime.
. The parking brake is released or
the vehicle is not in P (Park).
When the DRL are on, the taillamps,
sidemarker lamps, and other lamps
will not be on.
The DRL turn off when the headlamps
are turned to
Oor the ignition is off.
For vehicles first sold in Canada, the
DRL can only be turned off when the
vehicle is parked.
Automatic Headlamp
System
When the exterior lamp control is set
to AUTO and it is dark enough
outside, the headlamps come on
automatically.
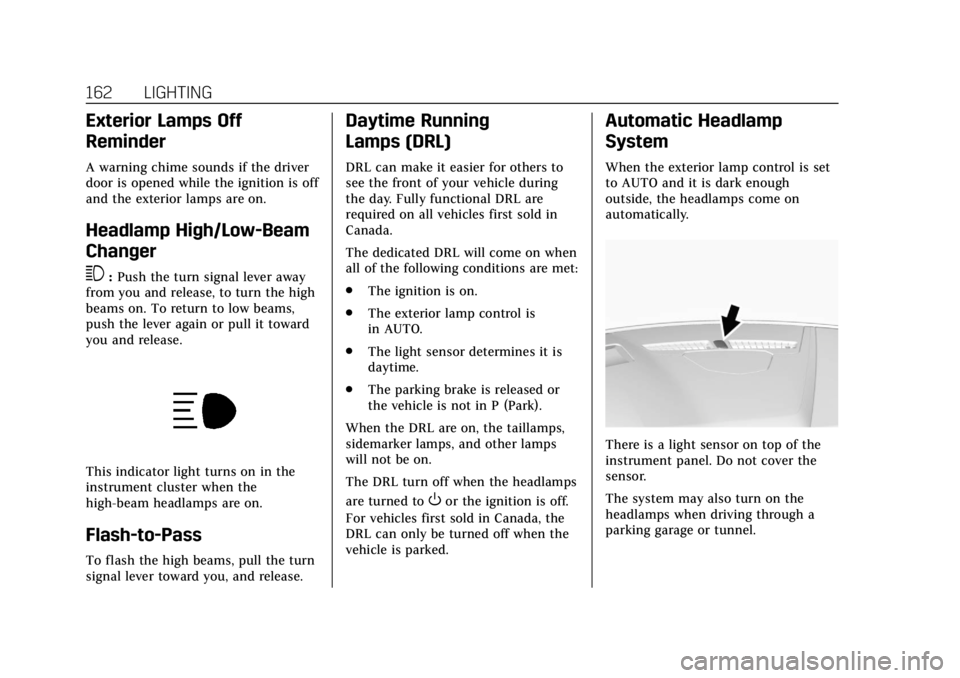
There is a light sensor on top of the
instrument panel. Do not cover the
sensor.
The system may also turn on the
headlamps when driving through a
parking garage or tunnel.
Page 164 of 380
Cadillac XT5 Owner Manual (GMNA-Localizing-U.S./Canada/Mexico-
11349110) - 2018 - CRC - 9/28/17
LIGHTING 163
If the vehicle is started in a dark
garage, the automatic headlamp
system comes on immediately. If it is
light outside when the vehicle leaves
the garage, there is a slight delay
before the automatic headlamp
system changes to the Daytime
Running Lamps (DRL). During that
delay, the instrument cluster may not
be as bright as usual. Make sure the
instrument panel brightness control is
in the full bright position. See
Instrument Panel Illumination Control
0164.
When it is bright enough outside, the
headlamps will turn off or may change
to DRL.
The automatic headlamp system turns
off when the exterior lamp control is
turned to
Oor the ignition is off.
For vehicles sold in Canada, this
control only works when the
transmission is in P (Park).
Lights On with Wipers
If the windshield wipers are activated
in daylight with the engine on, and
the exterior lamp control is in AUTO, the headlamps, parking lamps, and
other exterior lamps come on. The
transition time for the lamps coming
on varies based on wiper speed. When
the wipers are not operating, these
lamps turn off. Move the exterior
lamp control to
Oor;to disable
this feature.
Hazard Warning Flashers
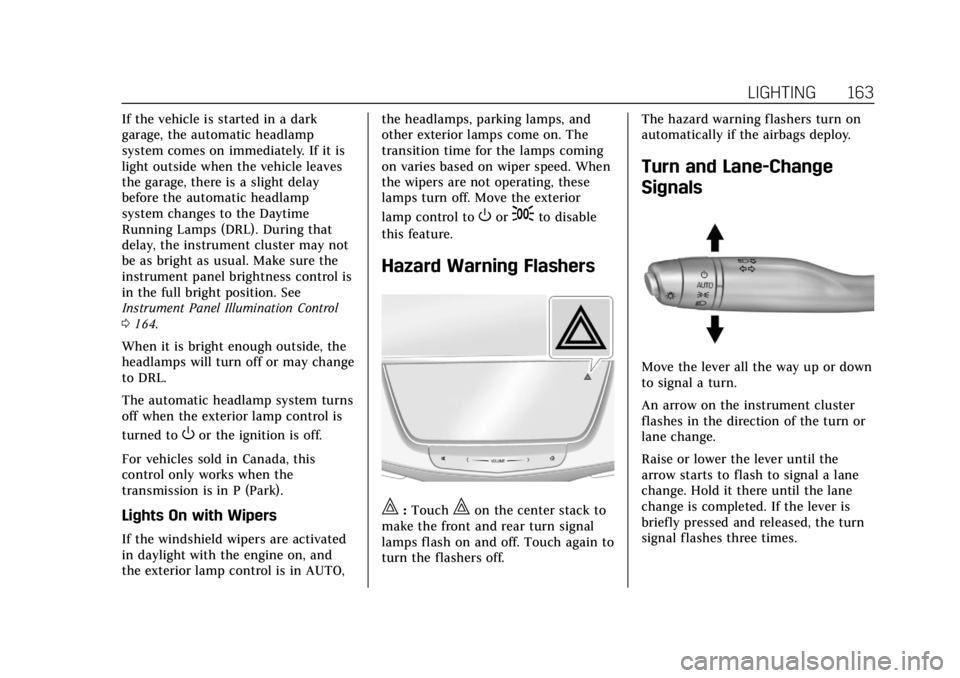
|: Touch|on the center stack to
make the front and rear turn signal
lamps flash on and off. Touch again to
turn the flashers off. The hazard warning flashers turn on
automatically if the airbags deploy.
Turn and Lane-Change
Signals
Move the lever all the way up or down
to signal a turn.
An arrow on the instrument cluster
flashes in the direction of the turn or
lane change.
Raise or lower the lever until the
arrow starts to flash to signal a lane
change. Hold it there until the lane
change is completed. If the lever is
briefly pressed and released, the turn
signal flashes three times.
Page 167 of 380

Cadillac XT5 Owner Manual (GMNA-Localizing-U.S./Canada/Mexico-
11349110) - 2018 - CRC - 9/28/17
166 LIGHTING
door is opened after the ignition is
turned off. The dome lamp comes on
after the ignition is turned off. The
exterior lamps and dome lamp remain
on for a set amount of time, then
automatically turn off.
The exterior lamps turn off
immediately by turning the exterior
lamp control off.
This feature can be changed. See
Vehicle Personalization0148.
Battery Power Protection
The battery saver feature is designed
to protect the vehicle's battery.
If some interior lamps are left on and
the ignition is turned off, the battery
rundown protection system
automatically turns the lamp off after
some time.
Exterior Lighting Battery
Saver
The exterior lamps turn off about
10 minutes after the ignition is turned
off, if the parking lamps or headlamps
have been manually left on. This protects against draining the battery.
To restart the 10-minute timer, turn
the exterior lamp control to the off
position and then back to the parking
lamp or headlamp position.
To keep the lamps on for more than
10 minutes, the ignition must be on or
in ACC/ACCESSORY.
Page 191 of 380
Cadillac XT5 Owner Manual (GMNA-Localizing-U.S./Canada/Mexico-
11349110) - 2018 - CRC - 9/28/17
190 DRIVING AND OPERATING
Service Mode
This mode is available to verify the
proper operation of the malfunction
indicator lamp as may be required for
emissions inspection purposes and for
service and diagnostics. SeeAutomatic
Transmission 0196.
With the vehicle off, and the brake
pedal not applied, pressing and
holding ENGINE START/STOP for
more than five seconds will place the
vehicle in Service Mode. The
instruments and audio systems will
operate as they do in ON/RUN, but
the vehicle will not be able to be
driven. The engine will not start in
Service Mode. Press ENGINE START/
STOP again to turn the vehicle off.
Starting the Engine
Place the transmission in the proper
gear, P (Park) or N (Neutral). To restart
the engine when the vehicle is already
moving, use N (Neutral).
Caution
Do not try to shift to P (Park) if the
vehicle is moving. If you do, you
could damage the transmission.
Shift to P (Park) only when the
vehicle is stopped.
Caution
If you add electrical parts or
accessories, you could change the
way the engine operates. Any
resulting damage would not be
covered by the vehicle warranty. See
Add-On Electrical Equipment 0248.
To start the vehicle: 1. With the Keyless Access system, the RKE transmitter must be in
the vehicle. Press ENGINE
START/STOP with the brake
pedal applied. When the engine
begins cranking, let go of the
button. The idle speed will go down as the engine warms up.
Do not race the engine
immediately after starting it.
If the RKE transmitter is not in
the vehicle, if there is
interference, or if the RKE
battery is low, a Driver
Information Center (DIC)
message will display. See
Remote
Keyless Entry (RKE) System
Operation 028.Caution
Cranking the engine for long
periods of time, by pressing
ENGINE START/STOP immediately
after cranking has ended, can
overheat and damage the cranking
motor, and drain the battery. Wait
at least 15 seconds between each
try, to let the cranking motor
cool down.
Page 203 of 380
Cadillac XT5 Owner Manual (GMNA-Localizing-U.S./Canada/Mexico-
11349110) - 2018 - CRC - 9/28/17
202 DRIVING AND OPERATING
The AWD Mode will stay selected
until the mode is changed. If the
vehicle is placed in Sport Mode, see
Driver Mode Control0207.
Sport Mode is canceled with each
ignition cycle. See Driver Mode Control
0 207.
When operated in Tour Mode, the
vehicle will deliver power to the front
wheels only and may provide better
fuel economy.
If Tour Mode is selected see Driver
Mode Control 0207.Brakes
Antilock Brake
System (ABS)
This vehicle has an Antilock Brake
System (ABS), an advanced electronic
braking system that helps prevent a
braking skid.
When the vehicle begins to drive
away, ABS checks itself. A momentary
motor or clicking noise may be heard
while this test is going on, and it may
even be noticed that the brake pedal
moves a little. This is normal.
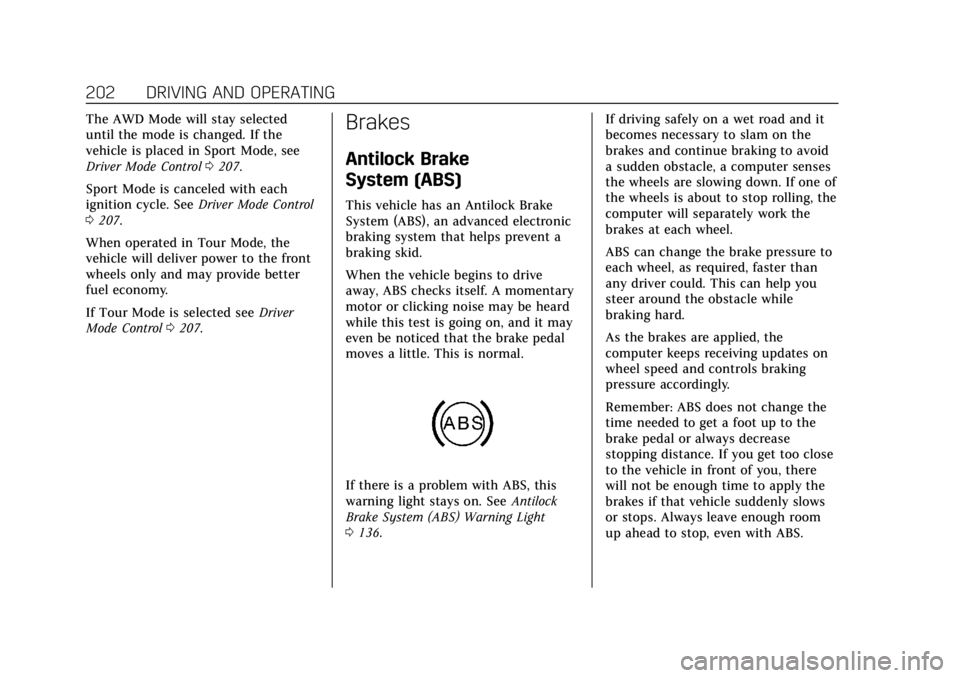
If there is a problem with ABS, this
warning light stays on. See Antilock
Brake System (ABS) Warning Light
0 136. If driving safely on a wet road and it
becomes necessary to slam on the
brakes and continue braking to avoid
a sudden obstacle, a computer senses
the wheels are slowing down. If one of
the wheels is about to stop rolling, the
computer will separately work the
brakes at each wheel.
ABS can change the brake pressure to
each wheel, as required, faster than
any driver could. This can help you
steer around the obstacle while
braking hard.
As the brakes are applied, the
computer keeps receiving updates on
wheel speed and controls braking
pressure accordingly.
Remember: ABS does not change the
time needed to get a foot up to the
brake pedal or always decrease
stopping distance. If you get too close
to the vehicle in front of you, there
will not be enough time to apply the
brakes if that vehicle suddenly slows
or stops. Always leave enough room
up ahead to stop, even with ABS.
Page 212 of 380
Cadillac XT5 Owner Manual (GMNA-Localizing-U.S./Canada/Mexico-
11349110) - 2018 - CRC - 9/28/17
DRIVING AND OPERATING 211
{Warning
ACC has limited braking ability and
may not have time to slow the
vehicle down enough to avoid a
collision with another vehicle you
are following. This can occur when
vehicles suddenly slow or stop
ahead, or enter your lane. Also see
“Alerting the Driver”in this section.
Complete attention is always
required while driving and you
should be ready to take action and
apply the brakes. See Defensive
Driving 0179.
{Warning
ACC will not detect or brake for
children, pedestrians, animals,
or other objects.
Do not use ACC when:
. On winding and hilly roads or
when the sensors are blocked
by snow, ice, or dirt. The
system may not detect a
vehicle ahead. Keep the entire
front of the vehicle clean.
. Visibility is low, such as in
fog, rain, or snow conditions.
ACC performance is limited
under these conditions.
. On slippery roads where fast
changes in tire traction can
cause excessive wheel slip.
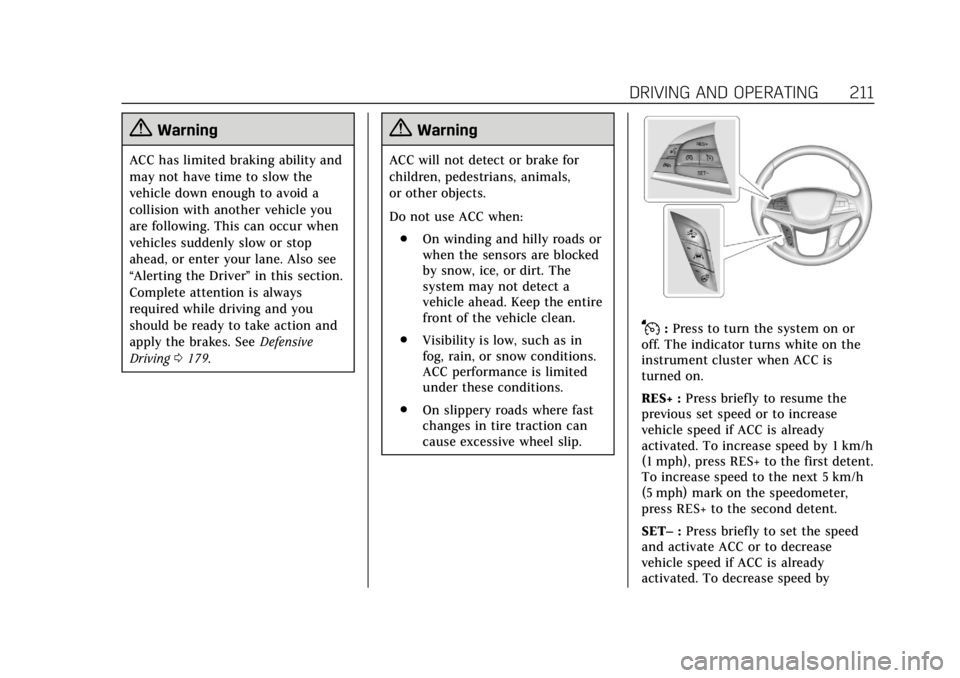
J:Press to turn the system on or
off. The indicator turns white on the
instrument cluster when ACC is
turned on.
RES+ : Press briefly to resume the
previous set speed or to increase
vehicle speed if ACC is already
activated. To increase speed by 1 km/h
(1 mph), press RES+ to the first detent.
To increase speed to the next 5 km/h
(5 mph) mark on the speedometer,
press RES+ to the second detent.
SET– :Press briefly to set the speed
and activate ACC or to decrease
vehicle speed if ACC is already
activated. To decrease speed by
Page 215 of 380
Cadillac XT5 Owner Manual (GMNA-Localizing-U.S./Canada/Mexico-
11349110) - 2018 - CRC - 9/28/17
214 DRIVING AND OPERATING
vehicle speed increases to the next
5 km/h (5 mph) mark on the
speedometer.
The set speed can also be increased
while the vehicle is stopped.
. If stopped with the brake applied,
press RES+ until the desired set
speed is displayed.
. If ACC is holding the vehicle at a
stop and there is another vehicle
directly ahead, pressing RES+ will
increase the set speed. Pressing
RES+ when there is no longer a
vehicle ahead will cause the ACC
to resume.
When it is determined that there is no
vehicle ahead or the vehicle ahead is
beyond the selected following gap,
then the vehicle speed will increase to
the set speed.
The speedometer reading can be
displayed in either English or metric
units. See Instrument Cluster (Uplevel
Cluster) 0125 orInstrument Cluster
(Base Level Cluster) 0123. The
increment value used depends on the
units displayed. Reducing Speed While ACC is at a
Set Speed
If ACC is already activated, do one of
the following:
.
Use the brake to get to the desired
lower speed. Release the brake and
press SET– . The vehicle will now
cruise at the lower speed.
. Press and hold SET– until the
desired lower speed is reached,
then release it.
. To decrease the vehicle speed in
smaller increments, press SET− to
the first detent. For each press, the
vehicle goes about 1 km/h (1 mph)
slower.
. To decrease the vehicle speed in
larger increments, press SET− to
the second detent. For each press,
the vehicle speed decreases to the
next 5 km/h (5 mph) mark on the
speedometer.
. To decrease speed while the
vehicle is stopped, press SET−
until the desired set speed is
displayed. The speedometer reading can be
displayed in either English or metric
units. See
Instrument Cluster (Uplevel
Cluster) 0125 orInstrument Cluster
(Base Level Cluster) 0123. The
increment value used depends on the
units displayed.
Selecting the Follow Distance Gap
When a slower moving vehicle is
detected ahead within the selected
following gap, ACC will adjust the
vehicle's speed and attempt to
maintain the follow distance gap
selected.
Press
[on the steering wheel to
adjust the following gap. Each press
cycles the gap button through three
settings: Far, Medium, or Near.
When pressed, the current gap setting
displays briefly on the instrument
cluster and HUD. The gap setting will
be maintained until it is changed.
Since each gap setting corresponds to
a following time (Far, Medium,
or Near), the following distance will
vary based on vehicle speed. The
faster the vehicle speed, the further
Page 216 of 380
Cadillac XT5 Owner Manual (GMNA-Localizing-U.S./Canada/Mexico-
11349110) - 2018 - CRC - 9/28/17
DRIVING AND OPERATING 215
back your vehicle will follow a vehicle
detected ahead. Consider traffic and
weather conditions when selecting the
following gap. The range of selectable
gaps may not be appropriate for all
drivers and driving conditions.
Changing the gap setting
automatically changes the alert timing
sensitivity (Far, Medium, or Near) for
the Forward Collision Alert (FCA)
feature. SeeForward Collision Alert
(FCA) System 0226.
Alerting the Driver
With Head-Up Display
Without Head-Up Display
If ACC is engaged, driver action may
be required when ACC cannot apply
sufficient braking because of
approaching a vehicle too rapidly.
When this condition occurs, six red
lights or the collision alert symbol on
the HUD, if equipped, will flash on the
windshield. Either eight beeps will
sound from the front, or both sides of
the Safety Alert Seat will pulse five
times. See “Collision/Detection
Systems” underVehicle Personalization
0 148.
See Defensive Driving 0179. Approaching and Following a
Vehicle
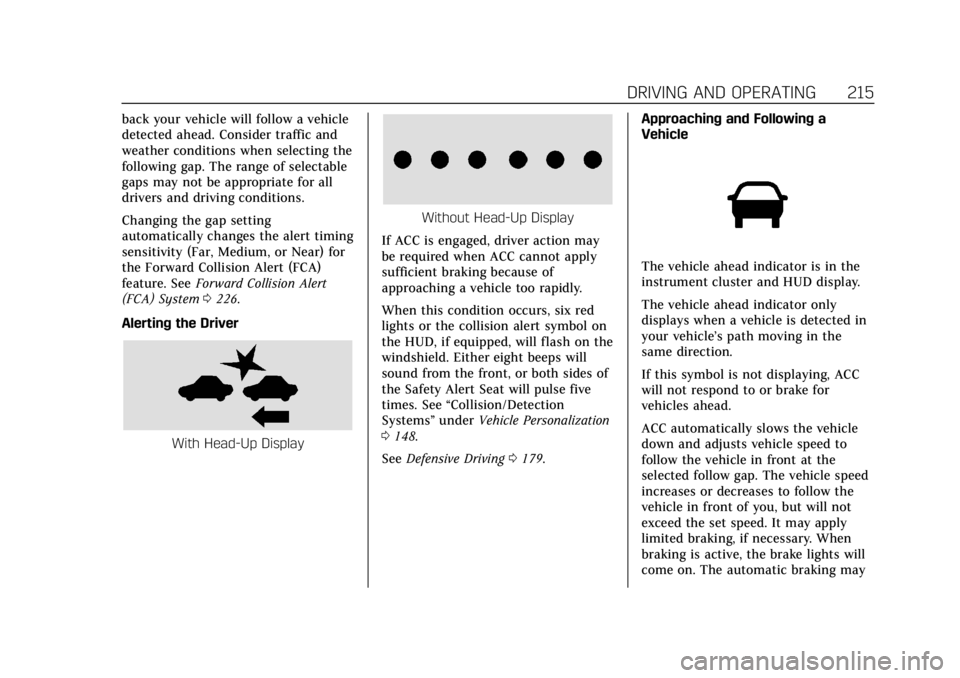
The vehicle ahead indicator is in the
instrument cluster and HUD display.
The vehicle ahead indicator only
displays when a vehicle is detected in
your vehicle’s path moving in the
same direction.
If this symbol is not displaying, ACC
will not respond to or brake for
vehicles ahead.
ACC automatically slows the vehicle
down and adjusts vehicle speed to
follow the vehicle in front at the
selected follow gap. The vehicle speed
increases or decreases to follow the
vehicle in front of you, but will not
exceed the set speed. It may apply
limited braking, if necessary. When
braking is active, the brake lights will
come on. The automatic braking may