steering CADILLAC XT5 2020 Service Manual
[x] Cancel search | Manufacturer: CADILLAC, Model Year: 2020, Model line: XT5, Model: CADILLAC XT5 2020Pages: 384, PDF Size: 6.52 MB
Page 176 of 384
DRIVING AND OPERATING 175
the Remote Keyless Entry (RKE)
system. SeeRemote Keyless Entry
(RKE) System Operation 010.
To shift out of P (Park), the vehicle
must be turned on and the brake
pedal must be applied.
Stopping the Engine/OFF (No
Indicator Light) : When the vehicle is
stopped, press ENGINE START/STOP
once to turn the engine off.
If the vehicle is in P (Park), the
ignition will turn off, and Retained
Accessory Power (RAP) will remain
active. See Retained Accessory Power
(RAP) 0180.
If the vehicle is in R (Reverse),
D (Drive) or M (Manual Mode), the
vehicle will shift to P (Park), the
ignition will turn off, and Retained
Accessory Power (RAP) will remain
active. See Retained Accessory Power
(RAP) 0180.
If the vehicle is in N (Neutral), the
ignition will return to ACC/
ACCESSORY and display the message
SHIFT TO PARK in the Driver Information Center (DIC). When the
vehicle is shifted into P (Park), the
ignition will turn off.
{Warning
Turning off the vehicle while
moving may cause loss of power
assist in the brake and steering
systems and disable the airbags.
While driving, only shut the vehicle
off in an emergency.
If the vehicle must be shut off in an
emergency: 1. Brake using a firm and steady pressure. Do not pump the
brakes repeatedly. This may
deplete power assist, requiring
increased brake pedal force.
2. Shift the vehicle to N (Neutral). This can be done while the
vehicle is moving. After shifting
to N (Neutral), firmly apply the
brakes and steer the vehicle to a
safe location.
3. Come to a complete stop and shift to P (Park). 4. Set the parking brake. See
Electric Parking Brake 0191.
Press ENGINE START/STOP to
turn the vehicle off.
If the vehicle cannot be pulled over
and must be shut off while driving,
press and hold ENGINE START/STOP
for longer than two seconds, or press
twice in five seconds.
ACC/ACCESSORY (Amber Indicator
Light) : This mode allows you to use
some electrical accessories when the
engine is off.
With the ignition off, pressing
ENGINE START/STOP once without
the brake pedal applied will place the
ignition system in ACC/ACCESSORY.
The ignition will switch from ACC/
ACCESSORY to OFF after 10 minutes
to prevent battery rundown.
ON/RUN/START (Green Indicator
Light) : This mode is for driving and
starting. With the ignition off and the
brake pedal applied, pressing ENGINE
START/STOP once will place the
ignition system in ON/RUN/START.
Once engine cranking begins, release
the button. Engine cranking will
Page 190 of 384
DRIVING AND OPERATING 189
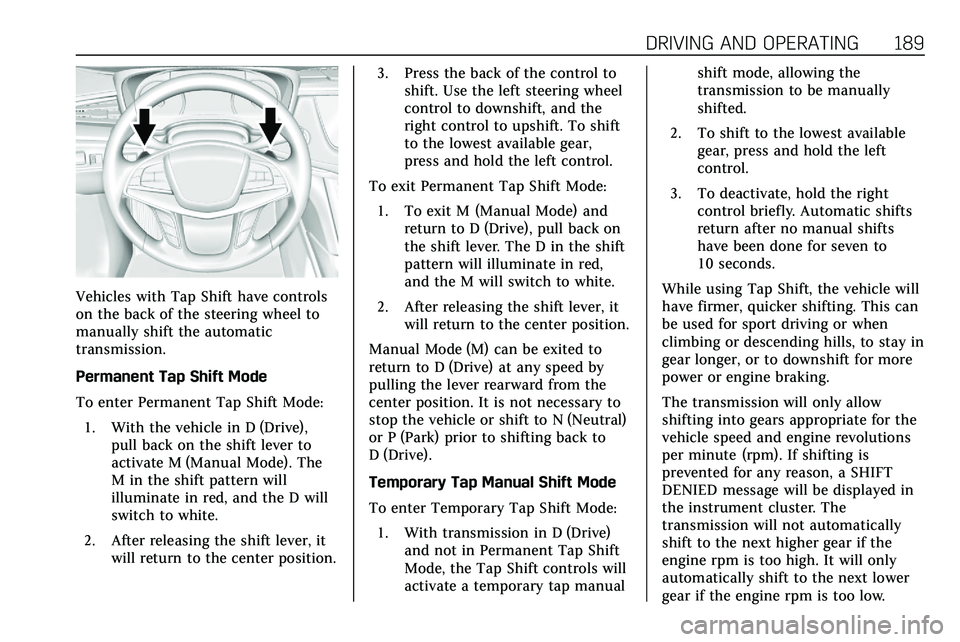
Vehicles with Tap Shift have controls
on the back of the steering wheel to
manually shift the automatic
transmission.
Permanent Tap Shift Mode
To enter Permanent Tap Shift Mode:1. With the vehicle in D (Drive), pull back on the shift lever to
activate M (Manual Mode). The
M in the shift pattern will
illuminate in red, and the D will
switch to white.
2. After releasing the shift lever, it will return to the center position. 3. Press the back of the control to
shift. Use the left steering wheel
control to downshift, and the
right control to upshift. To shift
to the lowest available gear,
press and hold the left control.
To exit Permanent Tap Shift Mode: 1. To exit M (Manual Mode) and return to D (Drive), pull back on
the shift lever. The D in the shift
pattern will illuminate in red,
and the M will switch to white.
2. After releasing the shift lever, it will return to the center position.
Manual Mode (M) can be exited to
return to D (Drive) at any speed by
pulling the lever rearward from the
center position. It is not necessary to
stop the vehicle or shift to N (Neutral)
or P (Park) prior to shifting back to
D (Drive).
Temporary Tap Manual Shift Mode
To enter Temporary Tap Shift Mode: 1. With transmission in D (Drive) and not in Permanent Tap Shift
Mode, the Tap Shift controls will
activate a temporary tap manual shift mode, allowing the
transmission to be manually
shifted.
2. To shift to the lowest available gear, press and hold the left
control.
3. To deactivate, hold the right control briefly. Automatic shifts
return after no manual shifts
have been done for seven to
10 seconds.
While using Tap Shift, the vehicle will
have firmer, quicker shifting. This can
be used for sport driving or when
climbing or descending hills, to stay in
gear longer, or to downshift for more
power or engine braking.
The transmission will only allow
shifting into gears appropriate for the
vehicle speed and engine revolutions
per minute (rpm). If shifting is
prevented for any reason, a SHIFT
DENIED message will be displayed in
the instrument cluster. The
transmission will not automatically
shift to the next higher gear if the
engine rpm is too high. It will only
automatically shift to the next lower
gear if the engine rpm is too low.
Page 191 of 384
190 DRIVING AND OPERATING
Drive Systems
All-Wheel Drive
Vehicles with this feature can operate
in All-Wheel Drive (AWD) Mode. See
Driver Mode Control0195.
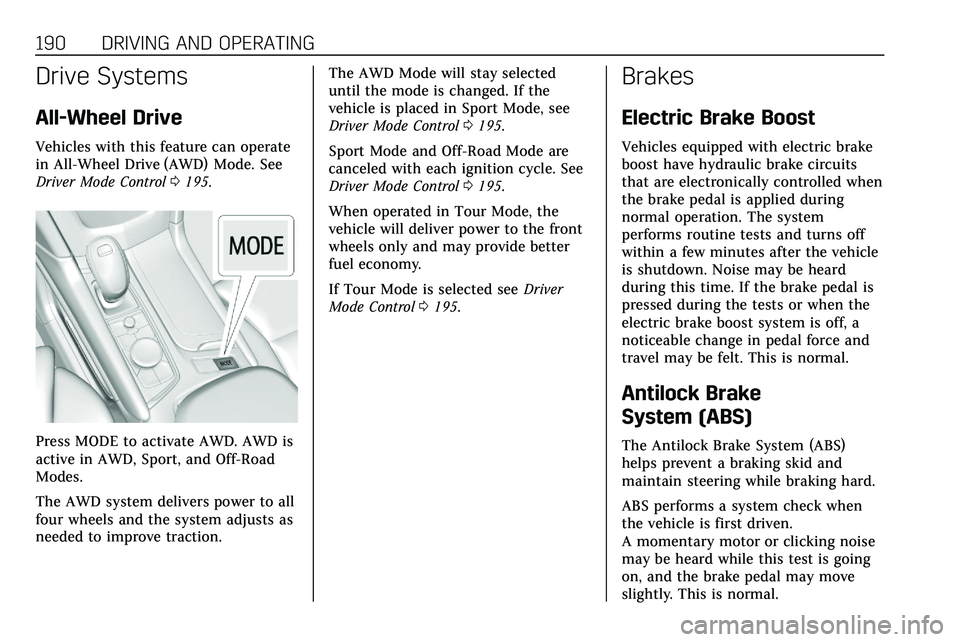
Press MODE to activate AWD. AWD is
active in AWD, Sport, and Off-Road
Modes.
The AWD system delivers power to all
four wheels and the system adjusts as
needed to improve traction. The AWD Mode will stay selected
until the mode is changed. If the
vehicle is placed in Sport Mode, see
Driver Mode Control
0195.
Sport Mode and Off-Road Mode are
canceled with each ignition cycle. See
Driver Mode Control 0195.
When operated in Tour Mode, the
vehicle will deliver power to the front
wheels only and may provide better
fuel economy.
If Tour Mode is selected see Driver
Mode Control 0195.
Brakes
Electric Brake Boost
Vehicles equipped with electric brake
boost have hydraulic brake circuits
that are electronically controlled when
the brake pedal is applied during
normal operation. The system
performs routine tests and turns off
within a few minutes after the vehicle
is shutdown. Noise may be heard
during this time. If the brake pedal is
pressed during the tests or when the
electric brake boost system is off, a
noticeable change in pedal force and
travel may be felt. This is normal.
Antilock Brake
System (ABS)
The Antilock Brake System (ABS)
helps prevent a braking skid and
maintain steering while braking hard.
ABS performs a system check when
the vehicle is first driven.
A momentary motor or clicking noise
may be heard while this test is going
on, and the brake pedal may move
slightly. This is normal.
Page 192 of 384

DRIVING AND OPERATING 191
If there is a problem with ABS, this
warning light stays on. SeeAntilock
Brake System (ABS) Warning Light
0 118.
ABS does not change the time needed
to get a foot on the brake pedal and
does not always decrease stopping
distance. If you get too close to the
vehicle ahead, there will not be
enough time to apply the brakes if
that vehicle suddenly slows or stops.
Always leave enough room ahead to
stop, even with ABS.
Using ABS
Do not pump the brakes. Just hold the
brake pedal down firmly. Hearing or
feeling ABS operate is normal.
Braking in Emergencies
ABS allows steering and braking at the
same time. In many emergencies,
steering can help even more than
braking.
Electric Parking Brake
The vehicle has an Electric Parking
Brake (EPB). The EPB can always be
activated, even if the ignition is off. To
prevent draining the battery, avoid
repeated cycles of the EPB system
when the engine is not running. The system has a
Y,f, or PARK
Electric Parking Brake light, and a
8
Service Parking Brake light. See
Electric Parking Brake Light 0118 and
Service Electric Parking Brake Light
0 118.
Before leaving the vehicle, check for
the
Y,f, or PARK light to ensure
that the parking brake is applied.
EPB Apply
To apply the EPB:
1. Be sure the vehicle is at a complete stop.
2. Press the EPB switch momentarily.
The
Y,f, or PARK light will flash
and then stay on once the EPB is fully
applied. If the
Y,f, or PARK light
flashes continuously, then the EPB is
only partially applied or there is a
problem with the EPB. A DIC message
will display. Release the EPB and try
to apply it again. If the light does not
come on, or keeps flashing, have the
vehicle serviced. Do not drive the
Page 195 of 384

194 DRIVING AND OPERATING
the vehicle is actually traveling.
StabiliTrak/ESC selectively applies
braking pressure at any one of the
vehicle's brakes to help steer the
vehicle in the direction which you are
steering.
If cruise control is being used and
traction control or StabiliTrak/ESC
begins to limit wheel spin, cruise
control will disengage. Cruise control
may be turned back on when road
conditions allow. TCS and StabiliTrak/
ESC will automatically turn on when
cruise control is set.
Both systems come on automatically
when the vehicle is started and begins
to move. The systems may be heard or
felt while they are operating or while
performing diagnostic checks. This is
normal and does not mean there is a
problem with the vehicle.
It is recommended to leave both
systems on for normal driving
conditions, but it may be necessary to
turn TCS off if the vehicle gets stuck
in sand, mud, ice, or snow. SeeIf the
Vehicle Is Stuck 0170 and “Turning
the Systems Off and On ”later in this
section.
The indicator light for both systems is
in the instrument cluster. This
light will:
. Flash when TCS is limiting
wheel spin
. Flash when StabiliTrak/ESC is
activated
. Turn on and stay on when either
system is not working
If either system fails to turn on or to
activate, a message may display in the
Driver Information Center (DIC), and
dcomes on and stays on to indicate
that the system is inactive and is not
assisting the driver in maintaining
control. The vehicle is safe to drive,
but driving should be adjusted
accordingly.
If
dcomes on and stays on:
1. Stop the vehicle. 2. Turn the engine off and wait
15 seconds.
3. Start the engine.
Drive the vehicle. If
dcomes on and
stays on, the vehicle may need more
time to diagnose the problem. If the
condition persists, see your dealer.
Turning the Systems Off and On
Caution
Do not repeatedly brake or
accelerate heavily when TCS is off.
The vehicle driveline could be
damaged.
Page 196 of 384
DRIVING AND OPERATING 195
To turn off only TCS, press and
release
g. The Traction Off lighti
displays in the instrument cluster and
a DIC message may display. To turn
TCS on again, press and release
g.
The Traction Off light
idisplayed in
the instrument cluster will turn off
and a DIC message may display.
If TCS is limiting wheel spin when
g
is pressed, the system will not turn off
until the wheels stop spinning.
To turn off both TCS and StabiliTrak/
ESC, press and hold
guntil the
Traction Off light
iand StabiliTrak/
ESC Off light
gcome on and stay on
in the instrument cluster. A DIC
message may display. To turn TCS and
StabiliTrak/ESC on again, press and
release
g. The Traction Off lighti
and StabiliTrak/ESC Off lightgin the
instrument cluster turn off and a DIC
message may display.
StabiliTrak will automatically turn on
if the vehicle exceeds 56 km/h
(36 mph). Traction control will
remain off. Adding accessories can affect vehicle
performance. See
Accessories and
Modifications 0249.
Driver Mode Control
If equipped, the Driver Mode Control
has the following modes: Tour, Sport,
All-Wheel Drive (AWD), Snow/Ice
(Front-Wheel Drive vehicles only), and
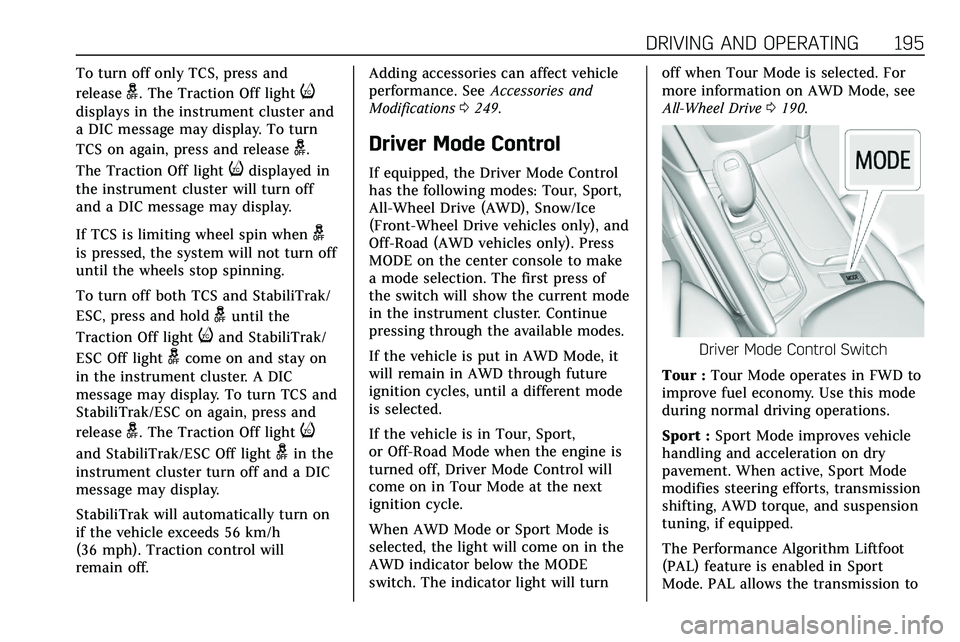
Off-Road (AWD vehicles only). Press
MODE on the center console to make
a mode selection. The first press of
the switch will show the current mode
in the instrument cluster. Continue
pressing through the available modes.
If the vehicle is put in AWD Mode, it
will remain in AWD through future
ignition cycles, until a different mode
is selected.
If the vehicle is in Tour, Sport,
or Off-Road Mode when the engine is
turned off, Driver Mode Control will
come on in Tour Mode at the next
ignition cycle.
When AWD Mode or Sport Mode is
selected, the light will come on in the
AWD indicator below the MODE
switch. The indicator light will turn off when Tour Mode is selected. For
more information on AWD Mode, see
All-Wheel Drive
0190.
Driver Mode Control Switch
Tour : Tour Mode operates in FWD to
improve fuel economy. Use this mode
during normal driving operations.
Sport : Sport Mode improves vehicle
handling and acceleration on dry
pavement. When active, Sport Mode
modifies steering efforts, transmission
shifting, AWD torque, and suspension
tuning, if equipped.
The Performance Algorithm Liftfoot
(PAL) feature is enabled in Sport
Mode. PAL allows the transmission to
Page 203 of 384
202 DRIVING AND OPERATING
.To increase vehicle speed in small
increments, briefly press RES+. For
each press, the vehicle goes
1 km/h (1 mph) faster.
. To increase vehicle speed in larger
increments, hold RES+. While
holding RES+, the vehicle speed
increases to the next 5 km/h
(5 mph) step, then continues to
increase by 5 km/h (5 mph) at
a time.
The set speed can also be increased
while the vehicle is stopped.
. If stopped with the brake applied,
press RES+ until the desired set
speed is displayed.
. If ACC is holding the vehicle at a
stop and there is another vehicle
directly ahead, pressing RES+ will
increase the set speed. Pressing
RES+ when there is no longer a
vehicle ahead will cause the ACC
to resume.
When it is determined that there is no
vehicle ahead or the vehicle ahead is
beyond the selected following gap,
then the vehicle speed will increase to
the set speed. The speedometer reading can be
displayed in either English or metric
units. See
Instrument Cluster 0108.
The increment value used depends on
the units displayed.
Reducing Speed While ACC is at a
Set Speed
If ACC is already activated, do one of
the following:
. Use the brake to get to the desired
lower speed. Release the brake and
press SET– . The vehicle will now
cruise at the lower speed.
. Press and hold SET– until the
desired lower speed is reached,
then release it.
. To decrease the vehicle speed in
smaller increments, briefly press
SET− to the first detent. For each
press, the vehicle goes about
1 km/h (1 mph) slower.
. To decrease the vehicle speed in
larger increments, press and hold
SET−. While holding SET−, the
vehicle speed decreases to the
next 5 km/h (5 mph) step, then
continues to decrease by 5 km/h
(5 mph) at a time. .
To decrease speed while the
vehicle is stopped, press SET−
until the desired set speed is
displayed.
The speedometer reading can be
displayed in either English or metric
units. See Instrument Cluster 0108.
The increment value used depends on
the units displayed.
Selecting the Follow Distance Gap
When a slower moving vehicle is
detected ahead within the selected
following gap, ACC will adjust the
vehicle's speed and attempt to
maintain the follow distance gap
selected.
Press
[on the steering wheel to
adjust the following gap. Each press
cycles the gap button through three
settings: Far, Medium, or Near.
When pressed, the current gap setting
displays briefly on the instrument
cluster and HUD. The gap setting will
be maintained until it is changed.
Since each gap setting corresponds to
a following time (Far, Medium,
or Near), the following distance will
Page 216 of 384
DRIVING AND OPERATING 215
Warning (Continued)
APA does not detect or avoid traffic
that is behind or alongside of the
vehicle. Always be prepared to stop
the vehicle during the parking
maneuver.
Press
Oon the center stack to enable
the system to search for a parking
space that is large enough and within
1.5 m (5 ft) of the vehicle. The vehicle
speed must be below
30 km/h (18 mph). The system cannot:
. Detect whether it is a legal parking
space.
. Park exactly lined up with the
vehicle next to it if the spot is
approached at an angle or if the
parking space is angled.
. Park exactly centered in a spot
that is marked too large.
. Always detect short curbs.
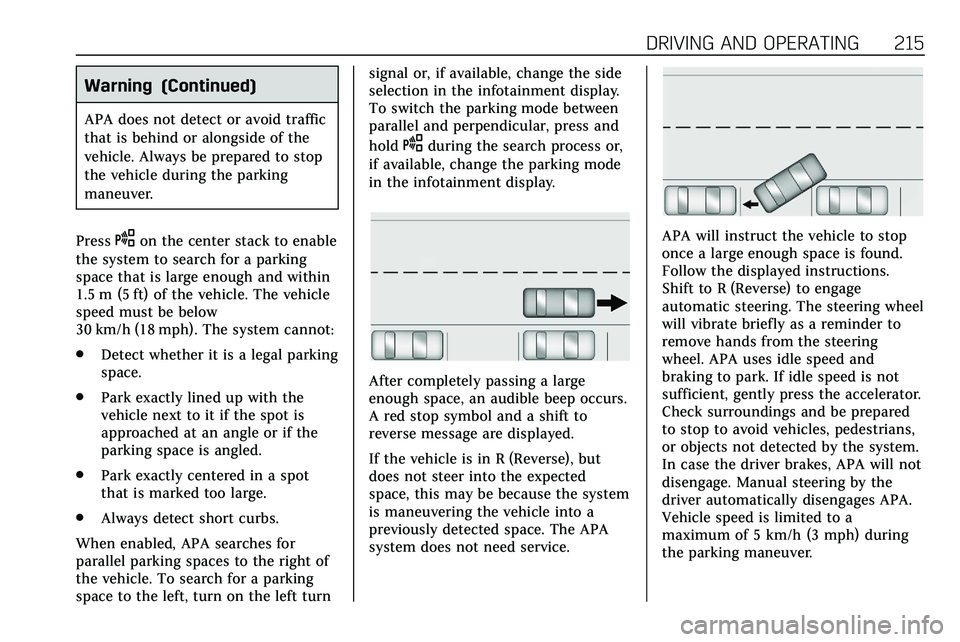
When enabled, APA searches for
parallel parking spaces to the right of
the vehicle. To search for a parking
space to the left, turn on the left turn signal or, if available, change the side
selection in the infotainment display.
To switch the parking mode between
parallel and perpendicular, press and
hold
Oduring the search process or,
if available, change the parking mode
in the infotainment display.
After completely passing a large
enough space, an audible beep occurs.
A red stop symbol and a shift to
reverse message are displayed.
If the vehicle is in R (Reverse), but
does not steer into the expected
space, this may be because the system
is maneuvering the vehicle into a
previously detected space. The APA
system does not need service.
APA will instruct the vehicle to stop
once a large enough space is found.
Follow the displayed instructions.
Shift to R (Reverse) to engage
automatic steering. The steering wheel
will vibrate briefly as a reminder to
remove hands from the steering
wheel. APA uses idle speed and
braking to park. If idle speed is not
sufficient, gently press the accelerator.
Check surroundings and be prepared
to stop to avoid vehicles, pedestrians,
or objects not detected by the system.
In case the driver brakes, APA will not
disengage. Manual steering by the
driver automatically disengages APA.
Vehicle speed is limited to a
maximum of 5 km/h (3 mph) during
the parking maneuver.
Page 217 of 384
216 DRIVING AND OPERATING
A progress arrow displays the status
of the parking maneuver. Depending
on the space size, additional
maneuvers may be required, and there
will be additional instructions. When
changing gears, allow the automatic
steering to complete before continuing
the parking maneuver. APA will beep
and display a PARKING COMPLETE
message. Apply the brakes and place
the vehicle in P (Park).
APA may automatically disengage if:
.The steering wheel is used by the
driver.
. The maximum allowed speed is
exceeded.
. The parking brake is applied or the
vehicle is shifted into P (Park).
. There is a failure with the APA
system.
. Electronic stability control or
antilock brakes are activated.
. A high priority vehicle message is
displayed in the DIC.
. The driver opens the door with an
unbuckled seat belt. The brake holds the vehicle until the
parking brake or brake is applied,
or the vehicle is shifted into P (Park).
To cancel APA, press
Oagain.
When the System Does Not Seem to
Work Properly
The APA system may require a short
period of driving along curves to
calibrate.
Rear Pedestrian Alert
Under certain conditions, this feature
can provide alerts for a pedestrian
within the system’s range directly
behind the vehicle. This feature only
works in R (Reverse) below 12 km/h
(8 mph), and detects pedestrians up to
8 m (26 ft) away during daytime
driving. During nighttime driving,
feature performance is very limited.
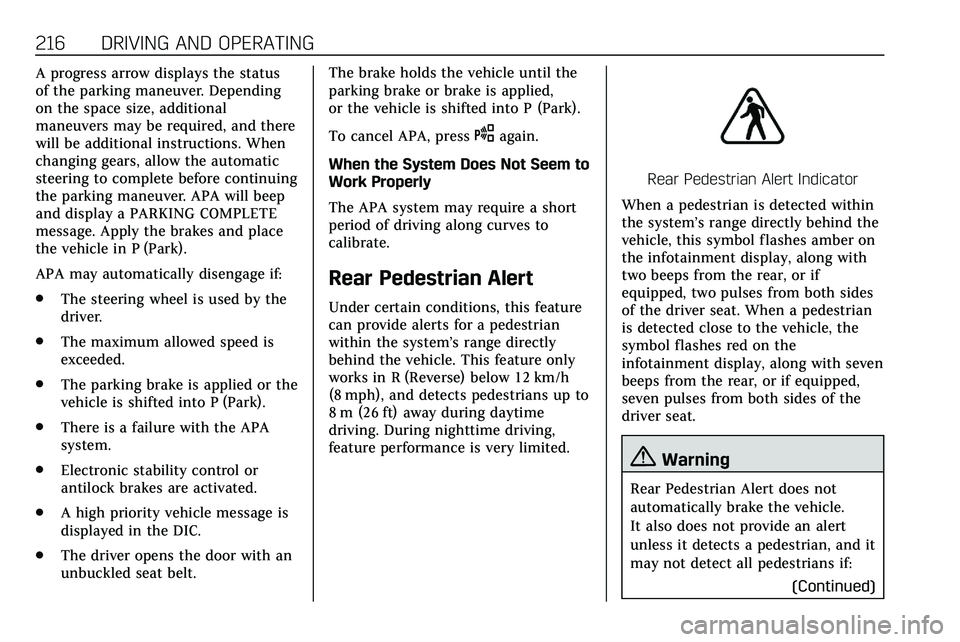
Rear Pedestrian Alert Indicator
When a pedestrian is detected within
the system’s range directly behind the
vehicle, this symbol flashes amber on
the infotainment display, along with
two beeps from the rear, or if
equipped, two pulses from both sides
of the driver seat. When a pedestrian
is detected close to the vehicle, the
symbol flashes red on the
infotainment display, along with seven
beeps from the rear, or if equipped,
seven pulses from both sides of the
driver seat.
{Warning
Rear Pedestrian Alert does not
automatically brake the vehicle.
It also does not provide an alert
unless it detects a pedestrian, and it
may not detect all pedestrians if: (Continued)
Page 219 of 384
218 DRIVING AND OPERATING
Warning (Continued)
or when following a vehicle too
closely, FCA may not provide a
warning with enough time to help
avoid a crash. It also may not
provide any warning at all. FCA
does not warn of pedestrians,
animals, signs, guardrails, bridges,
construction barrels, or other
objects. Be ready to take action and
apply the brakes. SeeDefensive
Driving 0160.
FCA can be disabled with either the
FCA steering wheel control or,
if equipped, through vehicle
personalization. See “Collision/
Detection Systems” underVehicle
Personalization 0131.
Detecting the Vehicle Ahead
FCA warnings will not occur unless
the FCA system detects a vehicle
ahead. When a vehicle is detected, the
vehicle ahead indicator will display
green. Vehicles may not be detected
on curves, highway exit ramps,
or hills, due to poor visibility; or if a
vehicle ahead is partially blocked by
pedestrians or other objects. FCA will
not detect another vehicle ahead until
it is completely in the driving lane.
{Warning
FCA does not provide a warning to
help avoid a crash, unless it detects
a vehicle. FCA may not detect a
vehicle ahead if the FCA sensor is
blocked by dirt, snow, or ice, or if
the windshield is damaged. It may
(Continued)
Warning (Continued)
also not detect a vehicle on winding
or hilly roads, or in conditions that
can limit visibility such as fog, rain,
or snow, or if the headlamps or
windshield are not cleaned or in
proper condition. Keep the
windshield, headlamps, and FCA
sensors clean and in good repair.
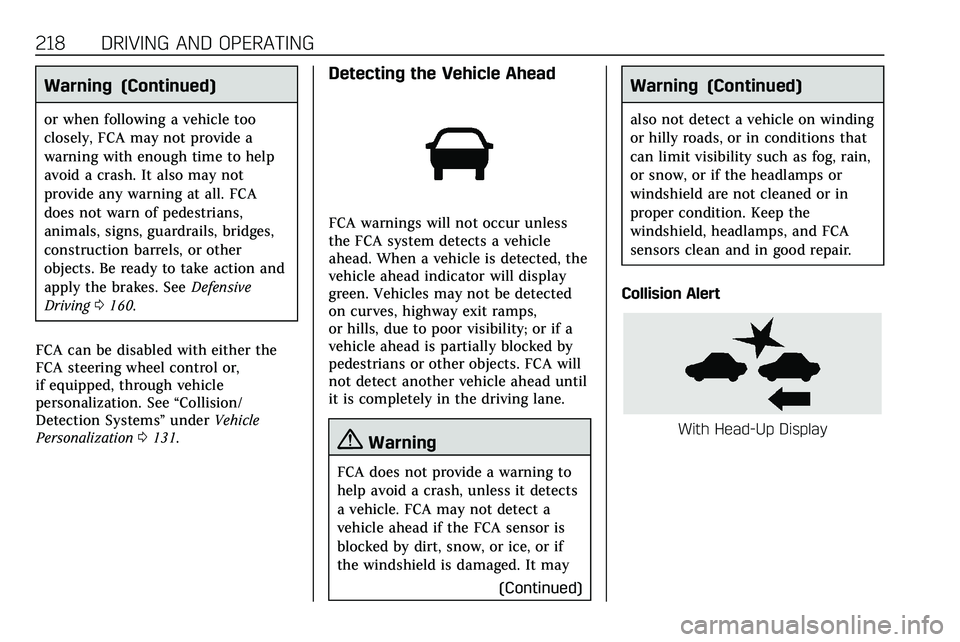
Collision Alert
With Head-Up Display